Sealing a deck is important for protecting it against the elements. Find out the cost to seal a deck, whether you DIY or hire a pro to do the job.
Maintaining the perfect outdoor space requires all hands on deck


Decks offer a private outdoor respite to sip a cup of coffee, settle in with a good book, or host friends for a summer barbeque. And yet there is no other living space that faces as much pressure from the outdoor elements, including rain, snow, sun, cold, mold, or mildew.
Decking repairs are not only crucial for your safety but are often the key to keeping the exterior of your home looking polished and welcoming. Let’s take a look at some common deck repairs and how to tackle them, plus what type of fixes to save for the pros.
Many common issues with decks have easy to moderately challenging DIY solutions. However, once you get into structural issues—such as those caused by extreme rot, mold, or pest problems—it's time to call in a local deck repair team. It's always important to understand your comfort levels with power tools, saws, and deciphering local building codes before starting a repair.
Deck disrepair is almost always a result of water, salt, or sun damage, as well as general wear and tear. Water damage can warp boards, rot joists, and break down steps and railings. Rock salt used to melt ice in the winter can threaten the integrity of the wood. And over time, the sun will alter the patina of your wood, requiring an additional coat of sealant just as you would with your indoor hardwood floors.
The cost of deck repairs significantly varies depending on:
The size of the repair
The size of your deck
Deck materials and type of wood
Where you live
Whether you call a professional
On average, small DIY repairs can range from $10 to $50, while large problems, such as installing deck replacement boards, can run up to $600. Large-scale repairs that require a professional deck repair specialist can cost about $3,000 or more.

Perhaps you've recently moved into a new home, haven't used your deck in several years, or want to upgrade it. No matter your motivation for starting a deck repair project, always begin by inspecting it for visible issues. If the structural integrity of the deck is in question, hire a professional to inspect it before walking on it or going beneath it.
If you're confident in its structure, begin by cleaning your deck—or hiring local deck cleaners—to get a good look at your deck and its repair needs. Remove deck furniture and decor and mop it with warm water and a wood-safe solution. Next, remove debris from underneath your deck to inspect the joists, beams, and posts.
Make a note of any of the following issues:
Discolored boards
Loose boards
Signs of wood decay
Mold or mildew
Loose railings
Loose steps
Water damage along the side of your home
Decking repairs run the gamut in length and complexity—from an afternoon of painting to breaking out the circular saw. Here are some DIY decking repair projects and common issues that require the eyes of an expert.
You should plan to reseal or stain your deck every one to three years, depending on the severity of its weather damage. Sealants protect the wood from water, salt, and sun damage, and it helps maintain its natural wood beauty, while stains do the same job while adjusting the wood's color.
Test your deck's current seal by pouring a few drops of water on the surface. If the water beads on the top, you can wait a bit longer to reseal. If the water absorbs into the wood, it's time to reseal it. Note that darker, less translucent sealers and stains often provide a tougher barrier against the elements, but will cover the natural look of the wood.
Sand your deck in the direction of the grain with a pole sander.
Remove sanded debris with a broom.
Paint or spray a single coat of stain or seal in a thin, even coat.
Let the first coat dry.
Add a second coat for a deeper hue.

Replacing warped or damaged boards is one of the most common decking repairs, especially if one section gets more wear and tear than others. If you're only concerned about cosmetic problems with the board—such as scratches or stains—you may be able to flip the board instead of buying new wood. You will need a new deck replacement board if the current board is cracking, decaying, splintering, or showing signs of wood rot.
Purchase lumber as close in variety to your deck and color as possible.
If you're not removing the whole board, you'll need to determine where to cut. The replacement board should receive support from at least two joists, so inspect beneath the deck before proceeding.
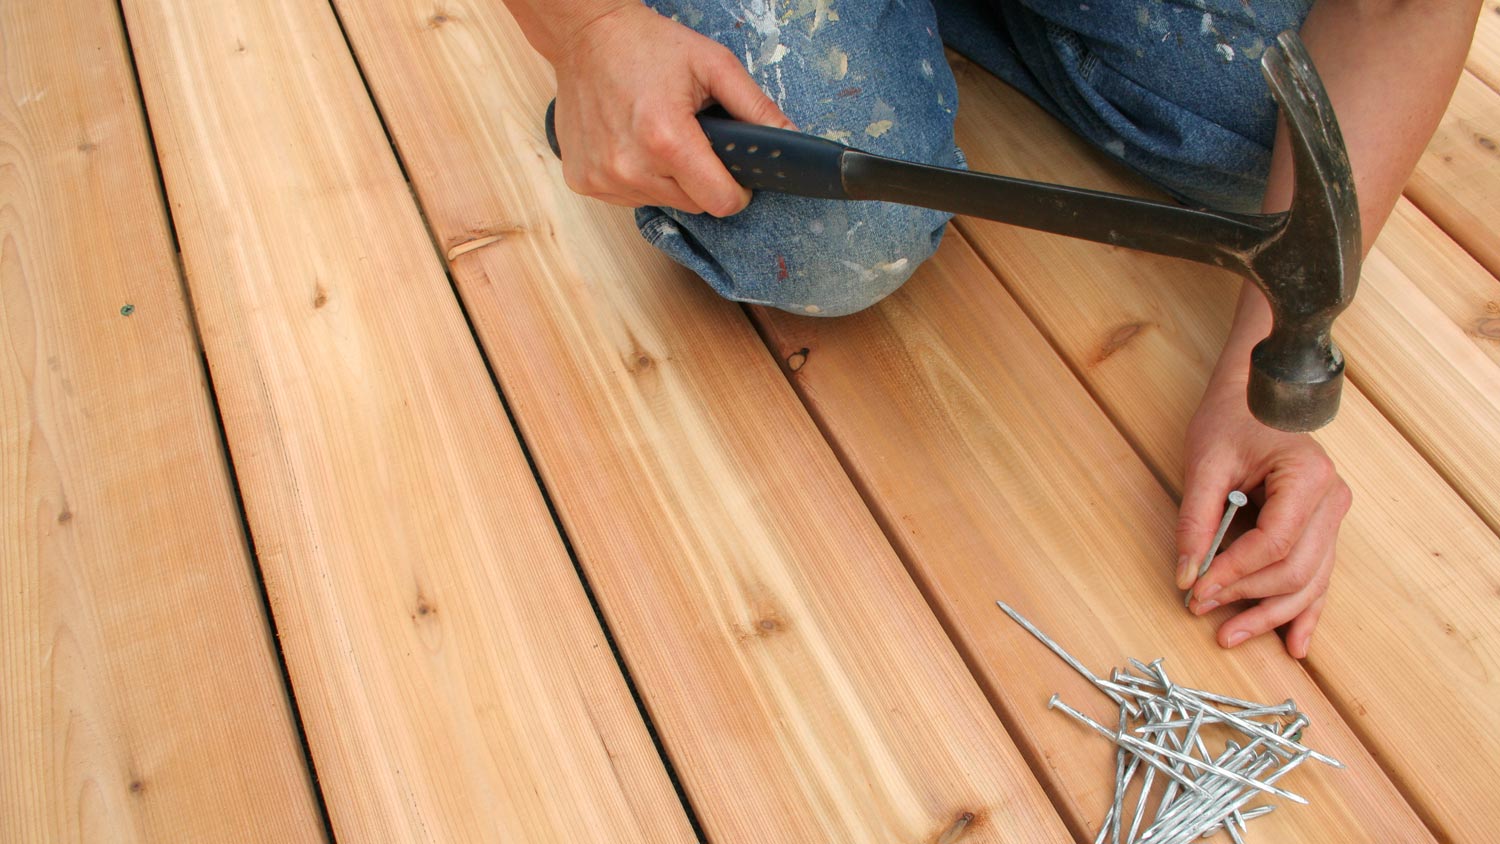
When removing a board, remove one nail at a time with a nail puller or the back of a hammer. Delicately use a pry bar to remove the board, taking care not to damage the surrounding area.
Mark your measurements and cut the board with a jigsaw. Be careful not to pierce the joists below.
Remove the old board and inspect for joist and beam rot.
Measure and cut your new board based on the open space.
Pre-drill holes above each joist, matching the screw pattern on surrounding boards.
Attach the new boards to the joists with screws in the holes.
Seal and stain to match your current deck design.
Put fixing broken, wobbly, or rotted stairs to the top of your project list. In some cases, you may need to simply tighten the screws or add new nails to your risers and treads. But signs of damage and wood rot require full stair replacement. Building new stairs for your deck is a moderate-to-challenging project, and you'll need to check local building codes before making major changes.
Calculate the rise and run of the stair—the height of the riser and depth of the tread.
Remove the nails or screws on each affected tread and riser with a screw gun, nail puller, or pry bar.
Measure and cut the replacement wood with a circular saw.
If necessary, remove the stringer—the triangular piece along the side of your step—and cut a new piece of wood to the same measurements.
Always replace the stringers first, connecting them to the frame with an angle bracket and structural screws.
Next, attach the new deck risers to the front face of the frame with at least two screws per board.
Install the new tread board last, lining it up with the surrounding risers and stringer. Check that the board is level and connect with at least two screws.

Does your railing shake and shimmy when you lean on it? Never wait to repair an unstable railing, especially if your deck rises off the ground. For a DIY job, it's best to purchase a pre-assembled deck railing unless you are comfortable building a replica of your current railing from scratch.
In many cases, simply tightening the screws that connect the guard with the beams and joists will do the trick. However, you can add a supportive block around the railing joists for extra support.
Inspect the area where your corner guardrails connect with your deck.
Purchase either a set of metal brackets or 2-inch by 2-inch wood blocks that fit in the space between your joist and the guardrail attachment.
Butt the bracket or wood block against the guardrail and joist and secure with structural screws.
The primary beam that connects your home with the deck is called the ledger board. The original deck installation team should have added waterproof flashing in between your house and this board to protect your home from water damage. However, your flashing may be damaged or non-existent. While this may look like an extensive project, you will need minimal materials for the job. Let's walk through the steps.
Remove the deck boards that run up against your home to reveal the ledger board, which is the horizontal piece of wood that connects your joists to your home.
Measure the area of siding that requires new flashing.
Vinyl flashing often comes in Z or L shapes and can be unrolled to the length of your area. Use tin snips to cut the flashing to the correct size for the open space.
The bent shape of the flashing should allow you to slip it under part of your siding and to sit flush against the top of the ledger board.
Secure the flashing with roofing nails at least every 12 inches.
Note that local building codes may require homeowners to install several layers of flashing between the deck and their homes. For more complex projects, contact a deck repair team for a more thorough installation.
Damaged or fallen joists are common problems for older decks, but they can indicate major structural issues. We recommend working with a professional deck repair team to handle joist replacement or reinforcement if you're unsure about the state of the deck.
Your contractor may complete a process known as "sistering" your joists, which involves attaching an equal-sized wooden beam against the current joist and securing it to the surrounding beams. Since there are various building code requirements when altering the structure of your deck, it's best to depend on the pros for this task.
When appropriate, a DIY alternative to full joist repair is joist hanger replacement. The hanger is a galvanized steel or aluminum bracket that connects the joists to your deck’s ledger board and front structural beams. If you have one loose joist with a rotten or non-existent joist hanger, this is an easier fix.
Remove the current joist hanger (if present) with a screw gun and pry bar.
Remove the nails that connect the current joist to the deck boards. You'll find these on the top of the deck along the line of the joist.
Flip the old joist to a new side or purchase a new piece of wood cut to size. Prop the joist to the correct spot with a piece of scrap wood.
Secure the ends of the joist to the ledger board with two screws to keep it steady before adding the hanger.
Slip the U-shaped hanger beneath the joist or an angle bracket along the sides of the joists at both the ledger board and the other end of the board at the structural beam.
Drill the structural nails into the provided holes of the hangers.
Add new screws to the joists from the deck where you removed them earlier.
Similar to joist reinforcement and replacement, structural changes to your deck should be left to the professionals. However, you won't need to build your deck from the ground up—even if you need to deepen your deck's foundation. Your team will likely support your deck with a temporary beam before removing and replacing the post with stronger materials.
The trick to avoiding costly deck problems is catching the problem early. Inspect your deck at least once a year, typically before the prime outdoor season. Ice, snow, and rock salt can do a number on the strength of the wood and screws, so it's important to catch issues before using the deck on a more regular basis.
Plus, you should reseal or stain your deck at least once every one to three years. The seal will protect against extensive wood rot and sun damage. In between seals, keep your deck clean with a monthly scrub to protect against food stains, mold, and pest problems. Structural issues will inevitably occur over time, but keep ahead of them by bringing in a trained team at the first signs of trouble.

The debate between DIY and professional deck repairs can be tricky. While you will save money on labor by taking on the job yourself, it’s important to remember that a deck is essentially a separate room of your home. It’s possible to make DIY smaller repairs, such as replacing individual boards, stairs, railings, and sealant, but major issues should be addressed by a professional.
When it comes to structural threats, always bring in a deck contractor or a deck repair specialist to handle complex repairs, decipher local building codes, and spot additional issues.
It is far less expensive to repair your deck than replace it. Replacing a deck costs an average of $7,600 while major repairs will range from $700 to $3,000 on average. Small DIY projects, such as replacing nails, screws, and individual deck replacement boards, will run from $50 to $100.
Yes, you can replace individual deck boards. In fact, if you're comfortable with a circular saw, you can even take on the project yourself. Boards with dents, scratches, stains, or warped edges can be replaced with new wood. You will need to stain and seal the wood after installation for protection and to match the old boards.
Hire a local deck repair team to inspect the state of your deck before considering replacement. In many cases, replacing and reinforcing posts, joists, beams, and boards will still cost less than installing a new deck. However, it's important to consider what contributed to the rot in the first place—such as poor gutter drainage, flashing, or sealant—to protect against rot in the future.
From average costs to expert advice, get all the answers you need to get your job done.

Sealing a deck is important for protecting it against the elements. Find out the cost to seal a deck, whether you DIY or hire a pro to do the job.

Finding maintenance-free decking that works for your home, budget, and lifestyle can be challenging. This guide lists the 7 best low-maintenance deck materials.

If you’re stuck wondering why your deck stain is peeling prematurely, use this guide to troubleshoot the problem and find a long-lasting solution.

You can get even more years out of your cedar fence by giving it a little stain and TLC. Learn how to seal a cedar fence with this guide.

Cleaning your deck at least once a year boosts its durability and appearance. Learn how to clean decking, whether it's wood or composite.

If your load-bearing porch post is starting to rot and deteriorate, you may wonder who to hire to replace porch columns. Let’s explore the project.