How to Build a Wooden Frame for a One-of-a-Kind Mirror
Make sure your mirror is always the fairest of them all


Difficulty: 1/5; no experience, no problem!
Time to Complete: 1 to 2 hours (plus possible drying time)
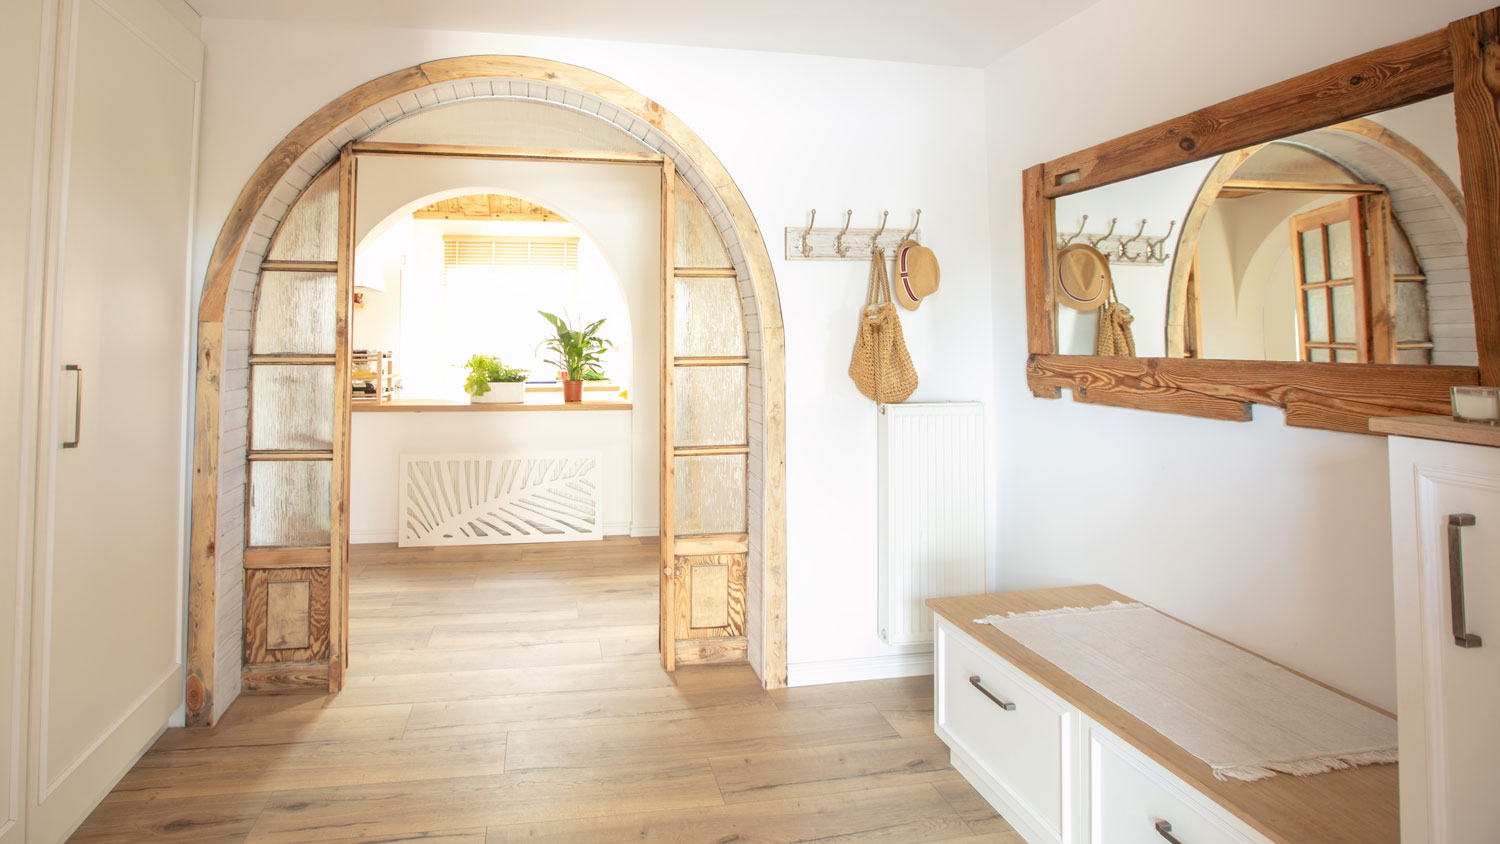
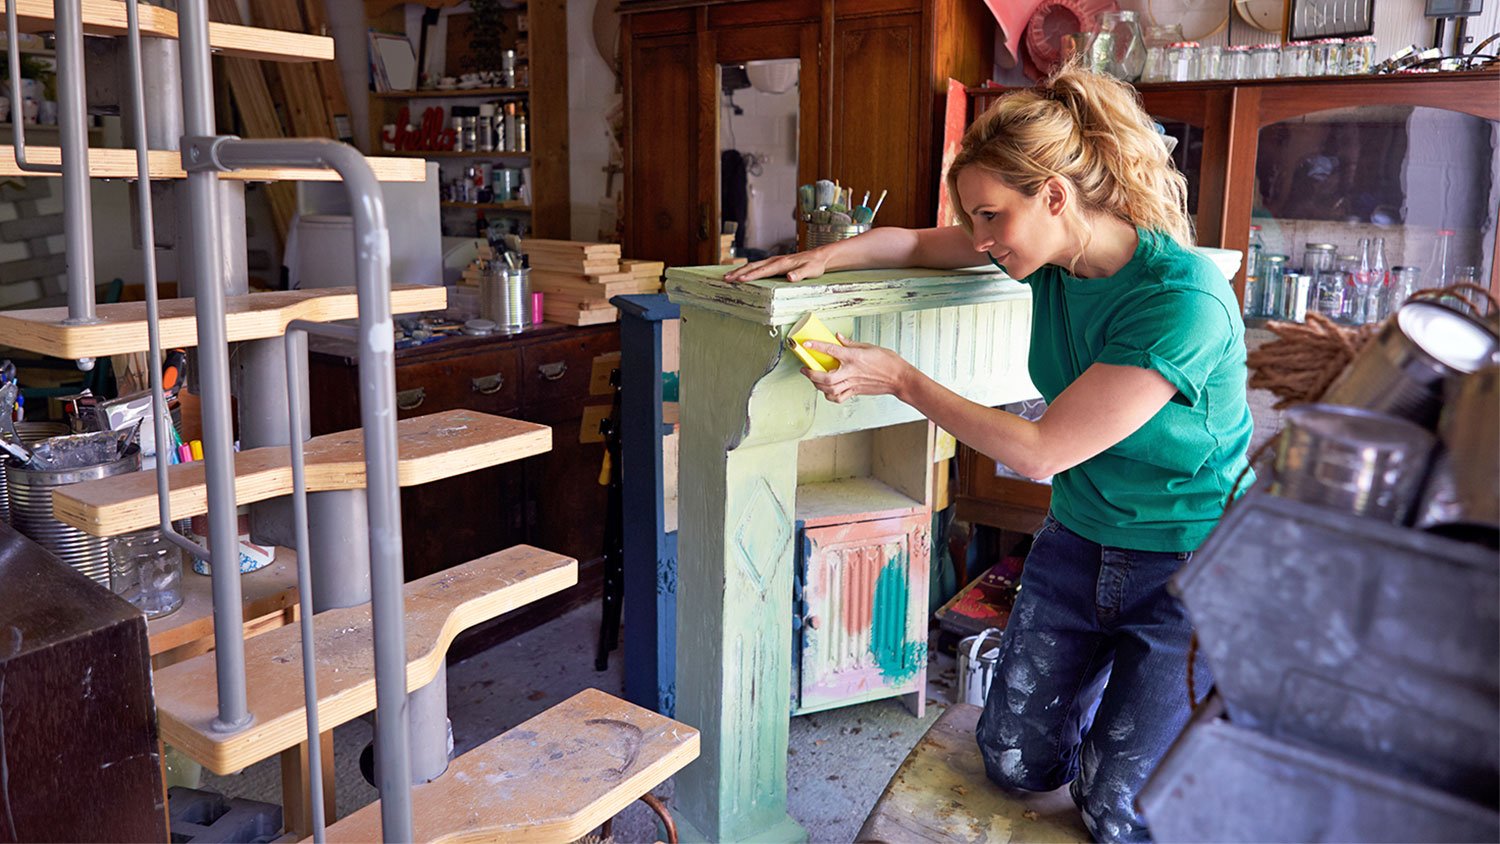
When you can’t find a mirror trend that’s to your liking, or you’re tired of what you already have, consider designing and building your own mirror frame instead. This project is among the easiest for beginner woodworkers to DIY, as well as being a great way to add some personalized handiwork to your home.
From the materials you’ll need (including scraps you can upcycle) to the special touches you can add, here’s how to build a mirror frame out of wood that you’ll be happy to see on a daily basis.
What You’ll Need
Tools
Safety gloves and goggles
Miter saw or hand saw
Saw horse
Hammer
Measuring tape
Carpenter’s square
Sanding paper
Rags
Drop cloth
Supplies
Frameless mirror
Wood boards
Plywood for backing
Nails or wood glue
Mirror adhesive
Wood stain or paint (optional)
1. Gather Your Supplies and Take Measurements
Before you can start building a wood frame for a mirror, you need to know what you’re working with. Do you have any old, unframed mirrors laying around? What about large pieces of scrap wood in your backyard? All of these materials can easily be repurposed into something new with the help of a DIY project like this.
Once you’ve obtained an unframed mirror, use a measuring tape or ruler to determine its length and width. Add a few inches to your measurements to account for the extra space needed to create an overhang. Remember that the inside measurements of the frame should be slightly smaller than the mirror. And use a carpenter’s square to ensure that the edges of your mirror match the edges of your frame.
2. Prep Yourself and Your Work Station
When you’re working with power tools like an electrically powered saw or sander, safety is of the utmost importance. Always wear gloves while operating hazardous machinery and goggles to protect your eyes from any debris the construction process might create.
And don’t forget to protect your work area while you’re at it. Lay a drop cloth over the ground where you’ll be working, set up your saw horse on top of it, and make sure that every plug has easy access to an outlet.
3. Think About the Corners
The corners of your wood mirror frame are just as important to its overall style as the type of wood you use. Overlapping planks create a rustic, cottagecore-inspired aesthetic, while a neat, 45-degree-angle seam establishes a polished appearance.
Decide what you want to do ahead of time so you have the right tools to make the proper cuts. For example, you may struggle to cut a clean, diagonal angle with a hand saw, but a table saw or miter saw will give you the results you’re looking for.
4. Saw and Sand the Wood

Use a measuring tape or ruler and pencil to mark wood at the length and width that corresponds with the dimensions of your mirror. If you’re trying to create a polished seam, use a carpenter’s block to outline a 45-degree angle at the end of each plank. Map everything out before making cuts to ensure that it will all fit together as it should.
Then, with safety goggles and gloves, use a hand saw or table saw to make the cuts. Sand to remove splinters, cracks, or blemishes before moving on.
5. Stain or Paint Wood Before Assembling Frame
Lay wood on a drop cloth and paint or stain one side at a time. Let each side dry completely before moving on to the next. If you’d prefer to maintain the wood’s original tone, simply apply a coat of finish instead. Remember that mirrors reflect the back of the frame, and any shortcuts you take or steps you skip may be harder to ignore in the final product.
6. Safely Adhere Wood to Mirror
Place the mirror front side up on a flat, cushioned surface. Working one at a time, pipe a generous amount of a glass-safe adhesive (like wood glue or liquid nails) to the inside edge of each piece of wood. Starting from the bottom and moving counterclockwise, attach wood to the mirror and firmly hold it in place for the length of time listed by the adhesive manufacturer. Repeat until the mirror is completely covered, then apply adhesive to the edges, and wrap with duct or painter’s tape to keep in place until it’s fully dry.
7. Let Dry, Clean, and Hang
Once your new mirror frame has had time to dry completely, the fun can start. Remove any debris leftover from the building process, make it shine with a bit of polish, or even continue to decorate your mirror (adding some sparkles or hand-painting never hurts!).


- 27 Dazzling Bathroom Mirror Ideas
- How Much Does It Cost to Remove a Wall Mirror in My Home?
- How to Hang a Bathroom Vanity Mirror and Complete the Space
- 8 Pros and Cons of Decorative Bathroom Mirrors
- How to Build a House: Your Complete Guide to the Home-Building Process
- How to Repair Rotted Window Frames and Make Them Look Brand New
- How to Waterproof Wood With 3 Simple Methods
- How to Paint Hardwood Floors for the Best Results
- The Ultimate Moving Out Checklist: 8 Week Countdown
- 14 Home Renovation Tips for a Stress-Free Project


