

•
Storm windows keep your more expensive windows protected from impact. Use this storm windows cost guide to get an estimate for protecting your home.
Turning decay into delight


Having to repair rotted window frames isn’t necessarily a fun task. After all, windows are an essential part of your home’s framework, adding some visual pizazz to both the exterior and interior. When something is wrong with the windows, you can really feel it in your home.
Unfortunately, the wood surrounding these glorious windows to the outside world is susceptible to various types of rot. Don’t fret. You (probably) won’t have to toss the window and start over, though hiring a local carpentry expert for an assessment is always a good idea. Depending on the severity, there are also DIY solutions to give your windows the structural stability they deserve.
Window frames rot when moisture enters the wood and allows for fungus to thrive and break down the structure of the frame. Moisture can enter window frames via several routes:
If your windows don’t have flashing, rainwater can easily enter nooks and crannies.
Even if you have window flashing, poor sealing can lead to moisture buildup.
Infestations from termites can break down the window frame, allowing for wood rot.
Homes in humid climates like the Pacific Northwest are more susceptible to high moisture levels and rotted window frames.
If you have interior rotted windows, then the exterior window rot may have progressed to the inside of your home. How to repair rotted window frame exteriors varies depending on the condition of the wood.
For rotted interior windows with no sign of rot from the exterior, there could be a condensation or moisture problem inside your home. How to repair rotted window frame interiors usually involves treating the source, then treating or replacing the wood.
Knowing the type of wood rot infecting your windows can influence how you approach identifying and repairing rotted windows. The most common types of rot include:
Brown rot: We call this type of moisture damage dry rot despite the moisture causing the damage. Brown rot leads to nutrient-deficient wood that looks dried out, darker brown, and warped—hence the name. It can be harder to identify brown rot until the damage is noticeable.
White rot: With white rot, or wet rot, you’ll see a white, yellow, or light gray appearance on your window frames that feels malleable and spongy. This type of rot typically appears in windows in warmer climates and can aggressively destroy wood. It’s easier to identify wet rot, but this fungus can cause dangerously unsound wood fast.
Dry rot repair costs an average of $1,400, but you could spend $150 to $10,000 depending on the extent of the damage and the condition of your windows. You’ll pay around $5 to $40 per square foot for window dry rot repairs, so by calculating the size of your windows and the number of windows affected, you can get a rough estimate of your total expenses.
Window frames can appear to be in good working order, but water has a stealthy way of sneaking inside and creating dry rot that can’t easily be seen by the naked eye. Luckily, there are some tell-tale signs to look out for, including:
Cracked or peeling paint
Irregular wood surfaces
Structural cracks or crumbling in the wood
Swelling or warpage
A spongy feel to the wood when applying light pressure
Discoloration
Malfunctioning windows
Broken or cracked caulking
Bowing window frames from the interior
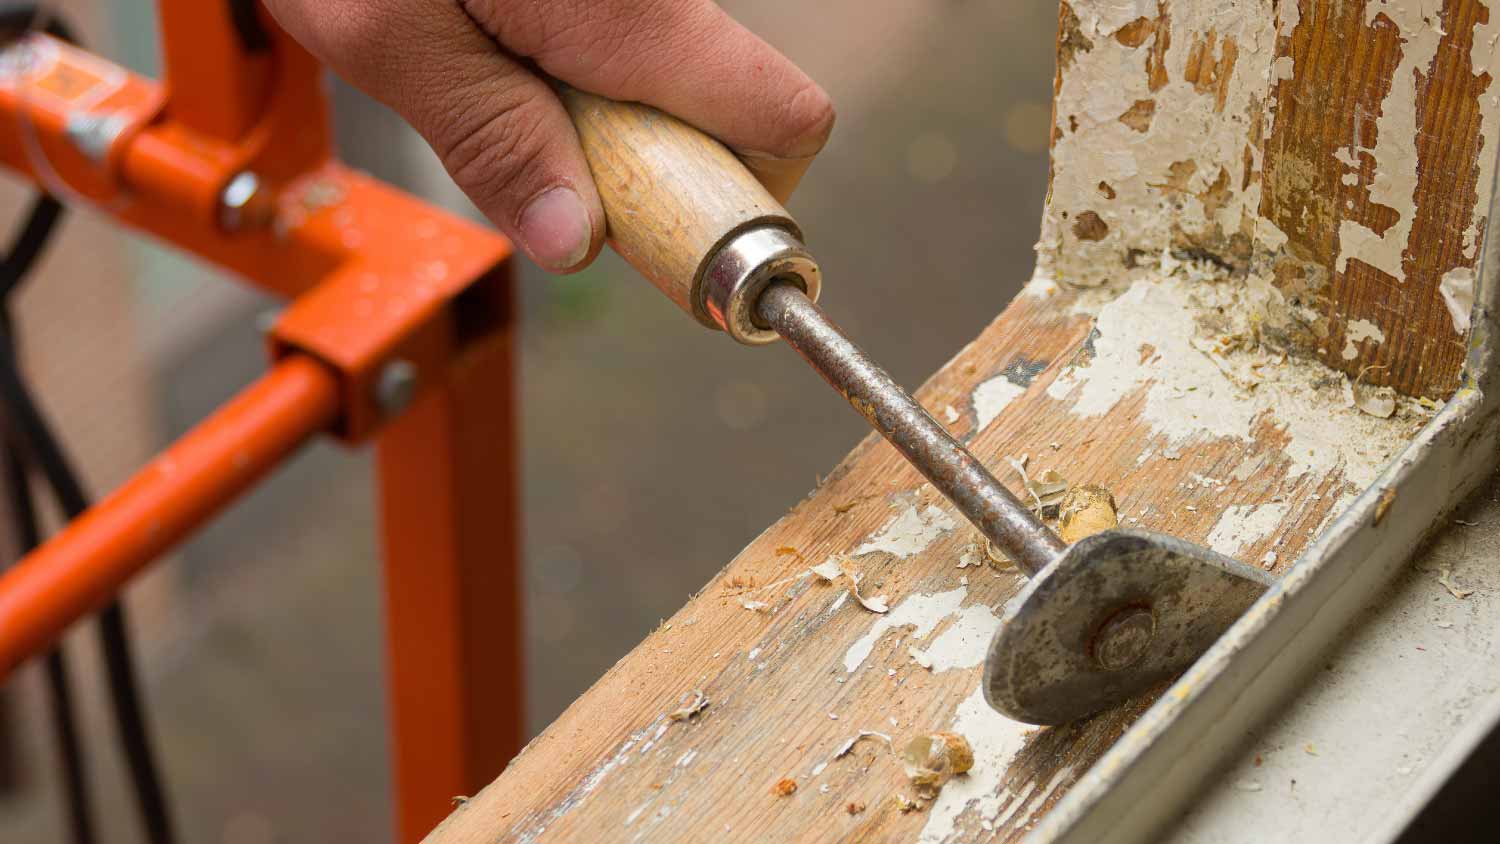
There are three solutions to rotted wood window frames, including using epoxy filler, creating a wood insert, and replacing the entire window. Read through these steps and weigh your options to help you decide how to repair your rotten window frames.

For minor instances of wood rot, patch it up with a wood filler epoxy. This involves removing the rotted material, cleaning out the gap, and then filling that gap with the epoxy substance. Wood fillers work well here, becoming indistinguishable from pre-existing wood once sanded and painted.
1. Gauge the Severity
Wood filler only works when the rot has permeated less than 2 inches into the wood. Push into the rot with a putty knife or screwdriver to see how far the rot extends.
2. Create a Gap
Remove all of the infected wood with a large putty knife, a gloved hand, a hammer, or a construction chisel. Clean up the wood until a large gap forms.
3. Fill the Gap
Mix your preferred wood filler according to the manufacturer’s instructions. Next, use a putty knife or scoop to apply the epoxy into the gap.
4. Cure, Sand, and Paint
Allow the epoxy to dry and cure according to the instructions. Then, sand and paint the area until it matches the rest of the frame.
If the rot extends beyond one or 2 inches, the damage is likely too severe for a simple wood filler. In these cases, replace the rotted wood around the window with a custom wood insert.
This is an involved repair procedure, requiring a fair bit of supplies and some knowledge of basic carpentry skills. If you are unsure of your skill level here, call in a pro.
1. Remove the Rot
The first step is removing the rot itself from the frame. Use a pry bar or a combination of hammer and chisel to extract the rotted pieces from the rest of the window. Try to work the pry bar behind the rotted wood to remove it all at once.
2. Clear a Gap
Make sure the gap is completely clear, removing any nails, additional wood, or items of debris. Lay down some flashing tape for additional protection against future water damage.
3. Measure the Rotted Wood
Take the pieces of rotted wood you removed and arrange them so they fit together. Measure the dimensions of these pieces. If you get lucky, the measurement will correspond to standard lumber sizes.
4. Purchase Wood and Cut Down to Size
Purchase the closest approximation to your measurement and cut the wood down to an exact fit using a circular saw. Then, test it out by placing the shaped wood inside the gap.
5. Paint, Prime, and Fasten
Place the wooden insert in the gap and add some primer and paint to match the rest of the frame. Finally, fasten the wood insert with exterior-grade construction screws.
6. Caulk and Paint the Seams
Use a caulking gun to fill in any gaps. Allow ample time for the caulk to dry completely (check the manufacturer’s instructions for more specific guidance), and then paint the seams.
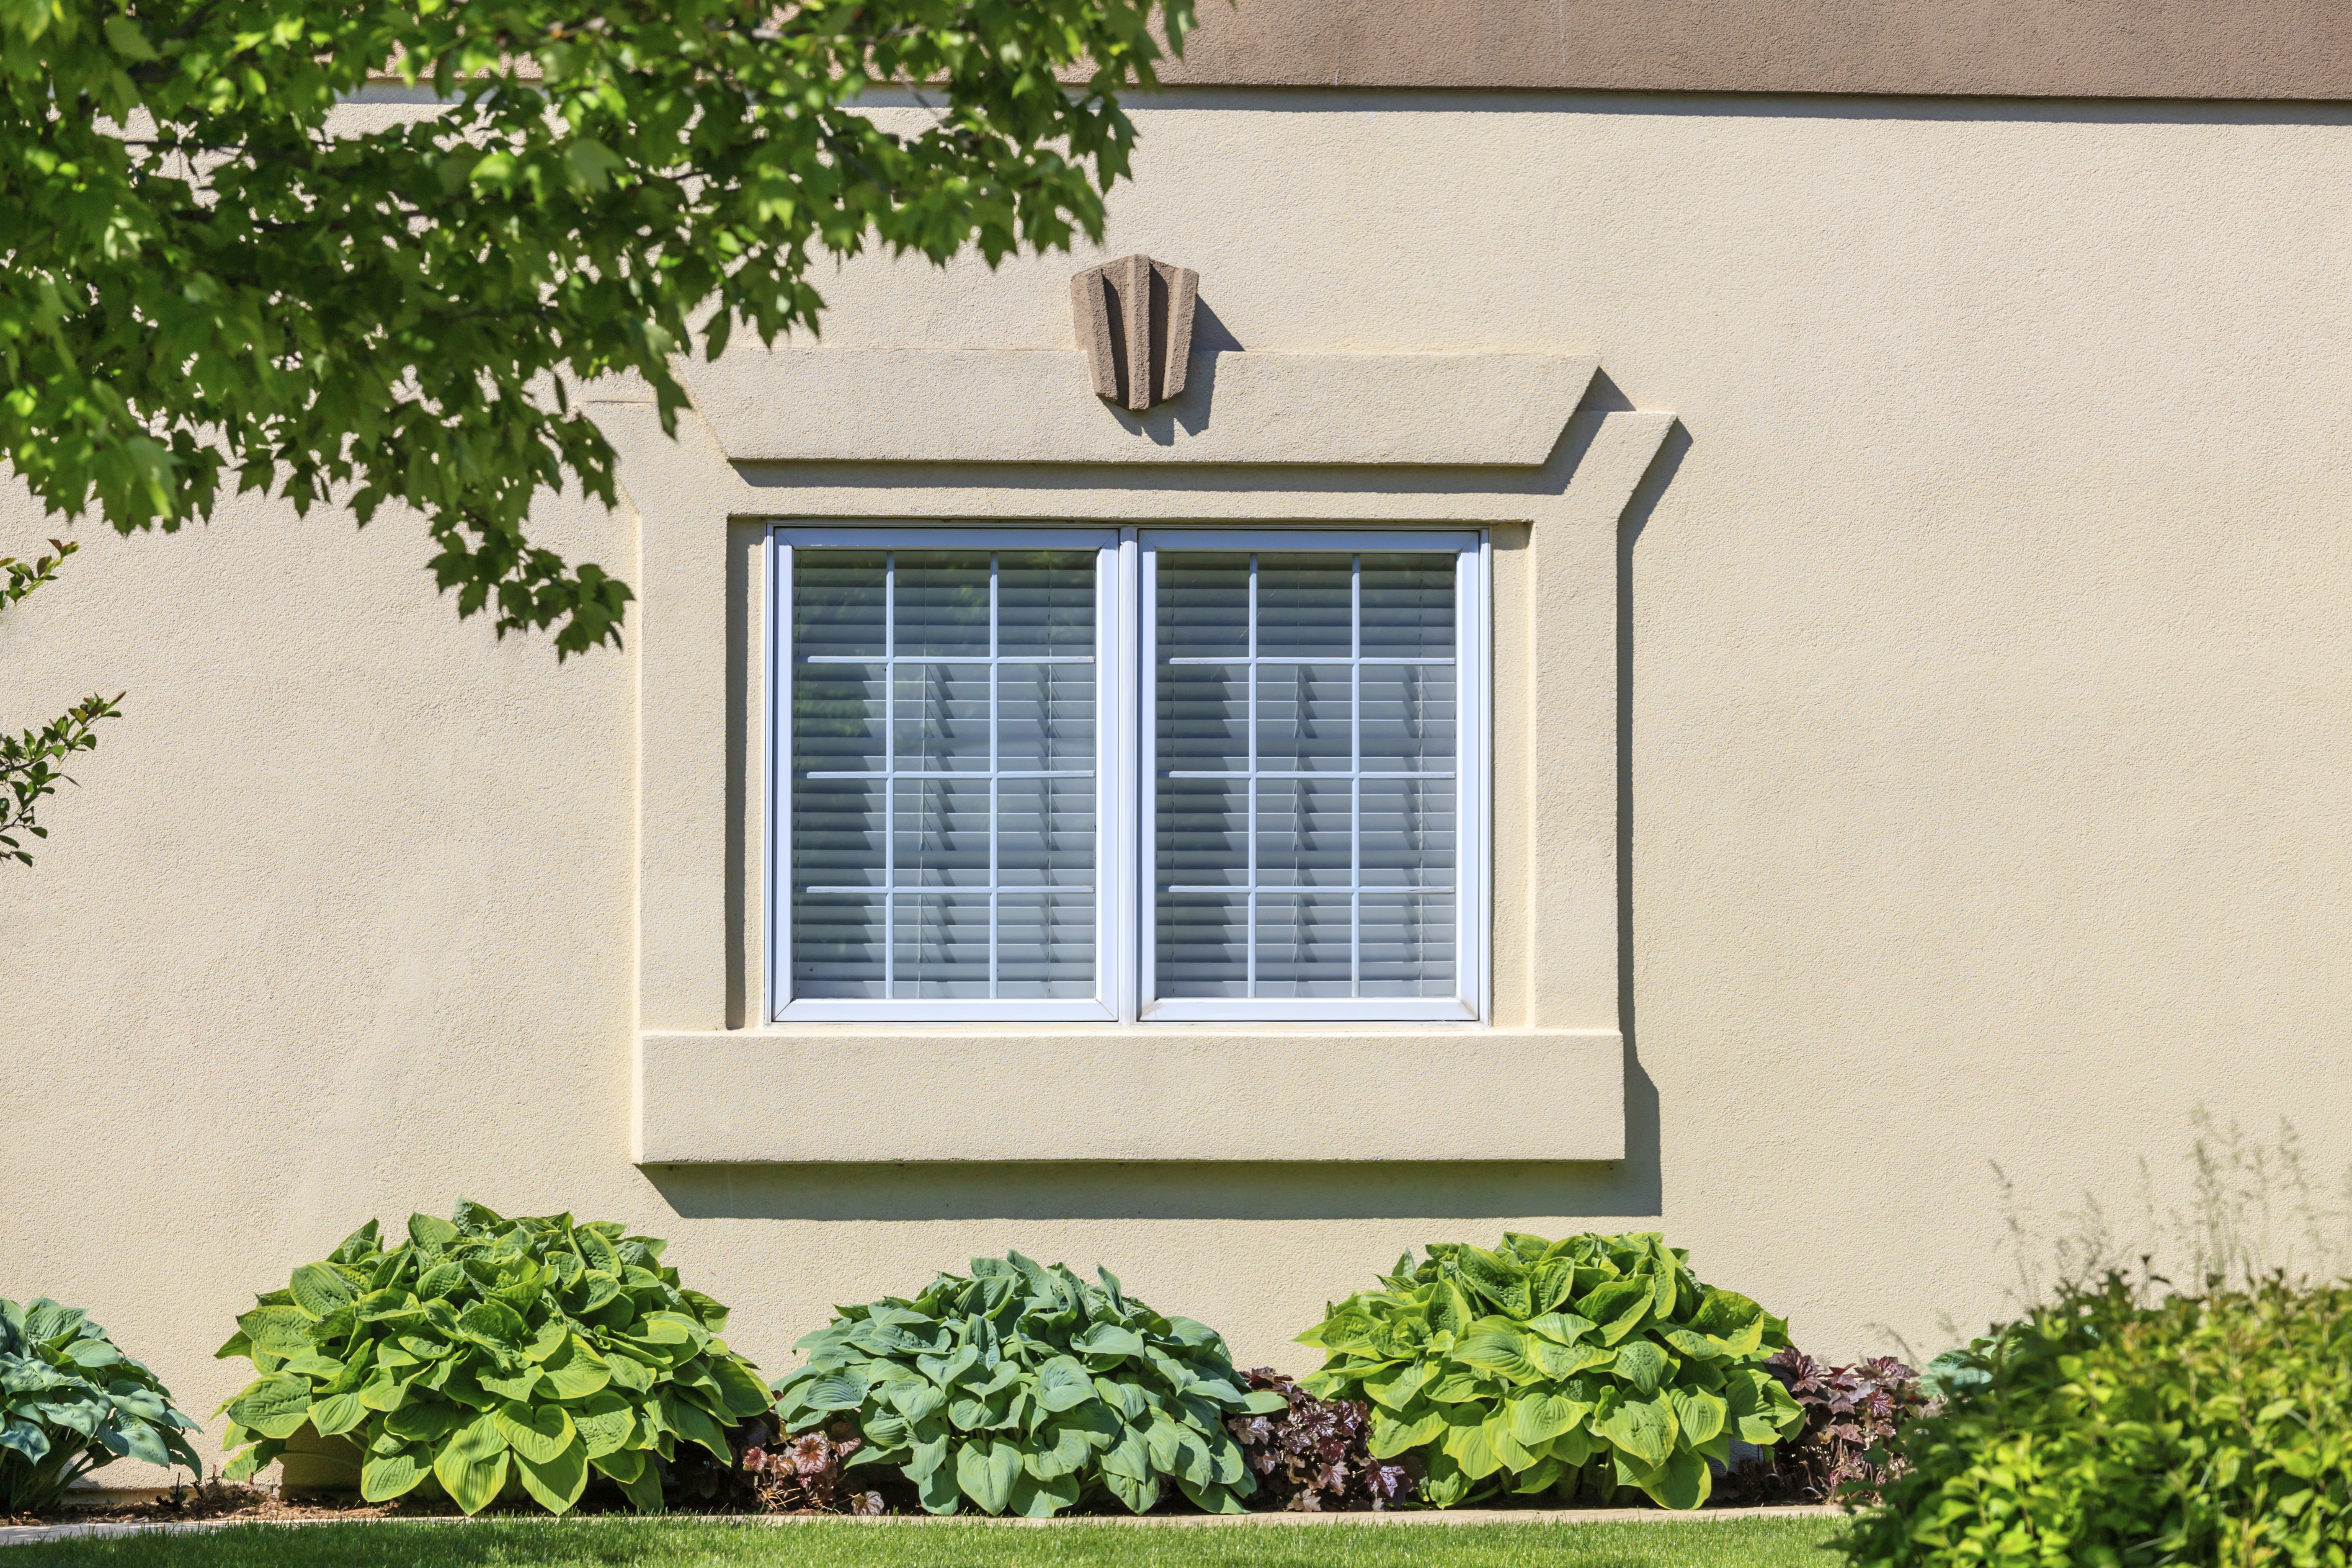
Of course, some instances of wood rot are simply too severe to repair using either of the above methods. In these cases, replace the entire window frame. If the rot not only extends beyond 1 or 2 inches deep but also surrounds the entire frame, your best bet is a full frame replacement.
Window replacement costs are higher than repairs, but on the upside, replacing the window frame from the ground up allows contractors to choose sturdy wood and seal it effectively to minimize any future risk of rot.
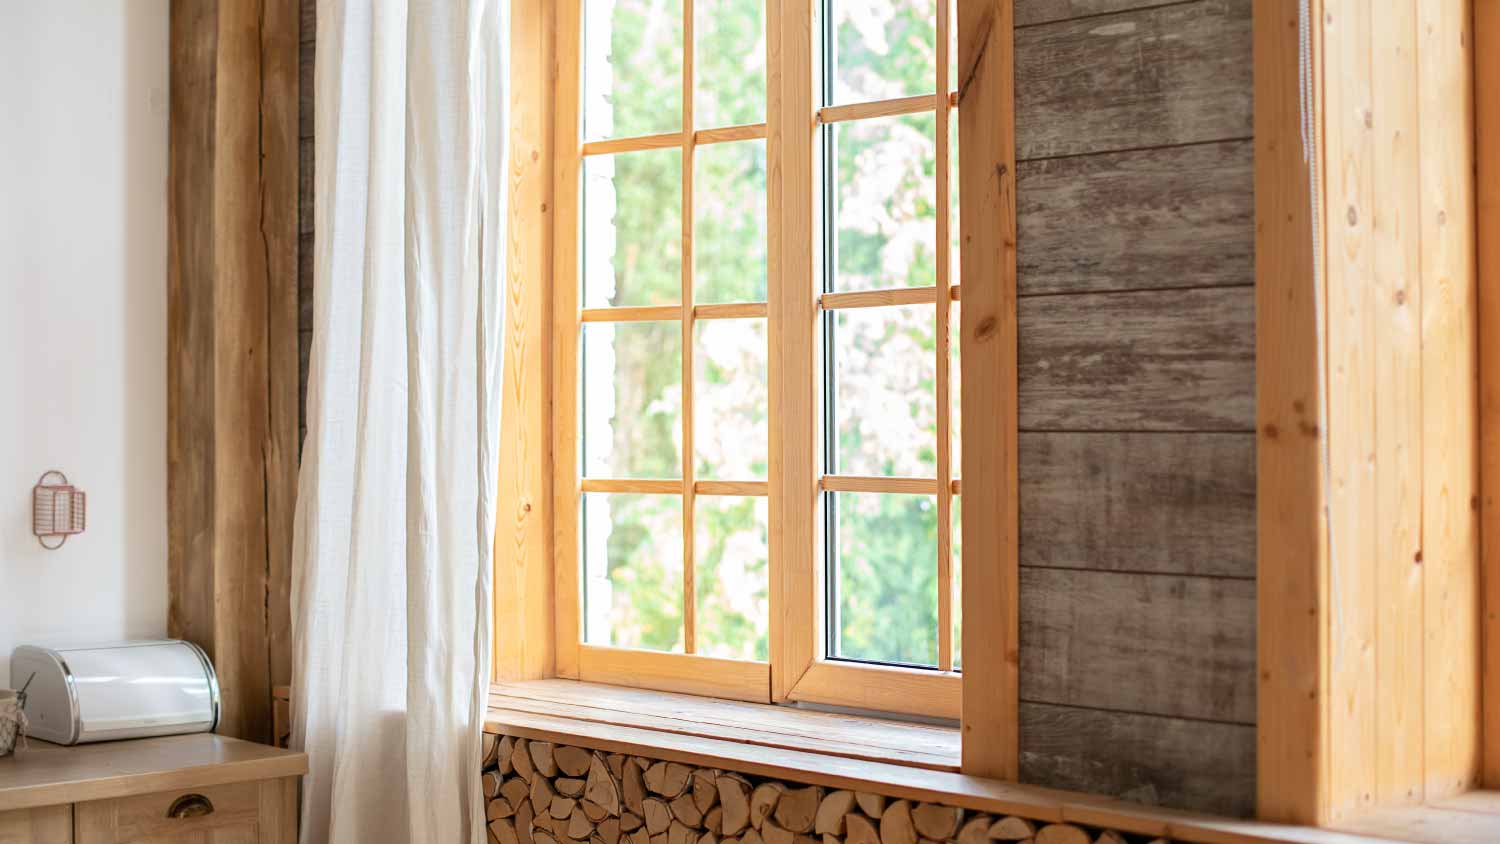
There’s no denying that wood window frames are a high-maintenance material for windows. Their beauty may come at a cost, but with the proper preventative measures and a little more TLC than other window types, you can have rot-free window frames that last for several decades. Follow these tips on how to prevent rotten window frames:
Inspect your window frames twice a year for signs of damage.
Maintain your gutters.
Treat wood window frames regularly.
Fix any drainage problems on your property.
Repair rotted window frames as soon as you notice them.
Apply a wood treatment for dry rot.
Replace parts of your windows that are beyond repair.
Lower humidity levels in your home using a dehumidifier, fans, or a ventilation system.
Use a wood moisture meter to check humidity levels.
Caulk wood windows and replace the caulk as needed.
Ensure your windows have flashing.
Install a water-resistant window frame type, like aluminum, vinyl, fiberglass, or steel window frames.
Avoid installing wood or composite windows.
If you want the look of wood windows without the maintenance or water vulnerability, choose wood-clad windows. These have exterior resistance to water and the interior aesthetics of natural wood.
Repairing a rotted wood frame can be a budget-friendly project. A good epoxy wood filler typically costs between $10 and $50. If you already have caulking guns, circular saws, and pry bars, the cost is limited to the filler and any additional materials you need, like paint and primer. Creating a custom wood insert, if required, can cost as little as $10 to $50, depending on the type and amount of lumber needed.
Undertaking the repair yourself allows you to have full control over the process and potentially save money on labor costs. However, keep in mind that DIY repairs require time, effort, and attention to detail. Without sufficient expertise, there’s a chance of making mistakes or not achieving the desired results.
If you choose to go pro with this one, carpenters with your local window repair company typically charge between $30 and $100 per hour, depending on their experience and location. Hiring a pro ensures that the job is done efficiently and to a high standard.
From average costs to expert advice, get all the answers you need to get your job done.
Storm windows keep your more expensive windows protected from impact. Use this storm windows cost guide to get an estimate for protecting your home.

Window replacement enhances your home's appearance and helps to maintain a consistent indoor temperature. Discover the cost of window replacement in Columbus.

Window repair costs in Columbus, Ohio, depend on several pricing factors, including the type and size of the repair it needs and the window itself.

Know the different parts of double-hung windows, their purpose, and maintenance requirements to keep your windows functional and protected.
Replacing or switching windows leaves homeowners with a choice: casement or double-hung? This article lays out their pros, cons, and differences.

Understanding standard window sizes is easy once you get the hang of it. Here's how to order windows just like the pros.