
•
Discover the cost of widening a doorway, including average prices, key cost factors, and tips to help you budget for your project.
Protect and preserve the beauty of your wooden floors, decks, furniture, and more


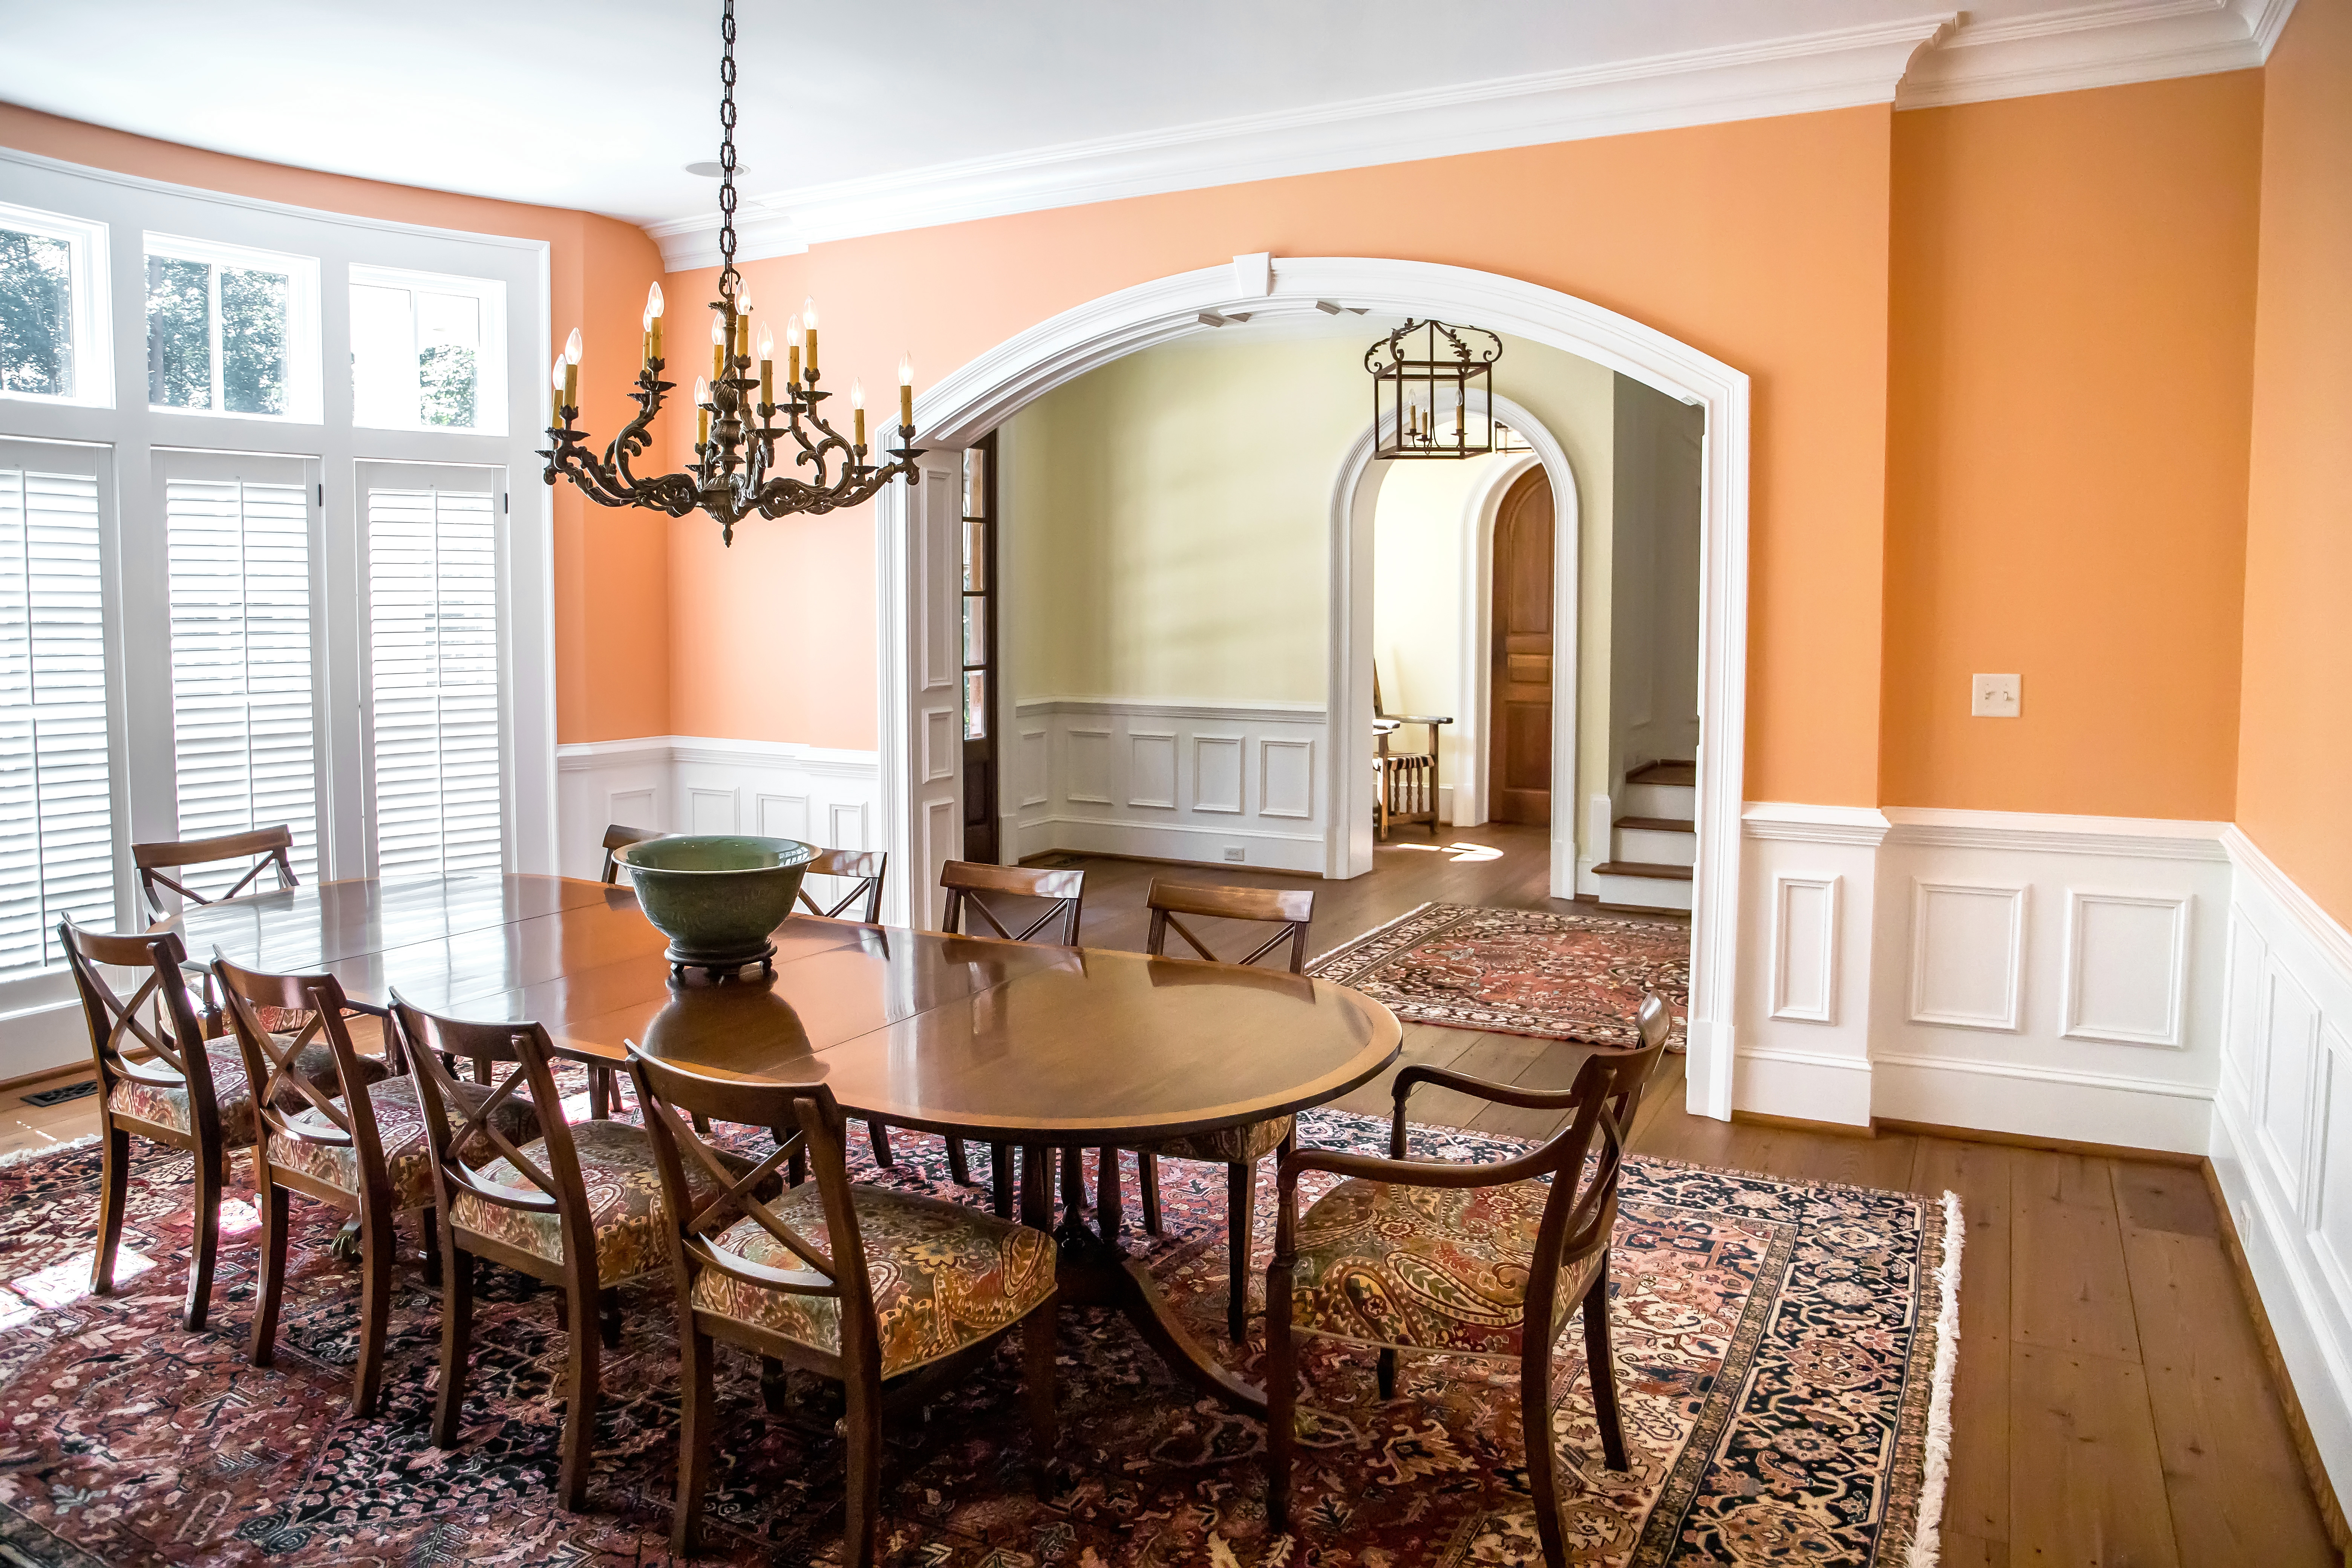
From timeless carved antiques to charming oak dining tables, wood can elevate the look and feel of any home. It does, however, require upkeep to maintain that fresh and natural look you love. The key to long-lasting, durable wood? Waterproofing.
Waterproofing wood protects its exterior and improves its longevity, especially when exposed to the elements. Additionally, interior woods in busy and humid areas like the kitchen greatly benefit from waterproof coating.
Whether you’re new to woodworking or teaming up with a woodworker in your area on a home project, this guide will show you how to properly waterproof wood to achieve an attractive finish.
Why should you waterproof wood? Water contact causes more problems than you think. Moisture expands and warps wood, causing cracks and deformities to the original look and shape. It also causes the growth of mold and mildew, leading to discoloration and rotting.
Overall, waterproofing wood will protect it from:
Moisture damage
Deterioration
The sun's UV rays
Frost
Termite/insect infestation
Heavy foot traffic
While some woods may not need finishing, others are more susceptible to damage. These include weather-exposed wood, such as wooden fences and outdoor furniture, and woods inside the home prone to spills and traffic from kids, pets, or wheelchairs.
Waterproof paint for wood is great, but it’s only a temporary solution, lasting six months to two years. Paint also hides the natural wood color, which takes away the earthy look that many people prefer.
If you want to preserve the natural beauty of your wooden property and extend its lifespan, a waterproof coating is the best option.
Carve out a weekend in your schedule you can commit to this project. It shouldn’t take more than two days or so, unless you intend to waterproof multiple objects or flooring. Here’s what to do before you get started:
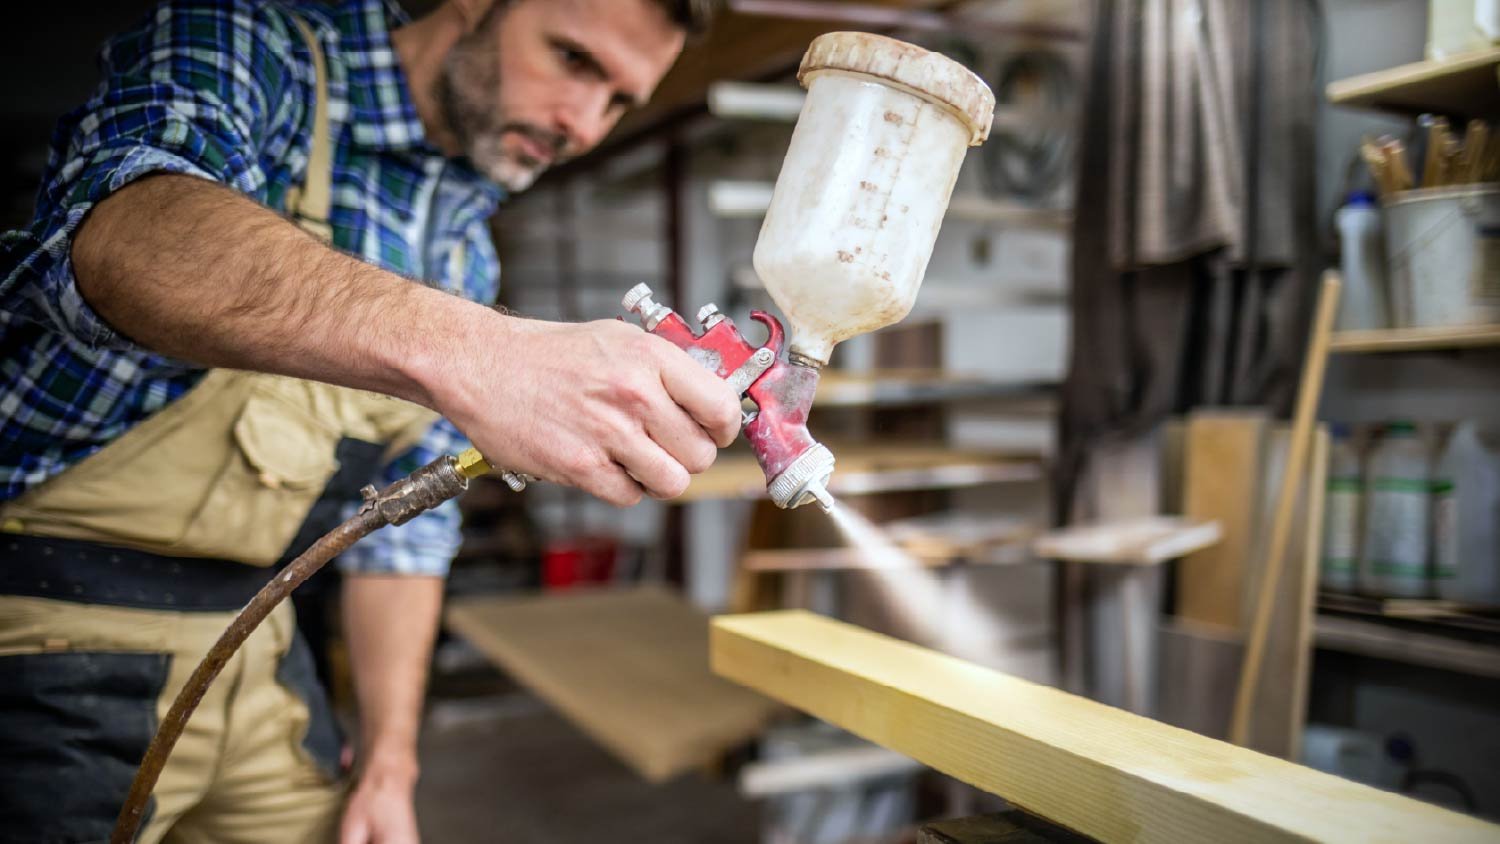
It’s easy to feel overwhelmed with choices at your local hardware store. To help simplify, there are three effective ways to waterproof wood: oil finishes, stains, and sealants. Let’s take a deeper look at each method:


Oil finishes are a natural protective layer you can apply directly on bare wood. Oil doesn’t sit on top, but rather penetrates the wood, shielding water and helping replenish its natural oils lost to aging and wear and tear. Oil is also a dry finish that doesn’t contain chemicals, making it safe for use around plants, animals, and children.
Popular oil finishes include linseed oil, tung oil, and danish oil, which is a blend of the former two. You can use oil finishes for indoor wood decorative pieces, such as picture frames, jewelry boxes, and crafts from the thrift store. Oil is easy to apply and can make dark wood brighter, giving it the natural look that people enjoy.
While you can use a paintbrush, oil works better when rubbed into the wood. This process can take a longer time than other waterproof methods. One drawback is that you must re-treat wood with oil every six months to a year, so it’s not recommended for something used often, like dining tables and countertops.
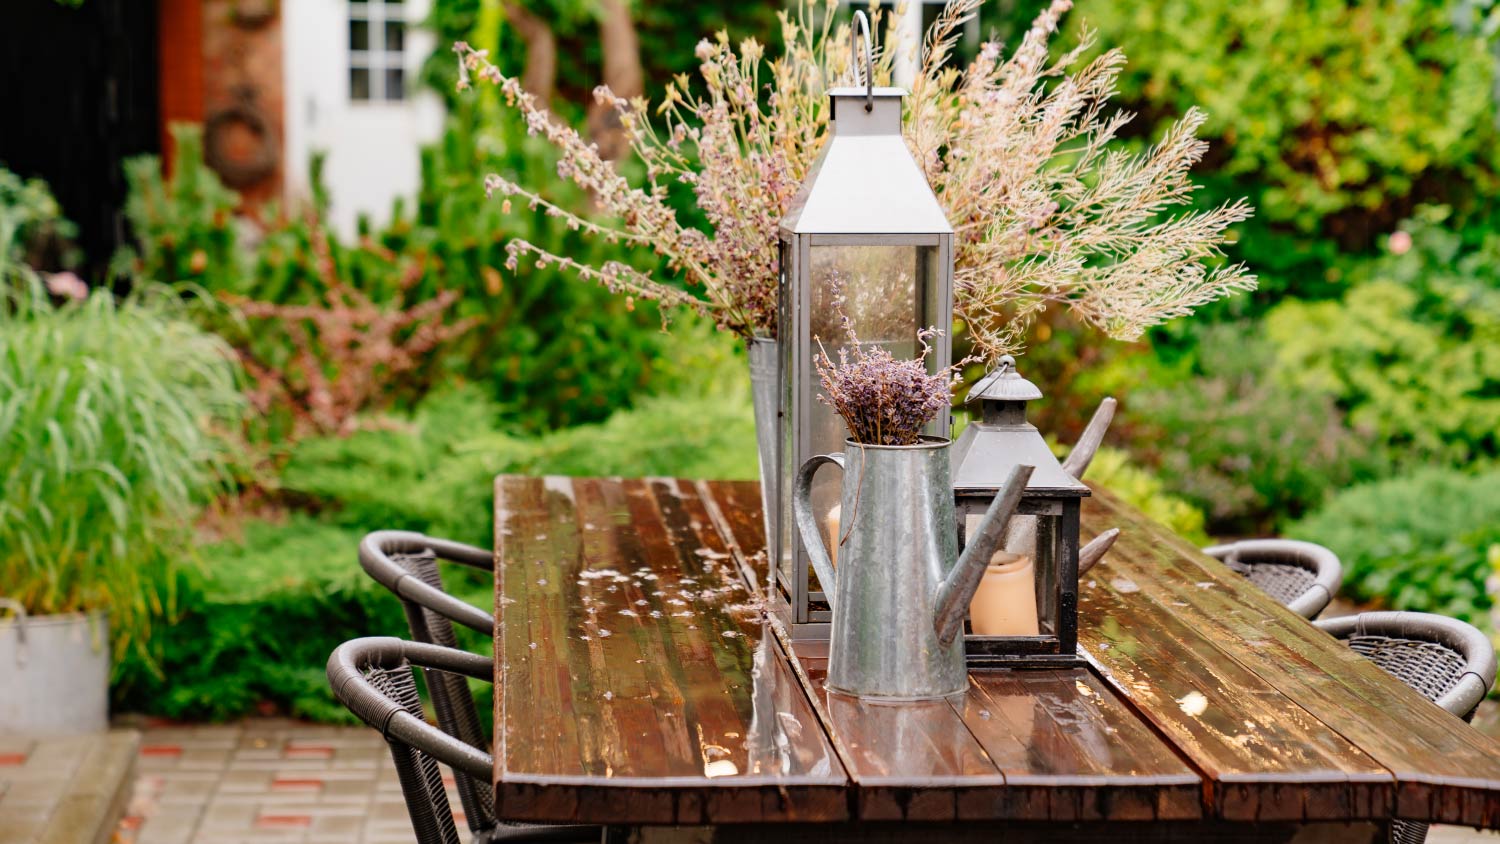
Stains are oil-based finishes that are mixed with vinegar. They penetrate the wood, but as the name implies, they also tint or “stain” the wood. Stain coatings contain tiny pigments that change the color of the wood once applied, enhancing its appearance.
This finish protects wood from UV rays and has a certain level of water resistance. It also lasts up to five years, making stain a good option for wood in outdoor living spaces, such as fences and decks. Stains are typically more expensive than other types of finishes, but they come in a variety of different colors and tints to achieve a desired look.

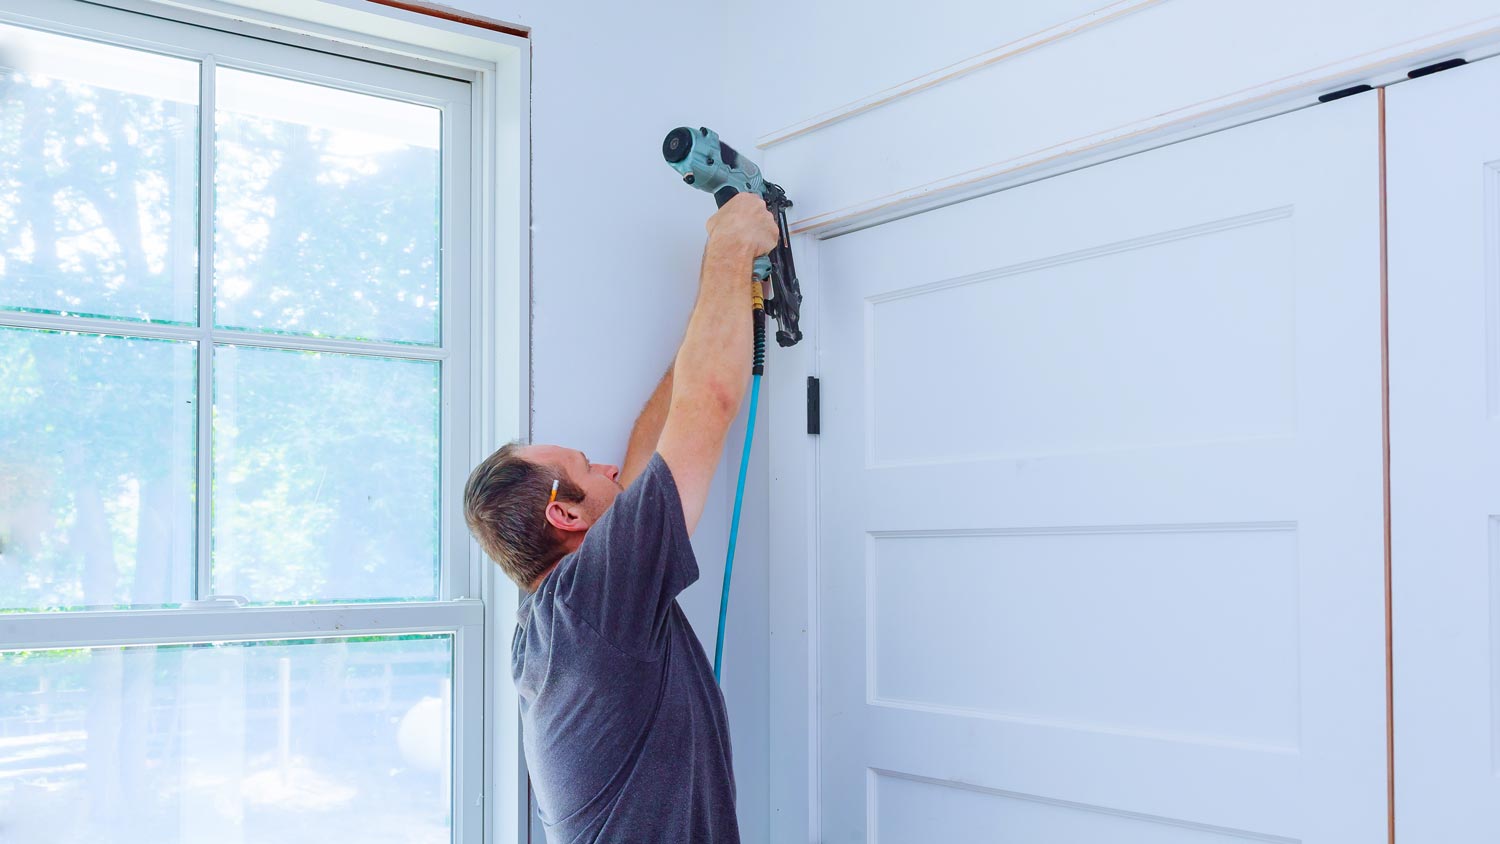
Sealants are chemically formulated finishes that help strengthen the wood. The transparent coating of sealant creates a water-repellent surface on wood that doesn’t have to be reapplied for several years. This long-lasting protection makes sealant a popular choice for wood finishes.
Though sealants do not provide adequate protection from UV rays like stains, they add an additional layer of moisture protection for indoor wood, such as countertops, doors, trims, and shiplap boards in the bathroom. You can even hire a local wood flooring professional to refinish and restore your hardwood floors with it.
There are three types of sealants: lacquer, varnish, and polyurethane, all with varying drying times. Polyurethane, though the most popular of the types, is much more time-consuming, needing three coats that can take up to three days to complete.
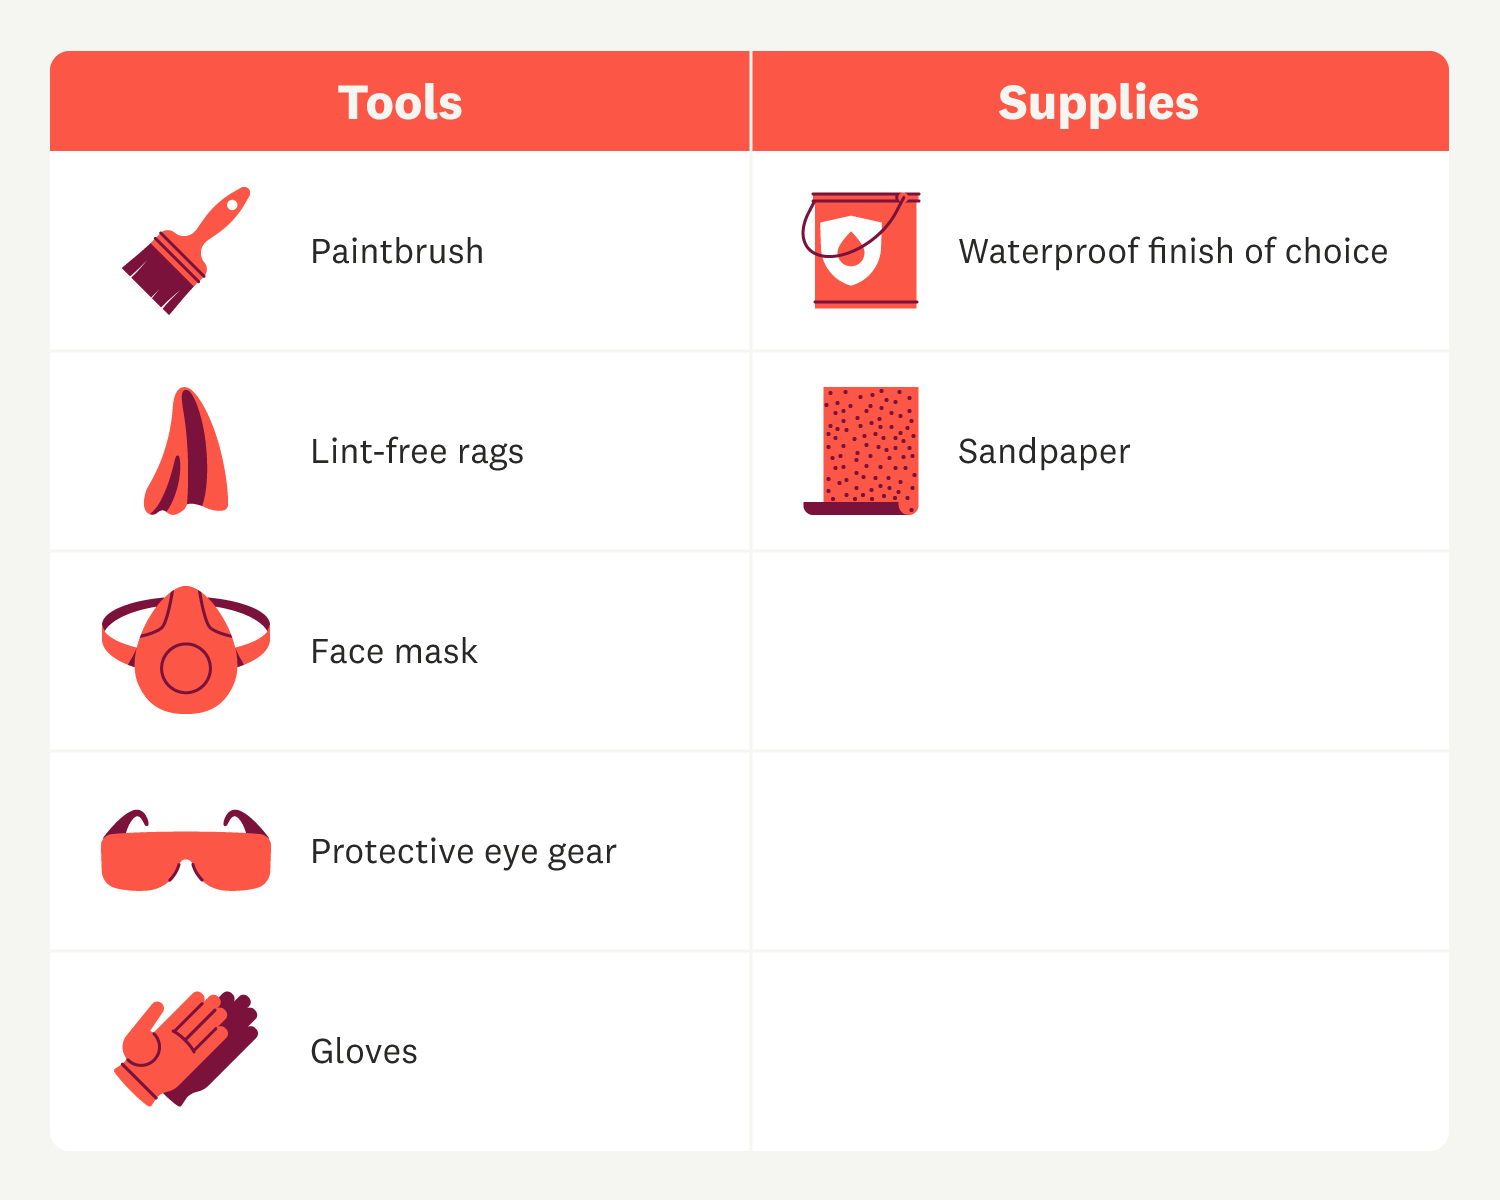
Below is a list of everything you’ll need to use and purchase in advance:
After deciding on a method, it’s best to perform your project in a well-ventilated area, especially if you’re using chemically formulated solutions. To ensure you waterproof wood correctly, here’s how to do it step by step:
You’ll want to remove dirt and residue from the wood beforehand, which can be done with dish soap or a cleaning solution. You can also use mineral spirits to clean wood furniture with tough grime.
If your project is for something larger, like a deck or fence, hiring a power washing crew near you to assist can help cut down on time.

Next, it’s important to sand down wood projects beforehand, ensuring they’re free of any imperfections. After sanding, be sure to wipe away any dust with a dry cloth. A clean, smooth surface helps with an even application of your waterproof coating.
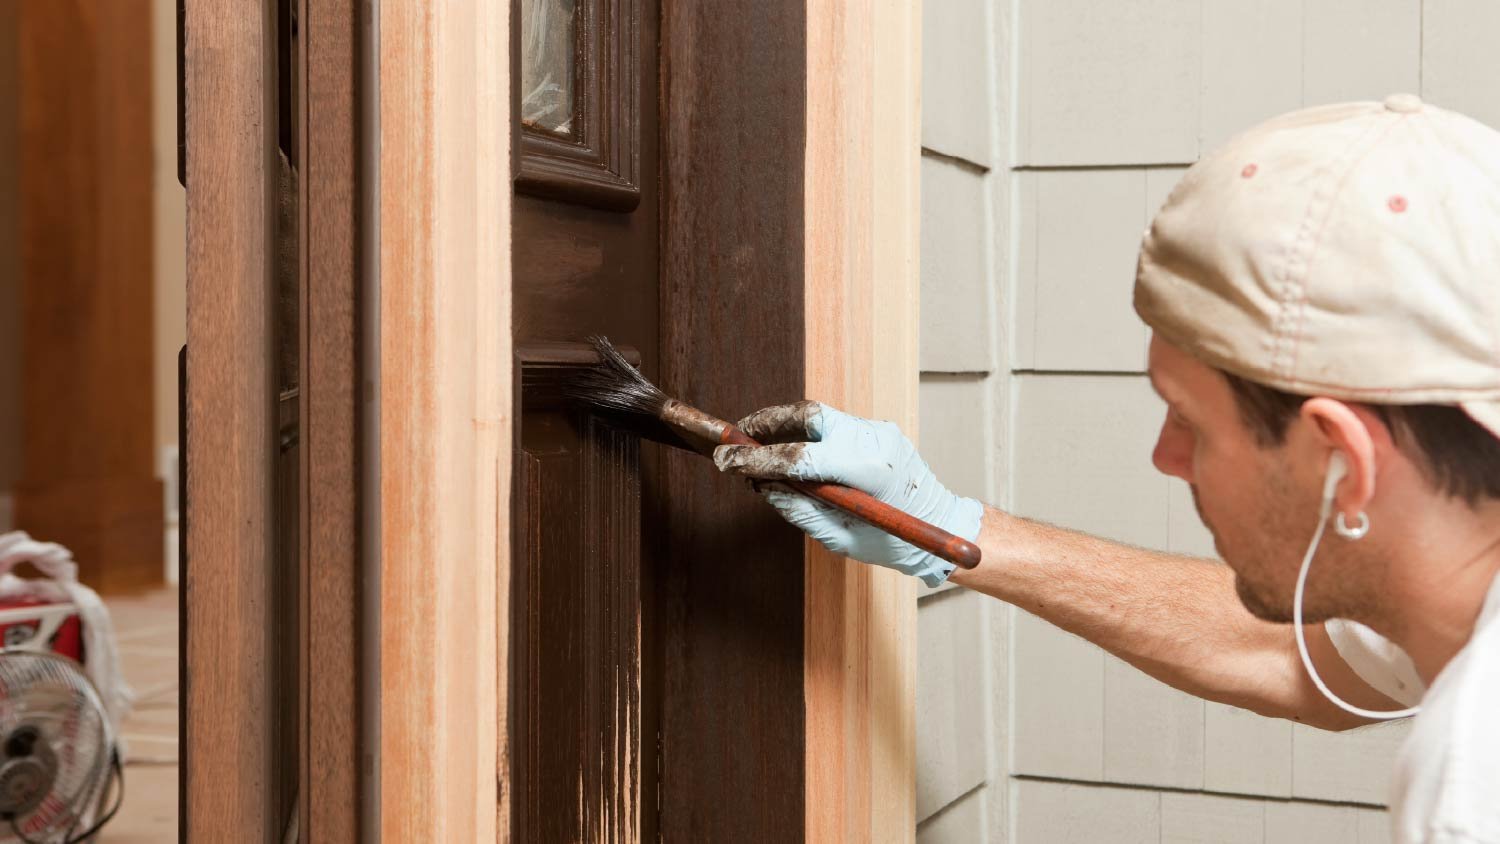
Consider pouring your waterproof finish into a separate container so as not to contaminate the main supply. Dip your paintbrush into the finish and soak up as much of it as possible. Lightly tap the brush tip to remove dripping excess.
Start at one edge of the wood and apply the waterproof finish in one long stroke along the entire length, pressing into the brush as you reach the end. Dip your paintbrush again and apply more, slightly overlapping the first stroke.
While applying, avoid brushing back and forth as if you were painting. Instead, make long and steady strokes. If you’re applying an oil finish, you can skip the paintbrush altogether by rubbing it directly into the wood with a rag. Make sure the finish has ample time to dry according to the directions of your waterproof choice.
Once the first coat is dry, lightly sand it down to remove any dust nibs, and use a lint-free cloth to remove any sanding dust before applying the next waterproof coat. If you’re using a lacquer sealant, you can skip sanding again.

Remember to avoid brushing back and forth during the second application. If you miss a spot, don’t try to fix it. Instead, wait until the next coat. A good rule of thumb is to start with edges and vertical surfaces of the wood and work your way to the interior.
Once you’ve finished applying the second coat, check the directions for the recommended drying or “curing” time. Depending on your method choice, curing can take minutes, hours, or even days. Keep in mind that drying times also differ depending on temperature and humidity levels.
You can apply a third coat if desired or recommended, following the same steps as above.
It’s important to know that some waterproofing solvents are classified as volatile organic compounds (VOCs) and are harmful to inhale, according to the U.S Environmental Protection Agency (EPA). Long-term exposure to VOCs can affect your health. Also, some solvents are highly flammable. Don’t toss rags soaked in wood oil in the trash, as they can spontaneously combust when left unattended.
If you’ve never worked with chemical solutions before, you can hire a general contractor near you to assist on the project, ensuring it’s done safely.
These waterproofing techniques are sure to boost the longevity of your wood project. For bigger projects that may take a lot of labor time, such as your deck, a local deck staining pro can step in to help
From average costs to expert advice, get all the answers you need to get your job done.
Discover the cost of widening a doorway, including average prices, key cost factors, and tips to help you budget for your project.

Get the facts on the cost to remove wood paneling, including average prices, key factors, and tips to help you budget your project with confidence.

Get expert insights on stair railing repair cost, including average prices, cost factors, and tips to save money. Plan your stair railing repair project with confidence.
When comparing MDF versus wood crown molding, MDF is easier to install and costs slightly less, but natural wood pairs tradition with a timeless design appeal.

While both can perform most carpentry work required for house projects, the major difference between a journeyperson vs. a master carpenter is their years of experience.

Wood trim ties rooms and living spaces together beautifully. Learn the best wood for baseboards that blend durable edges with designer vibes.