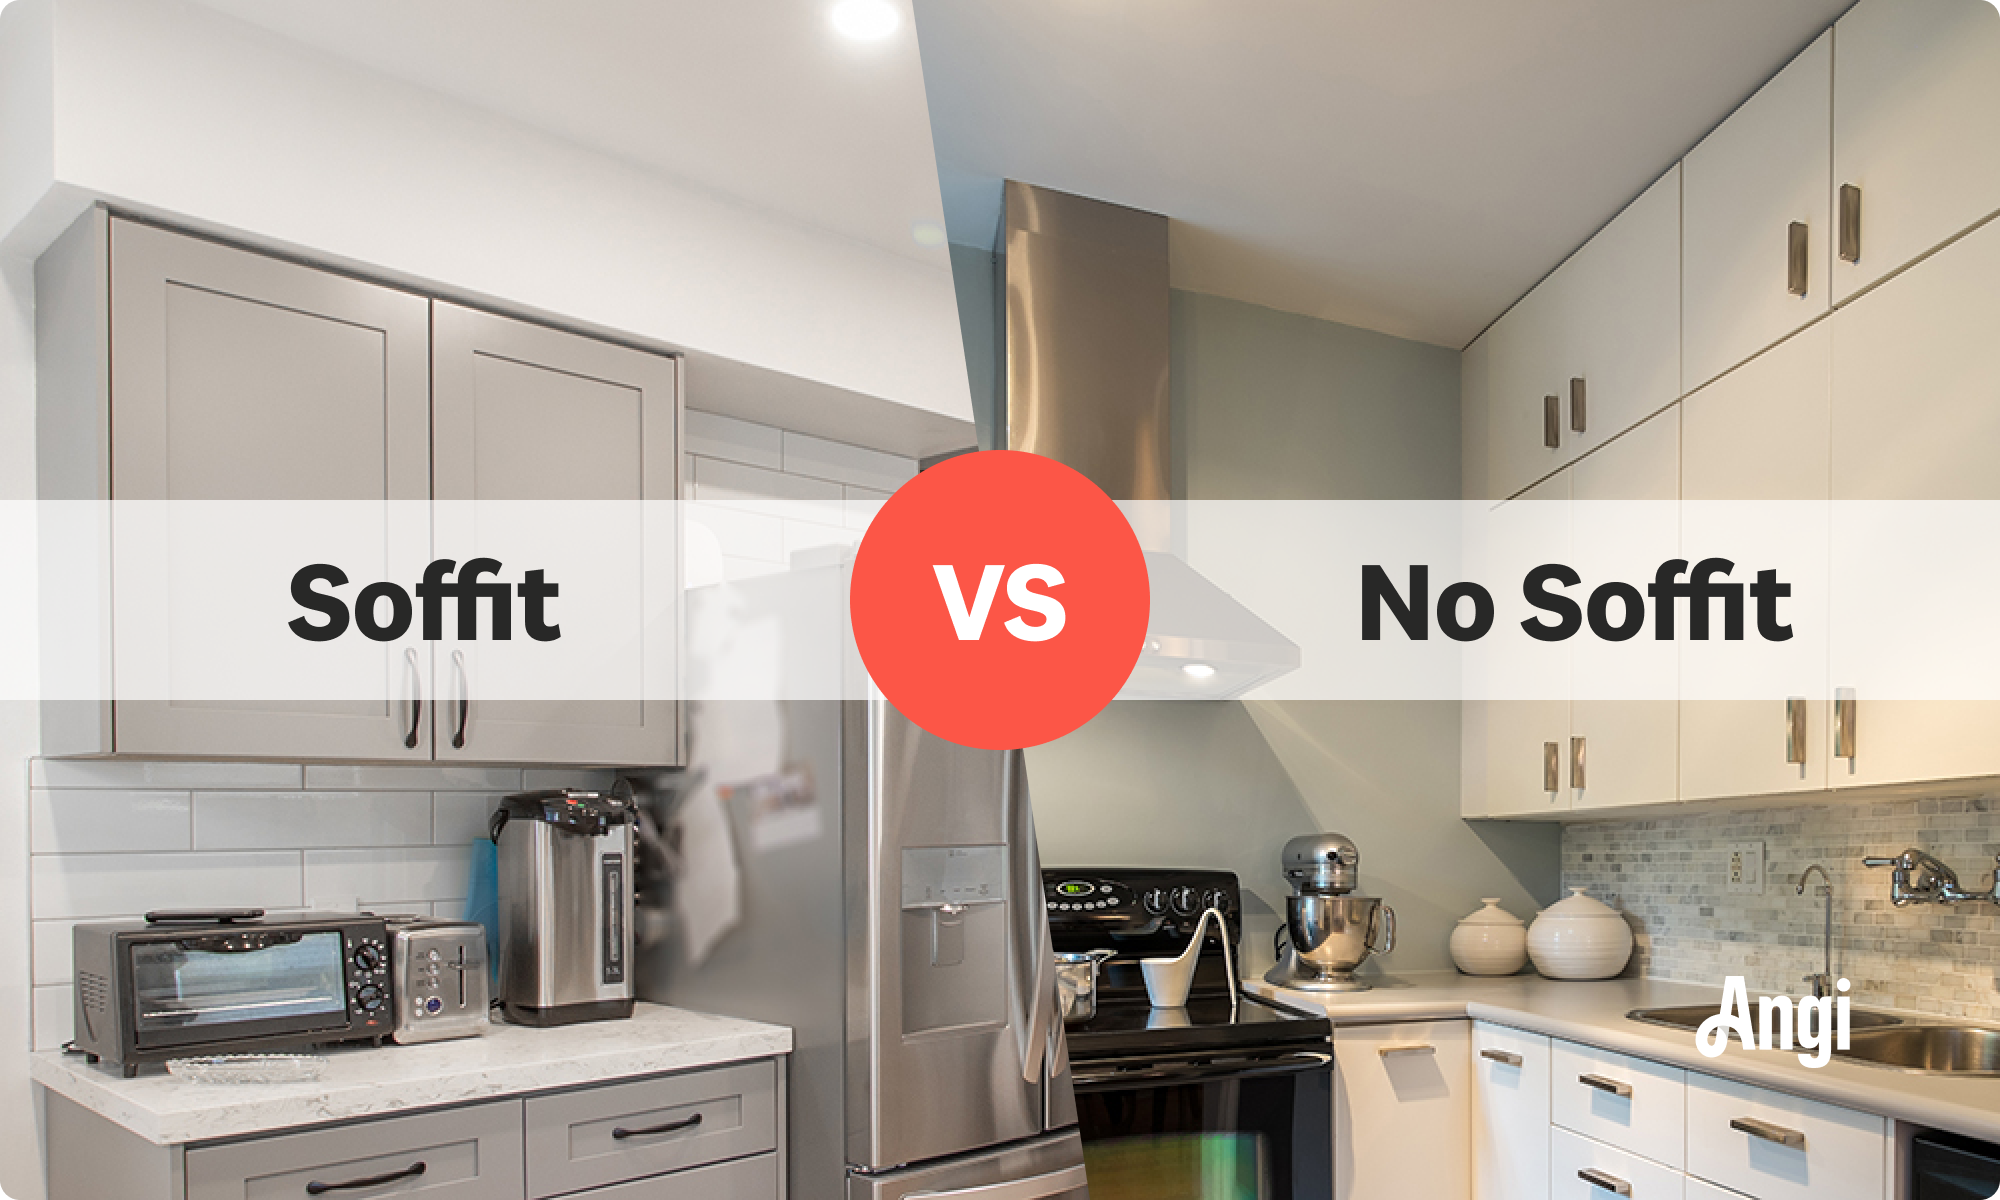
How to Build a Soffit Above Your Kitchen Cabinets
DIY your way to a sleeker kitchen


- Tape measure
- Level
- Nail gun
- Miter saw
- Utility knife
- Ceiling and wall plates
- Studs
- Drywall
- Drywall screws
- Paper-faced corner bead
Learning how to build a soffit above your cabinets can help you hide unsightly HVAC pipes, wiring, or plumbing exposed in the space between your upper kitchen cabinets and the ceiling. It’s also a genius solution to fill that awkward space too big for trim but too small for more cabinetry. Read on for a step-by-step project breakdown of how to give your kitchen a finished look by installing a soffit.

Measure the Soffit
 Photos: 2creativecrew / iStock / Getty Images Plus / Getty Images, FOTOGRAFIA INC. / iStock / Getty Images Plus / Getty Images
Determine your desired soffit length, width, and height with a measuring tape. To figure out the width and depth, measure forward from the wall behind the cabinets. While you can build a soffit to match the depth of your cabinets, this option makes the job more tricky. Consider leaving some room for recessed lighting or trim, and extend the soffit another few inches.
Measure from the top of the cabinet to the ceiling to calculate the height and then measure from the end of your cabinets to the wall to determine the length. Write down the cabinet measurements and double check your work to ensure the numbers are correct.
Build the Soffit Frame
Attach ceiling and wall plates into the studs using a nail gun. Cut 2” by 4” lumber into four boards with a miter saw according to your length, width, and height measurements. Attach the four pieces together using studs to create a box frame. Check that the frame is sturdy and level.
Then, add cross supports every foot or so for stability and to help install the drywall (more on this in step four). Measure the space between the horizontal sides of the frame and cut boards to fit in this space. Nail them in the box frame with studs.
Install the Frame
Position the frame in the designated area and double check that the frame aligns with your original measurements and is level with the ceiling and walls. Then, use a nail gun to install the frame onto the ceiling and wall plates. You’ll need another person to hold the frame steady as you attach it to these anchors. Check that the frame is securely attached and use a level to ensure the frame is level with the ceiling and walls.
Cover the Frame With Drywall
 Photo: Ursula Page / Adobe Stock
Cut out drywall according to your measurements to cover the frame with a utility knife. Install the drywall pieces onto the frame one side at a time using two-inch drywall screws.
Look for any gaps or seams between the drywall. Using a careful hand and a taping knife or mudding knife, apply mud thoroughly in the gaps or along the seams. Then, tape the inside corners of your soffit, pressing out excess mud using your taping or mudding knife. Leave overnight to dry.
Add Corner Bead
Measure and cut the metal inside the paper-faced corner bead. This step will give the soffit extra support, protect the corners, and give the drywall a nice, defined edge.
To install a corner bead, apply a joint compound mixture and water to the wall edges. Adhere the corner bead along the edges by pressing it against the wall’s edge with your fingers. Then, use your mudding knife to smooth and remove excess compound.
Paint or Finish Soffit
Once your spackle dries, it’s time to sand, prime, and paint your soffit. Sand the soffit with fine-grit sandpaper (#100 to #120) or use a small orbital sander. Wipe away the dust with a cloth. Then, add a coat of primer to the soffit. Wait for the primer to completely dry before painting. Use rollers and paint brushes to add a coat of paint to the soffit. Wait for the first coat to dry before adding a second.
Consider painting the soffit the same color as your cabinets to make your ceilings appear taller. If you’d rather add more dimension to the ceiling, paint the soffit the same color as the ceiling.
How Much Does It Cost to Build a Soffit Above Kitchen Cabinets?
Hiring a kitchen contractor is one of the most significant remodeling costs, so budgeting accordingly is essential. You can expect a kitchen contractor to account for 10% to 20% of the total project cost. The contractor may charge around $300 to $500 per day plus $150 to $250 per day for each additional laborer. The material needed to install a kitchen soffit will run about $100 to $200. Always get an estimate from two or three pros to ensure you get the best price and contractor for the job.
DIY vs. Hiring a Pro
Incorrect soffits can compromise your cabinets’ alignment and structural integrity. A soffit that isn’t level will, in turn, keep your cabinets from being level. For this reason, it’s best to hire a local kitchen remodeling contractor for this project unless you have some carpentry experience.
Frequently Asked Questions
One downside of installing a soffit above your kitchen cabinets is that it may make your kitchen appear smaller. This visual illusion occurs because the soffit may make the cabinetry and ceiling appear shorter. However, the benefit of being able to hide unsightly wires or plumbing or HVAC fixtures may be worth the disadvantage of a smaller-seeming kitchen. Consider making your kitchen appear larger by finding ways to add more light and visual appeal to the high spots in the room.
The standard kitchen soffit begins at least 7 feet and 1 inch above the floor. In kitchens with very high ceilings, the soffit height may be taller. Consult your kitchen remodeling contractor about the best soffit dimensions for your kitchen to ensure high-quality and visually appealing results.
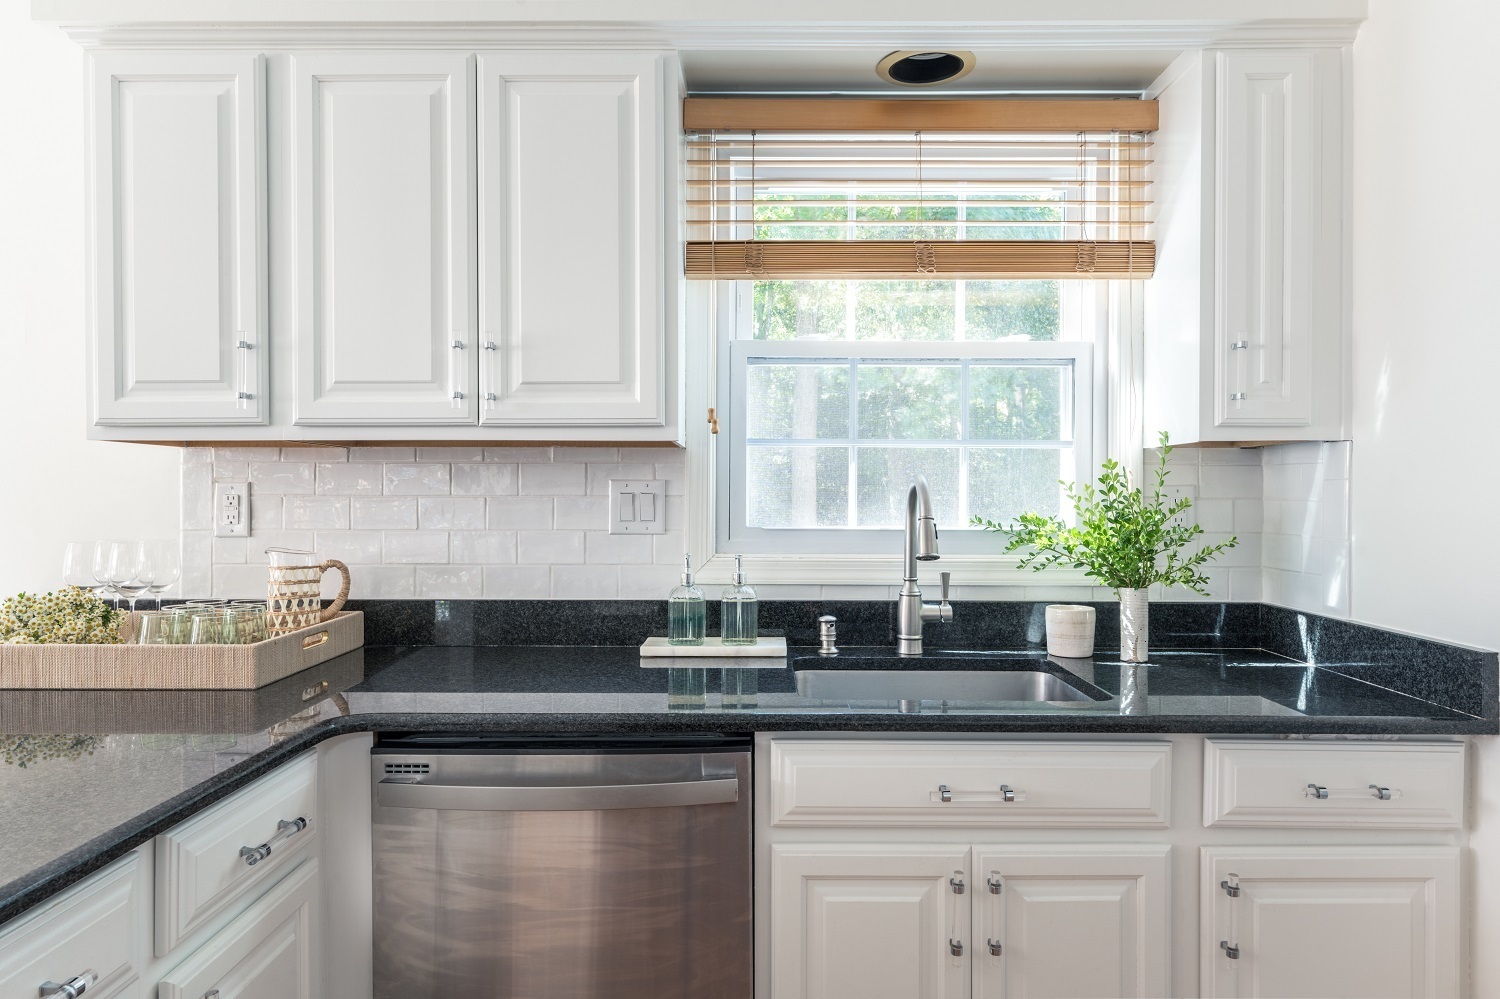
There are a few methods for filling in the gap between the soffit and the kitchen cabinets. Consider adding a topper to your kitchen cabinetry to close the unsightly gap that can make your kitchen appear smaller. You could also install additional shelves or crown molding to fill in the space. If a major addition isn’t in your plan, you can apply a simple solution such as displaying decorations or using it as storage space for infrequently used kitchen items.


- Bathroom Remodeling
- Kitchen Remodeling
- Shower Installation
- Stair Installers
- Bathtub Installation
- Shower Door Installers
- Kitchen Design
- Bathroom Design Companies
- Storm Shelter Builders
- Pre-Made Cabinets
- Kitchen Refacing
- Bathtub Replacement
- Ceiling Tile Installation
- Suspended Ceiling Companies
- Residential Designers
- Stair Builders
- Remodel Designers
- Shower Enclosures
- Home Renovations
- Kitchen Renovations
- Garage Remodeling
- Grab Bar Installation
- Walk-In Tub Installers
- Tub to Shower Conversion
- Balcony Contractors
Get our Angi-powered app


