
The cost to replace the bottom of kitchen cabinets often isn’t too high, but depending on the damage, a full cabinet replacement can cost thousands.
Breathe new life into your kitchen


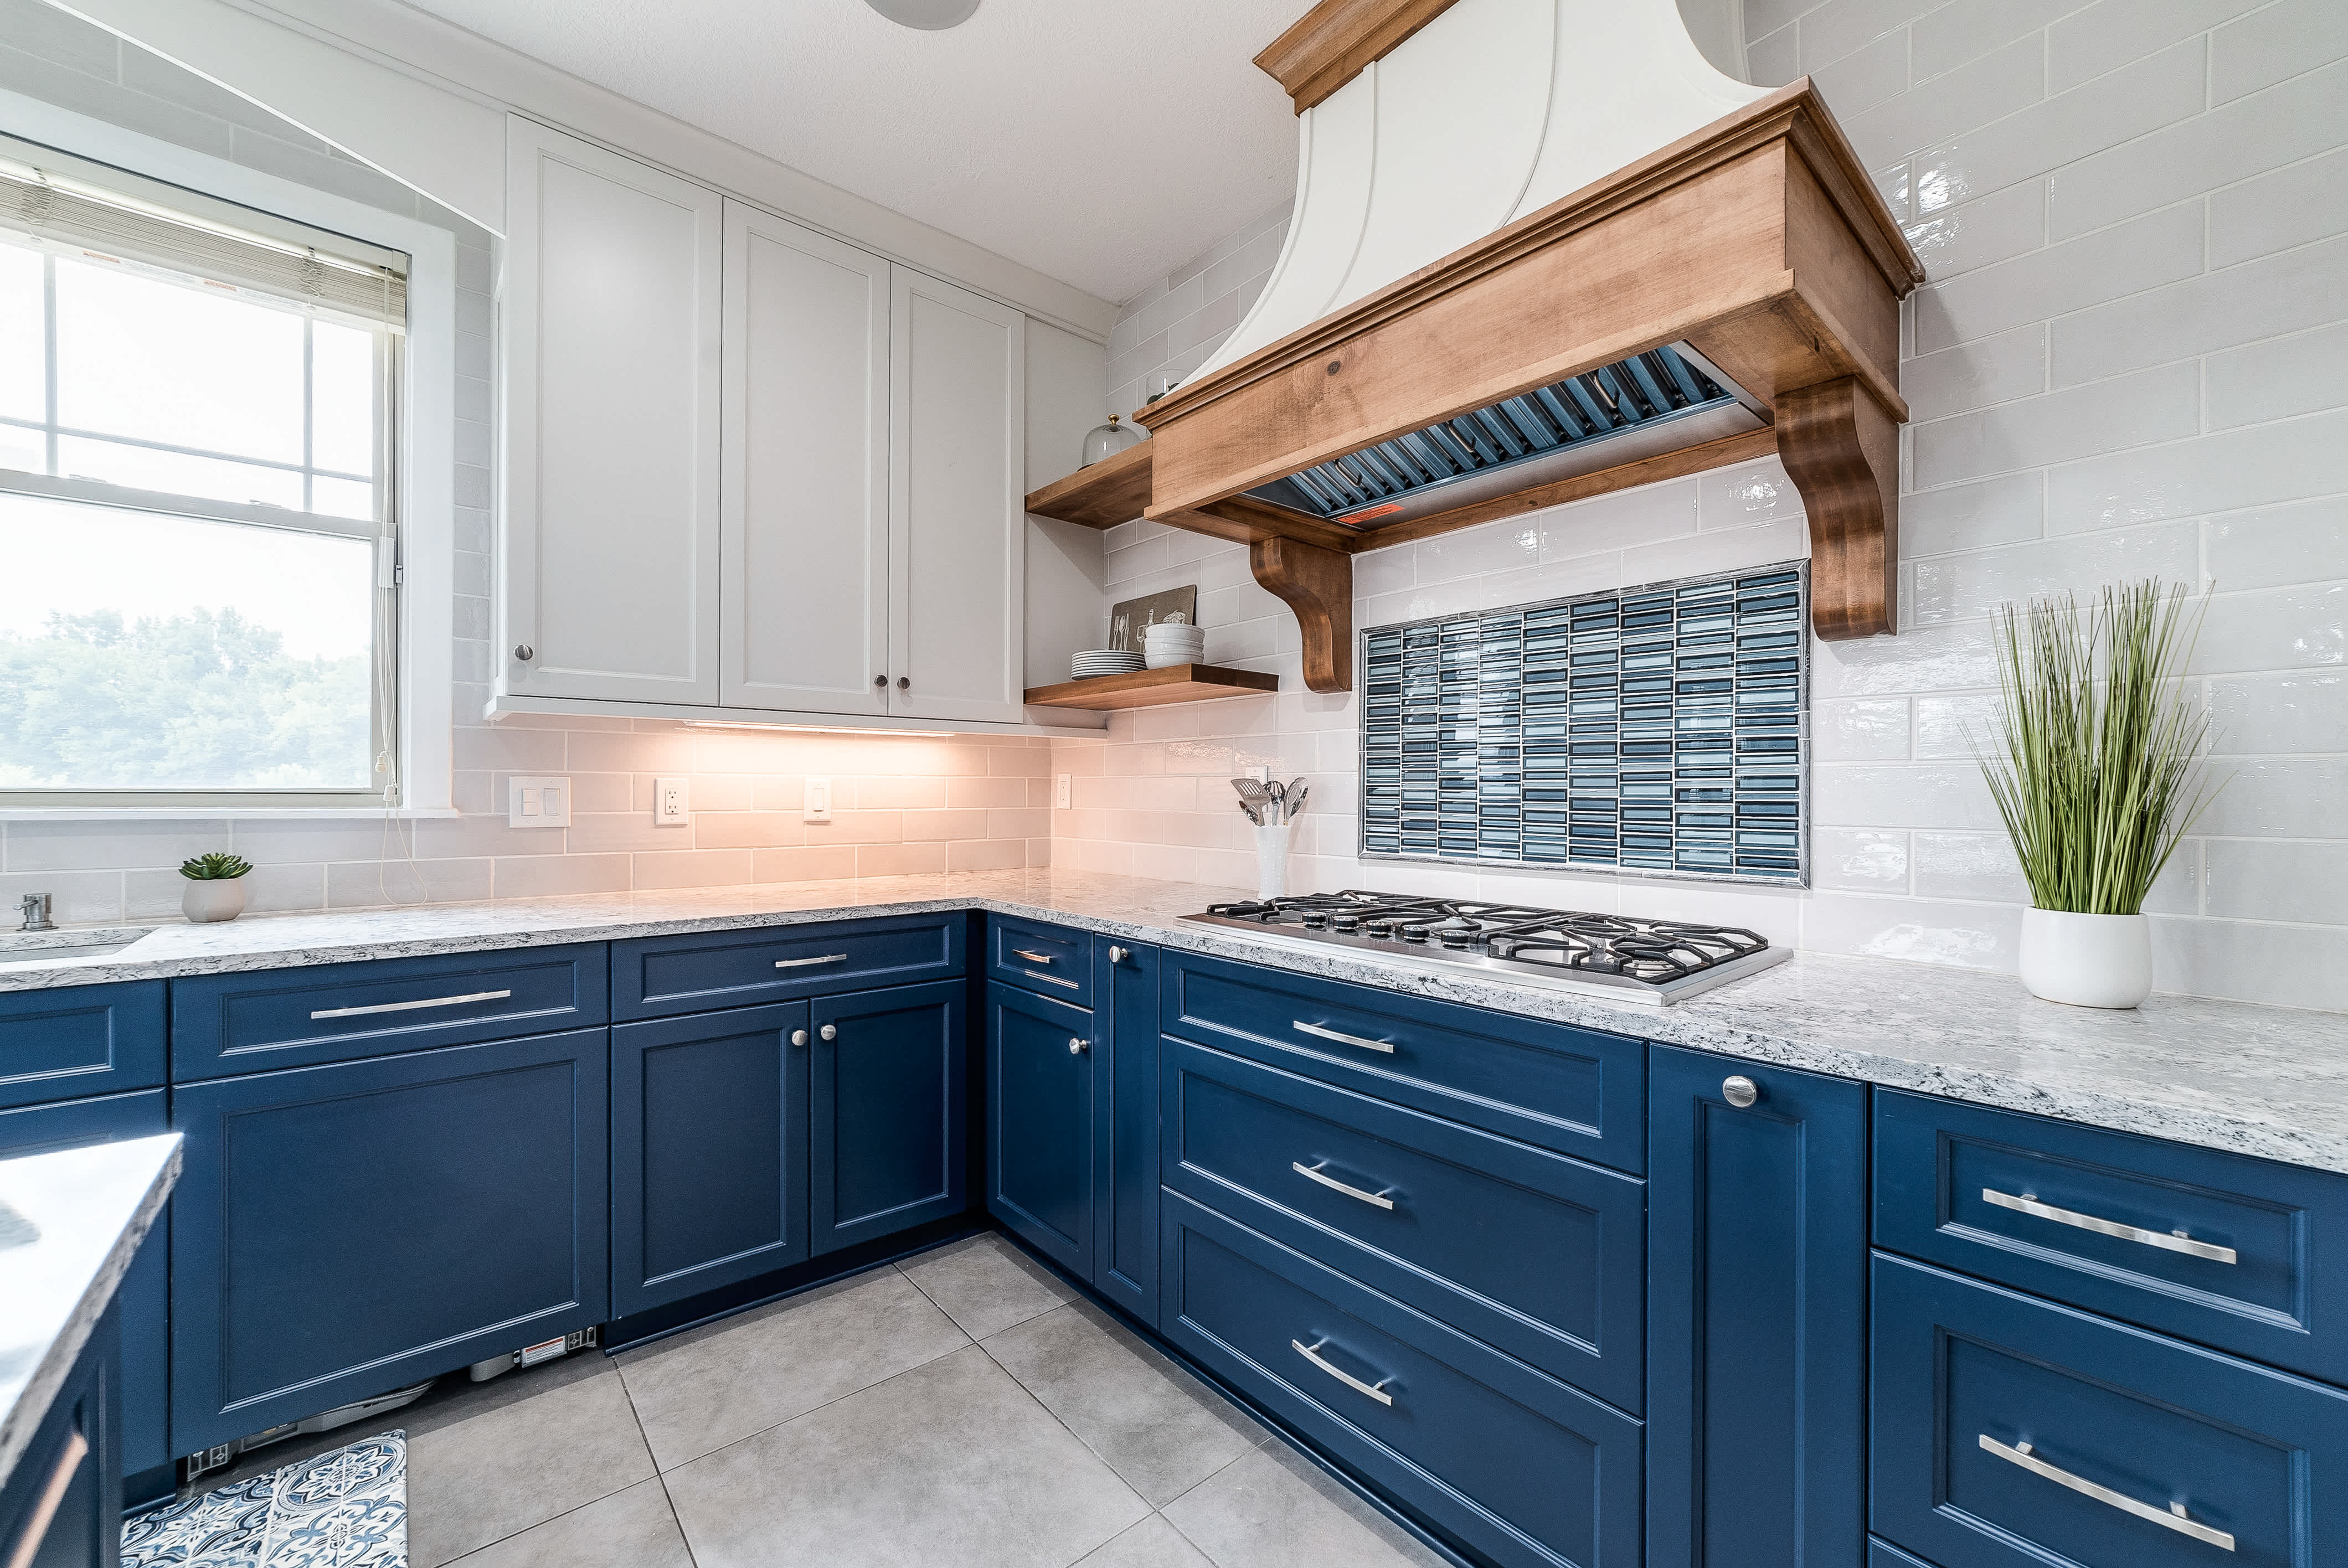
A kitchen remodel doesn’t mean you have to install all new cabinets, countertops, and appliances. Sometimes rearranging what you already have can give your kitchen a whole new identity. If you’re wondering where to start, moving cabinets to a new layout is a great way to change things up without breaking the bank.
Reusing existing cabinets is a budget-friendly way to rework a kitchen layout without spending $100 to $1200 per linear foot for the cost of solid wood kitchen cabinets. Before starting, have a game plan ready, including a drawing of where everything will go. Be sure to include factors like door swing and drawer clearance.
As long as your cabinets are in good shape and aren’t built-in—meaning you can separate them from the wall or side panel—you should be able to carefully remove the cabinets and move them around to accommodate a new vision for your kitchen layout.
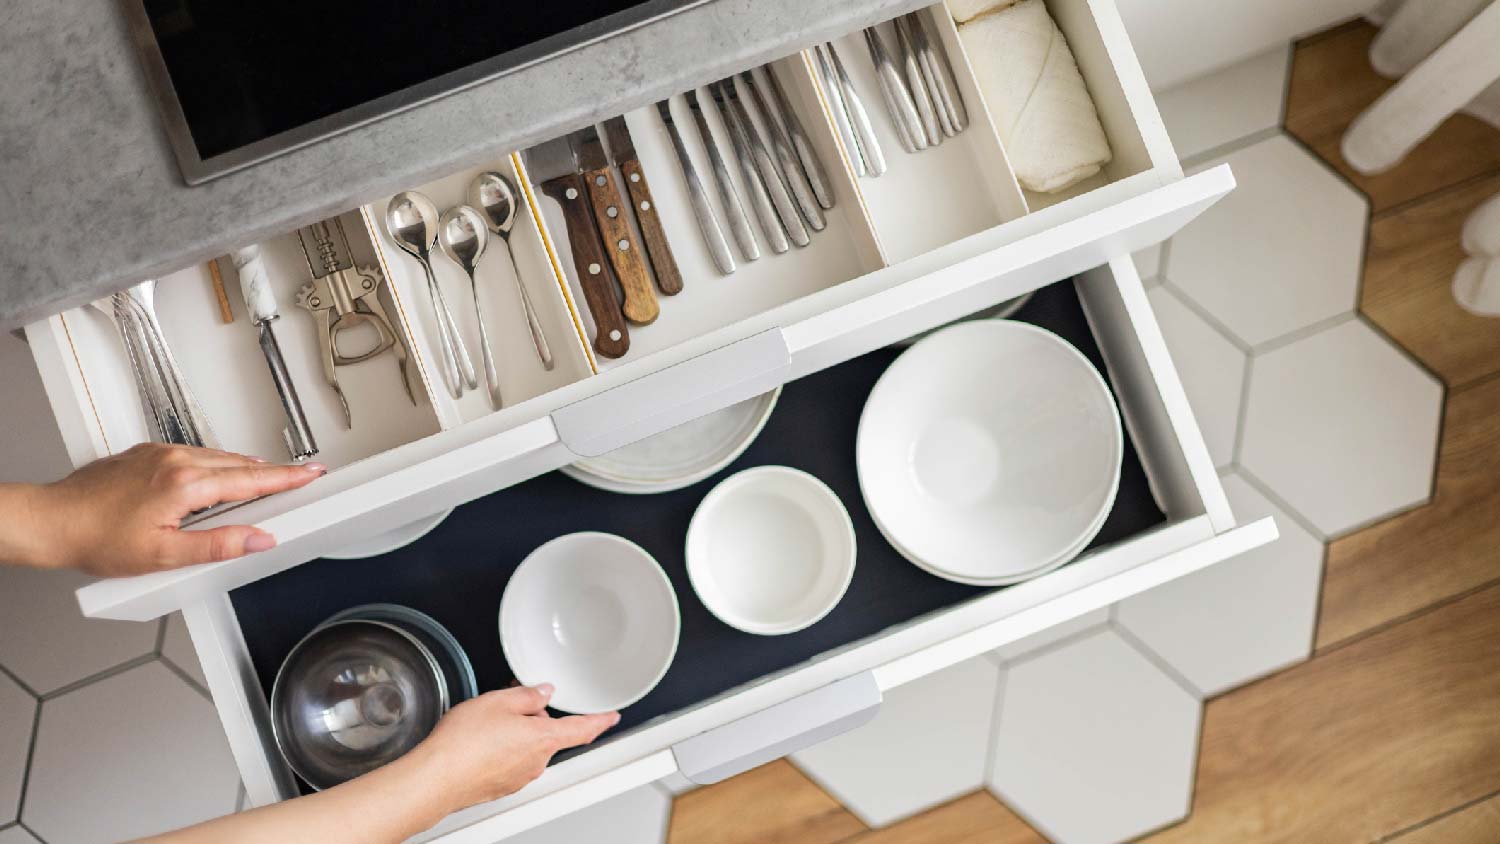
The first prep step is removing all dishware, silverware, and cooking ingredients from the cabinets and any inset drawers. If you plan to tackle your project over multiple days (or weeks), it’s wise to box up your kitchen items with packing paper and bubble wrap. Set up a side area for storing the bare necessities in a tidy manner but within easy reach. Since moving cabinets is a much easier job with two to three people, you’ll want to have a helper or two on hand.
If the countertops you’re removing are in good shape, you can sell them on local online marketplaces. Not only can you make some money and reduce your overall renovation cost, but you will save the time and labor of disposing of the materials you no longer need.

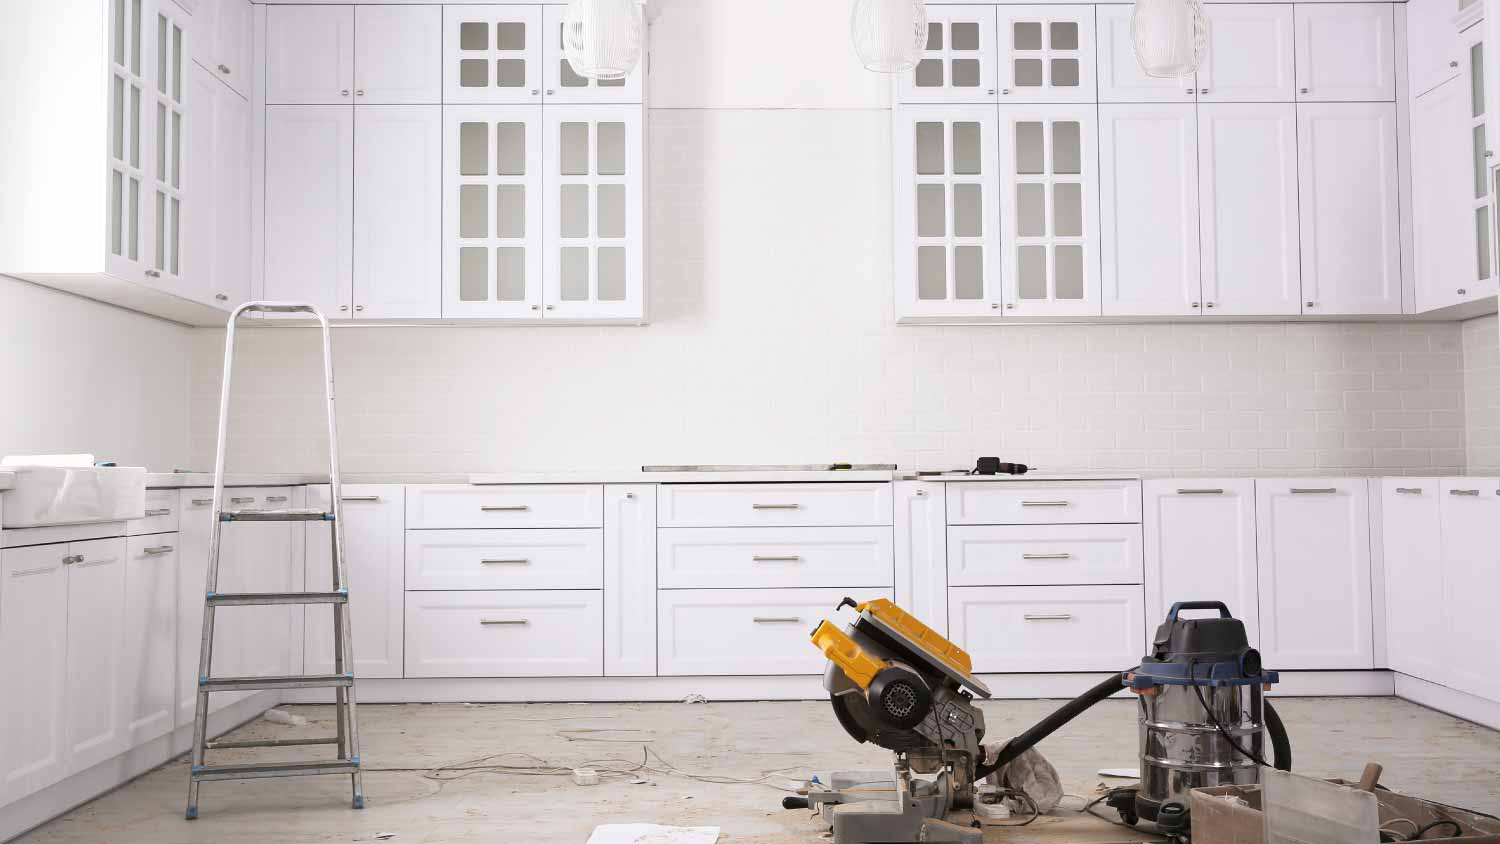
Gaining access to the lower cabinets in your kitchen first requires the removal of your countertops. If you have a heavy stone countertop like granite or marble, you’ll want a kitchen remodeling pro in your area to assist during this step. These stone countertops can weigh hundreds of pounds, and you won’t want to risk damaging the stone or injury to yourself and others.
Carefully crack the seal by lifting the countertop upward, and slide it off until you can flip it down to the floor, onto a moving blanket, and out of the way. If you have laminate countertops, chances are the installer glued them down with an industrial-strength adhesive. If this is the case, plan on forcing them up with a pry bar to separate the countertop from the lower cabinet before moving it to a different area.
Once you’ve done the heavy lifting of removing countertops, it’s a relatively simple endeavor to disassemble and remove all the cabinets. Carpenters or cabinet makers typically use a handful of screws to connect the cabinet pieces and secure the assembly to the wall. Taking each cabinet piece by piece, disconnect individual sections before unscrewing the cabinets from the wall to prevent twisting the boxes. Save the screws for the re-installation process.
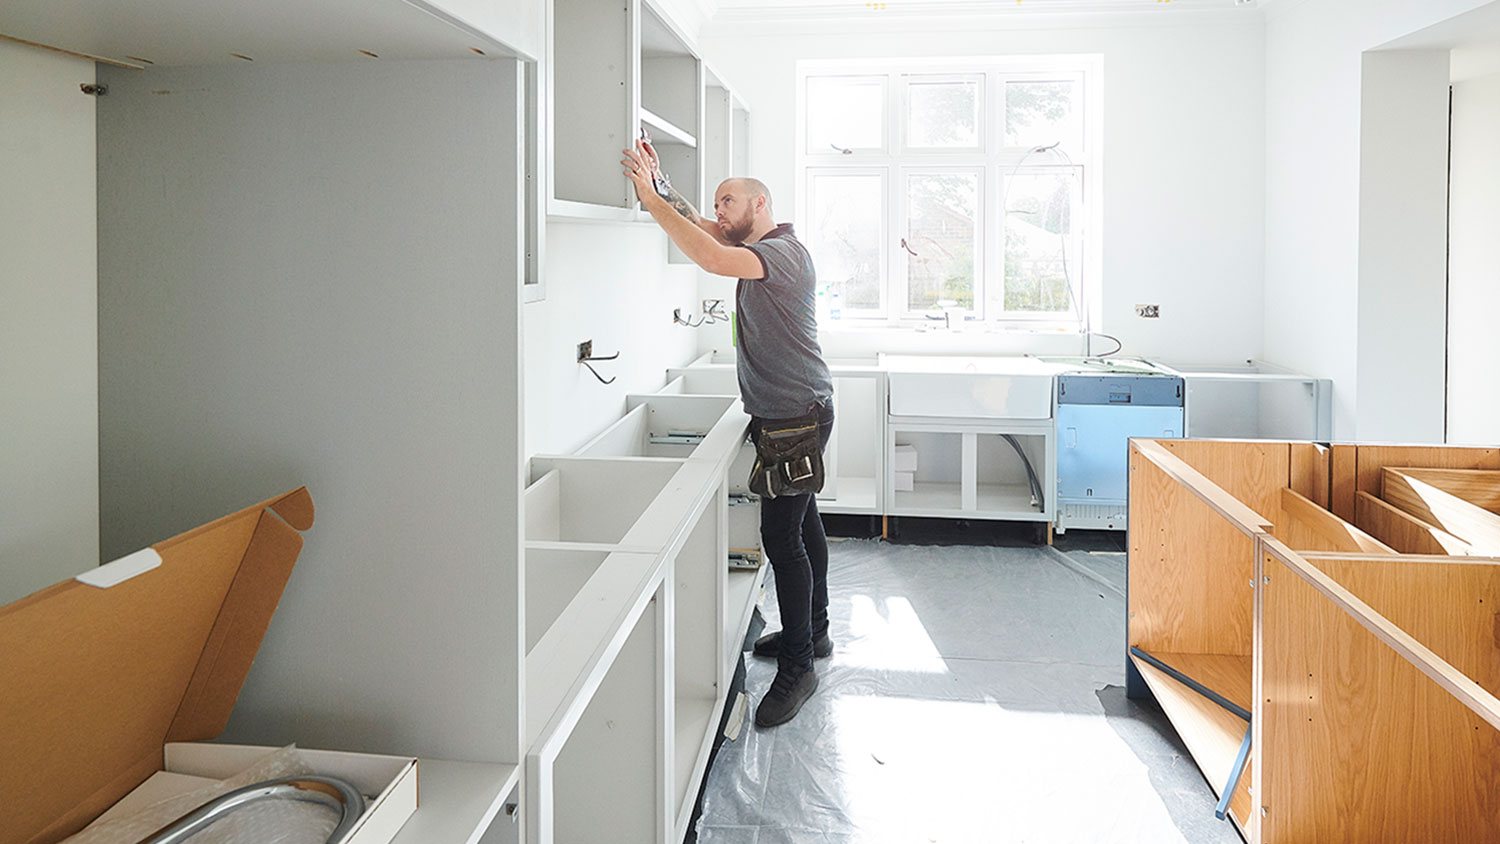
Upper-level cabinets are usually only screwed into the wall along the back, either into a structural joist or along a wood rail. Remove the bottom screws, then have your helper support the assembly while you take the last screw out of the cabinet. Removing the doors before separating the cabinet from the wall will make the weight of the box easier to handle. Be sure to mark the inside of the cabinet doors with a pencil or chalk to keep track of which unit goes where during re-installation.

Starting with the upper cabinets (if you have them), measure up from the floor and make a mark at 54 inches, which is the standard height of upper cabinet bottoms. Carefully lift the empty boxes to this mark and secure the box to the wall, using a laser level to ensure that the cabinets are even with both the horizontal and vertical lines of the room.
Assemble the individual pieces for the bottom cabinets before screwing the whole thing to the wall. This will ensure that the boxes stay square and the doors fit and close properly.
“It’s very important to make sure you have the minimum clearance between the top of your new counters and the bottom of the upper cabinets,” says Bob Tschudi, Angi Expert Review Board member and general contractor at Architexture Home Center, Inc. “If you’re too low by even 1/2 inch, you’ll have challenges when reselling your house.”
If there are any existing holes in the walls not covered by cabinets in your new layout, go ahead and use a putty knife to patch those holes with spackling. Then sand it down, and touch up the wall with paint.
There will likely be areas along the edges of your cabinets that need attention and possibly patching to touch up any old caulking lines or previous coats of paint. It’s best to add a fresh layer of paint to the whole wall while you’re at it, so there are no visual discrepancies.
Bring in a second helper—because installing your own countertops will likely take three people—and slide the old countertop into position. Carefully lever up the material, using the countertop edge as a pivot point, so you don’t have to deadlift the heavy slab. If you’re working with a heavy rock like granite or marble, there’s no need to apply adhesive to the bottom. If you’re installing laminate countertops, you’ll want to squeeze out a fresh bead of glue along the top edges of the lower cabinet before installing it.
The final touch for any project that involves moving cabinets is repainting them. Cabinets are on the receiving end of a lot of the wear and tear in any kitchen, and moving them around into a new layout pretty much ensures you’ll see new scuffs along the way.
To DIY paint your cabinets, clean the cabinets and put down a tack cloth. Sand them and prep with a solid coat of premier. Then add a coat of oil-based paint in your desired color. After the cabinets cure for a couple of days, evaluate if they need a second coat of paint.
Moving cabinets is a task you can attempt to DIY yourself with the right tools and an extra set of hands. If your light kitchen remodel includes replacing some cabinet boxes or faces at any point, it’s time to call in a local cabinetmaker.
The cost for homeowners to move their kitchen cabinets depends on whether they do it themselves or hire a professional. Experienced DIYers can move cabinets for a new layout for as little as $50, assuming they already have the necessary tools. On the other hand, hiring a local cabinet maker to remove cabinets typically costs between $50 and $100 per hour, not including the reinstallation cost. While it isn’t cheap, these professionals have the expertise to handle the job efficiently and reduce the risk of damaging your cabinets or other kitchen fixtures.
Jason has helped me with multiple household projects, with the most recent being new door installation. He has always showed up on time and organized and has done an incredible job! Jason is very professional and he's now my go-to for anything around my house that needs to be fixed or...
Cole has been handling plumbing and general contracting for our four properties over the past three years, and he’s always done a great job. Most recently, he installed a sink and countertop in our retail store where none existed before, and it turned out exactly how we needed. He’s...
 ANB Renovations LLC
1st Choice Renew is simply the best! We hired them for a complete home renovation, and they transformed our space into something truly amazing. The team attention to detail and commitment to quality were evident throughout the project. They were easy to work with, very responsive, and always...
This company went above and beyond with their work, chimney sweeps are usually pretty messy, but the clean up was spot on.!! Josh explained every thing that he was doing, and the things that he was checking to make sure the chimney was safe for me and my family. He was very professional,...
 Supreme brick & chimney
Custom Paint Jobs LLC turned our outdated bathroom into a modern masterpiece.
Excellent customer service and knowledge. I was recommend to him from my neighbour. My front door and window came in great and were installed beautifully perfectly, I m very satisfied with their excellent work, so decided to order one more big bow window for my living room. I cant wait for...
If I could give 10 stars for Kitchen Tune Up, I would. I cannot say enough good things about my experience with Kitchen Tune Up and the entire team involved in the process of my kitchen project. They went above and beyond as far as service and quality with my cabinets, paint, countertops, and...
It was wonderful working with Yordy and his team. They were very professional and are experts in what they do. They have completed the work on time, with better quality and with in fairly reasonable price. We just started with backsplash work , but liking his work, we went on to provide...
We were having 2”x 2” tile installed . There was a small installation error and the new additional replacement tile was from a different lot and the colors didn’t match. Joe assured us that he would rectify everything , which he did without hesitation. We decided to go with the 18” x 36” tile...
 CarifaTile
They work that 360 did on my kitchen cabinets is nothing short of amazing. I still cannot believe the difference from before and after. Jon and Jeff were both so incredibly professional throughout the whole process and their communications with me were constant and consistent. These guys...
 360 Painting Columbus
From average costs to expert advice, get all the answers you need to get your job done.
The cost to replace the bottom of kitchen cabinets often isn’t too high, but depending on the damage, a full cabinet replacement can cost thousands.
Your cabinet removal cost will depend on kitchen size and labor expenses. Find out what your budget could look like.
Discover cabinet installation cost estimates, including average prices, key cost factors, and tips to save on your new kitchen or bathroom cabinets.
Installing new cabinets? Use this checklist to get your project started.
Learning how to remove cabinet drawers and how they work can help avoid frustrations when dealing with unfamiliar types. Learn more with this guide.
Kitchen cabinets provide valuable storage space for dishes, cookware, and food. Use these tips for how to organize kitchen cabinets to maximize space.