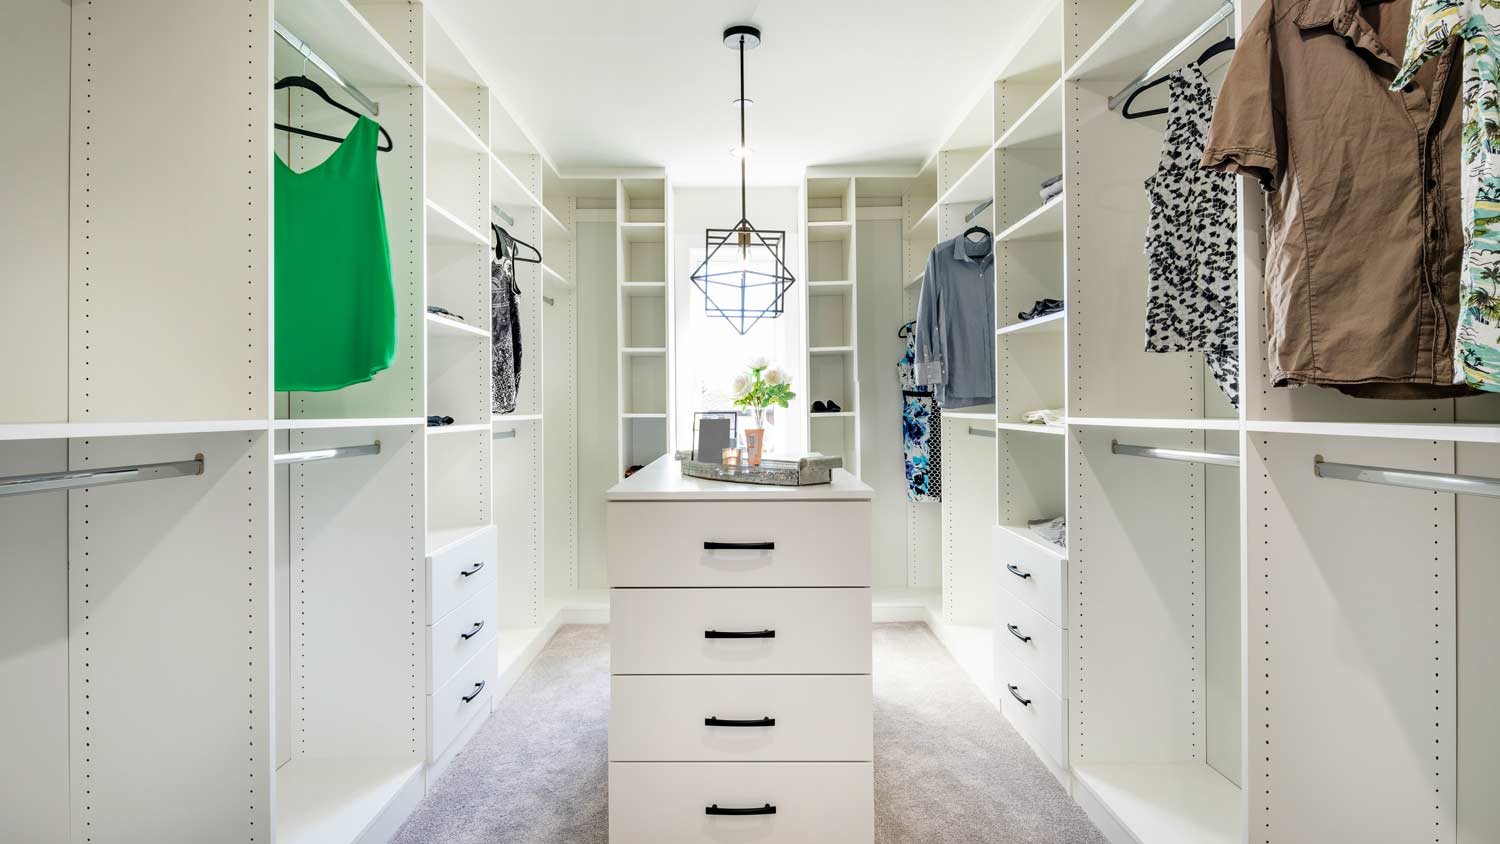
How to Install Any Closet Organizer
With an organized closet, you’ll find the perfect outfit in a pinch


Do you have that one corner in your bedroom or closet that’s home to piles of laundry and discarded outfits that you might (or might not) wear next week? We’ve all been there. Maybe you can’t fit everything in your closet or just want easy access to your most-worn clothes. No matter your reason, there’s a better way.
A closet organizer, true to its name, is a tool that organizes your closet, helping to declutter your space and make room for everything you need in one convenient spot. Say goodbye to those piles of laundry making your bedroom look like a hot mess, and hello to the closet of your dreams. Here’s how to install an organizer in your closet.
Difficulty: 2/5 Saturday skill builder.
Time to complete: 1–2 hours
Materials:
Tape measure
Stud finder
Drill
Hammer
Closet organizer
Drywall anchors
Drywall screws
Nails
1. Choose a Closet Organizer

There are several different types of closet organizers, including ready-made closet organizers and DIY shelving systems. Closet organizers typically consist of a horizontal rail, vertical wood or wire panels, wood or wire shelf systems, adjustable shelves, cubbies, or other storage solutions.
Consider your DIY skills, budget, and the look you’re going for when determining which style is best for you.
2. Measure and Plan

Start this project by removing everything from your closet and measuring the space. Use the measurements to plan an arrangement for the shelves and cubbies in your closet organizer so that they can easily hold all of your clothes and accessories. You can even build custom DIY cubbies tailored to your closet.
3. Hang the Rail
If you don’t properly secure your closet organizer to the wall, your entire wardrobe could come crashing down on top of you at any moment. To secure the system, attach the top rail of your organizer to the studs in your wall.
Use a stud finder to locate the studs and mark these spots with a pencil. Then, you can attach the rail to the studs with a drill and some drywall anchors.
4. Install Panels or Uprights
Now that you’ve installed the horizontal hanger rail that makes up the top of your organizer, you can install the vertical panels that will hold your organizer’s shelves. If you’re using a prefabricated closet organizer, follow the instructions included with your product.
Use drywall screws to secure the upright panels to the wall. The panels and the hanger shouldn’t budge at all when you try to wiggle them.
5. Install Fixed Shelves

Shelves are arguably the most important part of a closet organizer; they’re where your beloved clothes, shoes, hats, and other accessories will live. Install the fixed shelves by hammering them in or fitting them into an already-established notch in the uprights and snapping them into place.
6. Add Optional Adjustable Shelves and Accessories

Now that the framework of your closet organizer is in place, you can add optional shelves and accessories to enhance its organization system. You can even add shoe racks, baskets for your scarf collection, or cubbies to display your purses or other accessories. Choose these based on the needs of your unique wardrobe.
DIY Closet Organizer Installation vs. Hiring a Pro
Most prefabricated closet organizers are very DIY-friendly and suitable for beginners, but you can always hire a handyperson to take care of it if you’re not confident in your skills.
Because this project will only take a handyperson about an hour to complete, hiring them to do the job won’t break the bank, though it will be more expensive than installing it yourself. Hiring a handyperson costs between $60 and $125 per hour, not including supplies. If you DIY, you’ll cut out the labor cost and only pay for tools and supplies.
Hiring a pro to install a custom closet organizer costs between $200 and $5,400.


- 14 Closet Organization Ideas to Clear the Clutter
- 10 Closet Design and Organization Ideas to Maximize Storage Space
- 5 Tips for Building the Best DIY Custom Closet
- 29 Inspiring Walk-In Closet Ideas
- 25 Stylish and Efficient Small Closet Ideas
- 25 Ideas for How to Organize a Walk-In Closet
- What You Need to Know Before Starting a Closet Remodel
- 8 Simple Tips to Organize Your Reach-In Closet
- Turn Your Unused Room Into a Walk-in Closet We All Envy
- 17 Ways to Make Your Closet Smell Amazing


