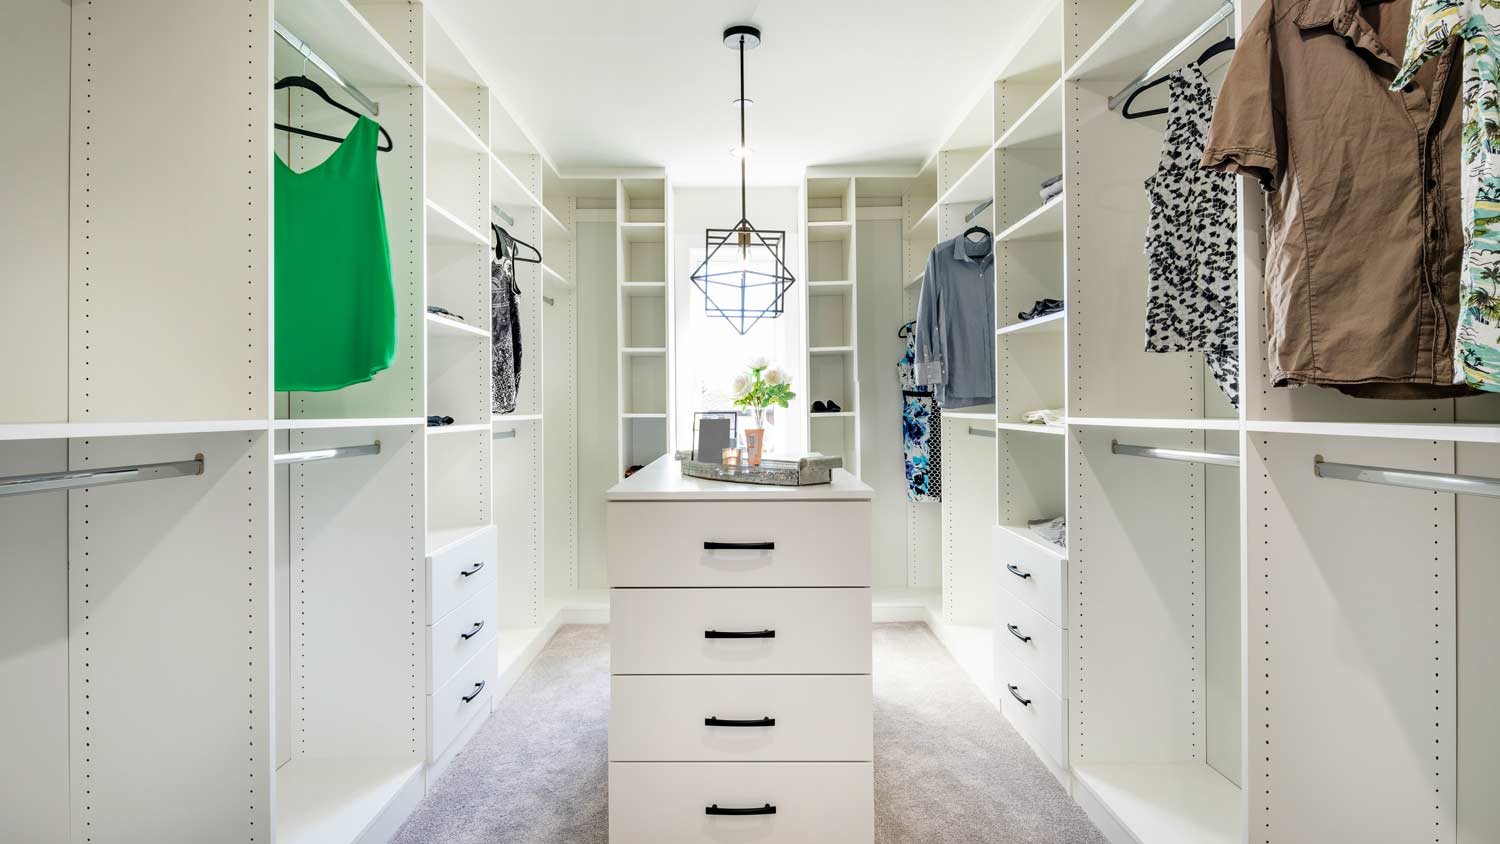
5 Tips for Building the Best DIY Custom Closet
You don’t need a design degree to DIY a custom closet


Although prefabricated wardrobes may be easier to find and assemble, they’ll never blend into your home quite like a DIY custom closet. Personally designing a storage system definitely requires a bit more work and know-how than outsourcing it to a pro, but the benefits—like having a designated place for every last mitten and glove—will make it worth your while.
Here are five tips to consider when buying DIY custom closets.
1. Start by Measuring Your Space

Before beginning your search for a custom closet, find out what your space will allow. Take note of any architectural quirks or limited square footage, and choose a wall with the fewest obstructions (that includes electrical sockets and light fixtures).
Once you’ve decided on a spot, it’s time to whip out your measuring tape. The average closet size is 4-by-8 feet, but designing a custom closet allows you to branch out from this standard. Measure the height from floor to ceiling, the width of the wall, and the depth of the space in order to determine just how large or small your closet should be. Write these numbers down and keep them close by throughout the selection process.
2. Take Stock of What You Have

Having a storage system that neatly accommodates all of your most prized possessions is easily the biggest draw of a custom closet. But that requires finding out exactly how much—and what—you have to store.
In addition to helping you determine exactly how many shelves, hanging rods, and drawers your new closet will need, going through your wardrobe will help you better organize your closet in the future, too. Start by removing everything from your existing closet and organizing it into the following sections.
1. What Needs to Be Hung
Gather all your long clothing items to determine exactly how high up they need to be hung. Items like dresses, coats, and pants generally range from 36 to 68 inches in length, and most hanging rods are placed at around 84 inches above the ground.
From there, neatly stack the clothes and measure the size of the pile to get a basic idea of how much width-space they’ll need. Remember to account for any extra volume from clothing hangers when making your calculations.
2. What Needs to Be Folded
Fold your clothes into equal piles to find out how many shelves or drawers your new closet will need. Fortunately, this design aspect is easy to customize and adapt even after installation. As long as there are already shelves in place, you can always add more drawers as needed.
3. What Needs Its Own Special Space
Last but not least, account for any possessions that need designated spots, like shoes or purses. Count them out and line them up to get a general idea of the amount of shelving or cubbies they’ll need. You can even DIY your own cubbies without special tools. In some cases, you may want to consider adding specialized shoe or garment racks for your most valuable items.
3. Pick a Closet Organization Style
Wire and wood are the two most common types of materials used to organize the inside of custom closets. Each option comes with a couple of pros and cons.
Wire Closet Organizers
This closet organization system is inexpensive as well as easy to install and customize. It’s also less bulky and better suited to small, cramped spaces. The one downside is that it may appear messier or less attractive than traditional wood closet organizers.
Wood Closet Organizers
Wood closet organizers are sturdy, classic, and affordable. They’ll stand the test of time and look good while doing it, but they may be difficult to install upfront.
4. Consider the Pros and Cons of Open and Closed Shelving

Whether or not you want an open or closed closet set-up comes down to preference. Do you have a collection of shoes that you wouldn’t mind showing off? Or are you more likely to throw your clothes into a drawer without thinking twice? Answering these questions will help you get a better idea of which setup will be best for you.
One additional pro to open-shelving is that you can turn it into a statement. Adding an accent wall to the area behind your closet will give the whole system a design flair and better showcase all of your possessions at the same time.
5. Work With a Pro to Design to Finalize the Details
Now that you have a better idea of what you want and what will work in your space, consult a closet designer in your area to bring your plans to life. They’ll tell you what does and doesn’t work, restructure as necessary, and show you exactly which materials and tools you’ll need to complete the project. While doing this isn’t always necessary—especially for experienced DIYers—checking in with a pro will ensure that the final product looks and functions just as intended.


- What You Need to Know Before Starting a Closet Remodel
- 29 Inspiring Walk-In Closet Ideas
- 17 Ways to Make Your Closet Smell Amazing
- Walk-In Closet Dimensions: A Complete Guide
- How Many Days Does a Closet Remodel Take?
- 32 Tips to Organize Your Space—and Keep It That Way
- Ready for Your Big Closet Reveal? Illuminate Your Space With These Lighting Ideas First
- Built-In Wardrobes vs. Walk-In Closets: Pros, Cons, and Costs
- 9 Micro Loft Design Tips to Save Space
- 14 Home Improvement Projects You Can Do in a Day (or Less)


