
Find out the average shower door repair cost, key price factors, and ways to save. Get estimates to plan your shower door repair project confidently.
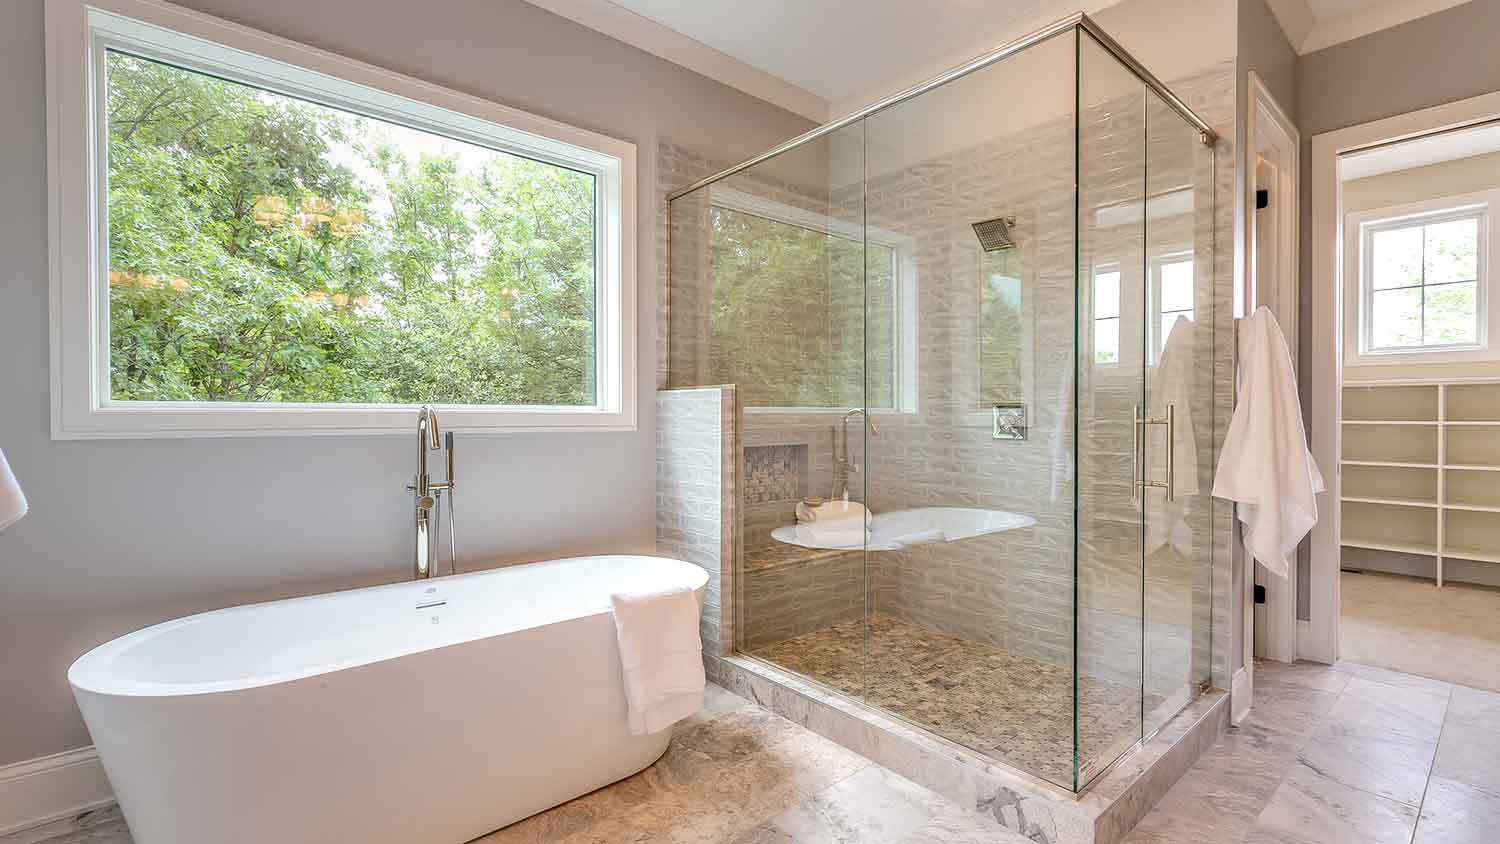
Make sure your shower is a sanctuary, and not an obstacle course

Your broken shower's most common cause is a worn-down internal seal like a gasket or O-ring, which creates leaks around faucets and showerheads.
Fixing a bathroom leak costs $150 to $600, so addressing worn seals early helps you avoid higher repair bills and water damage down the road.
Low water pressure in your shower often means a clogged showerhead, which you can fix by soaking it in distilled vinegar for 30 minutes.
Hiring a local plumbing repair professional provides reliable help with leak diagnosis and seal replacement, keeping your shower running smoothly without the guesswork.
Nothing beats a hot shower or bath. These brief vacations from the real world allow us to clean both our minds and bodies, giving us a much-needed recharge. However, showers are prone to all kinds of repair and maintenance issues—including clogging, inefficient draining, and low water pressure—which turn this steamy sanctuary into an anxiety factory. If you’re dealing with a broken shower, keep reading to find out how to fix it (and when to call a pro instead).

There’s nothing worse than standing in a foot of dirty water every time you take a shower. Clogged drains are ubiquitous, impacting showers since the dawn of running water.
Hair, soap scum, and other shower-related detritus cause most drain clogs, but hard water buildup is another known culprit. In the vast majority of cases, you can resolve clogs on your own.
Remove visible blockages with your gloved hand.
Pour a drain-clearing solution down the drain.
Wait seven minutes, and then test the drain.
If unclogged, clean the tub before your next shower to prevent slippage.
Alternatively, try baking soda, vinegar, and hot water for an at-home solution.
Pour it down the drain and wait seven minutes.
If hard water buildup consistently speeds up the clogging process, contact a local water softening company for a consultation.
Low-pressure showers are sad and deflated when compared to their high-pressure cousins. Low water pressure has multiple causes, including leaks, but you’ll typically source the problem to a dirty or clogged showerhead. Limestone buildups are notorious for impacting a shower’s water pressure. Luckily, a DIY-friendly solution is within grasp.
Remove the showerhead carefully and according to the manufacturer’s instructions.
Submerge it in a bowl of distilled vinegar for 30 minutes or longer.
After that, scrub it vigorously with an old toothbrush.
Reattach the head and try the pressure.
If low water pressure impacts all of your taps, and not just your shower, it indicates a leak somewhere in the system. Contact a local plumbing repair pro for a maintenance visit.
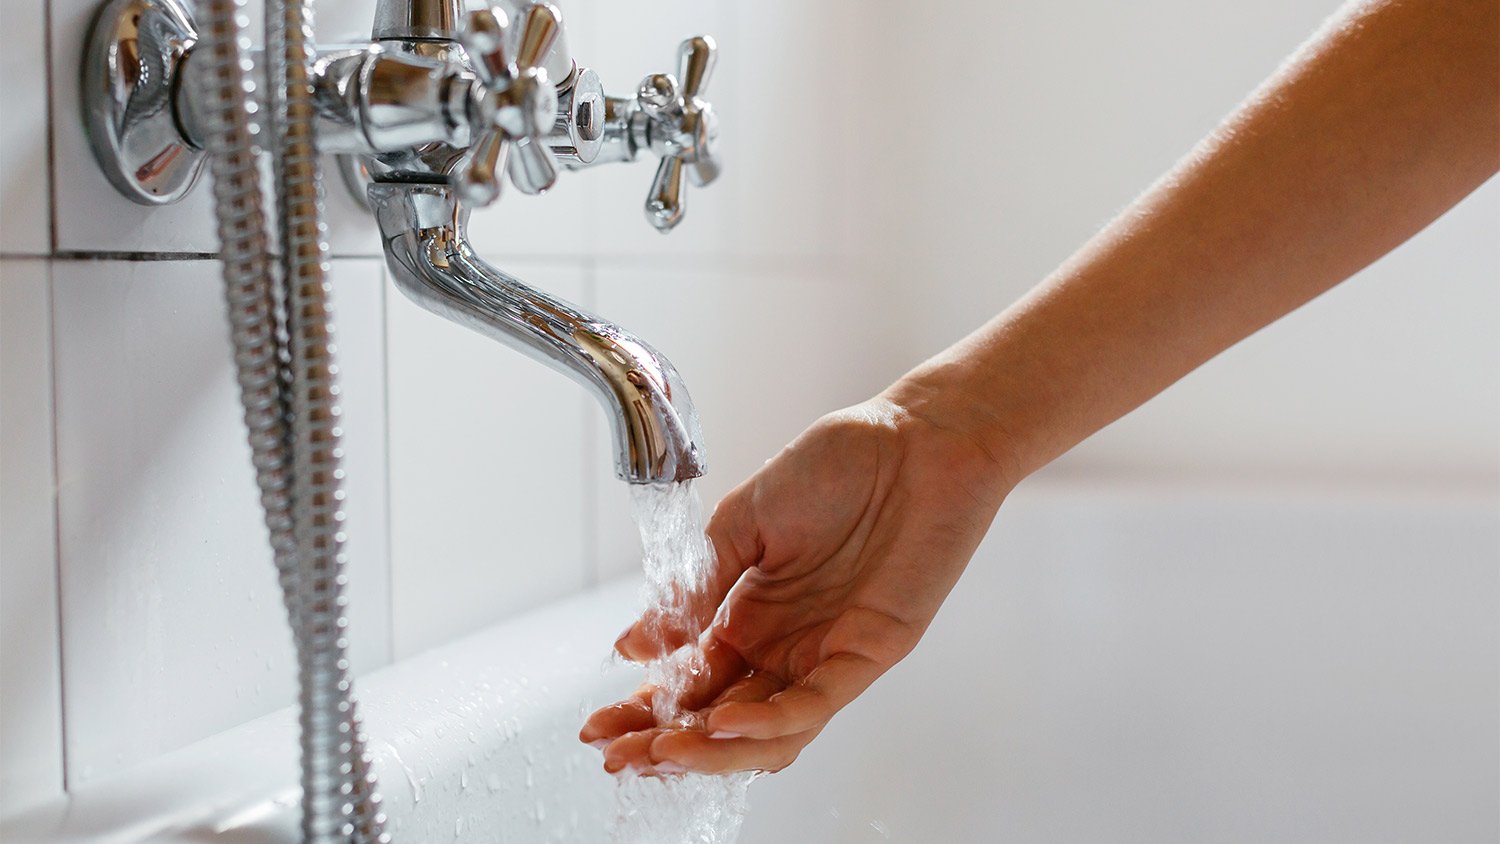
The annoyingly consistent drip of a leaky showerhead or faucet causes many sleepless nights, but they pose dangers beyond forced insomnia. A leaky spigot encourages water waste, causes a buildup of bacteria and mold, and leads to eventual rust and rot.
Most of the time, these leaks derive from worn-down inner seals related to the faucet, including gaskets, O-rings, and more. These connection points wear down over time, creating a leak in the process. Fixing a leaky shower requires new parts to replace the old and worn-out parts. This is a time-consuming project for amateurs, so consider contacting a pro. Fixing a bathroom leak costs between $150 and $600.
Find out which shower valve you have.
Look behind the shower handle at the center of the trim plate for a manufacturer’s symbol or brand logo.
Perform some web research to suss out which valve from said manufacturer operates in your bathroom.
Only purchase replacement parts for that particular shower valve.
The replacement process depends on the type of showerhead or faucet you are repairing, the shower valve used, and the various worn-out gaskets and parts.
Work slowly and carefully, following manufacturer instructions to a tee.
A shower valve is a piece of plumbing behind the shower wall. It allows you to change the water temperature and control the water flow. Shower valves are also responsible for mixing hot and cold water and maintaining water pressure.
Showers and baths should be luxurious and time-consuming experiences. However, a funky-smelling bathroom is not exactly inviting. Mold, fungi, and even grout all contribute to nasty odors in and around the shower.
Mold thrives anywhere there is moisture, even behind the walls, so you may not even have access to the infected areas. However, there are some things you should do before contacting a local mold removal expert.
Clean the shower and the rest of the bathroom thoroughly, paying attention to any grout buildups and any obvious signs of mold.
For mold, use a dedicated mold removal spray and wear safety goggles and gloves.
Once cleaned, keep the bathroom and shower ventilated by installing fans, dehumidifiers, or simply cracking open some windows.
If the smell remains, mold may exist behind the walls. Contact a pro for some advice.
It’s tough to relax (not to mention sing) when your shower is making more noise than the London Philharmonic. Shower noises come from various broken parts of your system, from rattling pipes to worn-down shower cartridges.
Before you do anything about the root cause of your excessive shower noise, try to diagnose the issue of vibrating pipes. Most shower noises come from loose pipes or related pieces of hardware. If you are having trouble locating the source of the racket, here are some simple troubleshooting steps to consider before calling in a pro.
Take a close look at your shower, especially the pipes running from it.
See anything loose? Tighten these areas with a screwdriver or wrench or purchase and install a new set of tightening brackets.
High water pressure often contributes to an increase in noise. Add a water pressure regulation valve to address the issue.
Air bubbles stuck in your pipes even cause shower noise.
Turn off your main water supply and drain all water from the pipes.
Open your faucets, beginning at the farthest point from the water main.
Leave them running until they fully drain and then close them up in reverse order.
Finally, engage the water main and test the loudness level of your shower.
If you’re constantly shivering or getting scalded in the shower, there could be a problem with your water heater or a circuit breaker. Alternatively, if there’s too much demand for hot water in your house, your shower could run out of hot water quickly.
Try reducing how much hot water you use throughout the day to prevent your hot water from running out while you’re in the shower. Do this by running the dishwasher in the morning, staggering family members’ showers, or washing your clothes in cold water.
Try increasing or decreasing your water heater’s temperature to reach a more comfortable level if the above tips don’t work.
Check your breaker box and make sure the breaker connected to your water heater is on if your hot water still isn’t working.
No luck? Your water heater might be too small for your home or simply outdated. In either case, you’ll want to hire a local water heater repair pro to replace it.
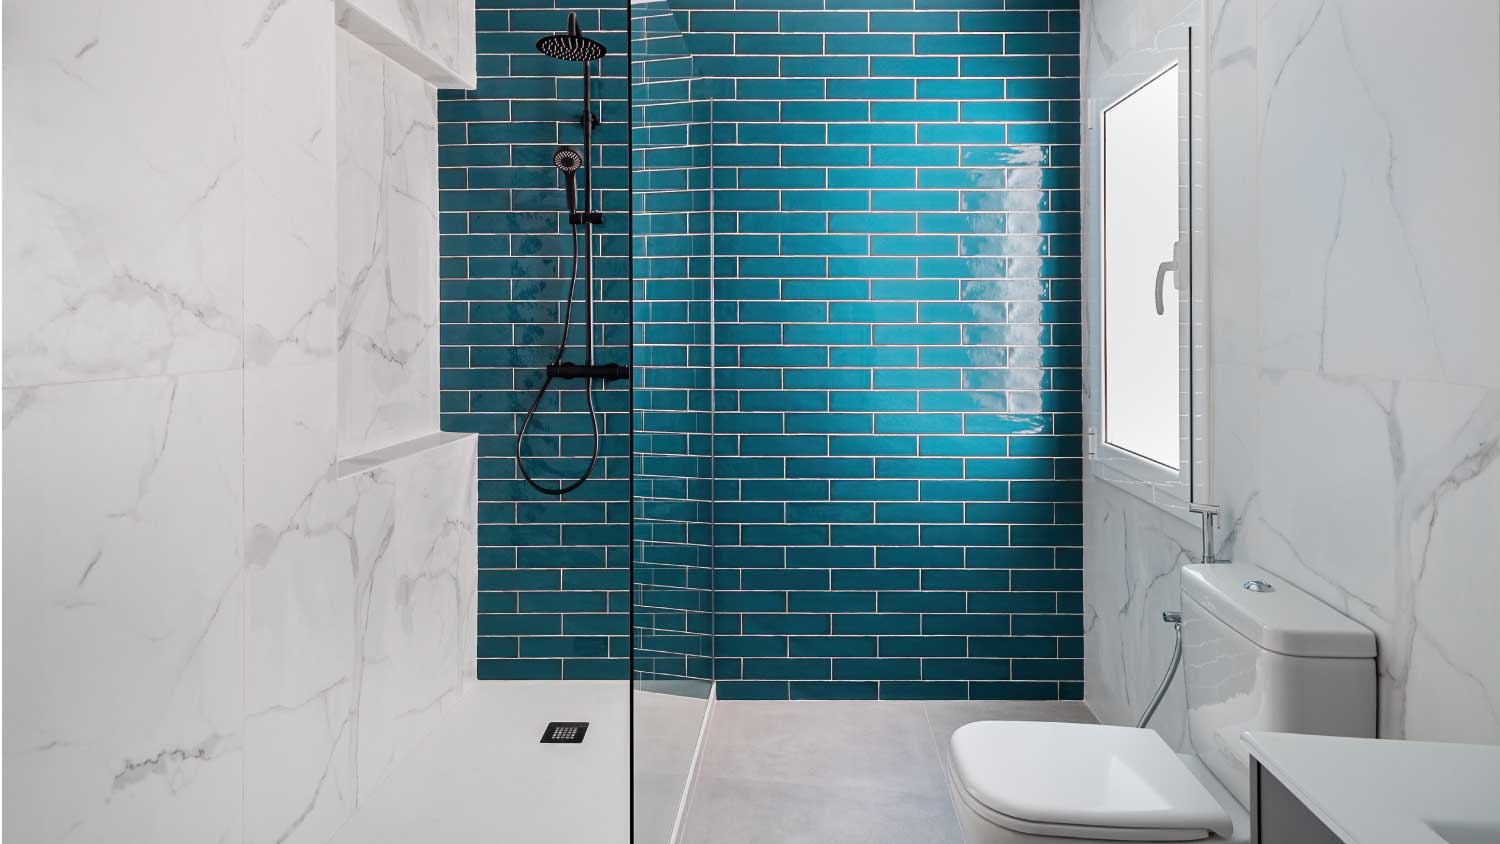
Cracked shower tiles are more than just an eyesore. If you don’t fix them, water can seep behind the tiles, possibly leading to mold growth, structural damage, and other issues. Plus, the broken tile’s sharp edges could cut you while you’re in the shower. If the damage is minor, you can fix a cracked tile yourself.
Scrub the tile with a soft-bristled brush to get rid of grime. Then, clean it with soap and water and let it dry completely.
Open a window in the bathroom. Wearing a face mask and gloves, mix a two-part clear epoxy on a piece of cardboard.
Apply the epoxy to the cracked tile with a toothpick or popsicle stick. Aim for a thin, even layer that fills the crack and goes at least half a centimeter past the sides. Don’t get it on the grout.
Wait 10–15 minutes for the epoxy to cure. To check if it’s cured, tap it with your finger (while wearing gloves). It should be dry and firm but not sticky.
If you plan to paint the tile, use sandpaper to sand down the epoxy until it’s flush with the tile.
To paint the crack, use an oil-based paint in a similar color to the tile.
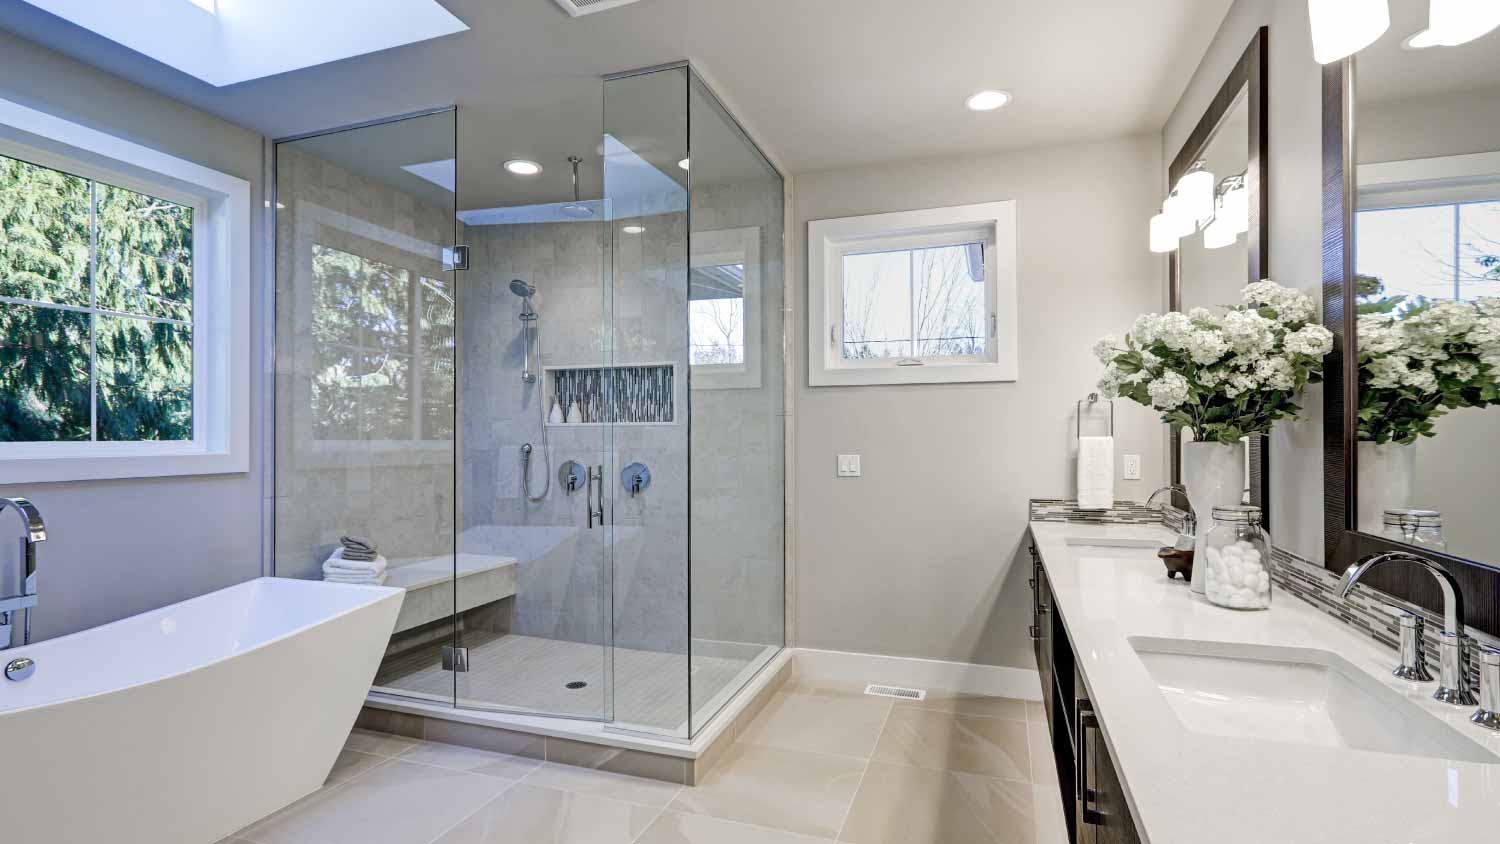
Many common shower problems have simple DIY fixes. For example, clearing clogs, cleaning a dirty showerhead, and repairing cracked tiles are easy enough to tackle on your own.
However, you should consider hiring a professional to fix leaks or deal with other plumbing-related issues. It’s also best to contact a pro for potentially hazardous problems, such as mold behind the shower walls.
Jason has helped me with multiple household projects, with the most recent being new door installation. He has always showed up on time and organized and has done an incredible job! Jason is very professional and he's now my go-to for anything around my house that needs to be fixed or...
Cole has been handling plumbing and general contracting for our four properties over the past three years, and he’s always done a great job. Most recently, he installed a sink and countertop in our retail store where none existed before, and it turned out exactly how we needed. He’s...
 ANB Renovations LLC
1st Choice Renew is simply the best! We hired them for a complete home renovation, and they transformed our space into something truly amazing. The team attention to detail and commitment to quality were evident throughout the project. They were easy to work with, very responsive, and always...
This company went above and beyond with their work, chimney sweeps are usually pretty messy, but the clean up was spot on.!! Josh explained every thing that he was doing, and the things that he was checking to make sure the chimney was safe for me and my family. He was very professional,...
 Supreme brick & chimney
Custom Paint Jobs LLC turned our outdated bathroom into a modern masterpiece.
Excellent customer service and knowledge. I was recommend to him from my neighbour. My front door and window came in great and were installed beautifully perfectly, I m very satisfied with their excellent work, so decided to order one more big bow window for my living room. I cant wait for...
If I could give 10 stars for Kitchen Tune Up, I would. I cannot say enough good things about my experience with Kitchen Tune Up and the entire team involved in the process of my kitchen project. They went above and beyond as far as service and quality with my cabinets, paint, countertops, and...
It was wonderful working with Yordy and his team. They were very professional and are experts in what they do. They have completed the work on time, with better quality and with in fairly reasonable price. We just started with backsplash work , but liking his work, we went on to provide...
We were having 2”x 2” tile installed . There was a small installation error and the new additional replacement tile was from a different lot and the colors didn’t match. Joe assured us that he would rectify everything , which he did without hesitation. We decided to go with the 18” x 36” tile...
 CarifaTile
They work that 360 did on my kitchen cabinets is nothing short of amazing. I still cannot believe the difference from before and after. Jon and Jeff were both so incredibly professional throughout the whole process and their communications with me were constant and consistent. These guys...
 360 Painting Columbus
From average costs to expert advice, get all the answers you need to get your job done.
Find out the average shower door repair cost, key price factors, and ways to save. Get estimates to plan your shower door repair project confidently.
Discover the cost to regrout shower, including average prices, key cost factors, and tips to help you budget for a fresh, watertight shower.
Shower pan replacement costs $530 to $2,700. Find out how material, shower size, labor, and more affect the final project budget.
Need to hire a shower door repair pro? Learn how to find a qualified glass specialist, what questions to ask, and how to ensure quality work.
Looking to upgrade your bathroom? This shower plumbing diagram will help you understand the different parts of a shower and how they work.
Shower diverters will wear down over time and eventually need repairs. This guide will show you how to fix a shower diverter and get your shower working again.