How to Troubleshoot and Fix a Ceiling Leak
Tackle a leaking ceiling in just a few steps


A leak in the ceiling can catch you off guard, but you’ll want to act quickly and quell that methodic drip as soon as possible to minimize water damage in your home. A few different issues can cause a leaking ceiling in your home, all of which can lead to significant damage if you don’t contain it. Thankfully, water leaks are common, and you can start tackling some solutions right away. Here’s what to look for and how to fix a leak in the ceiling.
Why Do I Have a Ceiling Leak?
There are a few different reasons why your ceiling might be leaking. The solution for how to fix a leak in the ceiling may depend on the source and severity of the leak. Homeowners most often face these four types of ceiling leaks:
Roof: This type of leak can occur any time of the year, especially if you’ve got broken or damaged roofing tiles or shingles. However, strong storms like hurricanes or chilly winter weather may cause roof leaks more often.
Plumbing: A plumbing-related leak can spring from issues such as weathered caulk around the base of your toilet or rusting pipes underneath the sink in an upstairs bathroom.
Burst pipes: Beware of unstable or extreme weather—especially in the winter. Expanding pipes can eventually burst, leading to damage.
Appliances: A faulty dishwasher, refrigerator, or washing machine can quickly escalate into a major leak.
How to Tell If Your Ceiling Is Leaking
Sometimes, a leaking ceiling isn’t as clear-cut as water dripping from above. Leaks can reveal themselves in various ways, including dripping down your home’s interior walls and creating rancid smells. Look out for these telltale signs of a leaking ceiling.
Musty smells: Idle water can be a breeding ground for mold and mildew, creating an unsavory stench in your home. Mold spores multiply, producing gasses that grab our attention.
Dark, rancid water: Sometimes, a leak can manifest in the form of coffee-colored or dark brown spots on ceilings. You might notice that the area continues to expand. These spots can be difficult to, well, spot if you have a dark-colored or beige ceiling.
Insect infestation: Certain types of insects are drawn to wet areas. The presence of these insects could mean you have a water leak somewhere in your home. Be on the lookout for crickets, cockroaches, earwigs, mold mites, silverfish, and termites.
Bubbled paint: You might have a leaking ceiling if you notice a strange, bubble-like texture in the paint. Several types of interior paint are made from latex, a strong material that can hold back water once it has passed through your ceiling’s drywall or plaster.

How to Check for Internal Ceiling Leaks
Find Pooled Water
Look for pooled water on the floors of your home. If you see puddles, place a bucket there to both mark off the area and collect the falling water. Use any pooled water to trace an invisible line up to the ceiling to locate the leak. Mark the leak with a pencil.
Check Your Light Fixtures
Is your light fixture leaking? Check the lights in the room to see if they’re collecting water. Depending on the design of your light fixture, it may be the lowest point connected to the ceiling, causing water to collect and leak from it.
Look Above the Leak
Locate the area of the leak by looking in the room above it. If you have a ceiling leak and your bathroom sits directly above it, that’s the likely culprit. Depending on where the leak stems from, the source may be hidden inside the walls. Use the location of the leak and its distance from your walls to outline a general area of the source.
How to Check for External Ceiling Leaks
Check Your Gutters
Make sure your gutters are clean. Maintaining your home requires routine gutter cleaning at least twice a year, typically in the fall and spring. If they get filled with leaves or debris, this causes them to overflow when it rains. When angled correctly, the gutters will send rainwater through the system and to the ground. If not, the excess water can flow back towards your home—exactly where you don’t want it—and cause a leak.
Check Your Roof
Your roof is your home’s biggest protector against outside precipitation, such as rain and snow. If any roof shingles are missing, damaged, or lifting, your leak may be originating from there.
How To Stop a Ceiling Leak
1. Pinpoint the Leak
You’ll have to find exactly where the leak is coming from to address it. The leak might be obvious, causing sagging in the ceiling or bubbled paint. If you don’t see these signs, look for crumbling drywall panels and oddly colored areas on the ceiling and within the room.
Then, think about what is directly above the leaking spot in the ceiling. That will give you a good clue as to what is causing the issue, but we’ll have more on this process in a second.
2. Catch the Water

Place a plastic bucket or tub underneath the leak to catch the water and stop it from spreading throughout the room. It’s best to have two buckets or tubs on hand that you can easily lift so you can empty the buckets as needed until you can stop the leak. The spare bucket can catch water while you’re emptying the other one.
3. Add a Protective Layer
Move any electronics or furniture outside the leak’s proximity, and use a mop and/or towels to absorb the water. Roll out a plastic tarp or drop cloth underneath the leak. Lift the bucket to make way for the protective layer.
If your furniture is too large or heavy to move, place a plastic tarp or drop cloth over your furniture pieces. Then, dry up any water that has gathered around the furniture’s base.
4. Drain the Leak
Use a reliable, well-situated ladder or step stool to access the leak. Use a screwdriver to gently, yet firmly puncture a hole in the middle of the affected area. Keep in mind: You’ll aim for the middle of the leak, so make sure your ladder or step stool is placed slightly off-center of where you intend to puncture the ceiling. Place a bucket underneath the area to catch the water.
Adding a hole to your ceiling might seem counterproductive, but giving the leak more room to drain downward will keep it from spreading, weighing down the ceiling material, and potentially causing more damage. Also, if water has already breached your ceiling, it will need to be replaced anyway. So, there’s no harm in creating a new hole in your ceiling.
5. Find the Source of the Leak
To prevent future damage, find and fix, or temporarily block, the source of the leak. Roof damage and cracked or faulty pipes are common culprits of a leaky ceiling, but it might take some internal and external inspection to determine the source of the leak. Inside your home, look at your light fixtures; this area can sometimes act as a basin for water since it’s usually the lowest point on the ceiling.
Check areas above the leak, too. For example, if the leak is coming from the attic, you might want to use plywood to temporarily block the water. Outside your home, (carefully) check your gutters and roof using a sturdy ladder. Sometimes, cluttered gutters can cause an overflow back into the attic. Roof damage might be more obvious if the cause is impaired roofing material.
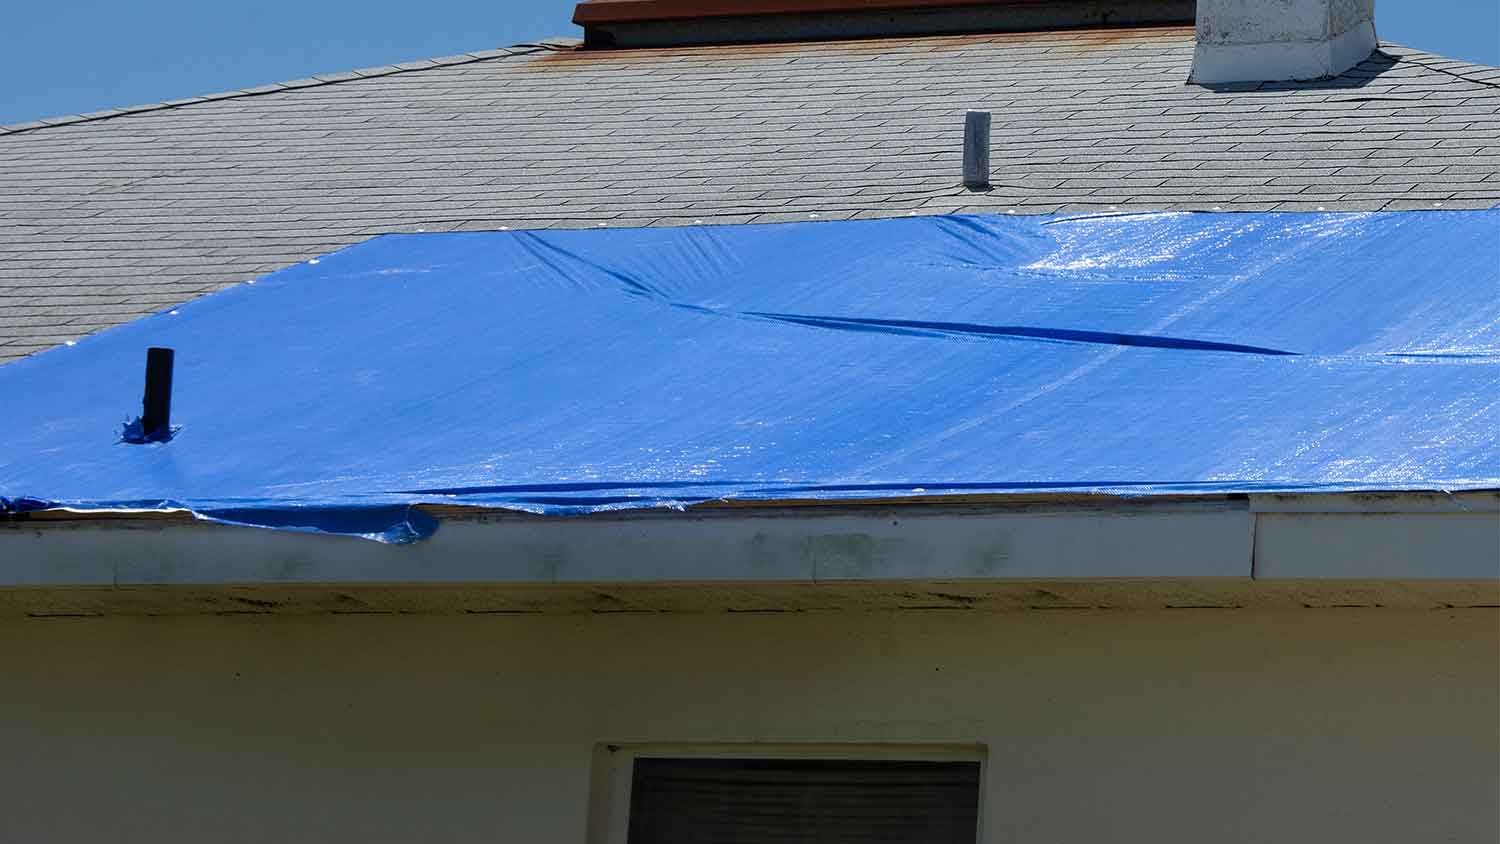
If it comes from your roof, a plastic tarp can be a temporary patch. At this point, you may want to lean on a pro for help. They will know the best method to fix a ceiling leak to prevent further damage.
How to Prevent a Ceiling Leak
There is no foolproof plan to prevent a ceiling leak. Part of being a homeowner means expecting the unexpected—or trying to prevent the preventable. Extreme storms and sudden damage can throw a wrench in your plans, but there are a few practices you can adopt to stay ahead of ceiling leaks.
Schedule regular roof maintenance.
Clean your gutters twice a year.
Check your plumbing fixtures.
Look out for signs of water damage on ceilings and in your attic (if you have one).
Install roof flashing to direct water away from weak spots in your roof.
Replace damaged or missing roof shingles.
DIY Fixing a Leak in the Ceiling vs. Hiring a Pro
Some leaks are not a quick, easy DIY fix, but you’ll want to follow these steps to lessen the potential damage to your home and belongings. It’s important to contain the leak as soon as possible to prevent further issues, but you’ll want to think ahead to fixing the source of the leak. For example, a local roofer can assess the cause of leaks coming from your roof.
If water is coming from a plumbing issue like a burst pipe, a local plumber can help. You’ll need to replace drywall once it’s been saturated with water, and a contractor can fix and replace the ceiling and damaged drywall. On average, it costs $75 per hour or $2,900 to repair water damage.
In the aftermath of a leak, you may be left with—hopefully minimal—water damage. A water damage restoration professional can help you get your home back in order. While some restoration projects are beginner-friendly, ceiling and flooring fixes are often better left to the pros. Their expertise is vast, ranging from smaller projects, like refinishing water-damaged wood veneer, to repairing water-damaged ceiling plaster.
Frequently Asked Questions
Yes, a ceiling leak can be an emergency. While a leak may look small, the source of the leak could cause major problems for your home and wallet. It can lead to water damage, which—if left unchecked—can mess with the structural integrity of your house. Large ceiling leaks lead to copious amounts of water passing through your home and can cause your ceiling to sag or—in worst-case scenarios—cave in.
Meshed fiberglass tape is your best option if you want to tape up a leaking ceiling. Even then, that is not a permanent solution and you need to address the root cause of the leak. Also, you still need to apply drywall material on top of the tape and repaint the ceiling, instead of leaving the tape exposed as-is. Finally, this method only works on minor leaks and as a band-aid solution.
Once you’ve contained the leak, the average cost to repair a ceiling ranges from $419 to $1,359. But small ceiling patches can cost around $150. The cost to fix a leak in the ceiling will depend on the size of the affected area and the extent of the damage. As always, a pro is the best person to give you a quote on your specific situation.
A ceiling will dry out after a leak within two to four weeks. The time it takes to dry out will depend on the level of saturation in the area. Make sure you have stopped the leak at its source before leaving the area to dry out.
There are several reasons why you may find water dripping through your ceiling. This leak could be the result of a plumbing issue or a damaged roof. It’s important to determine the source of the leak before it causes damage to your home and belongings. Taking steps to catch the water immediately will help with additional issues.


- Who to Call for a Water Leak in Your Ceiling
- What to Do If Your New Roof Is Leaking
- How to Fix a Leaking Roof From the Inside
- How to Find a Water Leak: Methods and Solutions
- Can You Use Water if the Water Heater Is Leaking?
- 6 Temporary Fixes for Leaking Pipes
- 5 Ways You Can Raise Your Ceiling
- What Does Water Damage Look Like? Key Warning Signs
- 10 Most Common Plumbing Problems Every Homeowner Should Know
- 7 Ways to Fix a Copper Pipe Leak: Temporary and Long-Term Solutions
Get our Angi-powered app


