How to Clean Paint Rollers for Your Next Project
You’ll always be ready to paint when your rollers are clean, ready, and waiting


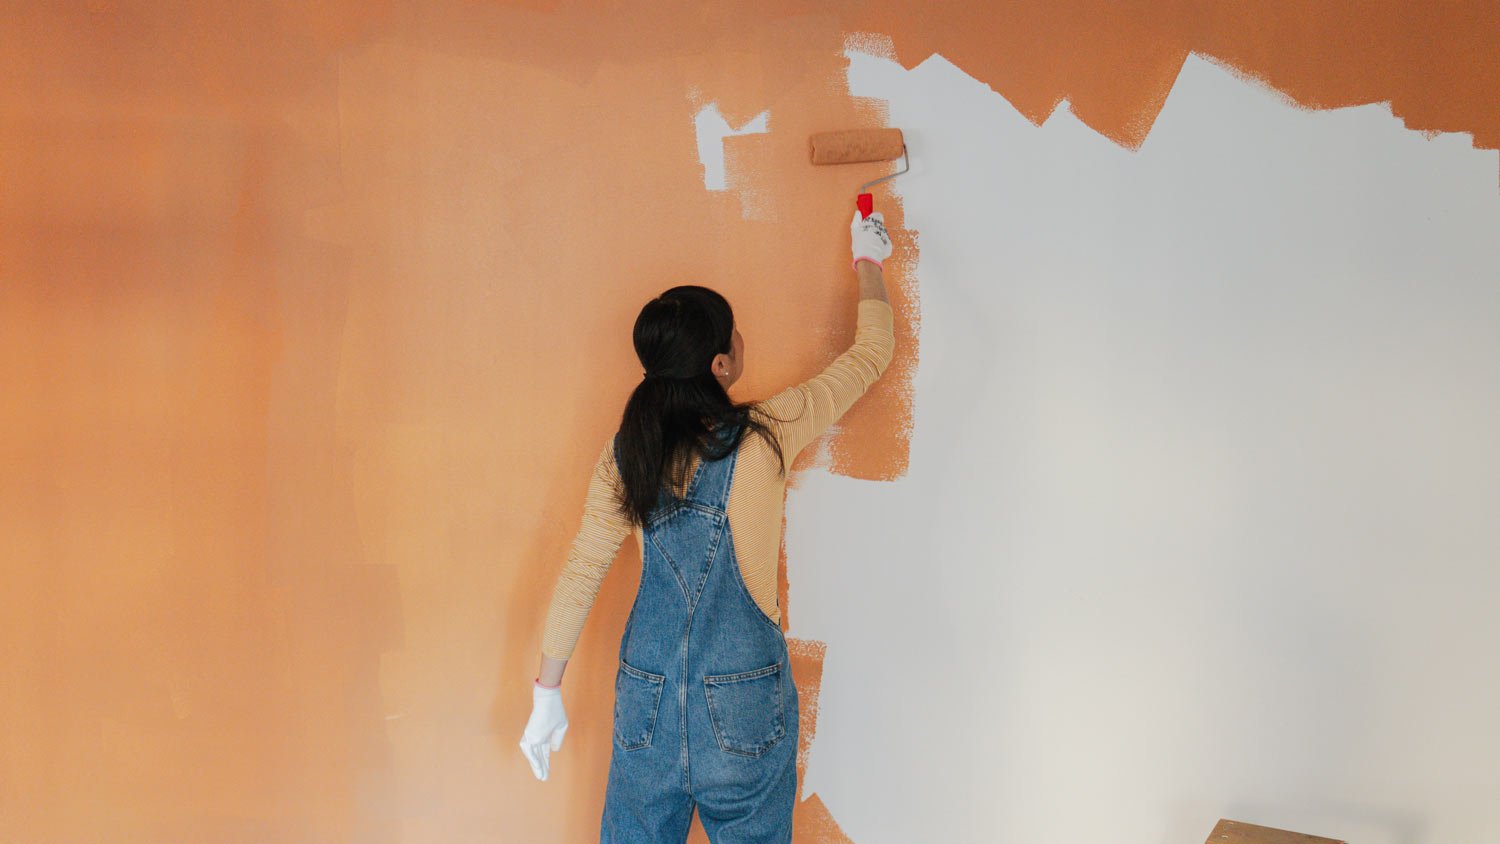
So you’ve learned how to paint a room, and the finished product is totally Instagram-worthy. But what do you do with those used paint rollers? If you leave them as-is, they’ll crust up with dried paint, which is a one-way ticket to the trash heap.
Though these essential painting tools may seem difficult to clean, the truth is that it doesn’t have to take much time or effort to make them shine like new. Rinsing them off directly after you’re done painting is the best way to guarantee success, but all is not lost, even if they’re dried, crusty, and seemingly beyond repair. No matter what you’re dealing with, here’s how to clean paint rollers as well as a local interior painter so they’re ready for your next project.
Why Should I Clean My Paint Rollers for Reuse?
Although individual paint rollers aren’t expensive, replacing them each and every time will cost you in the long run. Plus, you might be more inclined to attempt a painting project if you already have paint rollers on hand and don’t need to run out to buy more.
Not to mention, disposing of paint isn’t always easy. You can typically throw out water-based paints with your usual household trash after taking some steps, including drying the cans out (check your local regulations here though). You’ll need to deposit oil-based paints at hazardous waste collection sites.
How Much Does It Cost to Replace Paint Rollers?
A pack of five to seven paint rollers costs between $8 and $12 on average. While that might not be very much on its own, paint trays, frames, and extension rods all add to the overall cost. All of these tools can become damaged or difficult to use if covered in dried-up paint, and cleaning is necessary to ensure they’re up to any future painting jobs. With proper cleaning, you’ll pay a one-time fee of $20 to $30 for all the painting tools involved.
Oil vs. Water and Latex Paint
When cleaning paint rollers, it’s important to know which type of paint was used in order to best remove it. Oil-based paint is typically used on metal, wood, and canvases and generally has a strong odor. Since it has a thicker consistency, oil-based paint requires a different solvent, such as mineral spirits, to completely remove the lacquer from the roller. It also takes longer to dry, ranging from a day to two to a few weeks, which gives you more time to clean your roller while it’s wet.
It’s also helpful to look up the manufacturer of your roller to see what type of cleaning product they recommend, because some might respond better to turpentine or paint thinners. You’ll also want to check the safety instructions on the solvent to see what type of protective gear to wear to protect you from harmful chemicals while cleaning.
Latex and water-based paint are more commonly used for home interiors and can be removed from rollers with soap, water, and a pair of rubber gloves. However, this type of paint dries in just a few hours, so you have less time to clean your roller after painting.

How to Prep for Cleaning Your Paint Rollers
There are just a handful of things you need to clean your paint rollers with success, and you probably already have almost all of them. Here’s what you’ll need.
Tools
Two buckets
Putty knife
Stiff brush
Protective gloves
Protective eyewear
Materials
Dishwashing liquid
Old rags
Mineral spirits
Newspaper
If your workstation isn’t already set up from your most recent paint project, you’ll also need to prepare and protect the surrounding area and anything in it. Cover any objects in the paint splash zone, or take your cleaning outside so that any spills or splatter that occur don’t cause any major problems.
How to Clean Paint Rollers Right After Painting
1. Remove Excess Paint Right Away
It’s astounding just how much paint rollers hold in their ultra-absorbent filters; removing all of that excess paint is a job unto itself. But doing this right away will win you back some extra paint for touch-ups and make the cleaning process that much easier.
Use a putty knife to return leftover paint to the can. Grab your putty knife and gently scrape any excess (yet still moist) paint right back into the paint can. Hold the roller perpendicular over the can and work slowly to maximize the amount of paint preserved for your next session.
Set the roller over a paint bucket to drip off residual paint. Doing so allows you to start cleaning up the rest of your work zone while also removing excess paint from your rollers simultaneously.
Remove stubborn excess with extra rolling. If there is still a fair amount of paint on your roller, but it’s not dripping, and you can’t seem to remove the excess with a putty knife, use it to touch up bare spots on the wall. You can also roll it on a piece of paper or cardboard until the pigment starts to fade. Otherwise, rest the roller on newspapers until most of the excess paint absorbs into the paper.
2. Wrap Roller in Plastic to Clean Later On
Don’t have time to deep clean your paint roller right away? Or maybe you need to keep painting tomorrow and would rather not spend all that time cleaning your roller just to use it again. Remove it from the frame and wrap it in a plastic bag or aluminum foil to prevent the paint from drying and adhering to the fibers.
From there, store the roller in a cool, well-ventilated area (like a garage) until you’re ready to clean it. Remember that this is a great temporary solution, but it won’t keep paint fresh or wet indefinitely. Try to wash your roller within one to two days of wrapping it up.
3. Remove the Roller and Clean the Frame
Wearing protective rubber gloves, gently pull the roller from the frame. Once removed, clean the frame immediately, as it is easier to clean this frame when the paint is still wet. Pour some warm water and a bit of dishwashing liquid into a bucket. Use some old rags or a stiff brush to remove the paint from the roller frame and handle. Afterward, set the roller aside to air-dry.
4. Wash and Rinse the Roller
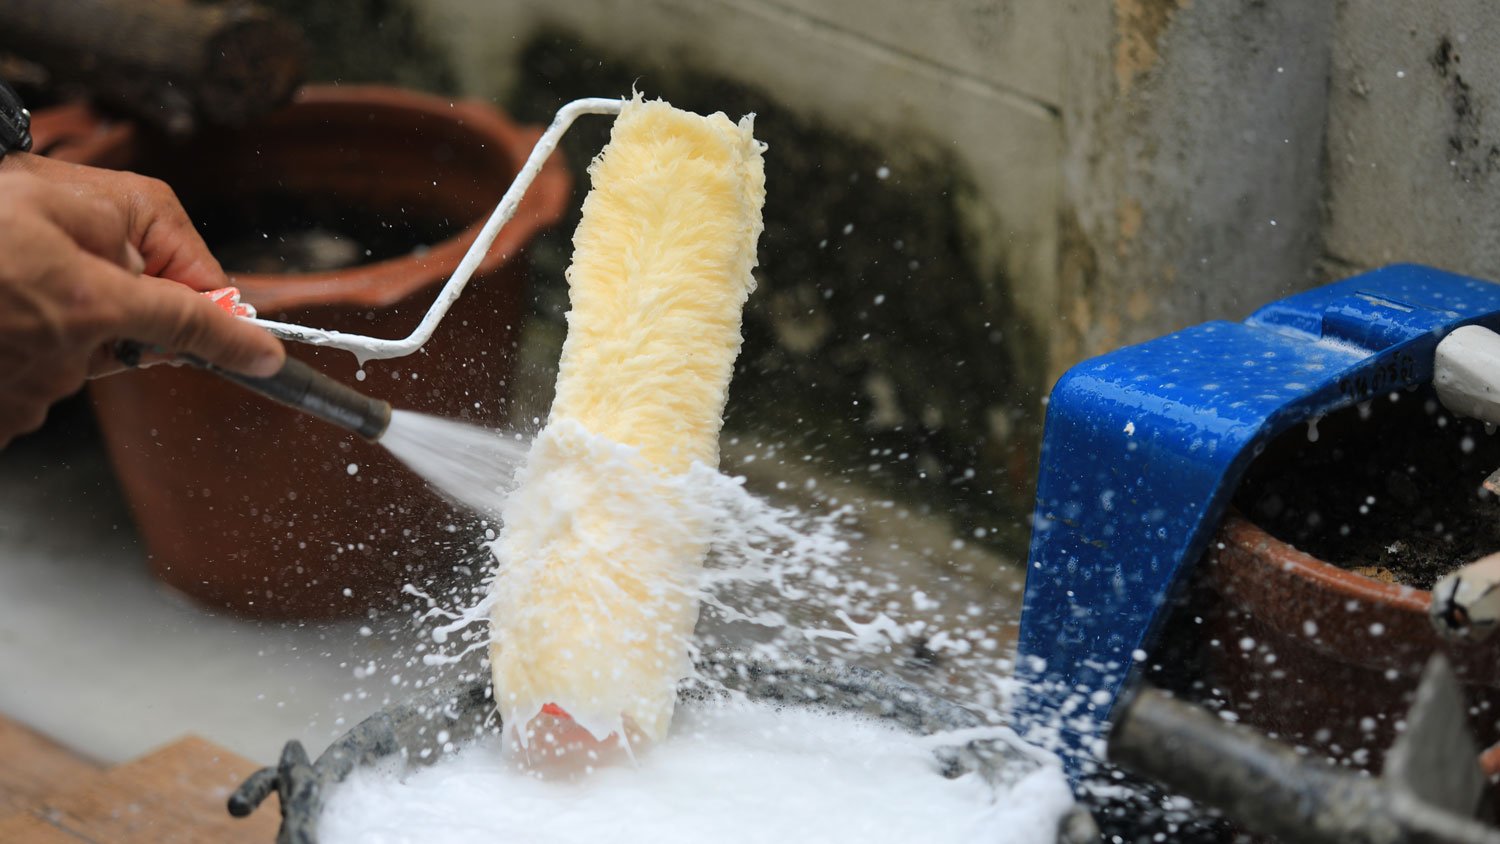
Believe it or not, a bath and a massage are typically all your paint roller needs to look and function at its best once more. Here’s how to wash your paint roller for the best results.
Soak the roller in warm water and a cleaning solution. Place the entire roller in a bucket of warm water. If you used latex or water-based paint, add a few drops of dishwashing liquid to the bucket, which is a similar process when cleaning a paintbrush after using latex paint. If you used oil-based paint, add a hefty amount of mineral spirits or a related solvent to fill up the rest of the bucket. Wet rollers only need to soak for five to 10 minutes, in general, to thoroughly remove fresh paint.
Massage the roller to remove the paint. No matter which type of paint you used, don protective gloves and gently massage the roller for five to 10 minutes while it’s submerged inside the bucket. Once thoroughly massaged, grab a clean bucket and place the roller inside. Rinse with warm water for latex and water-based paint and more solvent for oil-based paint. Shake off the excess liquid into the bucket.
Dispose of the water carefully. Be careful when disposing of this paint, and don’t dump it down a stormwater drain. Instead, dispose of the water down a sewer drain connected to a water-treatment facility.
Dry the Roller
Take caution when drying the paint roller. Don’t place it on its side to dry, as this flattens the fibers. Instead, place it upright or even hang it from a pants hanger to air-dry. A paint roller typically dries in 30 to 90 minutes, though longer soaking periods usually equate to longer dry times.
Don’t Forget the Paint Tray
It’s never good to allow your paint tray to accrue multiple layers of dried and crusty paint. Doing so creates an uneven surface for applying paint to your roller, leading to inconsistent painting results and both major and minor flaws. Fortunately, it’s easy to clean the tray along with the roller. The method here varies according to the type of paint used.
Cleaning Wet Paint Rollers With Water-based and Latex-based Paint
When it comes to cleaning paint rollers, it’s important to know the difference between water- or latex-based paint and oil-based paint. If you need to remove water-based paint or latex-based paint from your paint roller, you’ll be in for a slightly easier experience because you don’t need to use mineral spirits or paint thinners—just soap and water will do.
Cleaning Paint Rollers With Oil-based Paint
The main thing to know about cleaning paint rollers coated with oil-based paint is that you should use mineral spirits or paint thinners during the cleaning. As opposed to traditional paint thinner, mineral spirits are made from petroleum distillates and have no additives. Be sure to always use protective gloves and eye protection when using mineral spirits or thinners.
How to Remove Dried Paint From Rollers
Maybe you got caught up in the excitement of renovation and forgot to clean your paint roller, or you uncovered a paint roller from a project long ago. Nobody’s perfect! And fortunately, removing dried-on paint from paint rollers isn’t as tough as it seems. Here’s what you need to know and do to bring them back from the brink.
1. Determine What Kind of Paint You’re Working With
Knowing what kind of paint is on your paint roller will help you figure out what supplies you need to remove it. To find out what you’re working with, do a quick test. Wearing protective gloves, wet a small area of the paint roller and rub it with a cloth or paper towel. If pigment comes off easily, it’s latex- or water-based. If nothing comes off at all, it’s oil-based.
How to Clean Dry Paint Rollers with Water-based and Latex-based Paint:
Dish soap and warm water are sufficient for almost all water and latex-based paints.
How to Clean Dry Paint Rollers with Oil-based Paint:
But you may need something stronger, like mineral spirits or even paint thinner, to remove oil-based paints from rollers.
2. Give the Roller a Good Long Soak and Massage
Let rollers soak in a bucket filled with warm water and a small amount of cleaner for an hour or more. The long soak time is key to rehydrating the dried fibers and making the paint easier to remove, but you have to choose your cleaning solution wisely to get the right results. Dish soap and fabric softeners work well to remove latex- and water-based paints from rollers, while stronger materials like mineral spirits are necessary for oil-based ones. Note: Never mix these cleaning solutions, or any cleaning solutions, together.
In some cases, you may even need to use paint thinner for particularly stubborn paint. This method should be a last resort, though, because paint thinners release excess volatile organic compounds into the air during long soaking periods. Plus, the cost of paint thinners can add up, and you may end up spending more to clean your paint roller than you would to simply replace it if you go this route. Again, don’t mix paint thinners with anything else and always read the safety recommendations.
Prepare yourself for an arm workout because when your roller is finished soaking, it’s time to give it a deep tissue massage. Expect to spend 20 minutes or more massaging, making sure to squeeze tightly and wring out to remove any hidden paint that might be hiding at the base of the fibers.
3. Remove Stubborn Dried Paint with Scissors
If, even after you’ve soaked, scrubbed, and dried your roller, there are still some strong bits of paint clinging on for dear life, break out the scissors. Snip these stubborn pieces off your roller, and it will be ready to go just like that.
4. Know When You’re Better Off Buying a New Roller
If you’ve been through two rounds of soaking and massaging and yet your roller is still stiff and bleeding pigment, save yourself a third wash and buy a new one instead. After about five uses, paint rollers lose their ability to absorb paint evenly and make it more likely that mistakes will occur during painting projects.
Audrey Bruno contributed to this piece.
Frequently Asked Questions
You can use paint rollers up to five times with proper care. Reusing paint rollers up to five times shouldn't affect the quality of the paint application, but if you try to use it any more than that your paint job will not be as smooth. You can use roller frames and paint trays indefinitely.
Store paint rollers in their original cover or a homemade one to prevent dust from getting caught in their fibers. Try wrapping them in aluminum foil, duct tape, or plastic wrap, then take it a step further and store them in a closed container to ensure they’re always ready to go.


.jpg?impolicy=leadImage)

- How to Choose the Best Paint Roller for Your Project
- How Long Does Paint Last, and How Can You Tell If It’s Expired?
- How to Dispose of Paint Properly
- How to Remove Paint From Hardwood Floors: 8 Methods
- Types of Paint: Which Is Best for Your Project?
- How to Get Paint Out of Clothes Without Ruining Them
- 11 Painting Tips and Techniques for Your Home Painting Project
- Essential Supplies to Paint a Room: What You Really Need
- When Is the Best Time to Paint Your House Exterior?
- How to Remove Paint from Wood: 7 Methods to Try
Get our Angi-powered app


