Tips to Help Repair a Water-Damaged Bathroom Vanity
Don't throw in the towel yet if your bathroom vanity has water damage


Most bathroom vanities have wood or medium-density fiberboard (MDF) cabinets, so it's inevitable that, over time, they will suffer from some water damage. After all, they're built around a sink and sit in the most humid room of the house.
Major leaks can cause irreparable damage, but minor leaks, excessive humidity, drips, and spills can also cause problems. The good news is that you can fix some damage with DIY work.
Learn some techniques for repairing your water-damaged bathroom vanity, whether you have peeling veneer, flaking paint, or warped or sagging panels.
1. Assess the Extent of the Damage
If you’ve suffered a heavy leak or a slow one that has been causing water damage over time, your bathroom vanity could be beyond repair. When the cabinets are no longer structurally sound, and all the panels are warping or sagging, installing a new bathroom vanity is a better option. This is also true when the vanity is a budget piece, and the work you have to do will be time-consuming and complicated.
As a general rule of thumb, any porous or semi-porous belongings that have been touched by flood water should be evaluated and documented for insurance and then thrown out. However, homeowners filing insurance claims should communicate with their carrier to verify coverage of non-salvageable materials before they are discarded.
— Jim Thoma, VP of Operations at AdvantaClean

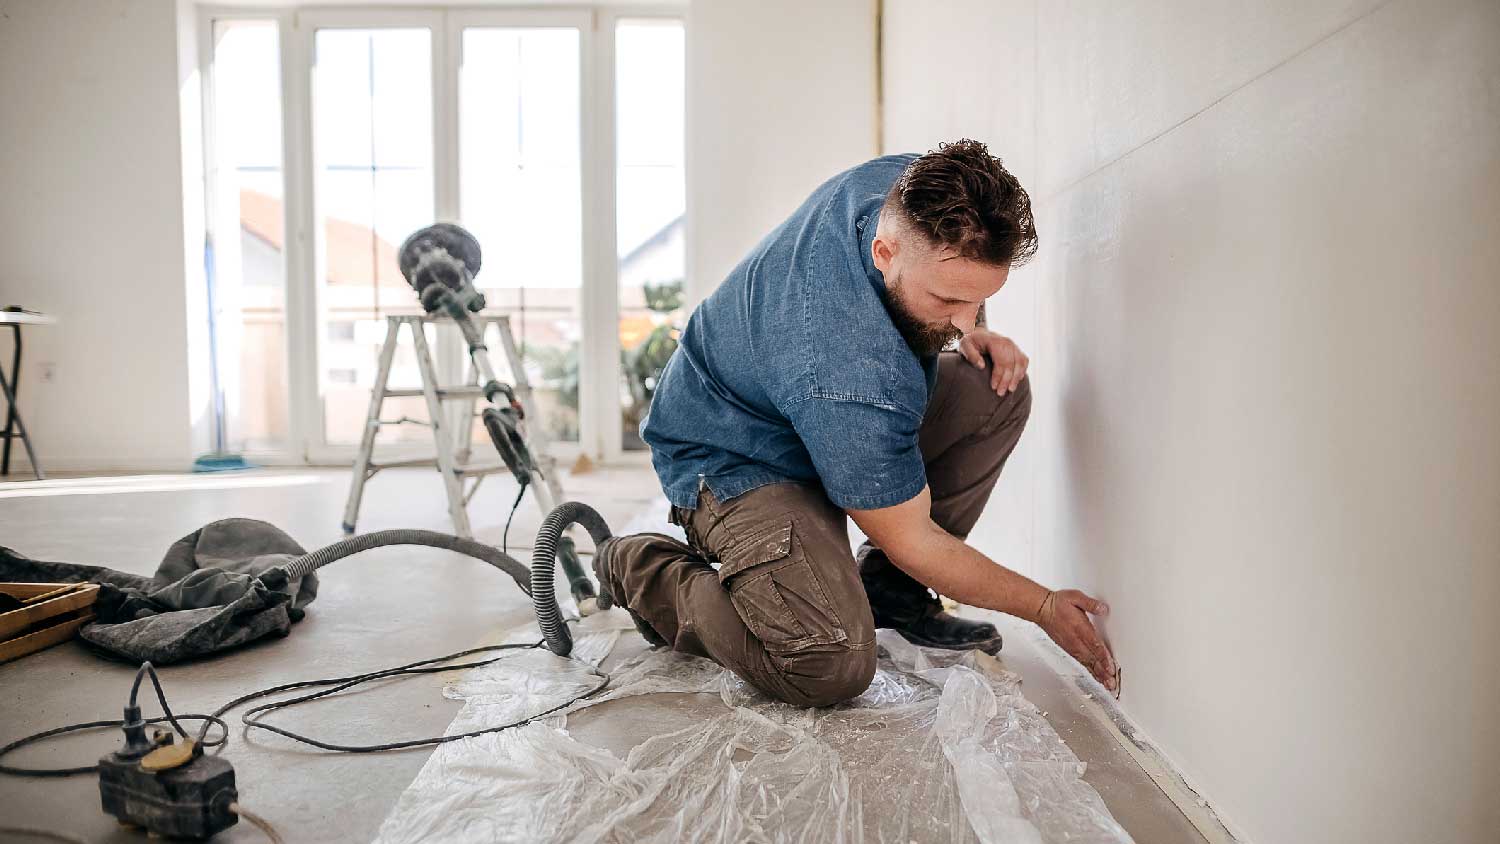
2. Determine If You Can Repair It Yourself
Some repairs could be worth attempting yourself, especially if the cabinet is structurally sound and it was an expensive investment, customized, or one you have a particular attachment to. Below are some common DIY bathroom vanity repairs.
Replace the Peeling Veneer on the MDF Cabinet Front

Budget vanity cabinets use MDF or particleboard for their construction. Often, they have a laminated veneer on the cabinet surface. Over time, in the high humidity of a bathroom, this veneer can start to separate from the MDF surface. Repairing this can be a quick fix, and all you’ll need is some strong wood glue to adhere it. Removing the door from its hinges first can make this job easier. Handle the peeling veneer carefully so it doesn’t peel back further or break off altogether.
If the veneer is completely separated from the MDF and is in poor condition, replacing the entire cabinet door or buying a new unit may be better.
Repaint the Cabinet Doors
Painted surfaces can also peel or flake because of high humidity. In these instances, give your bathroom vanity a fresh coat of paint. Sand off the existing peeling paint, clean (steer clear of abrasive solutions), and allow to dry.
Apply a moisture-resistant primer before painting, as this can help prevent future peeling. Selecting a satin, semi-gloss or high-gloss paint is better than a flat finish as they’re less prone to moisture infiltration, and mold will be easier to clean off if it develops. There are even paints formulated to resist mold.
Water-based paints can take around a month to cure fully, so hold off using cleaners on the newly painted surface for at least that long.
Remove Water Stains From Wood Vanities
There’s nothing more frustrating than a water stain on a high-quality solid wood vanity. Stains like this can be hard to avoid unless you mop up spills quickly. Fortunately, you can remove those unsightly stains with a little work, and your cabinet can look good as new.
If the stain is a light white mark, the water has not fully penetrated the wood. You may be able to remove it by placing a dry cloth over the affected area and then ironing on low heat with no steam.
For darker and ingrained stains, you’ll have to sand down the area, treat it with oxalic wood bleach, and refinish. Make sure you thoroughly rinse off the wood bleach before any refinishing begins.
Replace a Swollen Vanity Base or Other Section
If a pool of water has sat in the vanity base, it can cause the board to warp and sag. If the entire board swells up, you could replace the base rather than the entire unit.
When only a portion of the base or another part of the cabinet’s structure has water damage, you may be able to sand it down or cut a small section out and repair it with wood filler.
Prevent Future Water Damage to Bathroom Vanities
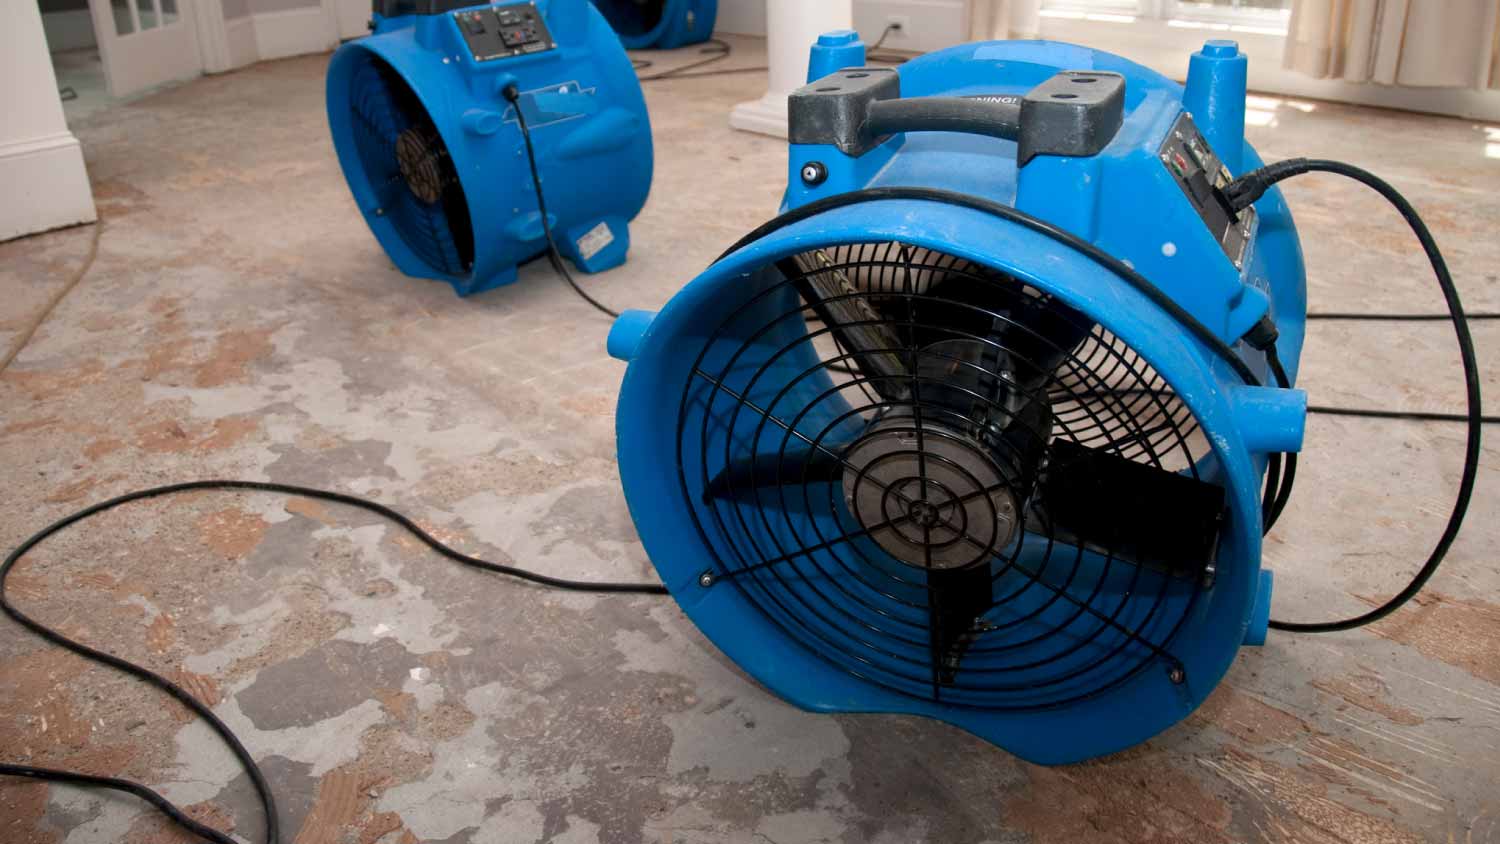
Unfortunately, accidents happen. There's no way to guarantee that bathroom vanities will never get water damage, and if your vanity is built around a sink, you have to deal with the possibility of plumbing leaks.
However, there are certain materials you can use to protect your bathroom vanity from water damage. Prefinished maple plywood is far more likely to fare a flood better than other materials like particleboard or MDF.
3. Check With a Professional if the Vanity Is Salvageable
For a bathroom vanity with extensive water damage, if you aren’t a keen DIYer—but you have a high-quality unit or one with sentimental value—you could inquire whether a cabinet refinisher near you can salvage it. However, a complete replacement will often be a better investment when the water damage is severe.
Installing a new bathroom vanity costs between $300 and $2,200, depending on the material, size, and fixtures. You’ll likely also need to contact a water damage restoration pro to fix any other damages to your bathroom.
How to Protect Your Bathroom Vanity From Water Damage

Although it’s nearly impossible to avoid unforeseen leaks, there are things you can do to minimize the chance of water damage spoiling your bathroom vanity.
Select the Vanity Material Wisely: It can be worth investing in materials other than MDF and particleboard—plywood and solid wood are more forgiving.
Reduce the Humidity Levels: Excessive moisture can be a problem for your bathroom vanity, especially ones made from MDF or particleboard. Keeping your bathroom well-ventilated and minimizing humidity levels can help to keep your unit free from mold and mildew. Use exhaust fans, open a window during and after showers, or consider using a dehumidifier.
Mop Up Spills Promptly: Wiping away excess moisture on the bathroom vanity is a good habit to develop. This includes wiping down the unit faces with a dry cloth to remove condensation after a shower or mopping up spills near the sink.
Remove Traces of Mold and Mildew: Look for signs of mold or mildew and tackle them with an appropriate cleaner immediately. Mold spreads rapidly when left untreated, especially in humid environments. Not only will this damage your bathroom vanity, but it isn’t good for your health.
Seal Your Vanity: Applying water-resistant paints or a polyurethane varnish can help protect your wooden cabinet. Making sure the seal around the sink area is in good condition will also help prevent water damage inside your unit.
Use Contact Paper on Your Vanity Countertop: Contact paper on your vanity countertop is a budget-friendly project that will help protect the surface from leaks and spills. Add a layer of sealant for more protection and to make the adhesive paper last longer. You can take it a step further with a DIY peel-and-stick backsplash.
Address Leaks Immediately: A major leak will be obvious, but a slow drip from a leaky faucet or pipe may not be so apparent. Regularly check your vanity cabinets for signs of leaks or moisture ingress to determine if you need to repair a leaky faucet or pipe. Small leaks can get bad quickly, and the cost of major water damage repairs can be high.


- What Is a Bathroom Vanity? Everything You Need to Know for Your Remodel
- The Most Common Vanity Sizes and How to Choose the Right One for Your Bathroom
- How to Protect a Bathroom Vanity From Water Damage
- Who to Hire to Install a New Bathroom Vanity and Sink
- 11 Must-Know Bathroom Remodeling Tips for Building Your Perfect Space
- How to Remodel a Bathroom: Everything You Need to Know
- 13 Common Mistakes to Avoid When Renovating Your Bathroom
- 8 Types of Bathroom Vanities for Every Space
- Best Bathroom Vanity Paint and Finish: A Homeowner’s Guide
- 31 Chic Modern Bathroom Ideas to Inspire Your Remodel
Get our Angi-powered app


