
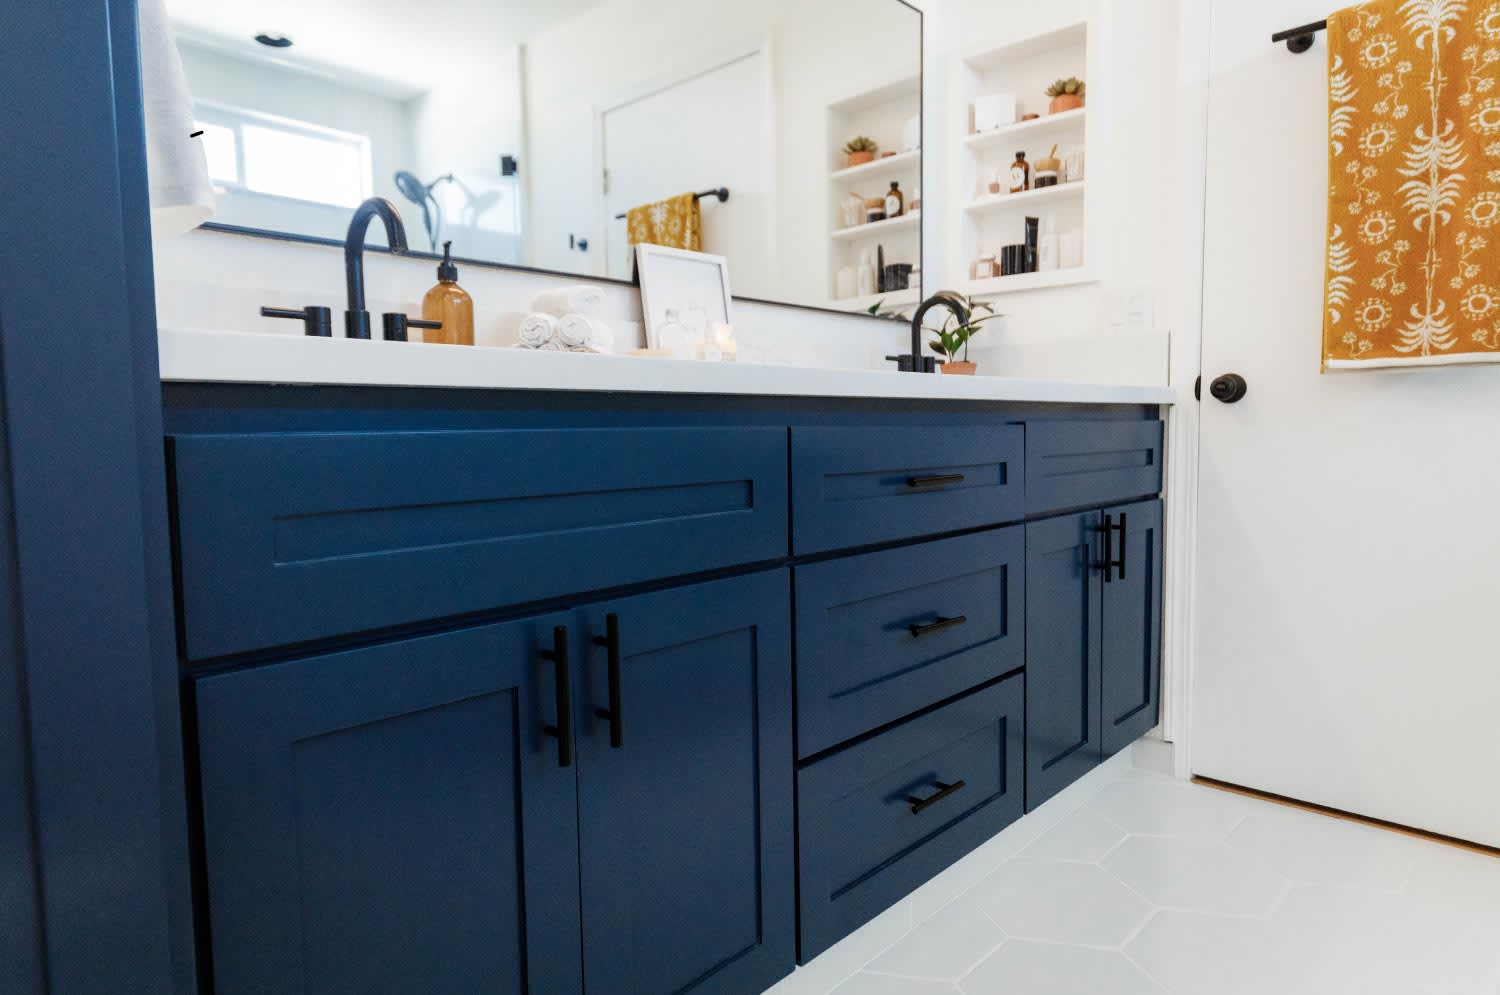
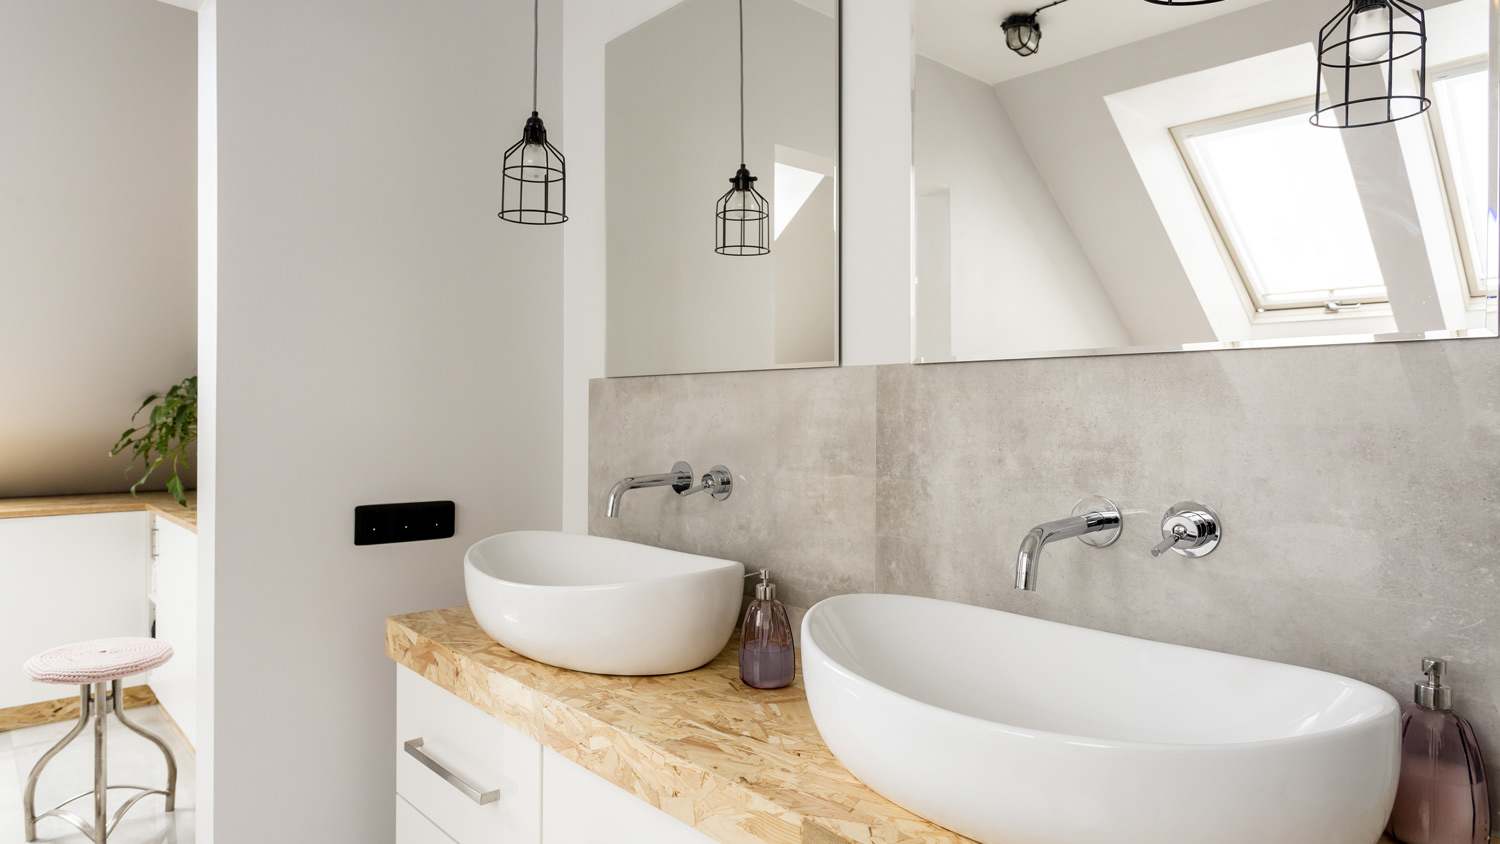
If your bathroom needs sprucing up, a new vanity will make a big difference. Vanity installation costs depend on the size and type of the countertops and fixtures you choose.
Take your bathroom vanity from drab to fab

Maybe you’re getting bored of your bathroom or moved into a new place and want to make it feel like home. Either way, you can keep what’s already there and spruce up the space by learning how to restore a bathroom vanity. You’ll be surprised at what a fresh coat of paint and new hardware can do. Here’s how to paint a bathroom vanity in seven steps.
When gathering tools and supplies for your bathroom vanity project, carefully select your paint. You’ll want to find the perfect shade for your bathroom and make sure you buy the right type of paint.
You can find paint formulated for cabinets in two forms: acrylic enamel or alkyd paint. Acrylic enamel paint is oil- or water-based and contains fewer volatile organic compounds (VOCs) than alkyd paint. VOCs in paint can cause eye or respiratory irritation in some people during the painting and drying periods, so acrylic enamel might be the better choice if you’re sensitive to VOCs.
Alkyd paints have a reputation as the best bathroom vanity paint because the surface dries to a hard finish that withstands high-moisture environments.
If you’re struggling to find the right paint for the job, a cabinet painter near you can help you get a long-lasting coat of paint that complements your bathroom. Hiring a pro could be more wallet-friendly than purchasing a new bathroom vanity.

First, take off all the removable parts of your vanity, including doors, drawers, and hardware. Remove the doors by unscrewing the hinges, and then you can take off the drawer pulls. As you remove each piece, mark where they go on the back using painter’s tape and a marker.
You can easily remove drawers by pulling them all the way out, although you might have to wiggle them back and forth a little to remove them from the tracks. And lastly, if there are adjustable shelves, take those out too.
This is also a good time to wipe down all surfaces with a rag and cleaner.
A new coat of paint will do wonders for your vanity but don’t underestimate the power of brand-new cabinet hardware. You can always spray-paint the hardware you already have and save yourself some money, or choose some new hardware to match your vanity’s new look.
If you decide to go with new hardware, you’ll need to fill the holes from the old ones. Fill the holes using wood filler and a putty knife. Let the filler dry for about 30 minutes or longer, and then sand it down with 220-grit sandpaper. Wear a particulate respirator while sanding to protect your lungs.
Start with 120-grit sandpaper and start sanding down all of the surfaces. Sanding everything down before painting the bathroom vanity will help your new primer and paint stick properly and last longer.
Finish up with a 220-grit sandpaper. Use an orbital sander or a mouse sander. You don’t need to sand the old paint away completely—you just need to roughen up the surfaces.
After sanding, clean and remove the dust from all of the surfaces. Starting with a clean surface allows your primer and paint to adhere properly. You can accomplish this with a damp sponge or paper towel. Allow everything to dry before moving on to the next step.
Before opening your can of primer, prep the space. Use painter’s tape to mask off the wall, mirrors, and floor, and cover the floor with a drop cloth.
Apply one to two coats of primer, starting with an angle brush for the hard-to-reach corners and finishing with a foam roller. Allow each layer to dry, which can take an hour or longer, depending on your primer.

It’s finally time to paint! Paint in the direction of the wood grain, and apply multiple light coats for a professional, lasting look. Use a foam roller to apply two to three layers of paint and an angled brush for the corners and trim. Allow the paint to dry between coats, which can take two to four hours or longer (check the instructions on your paint).
You can use a paint sprayer instead of a roller if you want a super smooth look. This method requires more prep work, like finding a well-ventilated area and thoroughly covering your workspace. Getting used to how the sprayer works might take a little practice.
It’s time to put everything back together when everything is painted and dried. Push your drawers back in, reattach the hinges and doors, and install the hardware. And voila, there you have it—your old vanity looks new again.
Restoring a bathroom vanity is a doable DIY project for anyone willing to roll up their sleeves and put in the work. However, if you don’t have the time or are sensitive to paint, you can hire a cabinet painter for this project. A professional paint job for your vanity is a cost-effective way to add some glam to your bathroom.
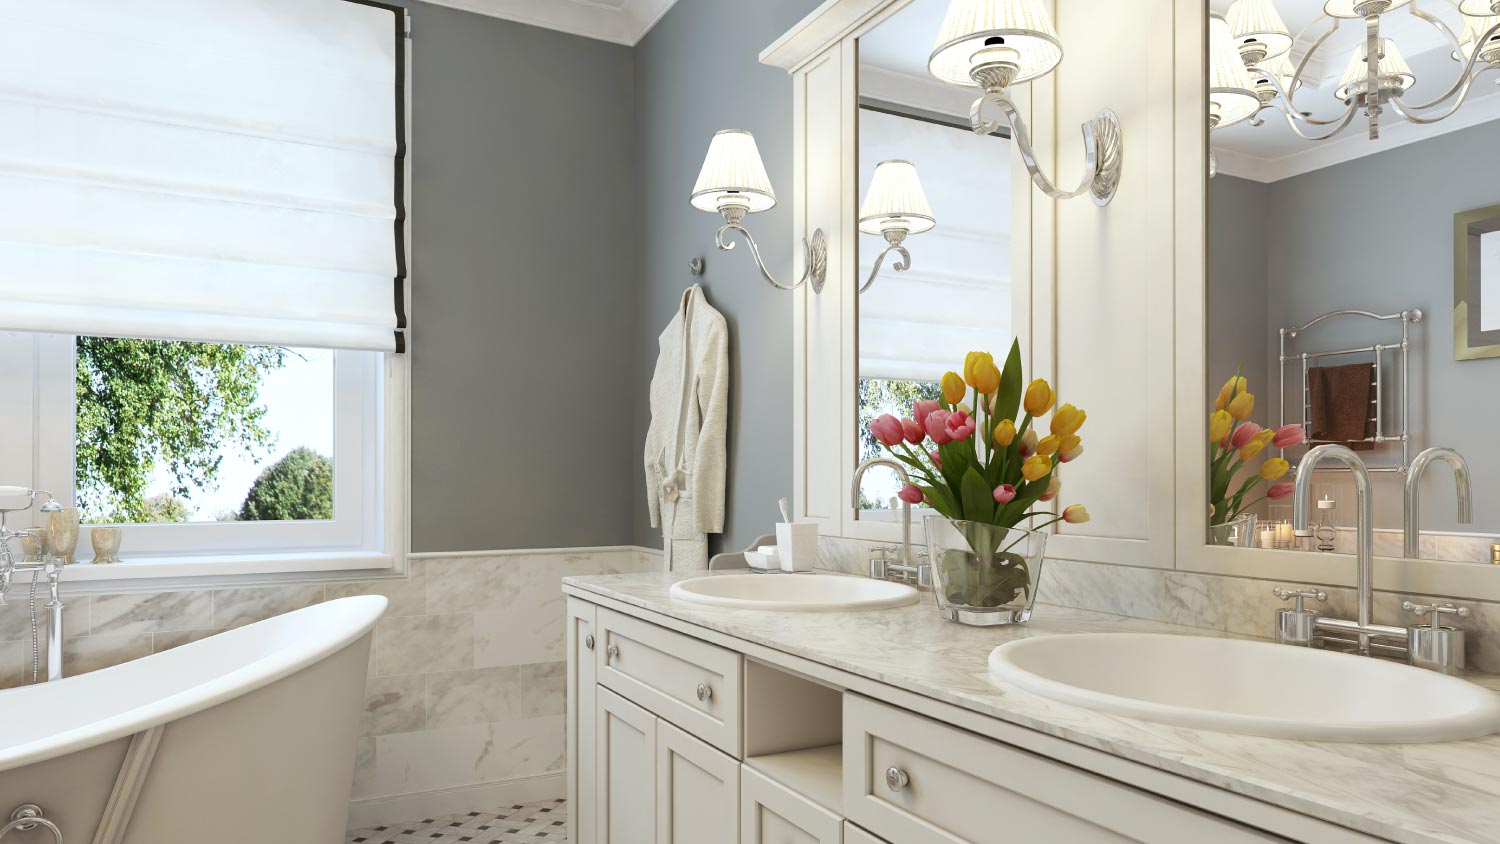
If restoring your vanity no longer appeals to you, consider getting a brand-new one. Bathroom vanity installation costs $300 to $3,800, depending on your desired vanity type.
Positive experience. As previously stated, the replacement/repair could not be completed (no fault of the plumbing tech) b/c misinformation was rec?d by property management maintenance. Thanks to the plumbing tech for your efforts. Appreciate you!
 The Waterworks
1st Choice Renew is simply the best! We hired them for a complete home renovation, and they transformed our space into something truly amazing. The team attention to detail and commitment to quality were evident throughout the project. They were easy to work with, very responsive, and always...
Amazing job. Efficient and quick without compromising quality. Basement feels brand new. Would use them again in a heartbeat.
 AffordaPro Restoration
Best cleaning I've had at my property
Supreme Brick & Chimney did an excellent job restoring the brick and mortar joints on my home. Their team was professional, knowledgeable, and completed the work on time. I highly recommend them and will hire them again in the future! Thanks!
 Supreme brick & chimney
Custom Paint Jobs LLC brought life back to my old furniture. Highly recommended for their restoration work!
Great job...edging and pre clean up went well with a great job with seal coat. Friendly, efficient and professional.
 All Star Paving and Sealing
It was just fine. They did a good job. They cleaned what needed to be cleaned.
 Dezired Cleaners LLC
Overall the work went well. We had some miscommunication over the damper, because of my lack of knowledge regarding fireplaces. When I pointed the issue out to New Buck they corrected the issue, and did not charge me. They were very clean, with their work considering how messy restoring a...
From average costs to expert advice, get all the answers you need to get your job done.
If your bathroom needs sprucing up, a new vanity will make a big difference. Vanity installation costs depend on the size and type of the countertops and fixtures you choose.
If your bathroom vanity top is damaged or cracked, removing and installing a new one can be an easy project to tackle. Learn the cost of replacing your vanity top.
Major leaks can cause irreparable bathroom vanity damage, but some water damage can be rectifiable. Whether it's peeling paint or veneer, warped or sagging panels, learn some techniques for repairing a water-damaged bathroom vanity.
A handyperson is an ideal pro to remove and install your new bathroom vanity and sink. We have rounded up the best people who can get the job done.
Need to hire someone for bathroom vanity installation? Learn how to find qualified pros, questions to ask, and what to expect from the hiring process.
Ready to upgrade your bathroom? Get clued in on how to install a bathroom vanity so you can confidently take on this DIY job.