Best Paint for Trim and Baseboards: A Complete Guide
Find the foolproof formula for a flawless paint finish for your home’s trim


It’s easy to overlook the importance of interior trim when mapping out the many elements of a room makeover, but determining the best paint for trim is an essential step. These finishing touches can be a secret design weapon—millwork like trim frames, floors, doors, walls, and windows cover the gaps between building transitions for a softer, more polished look.
Durable gloss was the go-to paint sheen level for interior trim a few decades back. However, formulas have advanced significantly in recent years, meaning while semi-gloss is still the most popular choice, other finish options aren’t off-limits when painting trim. Whether you’re tackling baseboards, crown molding, or door or window casing, the type of paint you use on trim depends on your desired aesthetic, practical function, and budget. Follow these tips to find the best paint for trim in your home.
1. High-Gloss
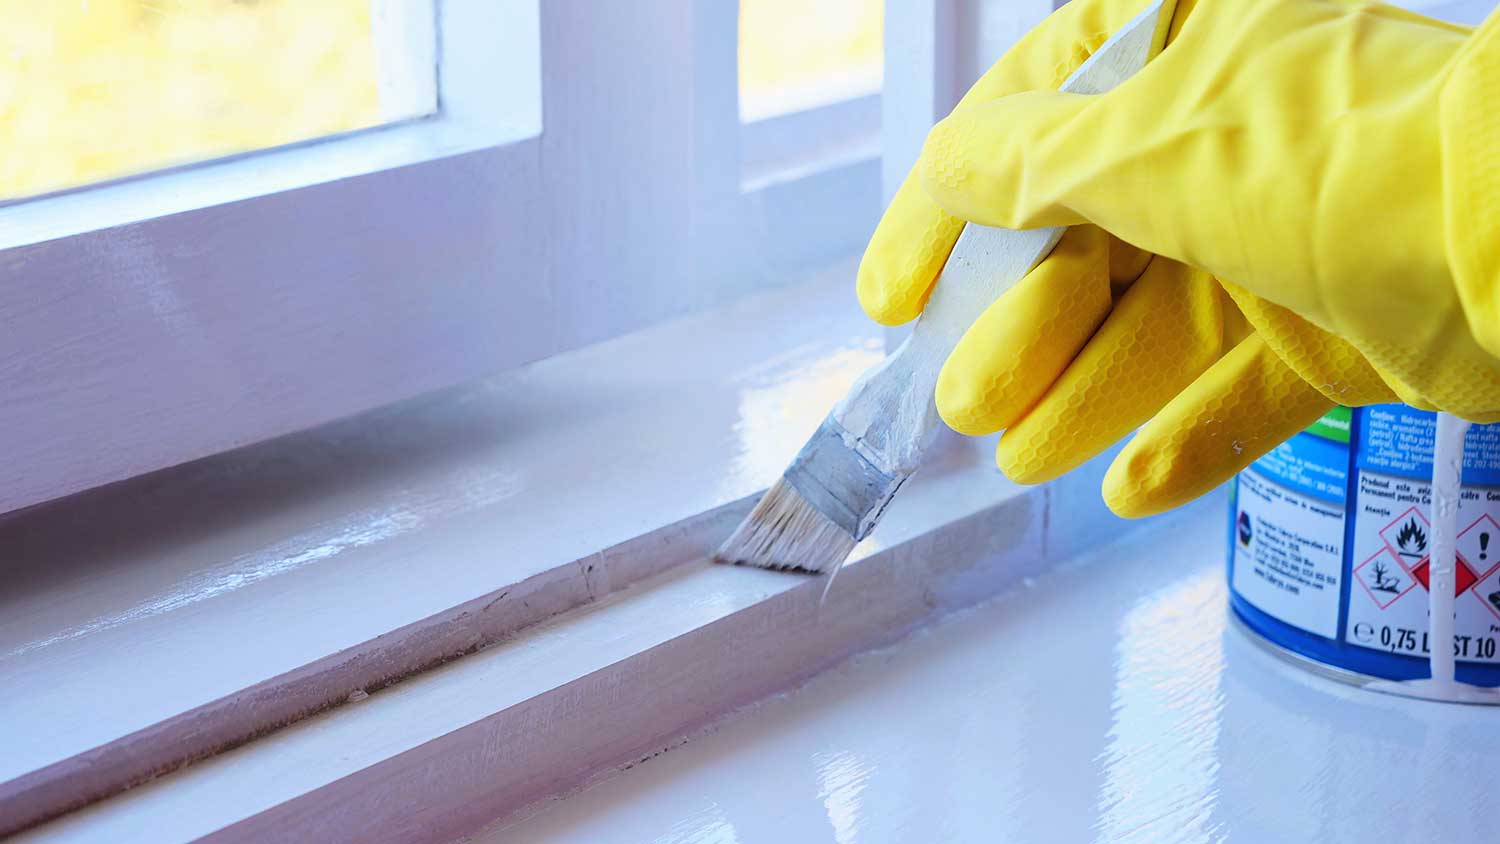
High-gloss sheen might be the most durable option, but that doesn’t mean it’s ideal for painting trim. This paint’s highly reflective finish can brighten a small space and highlight the trim, but it can also look dated and show imperfections in the trim and brush strokes. Check out the pros and cons of using this type of paint on your home’s trim.
| Pros | Cons |
|---|---|
| Durable, hard finish | More expensive |
| Moisture-resistant | Takes 48 hours to dry |
| Easy-to-clean | Reflective surface shows imperfections |
| Resistant to yellowing and sagging | Difficult to apply |
| Can withstand temperature fluctuations | Can look dated |
High-gloss paint brands:
Valspar® Ultra High Gloss Paint + Primer
Benjamin Moore® ADVANCE High Gloss Interior/Exterior Paint
Sherwin-Williams® ProClassic Waterborne Interior Acrylic Enamel
2. Semi-Gloss
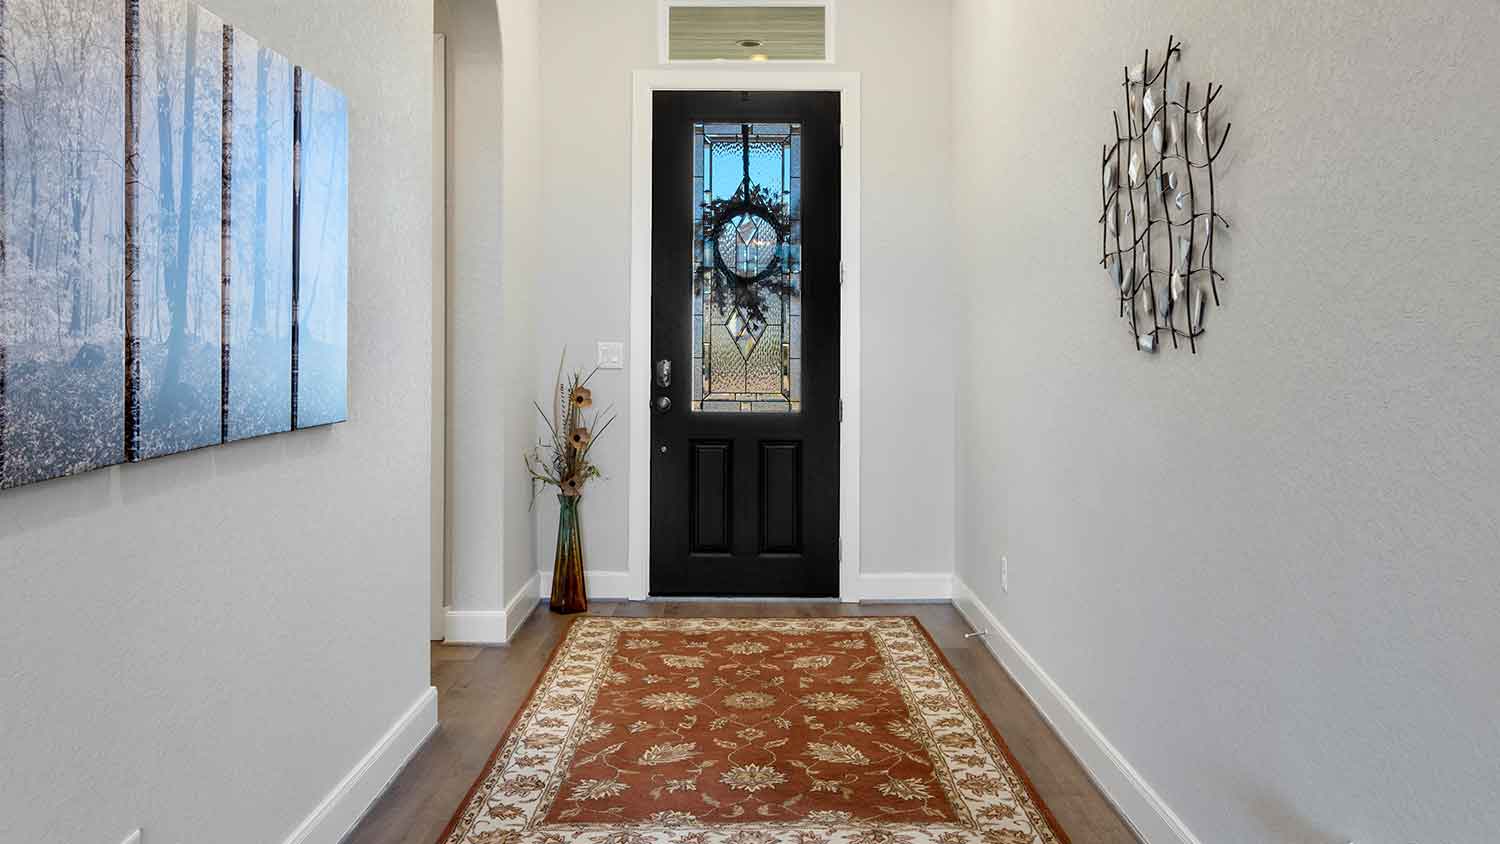
Semi-gloss paint is the most popular paint finish for trim. It shares many high-gloss qualities but strikes a better balance between appearance and functionality. Semi-gloss is a popular paint for doors, cabinets, and trim due to its durability. This finish is easy to clean and will highlight imperfections in trim less than high-gloss paint. Its surface is still reflective enough to brighten a room and it has a more contemporary feel than high-gloss paint.
| Pros | Cons |
|---|---|
| Durable | Difficult to apply |
| Moisture-resistant and easy-to-clean | More expensive than satin or matte paint |
| Less expensive than high-gloss paint | May still show imperfections and brush strokes |

Now more durable, not-too-shiny satin paint formulas can work on trim, especially if it isn’t a high-traffic area, like crown molding or picture rails. Satin paint won’t reflect light as much as high-gloss or semi-gloss paint, so it’ll show fewer imperfections but won’t add the same brightness and contrast that higher gloss finishes do.
| Pros | Cons |
|---|---|
| Affordable | Difficult to clean |
| Easy to apply | Less durable than gloss paints |
| Won’t show imperfections | Not ideal for baseboards |
Satin paint brands:
Wattyl® Aqua Trim Satin
Valspar® Signature Paint + Primer
4. Eggshell, Matte or Flat
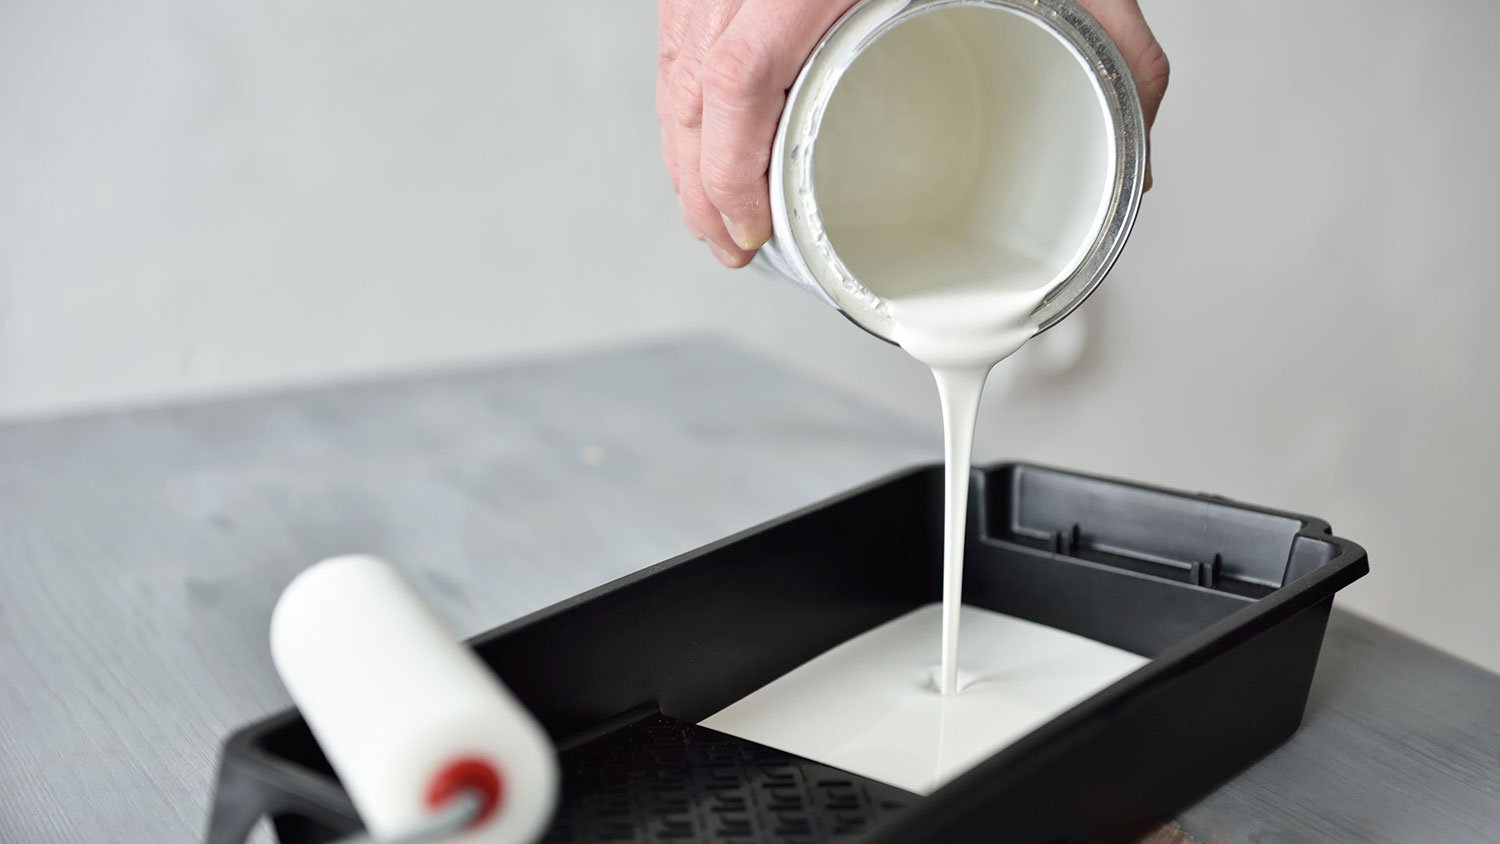
Traditionally, resin-light matte (low-sheen) or flat (no-sheen) paints weren’t tough enough to handle the scuffs, stains, and moisture that heavy-traffic baseboards and door and window frames experience. However, if you are set on using this finish, some more pricey, durable matte finish formulas are marketed as suitable for use on trim.
| Pros | Cons |
|---|---|
| Hides flaws and imperfections | Less durable than other finishes |
| Easy to apply | Difficult to clean |
| Quick-drying | Prone to mildew buildup |
Flat/matte paint brands:
ECOS Matte Paint
Sherwin-Williams® Premium Interior Latex Matte Finish
What to Consider When Choosing a Trim Paint Color

It’s not just about working out what finish you want. Let’s look at the other ingredients that influence your paint selection for trim in your home.
Oil vs. Acrylic-Latex Paint
Durable, moisture-resistant oil-based rather than latex paints were once the only way to go for trim. The longer drying time and thick formula helped to prevent unsightly, streaky brush strokes and sagging.
However, more acrylic-latex (water-based) formulas are now available for use on trim. They have additives that help ensure a durable, smooth, stroke-free finish. These options are safer, more environmentally friendly, quicker to dry, and easier to clean up. Unlike oil-based paints, they are free from volatile organic compounds (VOCs) that emit harmful fumes, and you won’t need to pull out the harsh paint thinners to clean the brushes or get rid of accidental drips or spills.
Color
White might be the most common color when painting trim, but it doesn’t have to be the only option.
White: You can’t go wrong with versatile and neutral white on trim. Select the shade that complements your room's wider decor, colors, and light. If you’re unsure, pick a white paint shade with cool or warm undertones to match your wall colors.
Dark Trim: Using a paint on trim darker than the shade on your wall can add depth to your room. Black trim in a room with white or light-colored walls can add a luxe, dramatic vibe.
Match your walls: Try matching your wall and trim paint to create a clean, contemporary aesthetic. It can also make the space look bigger in a low-ceiling space.
Non-Yellowing Additives
Most quality, modern trim paints contain additives to prevent your woodwork from turning an unsightly yellow. This factor is especially important in rooms exposed to bright UV rays. You don’t want your window frames yellowing while your crown molding remains a crisp white.
Tips for Prepping and Painting Your Trim
If you want the best finish, follow these tips for how to paint trim like a pro.
Clear the area and cover any nearby furniture. If you're painting baseboards with carpets, pull back the carpet to protect it from drips.
Sand off imperfections and peeling paint first.
Patch any holes in your trim and sand again for a perfectly smooth surface.
Box in your trim with painter’s tape to achieve neat edges.
Wash the trim to promote good paint adhesion and allow it to dry fully before getting the paintbrushes out.
Apply primer if you are working with bare trim, you want to help prevent stains from seeping through, you’re going from a dark to light shade, or you just want to guarantee the most uniform, long-lasting finish.
Apply at least two coats of paint for a durable, even finish, and avoid the common painting mistake of overloading your brush.
Wait for the final coat to be tacky but not fully dry before removing the painter’s tape.
And, if your brush skills aren’t up to much, consider hiring an interior painter near you. The average cost to paint the interior of a house trim is $1 to $3 per linear foot—money well spent for a neat, long-lasting finish.
Frequently Asked Questions
A brush is often a better option to paint trim than a roller. A brush will give you more control over the trim’s smaller surface area and can get into the crevices of any edges and detailing. To save time, you can apply the paint to the trim with a roller but finish the details with a brush to ensure full coverage from edge to edge.
If you’re painting unfinished wood or painting over trim that’s a darker color, use a primer for even application. Primer maximizes paint adhesion, which is an advantage for surfaces like trim that may experience more wear and tear than your walls.
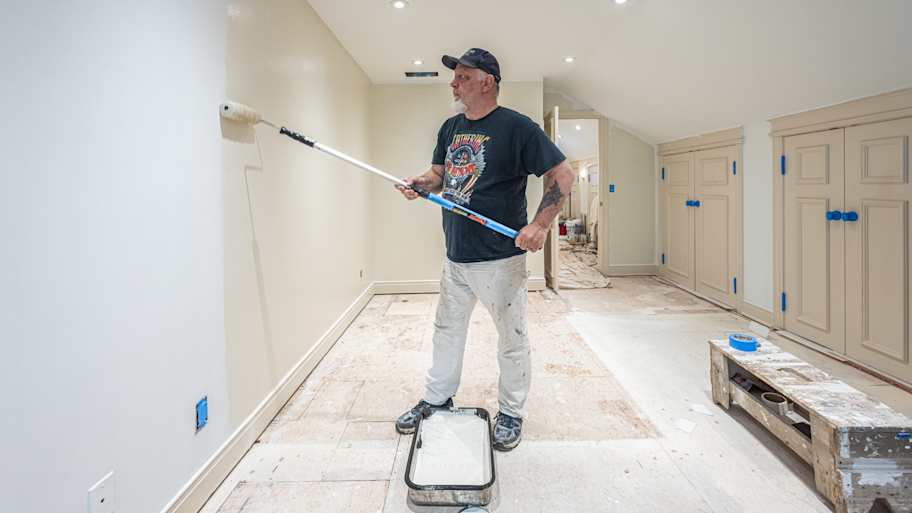
When you hire a painter, they may paint the trim first, but DIYers may find it easier to paint the walls first. You’re more likely to splatter when painting the walls, so painting the trim last allows you to cover any drips or splatters with your trim paint. Using a paintbrush on trim after the walls have been painted allows you to cut in with precision, reducing the need for extensive taping.
- Best Paint Finish For Bathroom: A Complete Guide
- Satin vs. Semi-Gloss Paint Finish: What’s the Difference?
- What Is the Best Paint Sheen for Kitchens?
- What’s the Difference Between Satin and Semi-Gloss Paint?
- The Ultimate Guide to the 5 Types of Paint Finishes
- The Best Paint for Interior Doors
- The 7 Best Paint Sheens for Your Bedroom
- Do You Paint Trim or Walls First in Your Room? How to Decide
- What Sheen Is Best for Exterior Painting?
- Eggshell Paint vs. Semi-Gloss: What’s the Difference?


