The cost to paint the interior of a house in Tampa, FL depends on size, layout, type of surface, and more. Learn what factors can influence your total in this guide.
Spray your troubles away


Hire a painting pro to tackle any home improvement project quickly and easily.
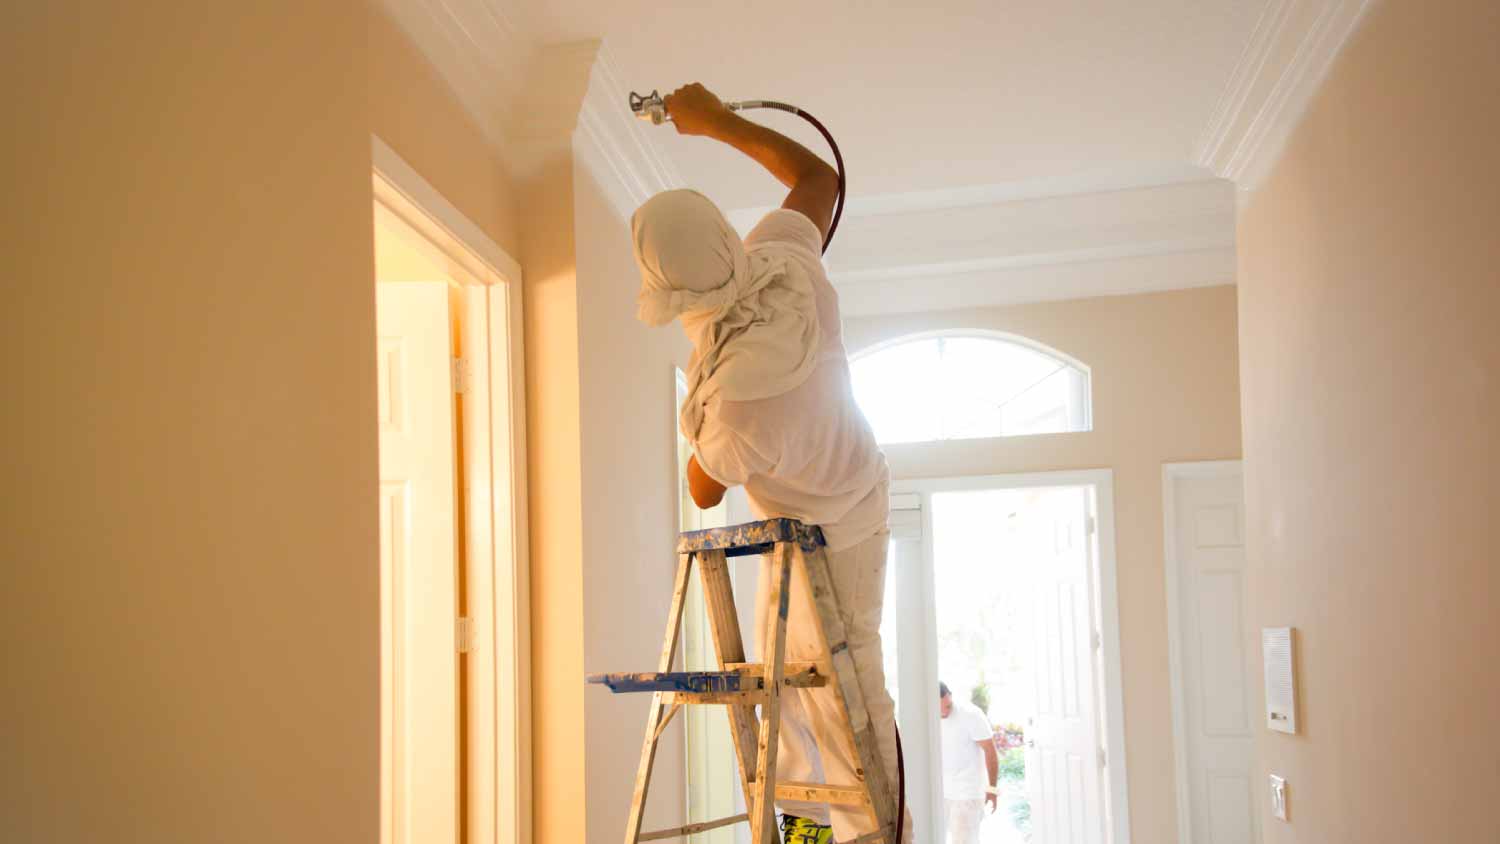
Airless paint sprayers are the best option for large painting jobs that don’t require precision.
If you’re painting a textured surface, like a stucco wall or popcorn ceiling, look into a specialized textured sprayer.
Cup sprayers are among the most budget-friendly options, but they’re less powerful than average.
Searching for the best paint sprayer for your DIY painting project? You’ve come to the right place. Using a paint sprayer instead of a paint roller or brush is a serious time saver, plus they achieve consistent coverage, simplify the repetitive nature of the job, and excel on hard-to-paint surface types.
However, there are many different types of paint sprayers out there, and it can be tricky to pick the correct design for your specific painting project. That’s where we come in. Keep reading to learn about the various types of paint sprayers and the preferred tasks for each design.

Airless sprayers distribute paint from a container through a hose, so they don’t need compressed air of any kind. These sprayers work with nearly every type of paint, from thick latex paints to thin stains. Airless sprayers are built for speed, so this design is worth considering for any outdoor jobs. In other words, they are not built for precision, so avoid airless sprayers for texture work and trim.
However, these sprayers accommodate a number of different tips for different thickness levels, spray shapes, and more. They are available in different horsepower and tend to function admirably without paint thinner. Mask up when using an airless sprayer. Remember, they are great for speed but not precision. For best results, strain your paint before using it with one of these paint guns or hire local interior painters to ensure it’s applied correctly.
Great for: Large jobs like painting the full exterior of a house, a large length of fencing, or the interior of a brand-new home.

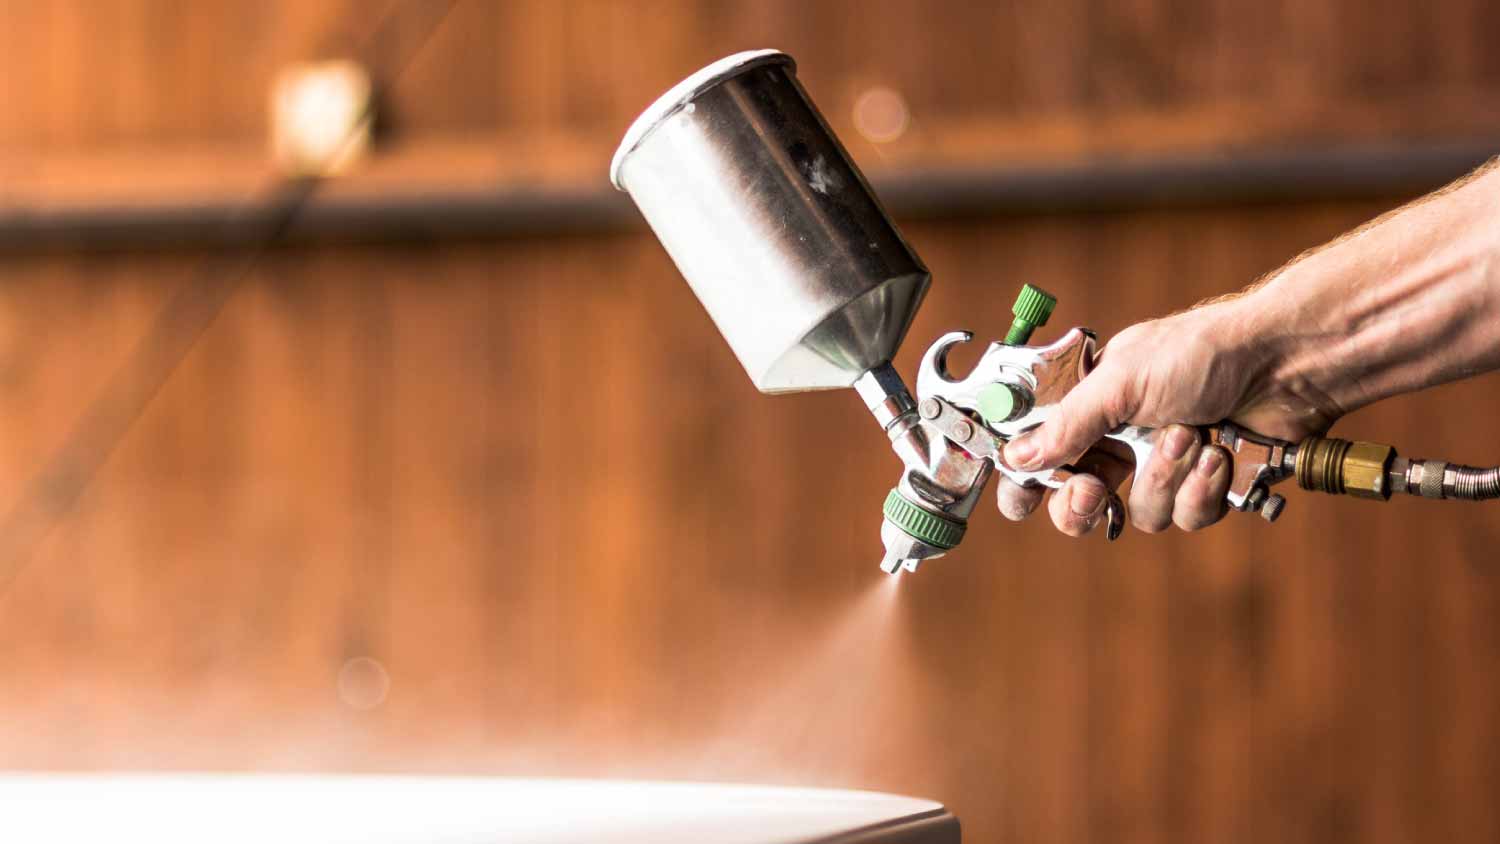
Cup sprayers are a subcategory of airless sprayers designed for residential use, as they are budget-friendly, easy to use, and extremely compact. The design is similar to a traditional airless sprayer but smaller and with the paint stored in a cup directly attached to the paint gun.
Like their larger cousins, cup sprayers integrate with a diverse array of paint types, though some paints may require a paint thinner or other thinning solution to integrate with this design type. Despite the small size, you should still mask up when using one of these sprayers, as the extrusion mechanism takes some practice to get right. These sprayers are less powerful than airless designs, but they allow for greater accuracy, making them a potential solution for touch-ups.
Great for: Fences, decks, and small DIY projects. Cup sprayers are also an ideal choice for conducting small touch-ups for larger projects.

Compressed air sprayers, or pneumatic sprayers, project paint out of the tip using compressed air. An average compressed air sprayer features a spray gun attachment, a compressor canister, and a high-pressure hose. The pneumatic design allows for more power than an airless sprayer, making this the go-to design for large-scale industrial applications
The added power makes it an easy paint sprayer to use but a difficult one to master, so mask up and practice the movements until you get the hang of it. By the same token, use drop cloths to avoid unwanted paint splatter..
The typical optimal spraying distance is 12 inches, depending on the sprayer, so test it out on a piece of cardboard or a disposal sheet of paper and adjust the PSI level accordingly. Nearly every compressed air sprayer requires paint thinner, though they integrate nicely with many different paint compounds. As a warning, these things gobble up paint like nobody’s business, so have some extra paint cans on hand.
Great for: Most home painting applications, such as kitchen cabinets and furniture. Outdoor applications like painting decks and fences.

High-volume, low-pressure (HVLP) sprayers also use air to push the paint into a nozzle, like compressed air sprayers, but the air stream is much weaker to allow for a mist-like spray pattern. This pattern allows for the best transfer efficiency on this list, meaning more paint reaches the spraying surface and less paint is wasted. This type of sprayer is safer to use, so you can refrain from wearing a mask or using drop cloths once you get the hang of it.
HVLP sprayers have trouble using thicker paints, so read the instructions to find the best paint type for your specific sprayer (some include nozzles specifically for latex paint.) Instead of tips, HVLP sprayers use swappable front ends for different applications and for applying unique finishes. Most HVLP sprayers have various nozzles for painting broad surfaces like decks and siding or for conducting fine finish work.
The suggested spraying distance with this type is 6 inches, but practice until you get a feel for it, as results vary. HVLP sprayers are split into two subcategories: handheld sprayers that prioritize mobility, and stationary sprayers that excel with the kind of continuous spraying required for large projects.
Great for: Painting a room, the exterior of a small house, or painting trim. They also work well for finishing off a deck, a fence, or for completing a staining job.
As the name suggests, texture sprayers apply specialty textures onto surfaces, making them extremely popular in the construction industry. Pros use these sprayers to apply textured materials like popcorn ceilings, splatter, and orange peel. Using this specialized sprayer is a much faster process than texturing by hand, so they are also sought-after by DIY wizards with plenty of experience.
These sprayers excel with specialized materials, but most models also handle basic paint, so they perform double duty. Texture guns accommodate a diverse array of tip sizes, texture finishes, primers, and paints. These sprayers boast a significant learning curve, so mask up and practice on cardboard and other disposable materials before the main event.
Great for: Adding texture to interior walls and ceilings. Completing large paint jobs, such as painting the whole exterior or interior of a home.
While spraying is easier than rolling or brushing, some finesse is required. First and foremost, each design has its own quirks, so familiarize yourself with the instructions. Here are some tips to truly make the most out of your paint sprayer.
Keep an eye on where you are standing: Holding the sprayer close to the surface creates a narrow spray pattern, but a thick coat. Holding the sprayer further away creates a broader pattern, but a thinner coat. Practice finding the best place to stand.
Test it out: Test the sprayer on a piece of cardboard or any other scrap material instead of practicing your technique on the actual paintable surface. That way, the mistakes only apply to the cardboard and not your furniture.
Pay attention to speed and movement: Observe how the paint lands when you first start spraying and speed up or slow down for consistent coverage.
A little movement goes a long way: In other words, refrain from swinging your arms back and forth as you paint. Keep the sprayer straight and move in slow and refined increments.
Don’t store paint in the sprayer: Generally speaking, paint should not be stored in the sprayer when not in use. Remove it and place it in an airtight container, laying that container in a dry part of the home.
Don’t forget to clean it: Clean the unit thoroughly after every use. Dried and flaky paint is nobody’s friend.
From average costs to expert advice, get all the answers you need to get your job done.

The cost to paint the interior of a house in Tampa, FL depends on size, layout, type of surface, and more. Learn what factors can influence your total in this guide.

The cost to paint the interior of a house in Detroit, MI depends on size, layout, type of surface, and more. Learn what factors can influence your total in this guide.

The cost to paint the interior of a house in Denver, CO depends on size, layout, type of surface, and more. Learn what factors can influence your total in this guide.

Wondering who to hire to strip paint or remove paint? Compare paint stripping contractors and lead abatement pros, and start your project with confidence.

You must choose the best paint for metal surfaces to get the smoothest and longest-lasting coverage. We’ve rounded up 12 of the best paints for metal items in this guide.

There are many alternatives to painting brick walls, including staining and whitewashing. Learn more about different methods for bringing new life to your brick space.