
Bubbles popping up on your drywall is not only unsightly, but it might also mean there’s a bigger problem. Here are three reasons why your drywall is bubbling.
Smooth walls only, no bubbles allowed

Bubbles in the paint form when moisture on your walls prevents proper adhesion, trapping water beneath the surface and causing unsightly blistering.
Painting over dirty walls or minor mold creates an unstable foundation that weakens the bond between paint and surface, leading to bubbling problems.
Thoroughly clean and dry your walls before painting, apply primer for moisture-prone areas, and work within 50 to 85 degrees Fahrenheit for best results.
Hiring a local interior painting professional provides reliable guidance on surface preparation and proper paint application, helping you avoid frustrating bubbling issues.
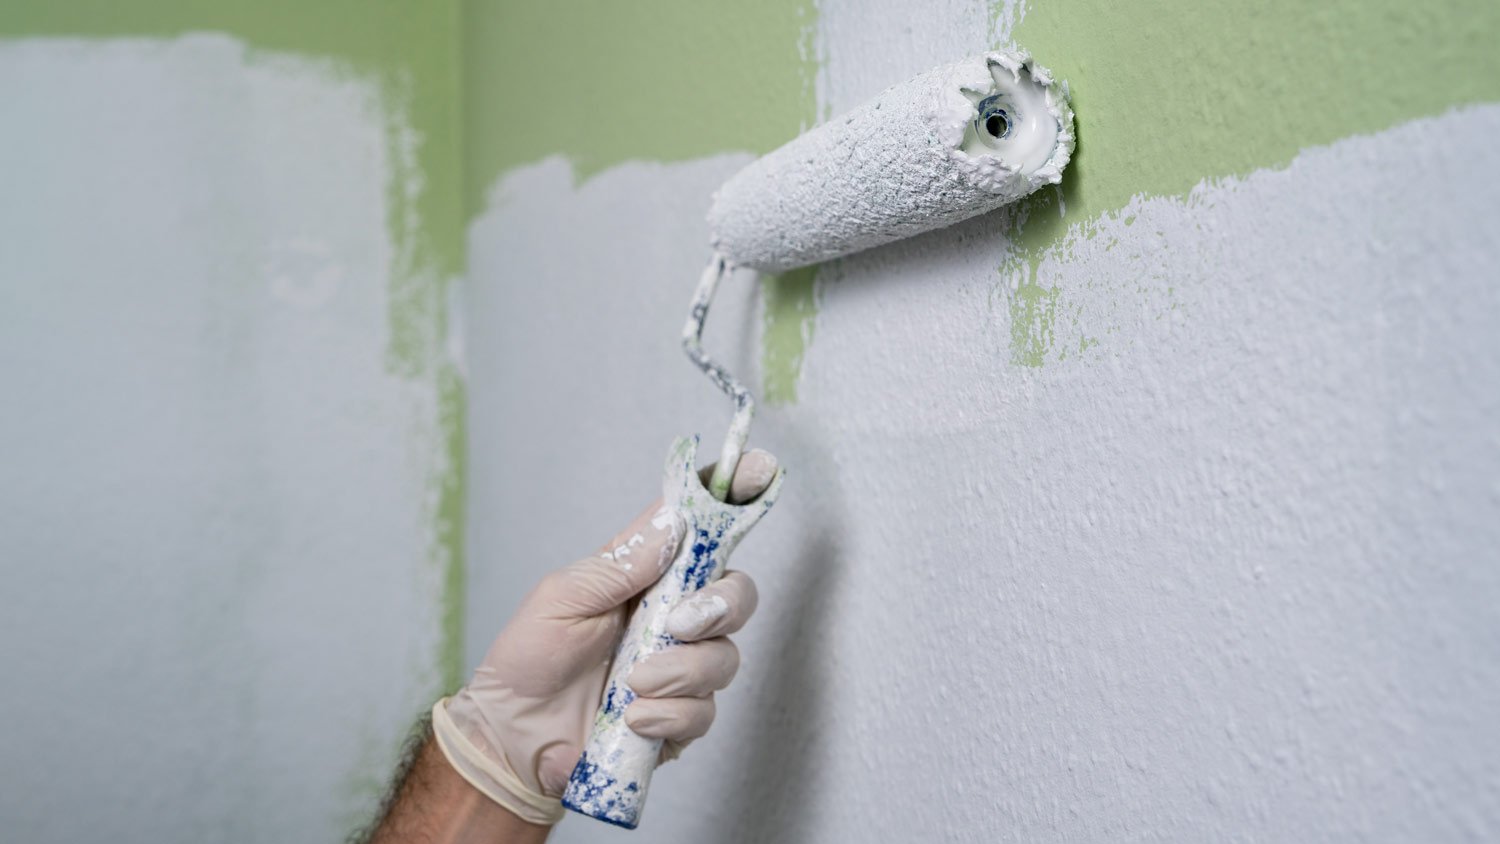
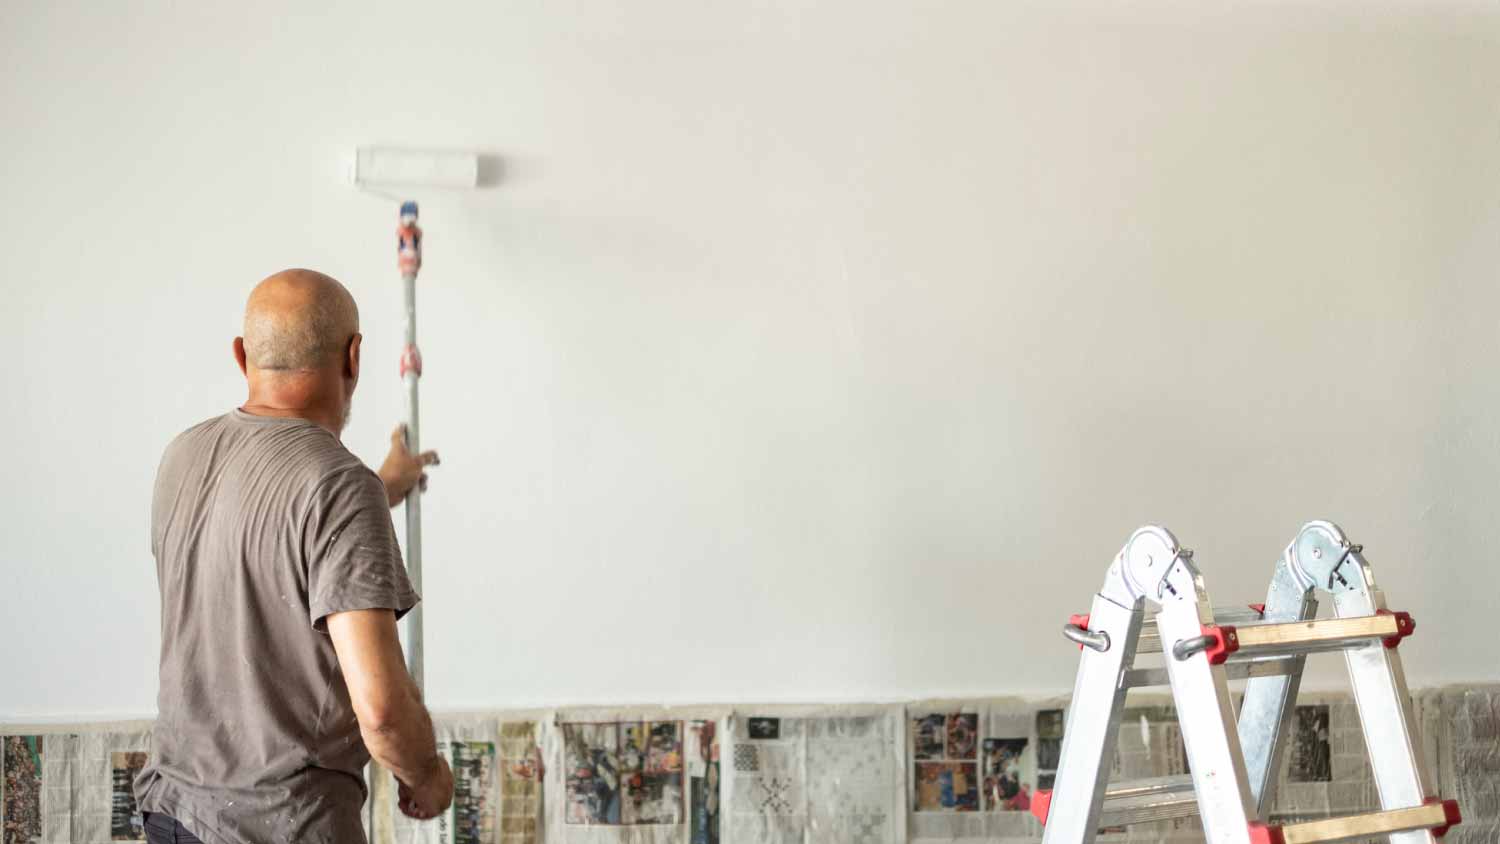
Bubbles in your paint job not only ruin the look of your walls but also slow down the process, as you’ll need to scrape off the damaged paint, prep the surface, and repaint. To avoid this frustrating setback, it helps to understand what causes paint to bubble in the first place. Learn the common culprits behind paint bubbling to achieve a smooth, professional look and finish your project faster.
Moisture on your walls prevents good adhesion to the surface, so trapped moisture can quickly cause paint to bubble. This can happen if the bare drywall is wet from plumbing leaks or high humidity while you’re painting, but you can also see bubbles if you apply a second coat before the first is completely dry. Even small amounts of moisture can disrupt the bond between the paint and the wall, leading to unsightly bubbles and peeling over time.
Make sure the surface is completely dry before painting and repair any leaks or sources of high humidity first. Always allow each coat of paint to dry fully before applying another. You can also use a paint primer designed for moisture-prone areas for a stronger, more reliable adhesion.
Dirt and grime create an unstable foundation that weakens the bond between the paint and the wall, preventing paint from adhering to your surface and leading to bubbling. If you’re painting over dirty walls, stains, or minor mold growth, clean the surface first and allow it to dry completely before getting started. Even small particles or oily residues can interfere with adhesion, causing the paint to lift and form bubbles as it dries.
Thoroughly clean your walls with soap and water or a mild cleaner before painting to avoid bubbling from surface contamination. Remove all dirt, grease, and stains, and allow the surface to dry completely to avoid moisture-related bubbling. For tougher spots like minor mold or mildew, use a mixture of water and white vinegar or bleach to clean the area before painting.
The binders in paint work best in temperatures between 50 and 85 degrees Fahrenheit, so painting outside of that range can result in poor adhesion and bubbling. Colder temperatures promote moisture on the surface, and hotter temperatures cause the paint to dry too quickly. In both cases, you get poor adhesion that can result in bubbling. Temperature extremes can also affect how the paint film forms, making it more vulnerable to cracking or peeling over time.

Always check the weather forecast and paint when temperatures are between 50 and 85 degrees Fahrenheit. Avoid painting during very humid, rainy, or windy conditions, as these can also impact drying. If you're painting indoors, make sure the room is properly heated or cooled to stay within the ideal temperature range.
Going with a more affordable paint is always tempting, but they can contain fewer binders, which makes it harder to get a smooth application. Opt for a high-quality paint for the best results and the lowest risk of paint bubbles. Lower-quality paints often struggle to properly adhere to surfaces and can break down more quickly, making them more prone to bubbling, peeling, and uneven finishes over time. The cost to paint the interior of your home will be slightly higher, but it’s worth the investment.
Choose a high-quality paint that’s specifically formulated for your project type, whether it’s interior, exterior, or specialty surfaces. Look for paints with strong adhesion properties and a good amount of binders listed on the label.
If you’re repainting a previously finished wall, failing to sand down imperfections like chips, cracks, and bubbles in the old paint will result in the same issues in your new coat. Painting over damaged layers traps existing problems underneath the new paint, which can cause bubbling, peeling, and an overall uneven appearance. Consider hiring a local painter if you have extensive or tricky prep work ahead of you.
Always start your painting job by thoroughly sanding and repairing any chips, cracks, or bubbles in the existing paint layer. The surface should be smooth, clean, and properly primed before applying new paint. If the damage is widespread or difficult to fix, hire a professional to ensure the prep work is done correctly.
If you’re unsure of what kind of paint is currently on your walls, you should test for lead paint before starting any plasterwork. Wear eye protection and a respirator to be on the safe side.
If you paint clean walls in proper conditions and still see bubbling, you may need to apply a coat of primer first. Primer adheres better to walls and prevents your paint from soaking into the material, leading to poor adhesion, which weakens the paint film and makes it more vulnerable to bubbling. If you’re painting bare drywall or wood, a coat of primer will reduce the risk of bubbles forming and create a strong bond between the surface and the paint.
Before painting, apply a high-quality primer suited to your surface and make sure the walls are clean, dry, and properly prepared. This helps the primer bond effectively. Once primed, apply your paint in thin, even coats under the right temperature and humidity conditions.
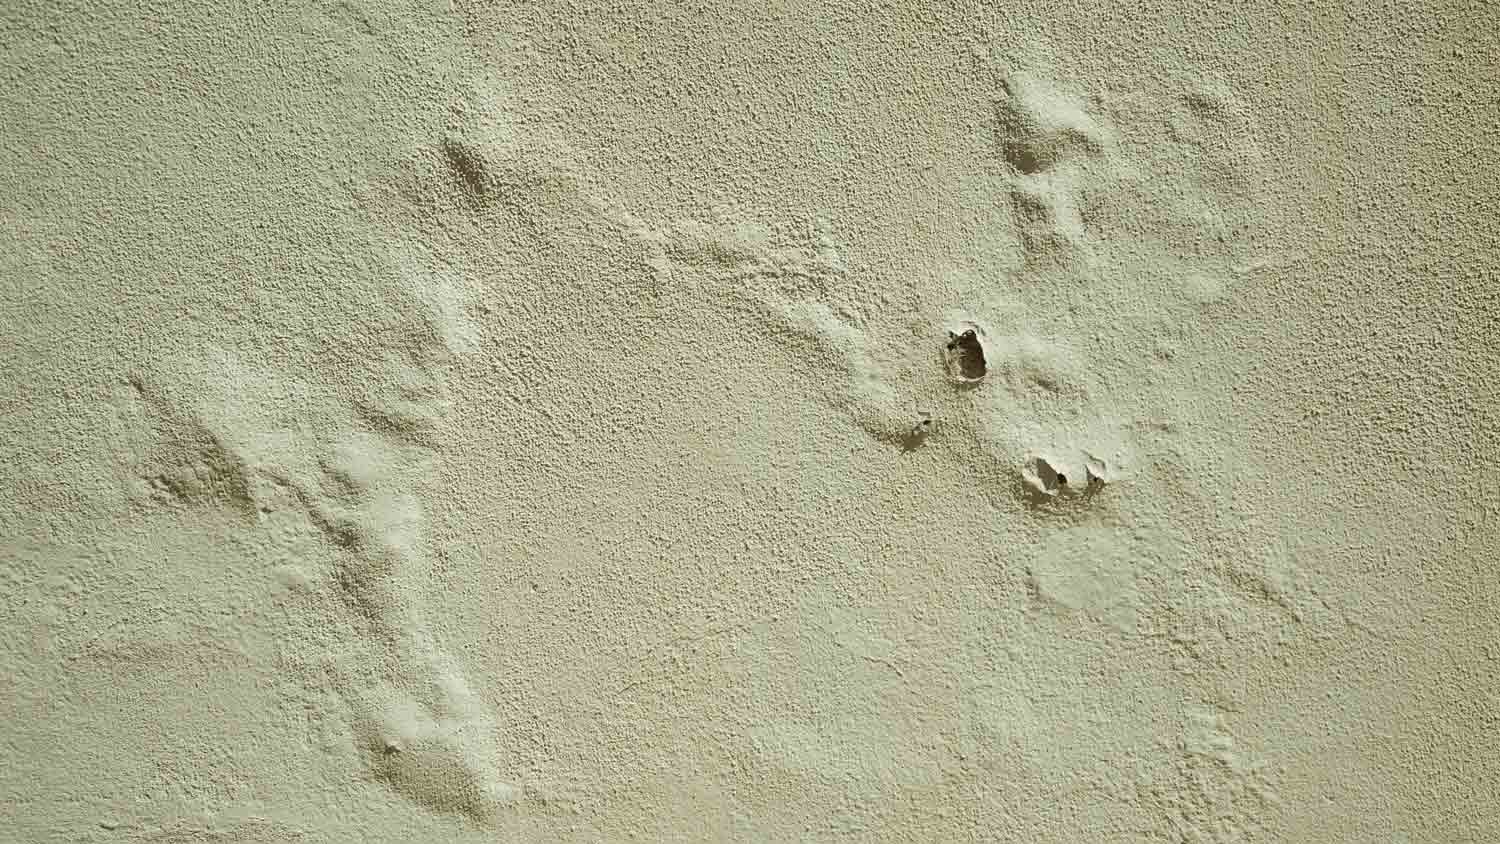
Air trapped inside or behind your paint will quickly make its way to the surface and cause bubbling. This is a common issue when using a roller that’s too thick for the material you’re painting. The texture of the roller also plays a big role in how evenly the paint is applied and how well it adheres to the surface.
Choose a short or medium nap roller for drywall and other smooth surfaces, like when you’re painting walls, ceilings, and trim, and reserve the long nap rollers for textured material, like concrete, brick, and plaster.
Layering a new type of paint over a different type can create tension on the surface, causing the new coat to lift and form blisters. Different paints have different drying and curing behaviors, which directly affect how well they bond to each other and the underlying surface. For example, oil paint hardens and won’t flex with materials that expand and contract with changes in moisture, so avoid using it on drywall and wood. Using flexible paint like latex over hardened oil paint can lead to air bubbles and poor adhesion.
Match your paint type to the surface material and any existing coatings. Use flexible paints like latex on materials that expand and contract, and avoid applying latex directly over oil-based paint without proper preparation. If you're unsure what type of paint is already on the surface, do a quick adhesion test before starting.
Dealing with bubbling paint can be frustrating, and you may need to do some repairs and repaint any affected walls. Your next decision will be whether you want to keep the same color or use this as an opportunity to change the color scheme. When it comes to tackling a painting project, choosing the right color is key. According to Angi homeowners who are completing a small painting project, 37% stick with the same or a similar color to the existing one. Of those looking to choose something different, nearly 30% opt for a lighter color compared to 18% choosing a darker shade.
If you've tried basic fixes like priming, sanding, or using the right tools and paint, but bubbling keeps coming back, it's time to call in a professional. Persistent bubbling can point to deeper issues, such as hidden moisture problems behind your walls, improper surface preparation in previous paint jobs, or structural issues like poor ventilation. A local interior painter can assess the situation more thoroughly, identify underlying causes you might not see, and recommend the right course of action to prevent further damage.
It’s also a good idea to call a pro if the affected area is large, the surface is textured or delicate, or you're dealing with specialty materials like plaster or masonry. Professionals can repair damaged surfaces properly and apply new paint that will last. Trying to fix severe bubbling yourself could lead to more extensive and expensive repairs down the line, so investing in expert help can save you time, frustration, and money in the long run.
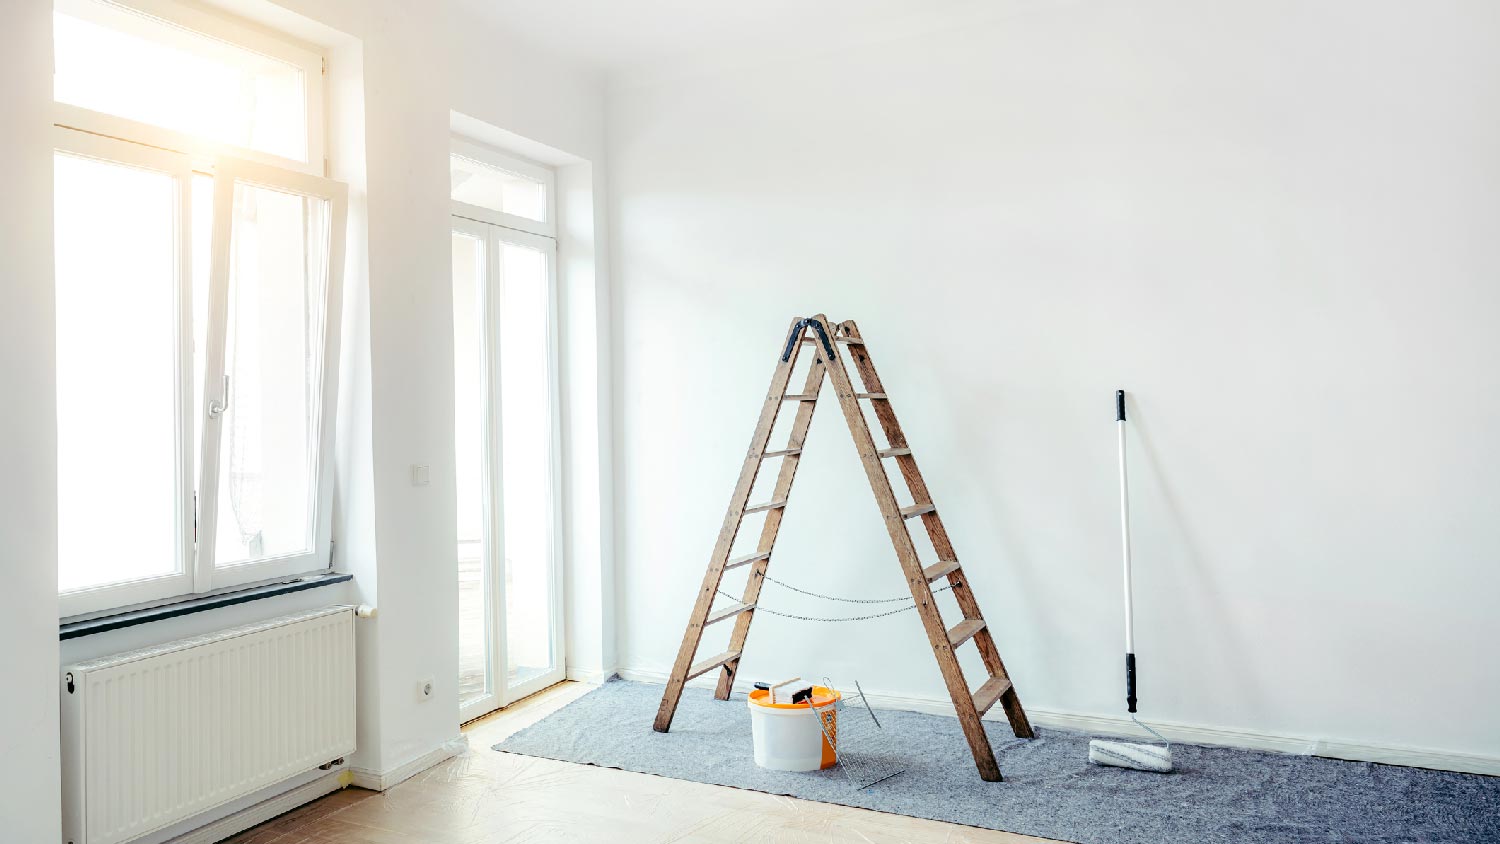
Preventing paint bubbles is much easier and far less frustrating than fixing them once they appear. Here’s how you can set yourself up for a smooth, professional-looking finish:
Clean the surface thoroughly. Dirt, grease, and residue can interfere with paint adhesion. Scrub high-touch and dirty areas well before you apply your paint.
Let surfaces dry completely. Moisture trapped beneath the paint can cause bubbling, so be patient and give walls plenty of time to dry after cleaning and between coats.
Paint in the right conditions. Check your paint manufacturer’s recommended temperature and humidity ranges and aim for the middle of both for the best results.
Use high-quality paint. One of the best home painting tips is to choose the right paint. Higher-end paints contain more binders, helping them stick better and resist bubbling.
Choose the right tools. Use a short or medium nap roller for smooth surfaces like drywall and wood, and save long nap rollers for textured materials like brick or stucco.
Mix paint slowly. Stir gently to avoid introducing air bubbles that could leave imperfections on your walls.
Consider hiring a professional. When in doubt, hire a local painter to get the job done. Experienced painters know the techniques and use the right tools to avoid bubbling, saving you time, money, and frustration. It may cost you more up front, but you’ll also avoid the cost of paint removal.
Custom Paint Jobs LLC is the go-to choice for all your painting needs. They painted both the interior and exterior of my house flawlessly. Their work speaks for itself!
Beginning with the estimate, Larry and Peyton were super helpful in getting my new condo's interior re-painted. Not only was the job well done, but also done in a super timely manner as promised.
 Five Star Painting of Plain City and Powell
From average costs to expert advice, get all the answers you need to get your job done.
Bubbles popping up on your drywall is not only unsightly, but it might also mean there’s a bigger problem. Here are three reasons why your drywall is bubbling.
Running into some paint problems? Learn what issues you might encounter with old or improperly applied paint and how to fix them.

If your paint job resembles a spider web, it may be time to examine the cause. Explore common culprits and solutions for paint cracking in our guide.
Water and moisture can seriously damage your walls and ceilings. Use this guide to learn how to fix water damage, spot signs, and prevent future problems.
Plaster is a sturdy wall material that has a tendency to crack. Most plaster cracks are cosmetic and don’t pose any harm, but it’s important to find out what is causing the cracks anyway. Learn why plaster cracks and how you can avoid damage.
Drywall mud bubbles are common, even when you’re experienced. Here are the main reasons why your drywall mud bubbles and how to fix it.