Discover the average stone restoration cost, including price ranges and key factors, to help you plan your next home project with confidence.
Tuckpointing gives your brick structures an eye-catching pop


Tuckpointing replaces worn-out mortar with fresh mortar.
This repair method adds an artistic finishing look to brick.
The result leaves clean mortar lines on a brick structure.
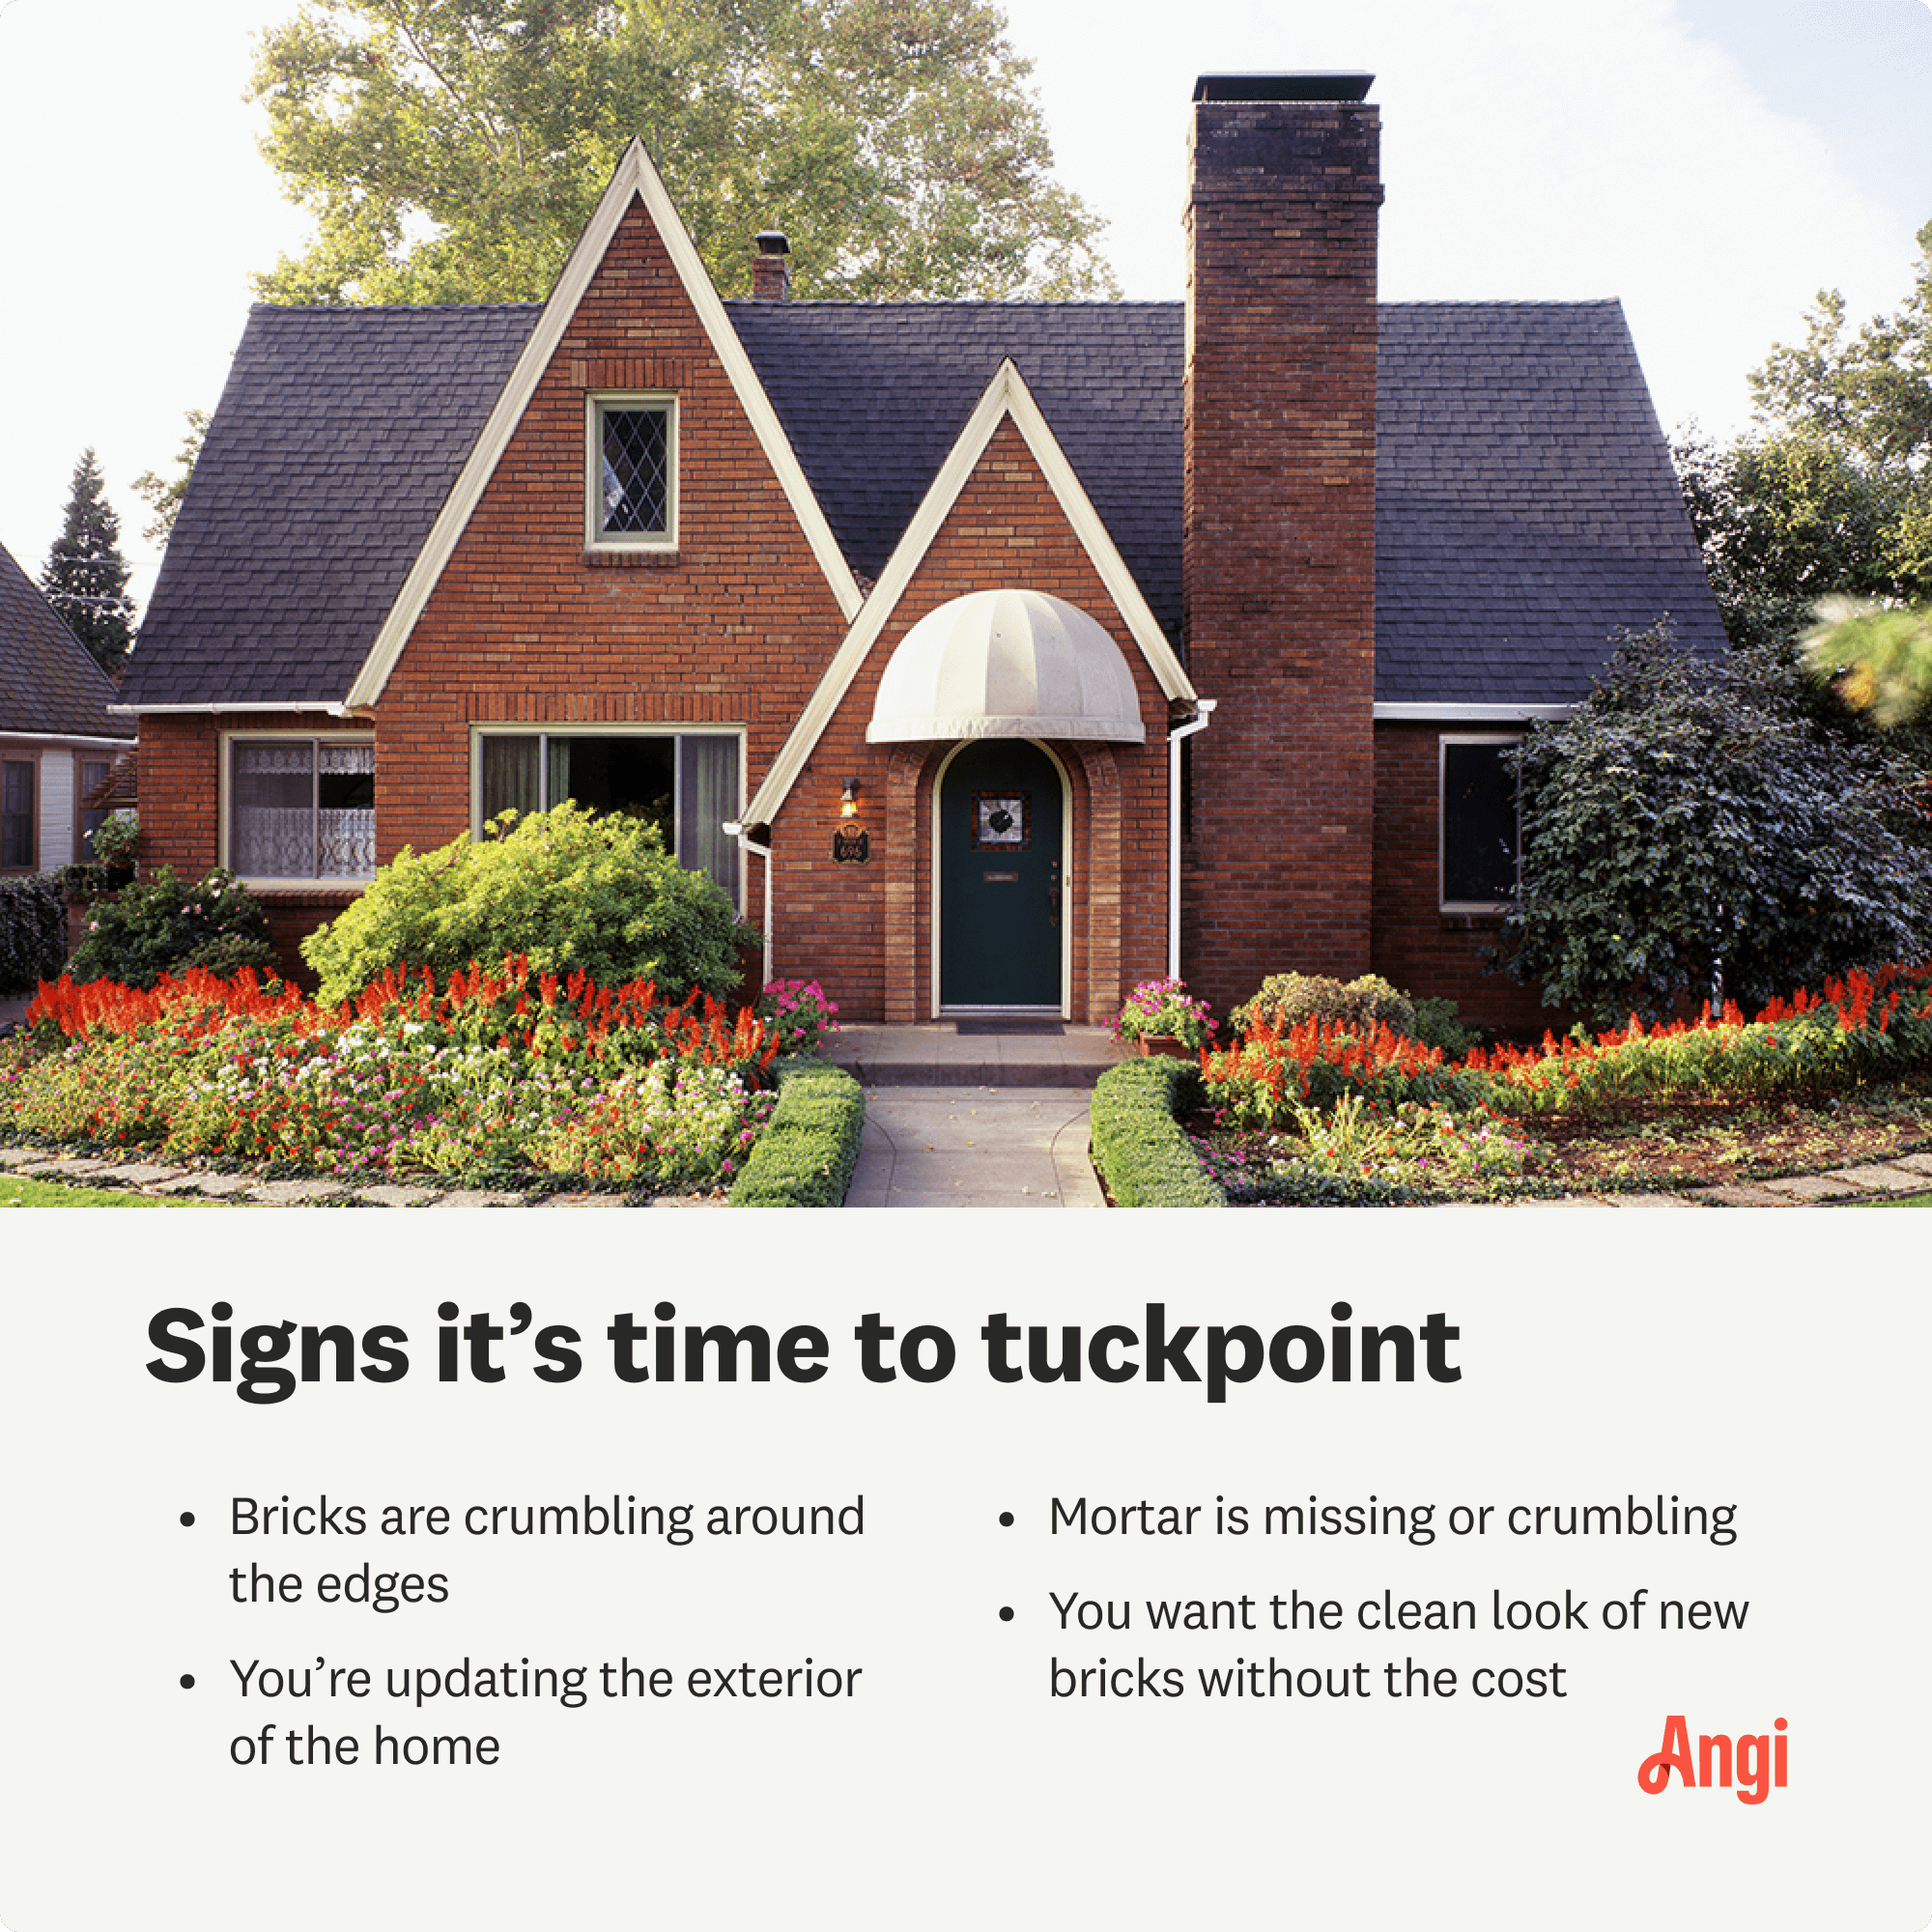
If you love the charm and warmth of natural brick but dislike how it looks as it ages, we have a solution—tuckpointing. Tuckpointing is the process of taking your grayish, crumbling mortar between bricks and replacing it with new mortar and a fresh look. The transformation is stunning, leaving you loving your brick wall or chimney again.
Tuckpointing involves replacing old, worn mortar with fresh mortar. It then goes one step further by adding a contrasting color between the bricks, creating beautiful, clean lines. This process adds both an aesthetic benefit and a structural benefit to the brick.
When you have a brick wall or chimney, the brick itself will last for several decades. However, the mortar between the bricks will crumble and discolor after a couple of decades, necessitating replacement.
The full tuckpointing process delivers three primary benefits to the brick layout.
Aesthetics: Having fresh, light-colored mortar lines beautifully offsets the dark-colored bricks, delivering an eye-catching finish.
Strength: Fresh mortar helps support the weight of the bricks, preventing a weakening of the wall or chimney.
Moisture barrier: The new mortar creates a seal between the bricks, keeping moisture out and preventing thaw-and-freeze cycle damage.
Repointing and tuckpointing are both necessary for brick house maintenance, but they’re not the same process. Even though you may hear these terms used interchangeably, repointing is the process of repairing damaged mortar between bricks.
Tuckpointing also repairs the mortar, but the process adds a desirable visual element that generates perfectly straight and clean mortar lines.
Here’s a full breakdown of the differences between tuckpointing and repointing.

Technically, it is possible to handle the tuckpointing on your brick home or brick wall all by yourself (or at least with a spouse, neighbor, or friend), but the work is challenging and requires specific tools and experience. Among the tools and supplies you’ll need are a chisel and hammer, an angle grinder, a masonry trowel, and a jointing tool, as well as dry mortar mix.
Basic tuckpointing mistakes can impact the structural integrity of the brick wall. If you think you’re up for the challenge, here’s how to tuckpoint brick on your own. But if you’re worried you don’t have the skills—or if you simply don’t have the time or energy—we highly recommend finding a well-reviewed masonry contractor near you to handle a job of this scope. Here are some tips for hiring the right masonry contractor for the job.

If the mortar is crumbling, you definitely need to repair the mortar. Have a chimney sweep or a mason inspect your brick structure to determine whether the mortar needs replacing. You then can choose whether to do tuckpointing as part of this repair process.
You also could undertake tuckpointing on a chimney or when repairing a brick wall where the mortar is in good shape if you simply want to receive the aesthetic benefit of this process.
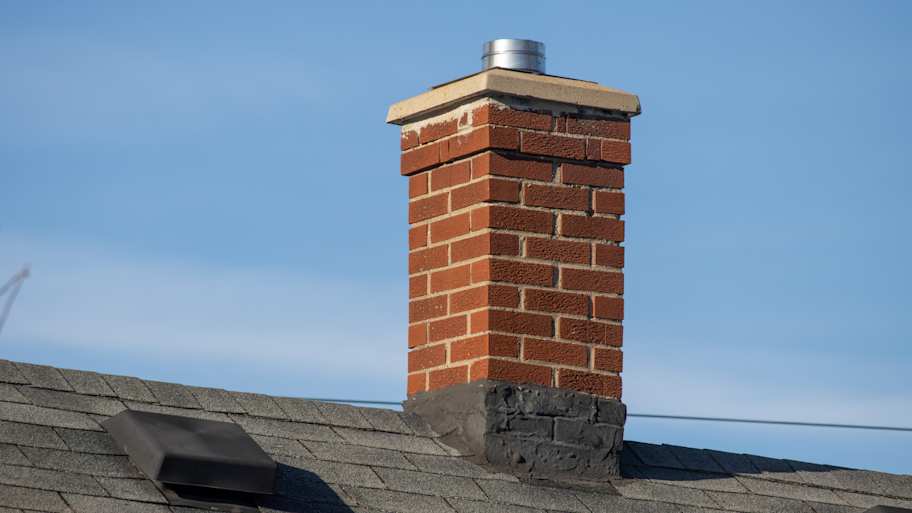
If a home has a brick chimney, it’ll have you envisioning warm winter nights snuggled up in front of the fireplace even before you step inside.
But when that chimney begins to show its age with crumbling mortar, it makes the home seem older than it is. It could also indicate a structural problem with the chimney.
Crumbling mortar allows moisture between the chimney’s bricks, causing premature breakdown.
A leaning chimney could collapse onto the home’s roof, causing significant damage.
As the chimney crumbles, it could block the air flowing out of the chimney, causing a backup of poisonous carbon monoxide in the home if you use the fireplace.
You certainly could simply replace crumbling mortar through a repointing process. You don’t have to do tuckpointing if you want to save some money. However, tuckpointing brick will provide that extra pop to the look of the chimney that replacing the mortar alone simply cannot match.
Tuckpointing is a job that typically requires a mason who has undergone several years of training to do this type of brickwork. This is a highly difficult job to do on your own without some guidance from a mason. It’s also a highly labor-intensive job, driving up the cost.
The cost of a tuckpointing job will range between $500 and $2,500 for a 10-by-10-foot section of brick. You may pay in the upper end of the range for a chimney or a tall wall where the mason must go up and down a ladder frequently.
If the brick needs repairing before the mason can tackle the tuckpointing job, this will generate additional costs. The cost for brick wall repair when hiring a mason is about $20 to $40 per square foot of repaired brick. However, you can save some money on labor fees by doing DIY tuckpointing.
To fully understand the cost of tuckpointing and the time involved, make sure to ask the right questions when hiring a masonry contractor.
Questions to ask include:
Do you specialize or have experience in tuckpointing mortar?
Do you provide a written quote?
Do I need a permit for this project?
Who is responsible for cleaning up?
Is there anything I can do to prepare the area?
From average costs to expert advice, get all the answers you need to get your job done.

Discover the average stone restoration cost, including price ranges and key factors, to help you plan your next home project with confidence.

Need to repoint brick in your home to make your home look fresh and new? Use this guide to repointing brick cost to price out your project before starting.

The cost to replace brick front steps depends on the type of brick, square footage, pattern, and more. Learn how much you may spend on this project.

Review this list of questions to ask when hiring a masonry contractor for home projects.

Burnt clay bricks are the most popular option in modern construction, but there are others to consider as well. Here’s a look at seven common types of bricks.

Picking the right mortar matters in masonry projects. Learn when to use Type N versus Type S and what makes each mix ideal for different masonry applications.