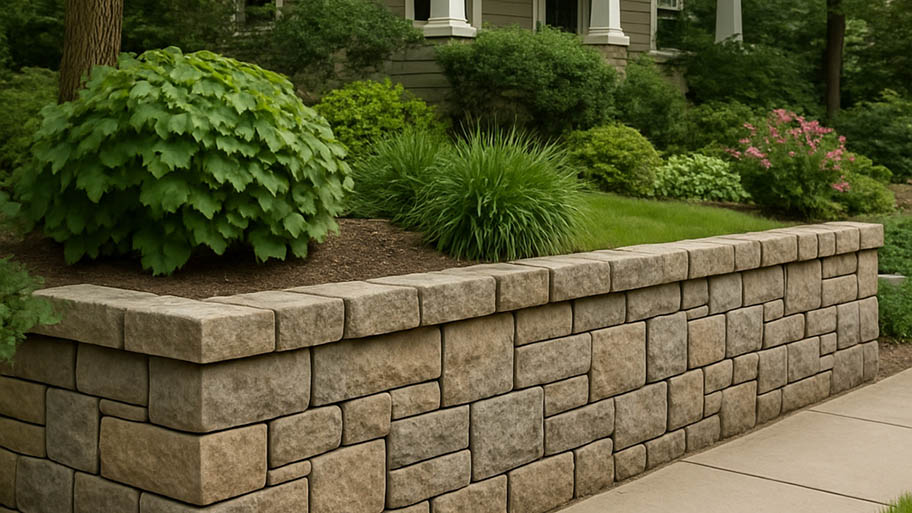
While a stone wall typically costs thousands of dollars, the value it brings to your home can raise its value both aesthetically and monetarily.
Do yourself a favor—get these items before installing pavers


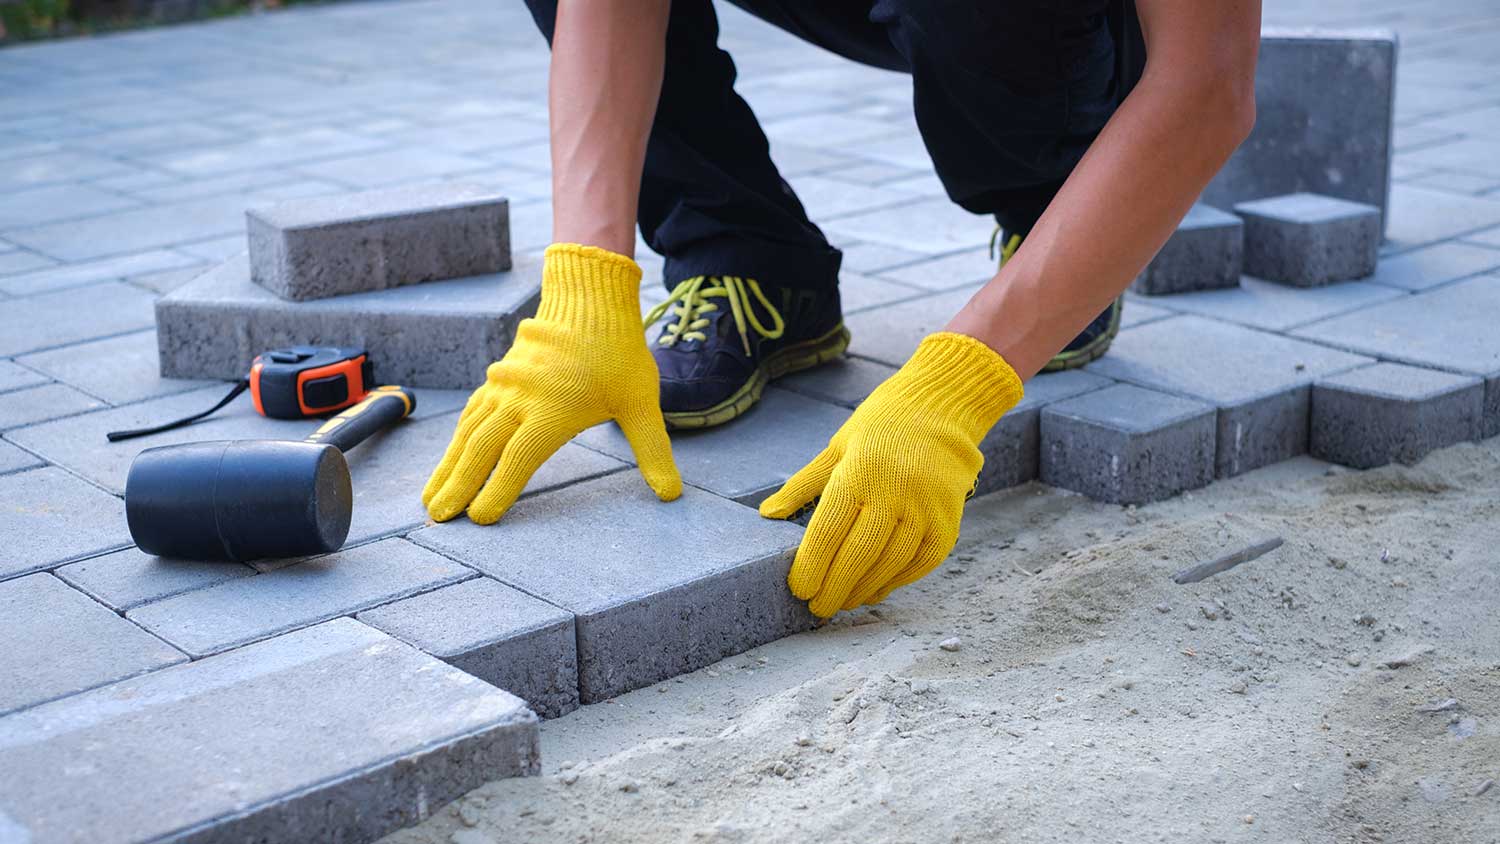
Concrete pavers are durable and can be even stronger than poured concrete. In addition, they come in a range of sizes, colors, and shapes, allowing you to design the base of your patio with a look that pairs well with the rest of your home. They also have the bonus of being easy to clean and maintain; paver maintenance is a breeze. Installing concrete pavers is not a highly complex project for a seasoned DIYer, but make sure you have all the tools and materials handy to get the job done right. Read on to learn what you need to have on hand to install concrete pavers landscape with paver stones.
If you’ve done a few home projects in the past and can handle shoveling many pounds of dirt, gravel, and sand over the course of a weekend, it’s not too difficult to install concrete pavers yourself. Plus, you’ll end up saving a fair amount of money; the labor cost to have pavers installed is between $50 and $80 per hour. If you decide to hire a professional, make sure to ask a patio paver contractor about their installation experience, licensing, schedule, and billing terms.

Having the right tools will ensure a seamless installation with the least amount of work—manufacturers built these items to get the job done, so put them to use!
If you need to demolish existing concrete, cement, or asphalt before putting your new pavers in place, a Bobcat can take care of the job quickly.
You can use a wheelbarrow to both haul off debris and move sand or soil into the area you wish to place the pavers.
Flat and pointed shovels are necessary to dig out and remove fill. In addition, you will need them to spread topsoil and sand.
Rent a plate compactor to tamp down the dirt. Most hardware stores will rent one for under $100 per day. For smaller jobs, a manual tamper will only set you back about $10 per day.
Use a level to check that you’ve put down your subbase and sand evenly. In addition, make sure you have the right slope: a patio should slope away from the house with a 1-inch drop for every 4-feet.
These heavy-duty gloves will protect your hands and give you a solid grip when performing any of the laborious tasks involved in this project, from shoveling to carrying the pavers themselves.
A must for almost any home project, a tape measure will come in handy when you need to note your space’s width, length, and depth.
Wood stakes and string are necessary to mark your project’s dimensions before you begin laying the pavers down.
This little tool will ensure you have mapped out a square area with your stakes and string.
Sometimes called a mini-sledge, this tool will help you drive in wooden stakes or gingerly tap pavers in place. A rubber hammer is an alternative option that’s softer on the pavers if you’re worried about damaging them.
After installation, use a leaf blower to say sayonara to any excess sand.
This gravel creates your patio’s subbase. After digging approximately 7 inches into the dirt, you’ll want to lay a 3-inch layer of gravel.
Landscape fabric will help stop weeds from growing and create a layer between the gravel and the sand.
Concrete sand (also known as paver or fill sand) should spread out in a 1-inch layer over the landscape fabric. Don’t buy sandbox sand; it isn’t the same thing!
Adding polymeric sand in between pavers after placing them will help keep them in place and prevent weeds from growing in the cracks. Sweep the sand into the joints and use a hand tamper to settle it down.
If you haven’t already chosen the best pavers, now is the time. This is the fun part: concrete pavers come in many different shapes and sizes to complement a range of designs. Make sure to buy a few extra to serve as replacements in case of future damage.
From average costs to expert advice, get all the answers you need to get your job done.

While a stone wall typically costs thousands of dollars, the value it brings to your home can raise its value both aesthetically and monetarily.

Kick erosion to the curb with an eye-catching retaining wall. Retaining wall costs vary based on the material, but this guide will help you budget.

Porcelain pavers are a high-end option for your home’s hardscaping that can completely transform your outdoor space. Here’s how much porcelain pavers cost.

How much pea gravel do I need? This calculator will help you determine quantity and cost for accurate budgeting for your project.

Learn how to hire a hardscape contractor for your project, including what to look for and red flags to watch out for to get the best results possible.

Pavers turning fuzzy and green? Use this simple guide to get rid of moss on pavers yourself over the weekend.