

The cost of stone steps can vary considerably depending on the material you choose and how much labor is required. This guide shows you the cost of popular stone steps and all the extra fees you need to consider when tackling this project.
With some planning (and heavy lifting), you can install a paver walkway in just a few days


As the star DIYer in your home, learning how to build a paver walkway is just another skill to add to your toolbox. This process involves some hard work and heavy lifting, so you'll want to grab a friend or two to help you out. We'll walk you through the process below.
Before you get started, map out your paver design on paper to help you plan. Here are some project details to think about:
Your budget
How many pavers you'll need to buy
Which type of pavers (brick, concrete, etc.)
Which paver laying pattern (herringbone, basketweave, etc.)
Which shape of pavers (hexagon, brick, dumble, etc.)
Paver projects are usually calculated by square footage, so the size of your walkway will largely determine your budget. The average cost to install brick pavers is $8 to $25 per square foot.
The type of pavers you choose will help determine whether you set them in mortar or sand. Most people choose the latter, which means their paver walkways will have three layers:
A base of gravel
A middle layer of polymeric sand
A top layer of pavers, with joints filled with polymeric sand
The layers help drain stormwater and provide a strong yet flexible base for your paver walkway. The process is similar to why you layer sand or gravel under a concrete slab. The polymeric sand between the pavers helps lock the pavers together.
Now that you have a game plan, it’s time to get started. We recommend spending just as much time on your planning and layout as you do the installation. Precision is key, and it's best to have all your ducks in a row before pouring any materials.

Before you get to the heavy lifting, use wooden stakes and string to plan out where your walkway will be. Aim for a width of around 48 inches; it should be at least 36 inches to allow space for two people to walk side-by-side.

Dig a trench about 7 to 8 inches deep, using a spade to remove rocks and sod. Always call the dig line to ensure you won’t hit any underground utilities. If possible, cut and remove all roots that are underfoot to prevent them from uprooting your pavers later on.
Note: This step requires quite a bit of physical labor, even if you’re used to rugged DIY projects. If possible, grab a friend or two to help you out.

Once you’re finished digging the trench, compact the soil with your plate compactor. Use the hand tamper to hit any small areas.

Add a layer of gravel road base (also known as crushed stone) at least 3 inches deep or around 6 inches deep for maximum stability. Use a steel rake to spread an even layer.

Wet your gravel down with a hose and use your plate compactor and hand tamper to tightly compact it down. Repeat as necessary until you have a solid layer that is slightly below ground level.

Install plastic paver edging around your walkway’s perimeter to ensure everything stays in place. Most kits will contain spikes to secure the edging.

Cover your compacted gravel with a layer of sand that is about one inch deep. Go over it with your hand tamper, then level it with a screed tool.

Use your hose’s mist setting to slightly wet the sand, then lay your pavers down in the desired pattern. Use a level to ensure that your stones maintain a slight slope away from your home. Add extra sand to make any necessary adjustments.
Depending on the type of paver, you will almost always need to leave ¼ of an inch joint between each paver. This is where careful measurements become key. Lay the same piece of wood or a straight edge between each row for easy measuring. In some cases, interlocking pavers and paver panels will not require a joint between each section; be sure to read your pavers’ installation instructions.
The more complex the pattern you choose, the more cuts you’ll need to make to your pavers. To cut concrete pavers, you will either need a concrete saw blade, or you can score and split the pavers with a concrete chisel.
Note: Pavers call for heavy lifting—remember to bend your knees and enlist the help of a friend.

Spread a final half-inch layer of sand over the pavers and sweep the sand into the joints to fill them. Go over the area with the plate compactor to help set the pavers.

Once you’re happy with how everything looks, sweep away any leftover sand from the surface of the pavers (polymeric sand can stain pavers, especially if it’s left to sit). Now take a step back and admire all your hard work!
There's a big reward to be had for homeowners who DIY install their own paver walkway, not to mention lots of cost savings. (You might save thousands by doing it yourself.)
If heavy manual labor, especially trench digging, is beyond your capabilities as a homeowner, hiring a local hardscaper might make a lot of sense. There are several important questions to ask a paver contractor before hiring them, particularly when you have a specific vision in mind. Keep in mind that you don't have to relinquish all DIY participation by going this route.
The number one mistake homeowners make when installing pavers is taking shortcuts when laying a solid, compacted base for your pavers. If this isn't done properly, your pavers can shift over time and look crooked or separate from one another. A professional will ensure the job is done correctly.
When properly maintained, pavers will last between 20 and 25 years without replacement. However, if you only need to repair or replace individual pavers, your walkway can last far longer. Here are some tips for keeping your DIY paver walkway in top shape.
Clean your pavers regularly with a gentle solution and a power washer (or a hose with a strong spray setting).
Remove grit and debris with a broom between deeper cleans.
Depending on the material your pavers are made of, consider sealing them every one to two years, especially if they see a lot of foot (and paw) traffic.
Avoid over-using rock salt on your pavers in the winter and opt for permeable installations whenever possible.
Weed the area around your pavers on a regular basis.
Keep an eye on nearby tree roots and address potential ground-shifting complications before they affect your walkway.
Ben Kissam contributed to this piece.
From average costs to expert advice, get all the answers you need to get your job done.
The cost of stone steps can vary considerably depending on the material you choose and how much labor is required. This guide shows you the cost of popular stone steps and all the extra fees you need to consider when tackling this project.

Need to know how much decomposed granite costs? Learn about the factors that affect decomposed granite's price and how much you need for your project.

Retaining wall repair cost can vary widely based on the age and condition of the wall being restored. Learn why finding the right pro is important for getting the job done.
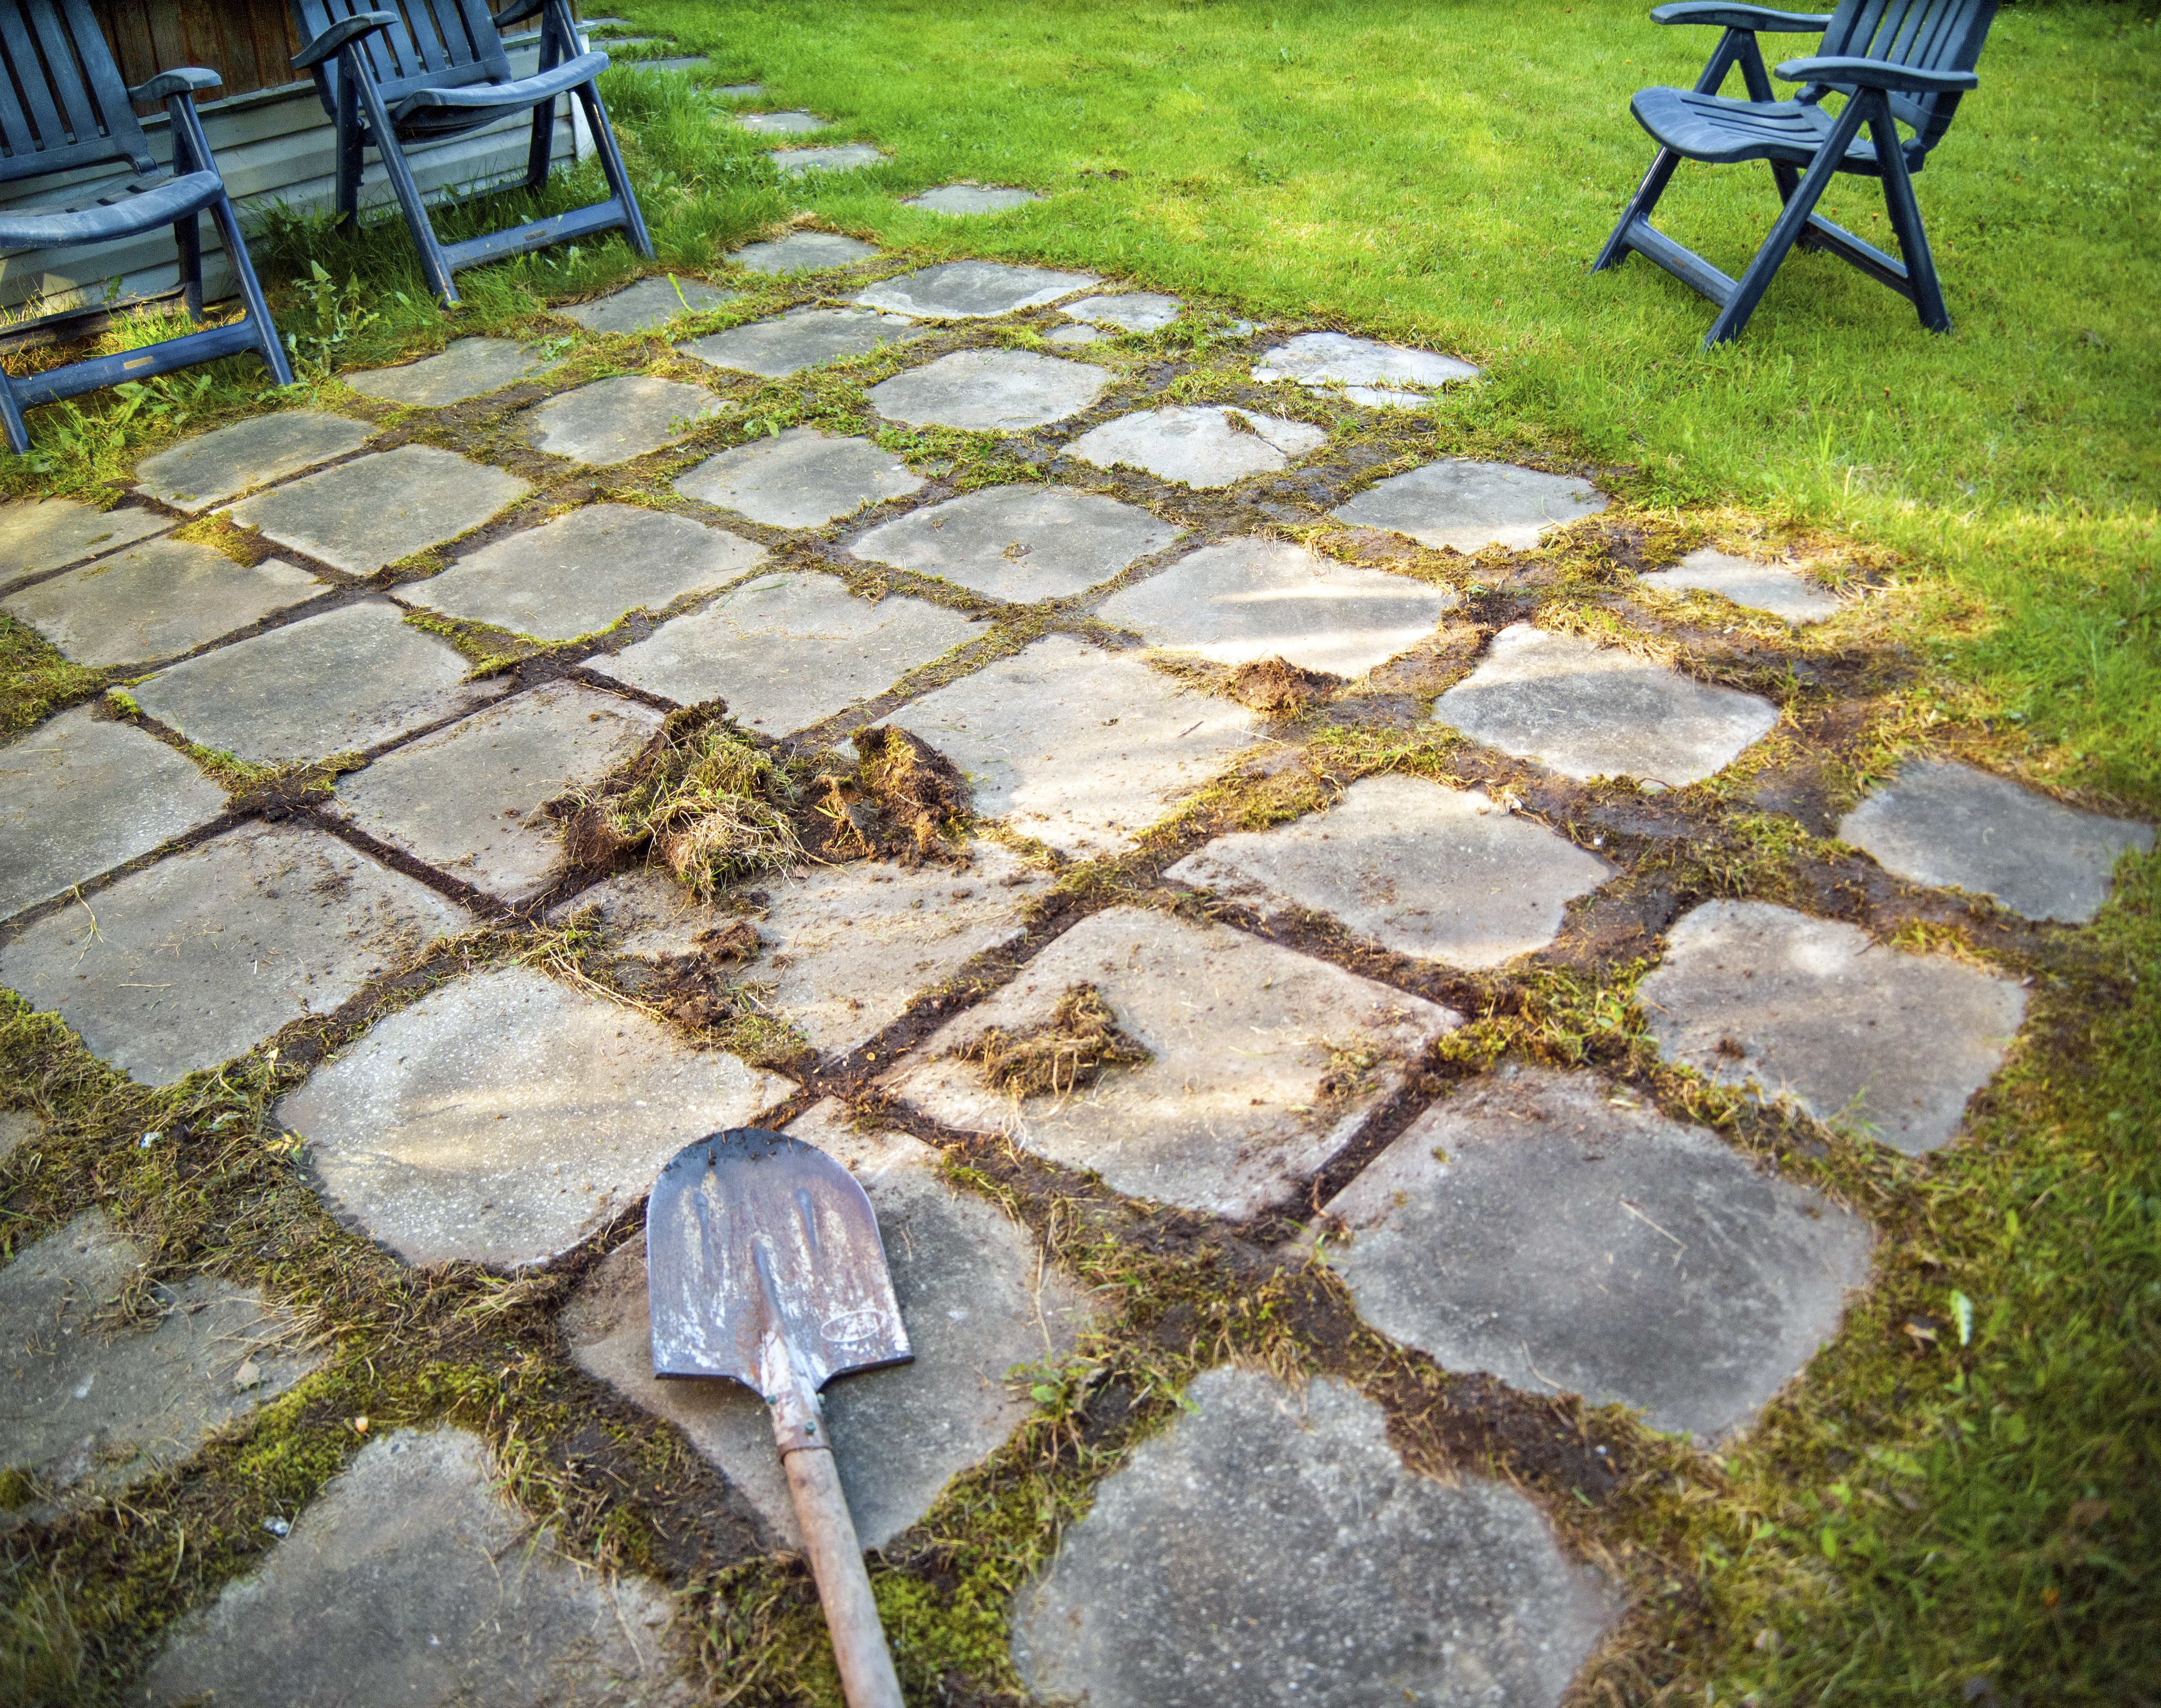
Learn how to remove pavers safely and efficiently—using items you already have in your home—with this step-by-step guide.

Paver maintenance may not be top of mind when you’re outside enjoying your patio or driveway. But if you want to keep your outdoor space looking fresh and updated, you should follow our tips and learn how to maintain your pavers.

Hardscaping adds interest and value to your property. Learn what hardscaping is and how hardscapes can improve your yard.