
Struggling to understand the difference between P-trap and S-trap toilets? Here, we compare toilet P-traps versus S-traps and show you which comes out on top.
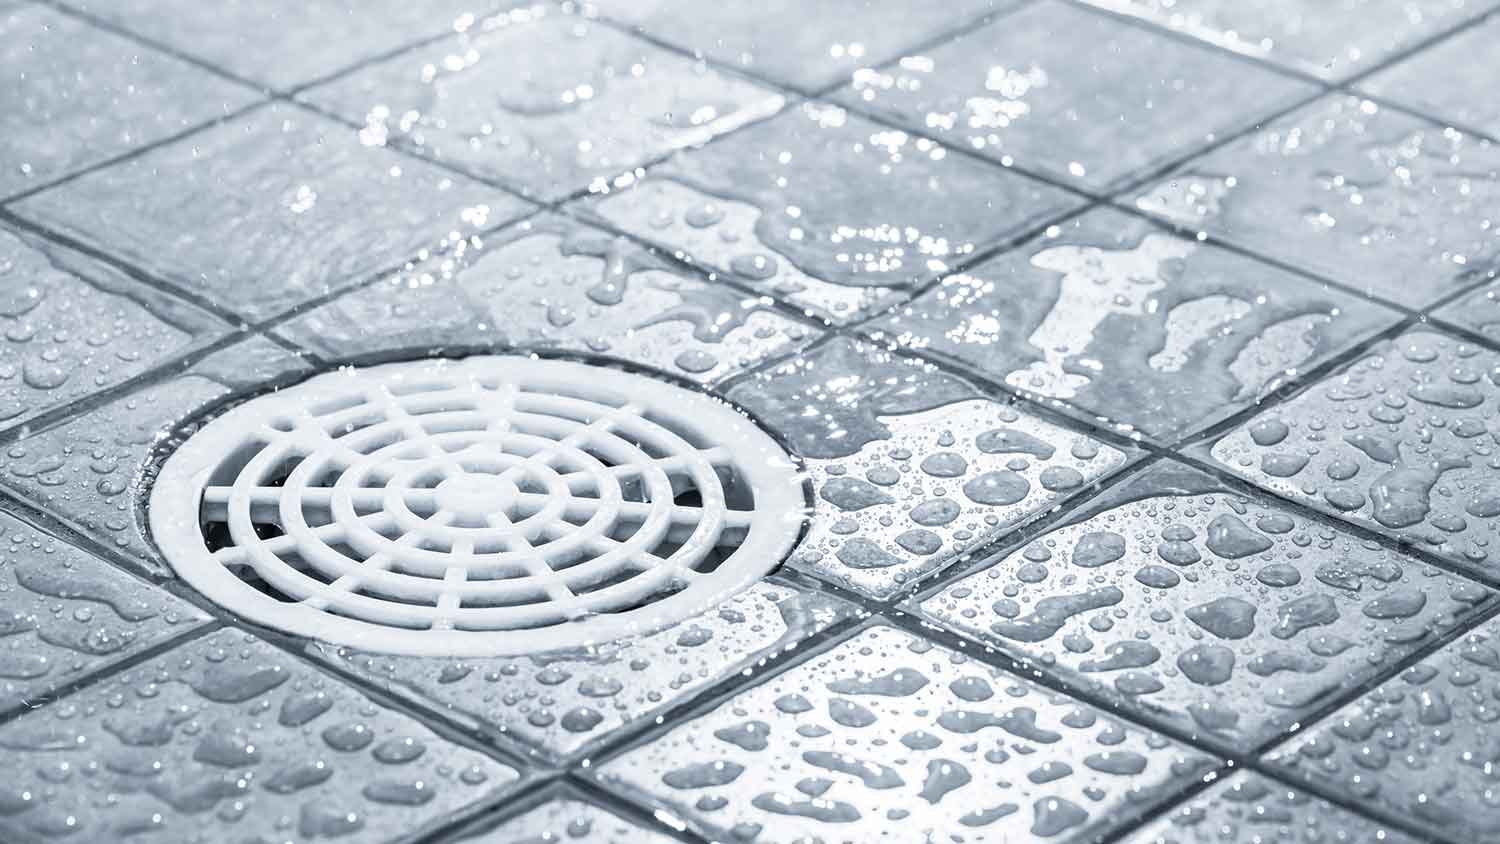
If you notice weird odors coming from your drain, you may have a P-trap problem

A P-trap holds water in its curved section to block sewer gases from entering your home and catches debris to prevent deeper clogs in your plumbing system.
A dry P-trap loses its water seal through evaporation or leaks, allowing sewer gases and odors to back up into your bathroom or kitchen and potentially causing health issues.
You can prevent P-trap problems by running water regularly in seldom-used fixtures, adding mineral oil to slow evaporation, and checking for leaks that drain the water seal.
Hiring a local plumbing repair professional provides reliable help with P-trap leaks and clogs, keeping your drainage system working properly and your home free from sewer gas odors.
If you’ve ever looked beneath your bathroom sink, you’ve probably encountered a P-trap. This section of piping—which gets its name from its shape—is an essential part of the drainage systems found beneath your sink, shower, and bathtub. No bathroom is complete without it, even though we may roll our eyes at the storage space it takes up in our under-sink cabinets. So, what is a P-trap, and how does it work? This guide will tell you everything you need to know.
Like other common plumbing terms, a P-trap is exactly what it looks like: a small section of curved piping that’s shaped like the letter P and found underneath sinks, bathtubs, and showers. As a crucial piece of your fixture’s drainage system, the P-trap has two main functions:
It prevents sewer gases from escaping your drain line: The P-trap holds a continuous level of water that acts as an airtight seal and prevents sewer gases from wafting up your drain into your bathroom. If you smell sewer gases, it’s a good indication that your P-trap has either dried out or leaked.
It prevents clogs: The curved shape of the piping traps debris like hair, sediment, and other solids, which prevents clogs deeper in your plumbing or municipal sewer system.
P-traps come in all different sizes for different fixtures. Most of the time, they’re made from PVC, but some are made from steel. The curved area holds about one and a half to two inches of water. When you use your plumbing fixture and water runs down your drain, it flushes out the old water in the P-trap and replaces it with new water.
P-traps work by collecting water in the low part of the curved section. This small amount of trapped water creates a water seal that prevents sewer gases and smells from backing up through the plumbing pipes and into your home.
This water seal gets flushed out when you run the water in your sink, shower, tub, toilet, or other fixture, but when you turn off the water, a new water seal forms in the depression of the pipe. If you don’t run new water through the pipe for some time or your P-trap has a leak, the water seal can evaporate and allow gases and smells to escape.

If you plan to install a sink drain, you’ll need to know the parts of a P-trap. Most P-traps are made from three separate pipes. Each part (as shown on the above P-trap diagram) has a different function:
Tailpiece: This vertical section of piping (also known as an inlet) attaches to the bottom of your drain and funnels wastewater into the J-bend, the curved section of your P-trap.
J-bend: This curved section of piping (also known as the trap) catches debris and holds a small amount of water that serves as a barrier against sewer gases.
Wall tube: This section of piping (also known as an outlet) funnels water from the J-bend into the rest of your home’s drainage system.
Cleanout: The cleanout gives plumbers access to the P-trap so they can clear out smaller clogs and debris without removing pipes. The cleanout is typically located on the bottom of the J-bend curve, but some drainage systems have a separate cleanout pipe.
If you look under your sink and notice your P-trap has an extra curve, you don’t actually have a P-trap. Instead, you have an S-trap. Like the name suggests, this type of trap is shaped like the letter S. It was an old plumbing standard. In fact, it was the precursor to the P-trap that initially made flushable toilets a possibility.
S-traps no longer meet plumbing code. The design was phased out because the curves can siphon water out of the trap, eliminating the barrier and allowing sewer gas to seep into homes. If you have an older home that still has S-traps beneath your fixtures, you should hire a local plumbing repair service to replace them.
When the water seal in a P-trap evaporates, leaks out, or siphons (when poor venting or changes in water pressure pull the water out of the P-trap), the water seal is broken and gases and smells will back up into your home. This is called a dry P-trap, and you’ll likely notice it when the drain in your bathroom, kitchen, utility room, or other location begins to stink.
Along with sewer gas odors, a dry P-trap can pose health hazards. Sewer gases can include methane and other gases that can lead to headaches and nausea. Dry traps can also open up a pathway for pests like rodents, cockroaches, and spiders to enter your home through the plumbing system.
The good news is that you can keep P-traps from drying out without much effort. The easiest way to do this is to simply use plumbing fixtures regularly. If you have a seldom-used guest bathroom or utility sink, flush the toilet, run the tap, or pour a cup of water down the drain occasionally to help replenish and maintain the water seal. You can also add a small amount of mineral oil to drains; this will form a thin layer over the water seal and can slow evaporation.
It’s also best to regularly inspect your plumbing for leaks or signs of dripping water. A leaking P-trap won’t maintain its water seal, which can lead to drying out. If you experience dry traps even after taking steps to prevent them, check for leaks, poor venting, or water pressure problems that can siphon out water and leave you with a stinky bathroom.

To fix a leaking P-trap, you’ll need to remove it. Before you start, place a bucket below the trap to catch water.
Gently loosen the nuts on either side of the J-bend pipe (you can use pliers if they’re particularly tough).
Note the placement of the washers so you can reassemble the P-trap later.
Once the trap is loose, pull it straight down to remove it.
Empty the water from the pipe into your bucket.
Reassembling your P-trap is fairly straightforward. Follow these steps:
Start by reinstalling the J-bend pipe on the wall tube.
Make sure to put the washer and nut back in place, but leave the connection loose.
Line up the J-bend pipe with the drain tailpiece.
Reinstall the J-bend pipe along with the washer and nut.
Check your work, then tighten the nuts to seal the connection.
Run the water to make sure there are no leaks.
If there are leaks, loosen the nut and check the placement of the washers. You may need to reinstall them.
Keep in mind, many clogs may be located deeper in your plumbing than the P-trap. In that case, it’s a good idea to hire a plumber.
Positive experience. As previously stated, the replacement/repair could not be completed (no fault of the plumbing tech) b/c misinformation was rec?d by property management maintenance. Thanks to the plumbing tech for your efforts. Appreciate you!
 The Waterworks
If you want to pay the most exorbitant prices possible for your job, this is the company for you. “By the job” pricing is a rip-off, at least how these people use it. Every job is plugged into a category and prices are set by category. You might have a job that takes half an hour or one that...
 Benjamin Franklin Plumbing
Cole has been handling plumbing and general contracting for our four properties over the past three years, and he’s always done a great job. Most recently, he installed a sink and countertop in our retail store where none existed before, and it turned out exactly how we needed. He’s...
 ANB Renovations LLC
Matt is a consummate professional. The work turned out to be far more difficult than expected and rather than turn the job down, Matt rose to the occasion and completed a near impossible task. I can not recommend Greene's Plumbing Service more highly. On a scale of 1-5 I would give Matt a...
Involved an extensive bathroom remodel, including removing tub & installing walk in shower, new drywall, custome tile work to ceiling, plumbing, etc. Overall, job was done on time and on budget. Nick & his team were very professional and had high attention to detail. Quality was great. Highly...
 Stamos Flooring and Remodeling LLC
Awesome company. Had a jacuzzi tub taken out and replaced with huge walk in shower with partial glass enclosure. Onyx to the ceiling with a decorative border, moved plumbing and installed hand held shower, new ceiling, flooring, and paint. Replaced window with glass block. Everything was done...
 Columbus Bath Design
The initial quoted price from a walk-through seemed high, but we discussed that the quote represented worst case scenario (re-wiring to two floors) and we were excited about the opportunity to have the work done in a timely manner with closing for fire safety reasons, etc. When the job was...
Initially, I called the Service People to have a leaking garbage disposal replaced. I had purchased a special deal through Angie's List: $79 for $200-worth of plumbing services. <br /> When I went to schedule the work, the earliest date I could get through Angie's List was after the upcoming...
This company did a very good job on the brick wall and it looks just amazing. The staff was always professional and was practically OCD on how the bricks were stacked and how they were laid. Although it took longer than expected, I am willing to sacrifice time over perfection anyday. The...
 My Handy Mate LLC Improvement & Remodeling
<p>I am so glad we called Rotor-Rooter. I was hesitant to call them because we usually prefer to give business to local providers. But when we had sewage back up in our basement on a Saturday evening, I had a hard time getting a hold of someone, not to mention the high weekend/evening rate...
From average costs to expert advice, get all the answers you need to get your job done.
Struggling to understand the difference between P-trap and S-trap toilets? Here, we compare toilet P-traps versus S-traps and show you which comes out on top.

P-traps come in various sizes for different types of drains around your home. This guide will show you what size P-trap to use for a bathroom sink.
If you're DIYing your shower drain installation, there are several details to remember, including whether a shower drain needs a P-trap. Find out more in this guide.
The hidden parts of your shower drain keep everything flowing. Reference our shower drain plumbing diagram to understand how your shower drain works.

Learn what the best baits for opossum traps are to help you remove a nuisance individual that is causing problems in your home or yard.

Removing squirrels humanely from your yard can be tricky if you’ve never done it before. Here’s what you need to know about using bait for a squirrel trap.