How to Install a Kitchen Sink Drain in 10 Simple Steps
Flex your DIY muscles and install a kitchen sink drain on your own


Installing a kitchen sink drain as a repair or as part of a larger sink installation isn’t as tricky as you might think. Going the DIY route can save you some money as long as you have the right tools, materials, and attitude. However, if your project requires cutting into the wall and extensive pipe work, this can become labor-intensive, and it’s a good time to bring in a plumber. Read on to learn how to install a kitchen sink drain in a few steps.
Prepping to Install a Kitchen Sink Drain

Whether you’ve installed a new undermount sink or you’re fixing a faulty kitchen sink drain, replacing or installing a new drain is not a difficult task, though you need some general knowledge of how plumbing systems work. Before getting started, make sure your drain trap kit matches your sink. Basket strainers, for instance, come in various sizes.
In rare instances, the drain outlet is too high to reach the P-trap, and you’ll need a plumber to move it. Measure the drain outlet height, which we cover below, and give the sink a quick cleaning. If you elect to complete this project without professional assistance, here are some tools and supplies you’ll need:
TOOLS
Marker
Tape measure
Hacksaw or PVC tubing cutter
Pliers
Wrench
Empty bucket
Rags or old towels
SUPPLIES
Kitchen drain trap kit
Sink drain and strainer
Plumber’s putty
How Much Does It Cost to Replace a Sink Drain?
Replacing a kitchen drainpipe costs $100 to $500, although costs can increase if you need additional work like drywall repair, mold remediation, trenching, or excavation. These add-ons range between $300 to over $6,100 and are usually only necessary for extensive damage.

Steps to Installing a Kitchen Sink Drain
Installing a sink drain requires some plumbing know-how, but if you have the basic skills, you can get it done in 10 steps.
1. Shut Off the Water Supply
To keep from flooding your kitchen, you should:
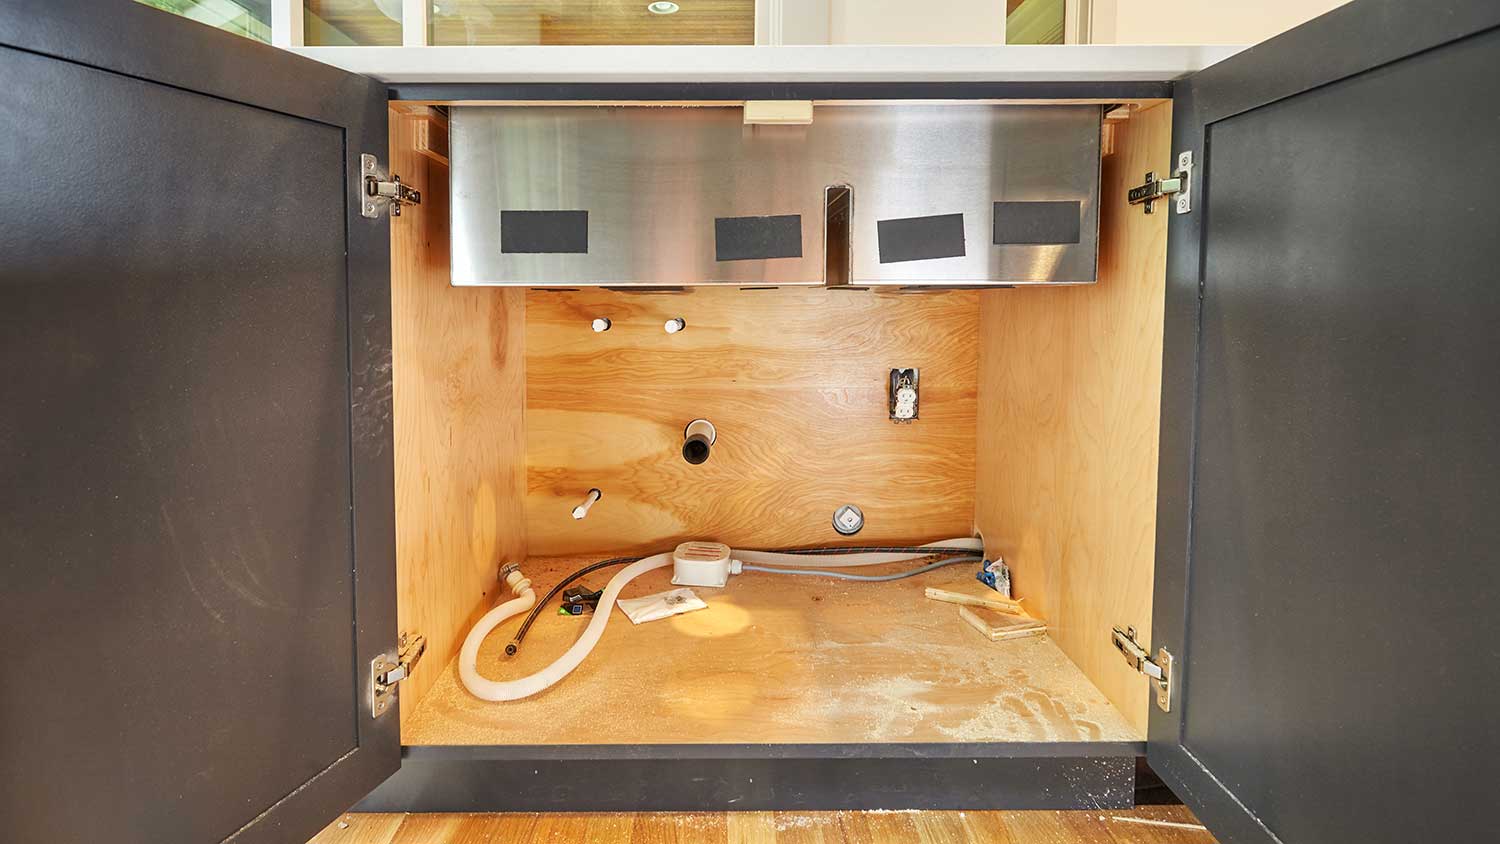
Turn off the water supply to your kitchen sink. It helps to remove everything from under the sink so you have as much space to work as possible, especially because there’s not much space in there to begin with.
Find the two shutoff valves in the cabinet under the sink. They are color-coded red and blue for hot and cold water. Turn each one clockwise to shut the water off.
Then turn on the faucet in the sink to release any residual water pressure in the line. If you get a quick spurt of water and then it stops running, you should be all set for the next steps. If the water is still trickling or running after 10 to 15 seconds, check the valves again to make sure they’re turned off all the way. Some sinks may not have shutoff valves in the cabinet underneath, so you’ll need to locate those if that’s the case with yours.
You may also want to consider finding the water shutoff valve and turn off the entire house just to be sure you don’t end up with flooding. However, make sure no appliances like the dishwasher or washing machine are running or scheduled to run while you might have the water shut off. Running them without water can damage the machines. Make sure to let people in the house know that the water is shut off and to avoid using the sink, toilet, shower, or bathtub.
2. Find the Right Kitchen Drain Trap Size
The kitchen drain trap is the U-shaped piece of pipe. The PVC plumbing pipes for kitchen drains measure 1½-inch in diameter.
It’s important to confirm this with the sink drain and make sure you’re buying that size at the hardware store, as plumbing pipes for bathroom sinks measure 1¼-inch in diameter. So, 1½-inch diameter is probably your magic number for the kitchen sink.
3. Clean Your Sink
Before you install the actual kitchen sink drain and strainer assembly, clean your sink. You can spray or pour your kitchen sink cleaning agent on a cloth or paper towel. This is just to make sure there’s no debris where the drain assembly meets the sink basin. Any dust or debris can prevent a tight seal and lead to leaks later on.
4. Measure the Drain Outlet Height

Before buying a new kitchen sink or drain-related components, measure the height of the trap arm on the pre-existing model. This trap arm is the horizontal piece between the U-shaped trap bend—otherwise known as the P-trap—and the branch drainpipe in the wall. This trap arm should slope around 1/4 inch per foot down toward the trap for correct drainage. Also, if you’re installing a garbage disposal, make sure you get a trap arm made for use with garbage disposals.
Grab your tape measure, and measure from the floor or the bottom of the sink cabinet to the center of the trap arm. You want this to measure 16 inches or less. If the height is more than 16 inches, the drain height needs to be lowered, which we cover in the next step.
5. Lower the Drain Outlet
If your trap arm measurement came in at 16 inches or below, you have one more possible option that doesn’t involve cutting into the wall—installing a low-inlet trap.
These specially designed P-traps allow for a shorter-than-average connection, while still creating a severe enough bend for proper drainage. However, these parts don’t work in all kitchens and sinks, so talk to a plumber before opening up your wall or opting for a low-inlet P-trap. If the low-inlet trap option does not work for your situation, or if it measured at more than 16 inches, it’s time to contact a local plumber for guidance or an estimate. This is the hardest part of the job and requires professional expertise to cut away the back of the cabinet and a bit of the wall.
6. Install the Sink Basket Strainer and Garbage Disposal

Before purchasing a drain assembly kit, make sure the strainer fits your drain. Use your current strainer as a guide when buying a new one. As long as the strainer fits, the installation process is relatively simple.
Disconnect the Drain
If you’re removing an existing sink drain, place the bucket under the drain and P-trap to catch any water that leaks out. And make sure the rags or towels are handy to mop up any spillage.
Start by disconnecting the drainpipe with a sturdy pair of pliers, and turn the metal fittings until separation. Work slowly and carefully, so you don’t cause any damage.
Remove the pipe from the tailpiece on the underside of the drain. If necessary, unscrew any lock nuts connected to the strainer with a wrench. Push the old strainer up and out of the drain hole in the sink. You may need to lie down under the sink to get enough leverage.
Install the Sink Strainer
If you’re installing a garbage disposal in this drain, now is the time to get the stopper, sink mounting flange, and support flange assembled and ready as directed by the manufacturer.
Apply plumber’s putty to the underside of the lip of the strainer. Wrap the putty around the entire strainer. The intent here is to use the putty to create a watertight seal.
From above, inside the sink, push the strainer back into the exposed sink drain hole. Press firmly to create a seal and wipe away any excess putty with a cloth.
Underneath the sink, fit the new rubber washer around the bottom of the strainer and then screw on the strainer nut. The strainer nut is a large round piece that screws onto the bottom of the strainer and tightens it into the drain hole in the sink. Tighten by hand at first and then finish tightening with the wrench. Be careful not to over tighten or parts may break.
Install the Garbage Disposal, if Applicable
If this drain gets a garbage disposal, this is when you want to install it following the manufacturer’s instructions. The good news is that you’re already doing most of the work involved and you should already have most of the tools needed for installation.
However, it’s more of an intermediate-level DIY plumbing project, so you may want to call a plumber if you don’t feel comfortable with this installation. If you need to call in a plumber, you can expect to pay between $150 and $950 to install a new garbage disposal.
7. Connect the Drainpipe to the Sink

Now that your strainer is connected correctly, it’s time to attach the tailpiece. Your drain assembly kit includes all the necessary components to make this connection. The tailpiece is the straight pipe that connects to the bottom of the strainer and runs down to the P-trap.
Attach the Tailpiece to the Basket Strainer
Place a rubber washer on the end of the tailpiece that connects to the strainer. Hold the top of the tailpipe to the bottom of the strainer. Line up the slip nut with connection threads on the bottom of the strainer and screw it on tight with your hands.
8. Connect the P-Trap to the Tailpiece

Place a rubber compression gasket on the side of the P-trap that connects to the tailpiece. It fits snugly in place and creates another watertight seal. Hold the top of the P-trap against the bottom of the tailpiece. Be firm but gentle to avoid any accidental damage.
Pull up the connector ring so it covers both the bottom of the tailpiece and the top of the P-trap. It should align with the remaining connector threads on the tailpiece.
Tighten this connector ring by hand at first and finish it off with a wrench. Don’t overtighten the ring to avoid damaging the plastic.
9. Connect the P-Trap to the Wall Drain

Now you’ll connect the P-trap to the wall drain. The good news? This DIY plumbing project is almost complete. In most cases, this process is simple. Use the remaining connector ring or slip nut to attach the other end of the P-trap to the wall fitting. Tighten it by hand and finish tightening with a wrench.
Trim Trap Arm to Length, if Necessary
If the trap extends beyond the wall fitting, use a hacksaw or PVC cutter to trim the trap arm down to the appropriate length.
Once cut, align the trap to the wall fitting and ensure an appropriate length for proper drainage.
Connect the Trap Arm to the Wall Pipe
After that, connect the wall pipe to the trap by threading on the slip nut or connector ring, tightening by hand, and completing the connection with a wrench.
As with all of these tightening procedures, be firm but gentle enough to avoid accidental damage. Overtightening can crack PVC components and that may end up leaking.
10. Test the Drain
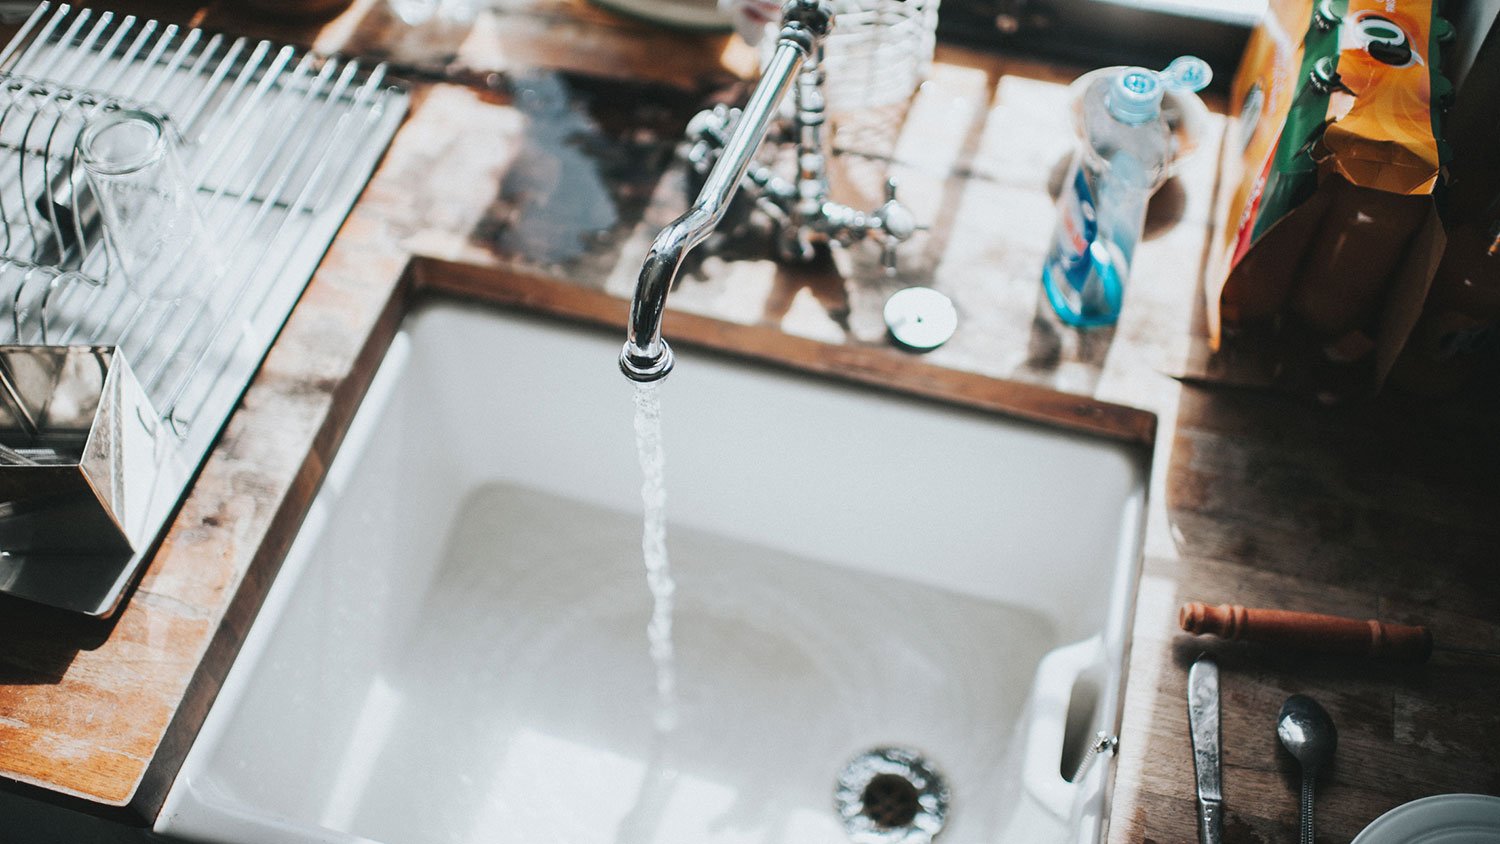
Now comes the fun part. It’s time to test and admire the fruits of your labor. Turn the water supply lines back on and run the water to test the drain, making sure that liquid effortlessly flows through the basket strainer and into the drainpipes and the rest of the system.
Pay special attention to the underside of the sink, looking for leaks. If you notice water leaking from the basket strainer, a loose connection may be the culprit. Turn off the sink and retighten all of the connections. The same holds true for a leak at any pipe joint.
Tips to Maintain Your New Kitchen Sink Drain
Now that you have a new kitchen sink drain, you can avoid needing another replacement by following these maintenance tips:
Use a strainer to catch large debris before it goes down the drain, and routinely clean the strainer to prevent clogs.
Scrape leftover food from your dishes into the trash before washing them.
Pour grease into a can instead of down the drain. Grease solidifies when it cools and is a major cause of clogs.
Install a garbage disposal, follow the manufacturer’s instructions for use, and keep it maintained.
Avoid using harsh chemicals to clear minor clogs and instead use natural solutions like baking soda and vinegar.
DIY vs. Hiring a Pro
This is a DIY-friendly project as long as your drain outlet height is under 16 inches and allows for proper drainage. If your project requires lowering the drain outlet, contact a sink installer in your area. This likely entails some potentially destructive wall surgery, which demands expertise.
If a clogged drain is to blame for your kitchen sink woes, then consider calling a local drain cleaning pro so you can move on with your DIY weekend project.
Frequently Asked Questions
No, you don’t need to use plumber’s putty to install a sink drain. Other options are available, such as silicone putty or silicone caulk. Plumber’s putty is the traditional method and it’s easier to work with and easier to remove. It doesn’t need to dry before using. Silicone putty should dry before you use the drain.
Yes, there are different size sink drains, but a 1 ½-inch-diameter drain is the most common modern drain size. However, some sink drains are 2 inches or 3 inches in diameter. A bathroom sink drain is 1 ¼ inches in diameter, and kitchen sink drainpipes are 1 ½ inches in diameter.
Common drain issues include slow-running drains, whether in a sink or shower, clogged drains, a bad smell, and water backing up into a sink, shower, or bathtub. Causes range from hair, grease, roots, or toilet paper clogging the drainpipes to flooding outside the home, which prevents sewer lines from draining properly.
Yes, you can use flexible pipe for a sink drain. Flexible pipes can make it easier to fit sink plumbing together with less measuring and fewer cuts. However, corrugated flexible pipe can trap hair, grease, and food particles in the folds and cause foul odors and eventually build up enough to clog the drain. Smooth pipes are recommended for sink drains and plumbing.


- Gas Plumbers
- Plumbing Repairs
- Sump Pump Installation
- Wood & Pellet Stove Repair
- Shower Repair
- Wood Stove Services
- Emergency Plumbers
- Fire Sprinkler Contractors
- Perc Test Companies
- Toilet Repair & Installation
- Boiler Repair
- Sewer Line Repair
- Faucet Repair
- Main Drain Camera Companies
- Foundation Drain Installation
- French Drains
- Bathtub Replacement
- Subcontractors
- Storm Drain Contractors
- Affordable Plumbing
- Plumbing & Heating Companies
- Bathroom Repair Services
- Sink Installation
- Commercial Plumber
- Barndominium Builders
- Water Line Repair
- Faucet Installation
- Water Line Installation
- Leak Detection
- All the Parts of Kitchen Sink Plumbing You Need to Know
- How to Unclog a Double Kitchen Sink With Standing Water
- 6 Reasons Your Bathroom Sink Is Draining Slowly and Potential Solutions
- 10 Most Common Plumbing Problems Every Homeowner Should Know
- Laundry Room Plumbing Code: What You Need to Know
- What to Know About Washing Machine Drain Code Requirements
- How Liquid Drain Cleaner Works: Pros and Cons
- How to Install an Undermount Sink Like a Pro
- How to Fix Frozen Washing Machine Pipes
- Parts of a Dishwasher: Learn What They Are and How They Work
Get our Angi-powered app


