Learn about main water line repair costs in Columbus and what affects pricing to be prepared before you start getting estimates.
Save time—and a big water bill by repairing your leaky toilet


If you discover water leaking from your toilet tank bolts—you’ll want to address the leak immediately to stop any damage from occurring (and in the worst case, having to figure out how to make a water insurance claim).
Whether you’re handy with bathroom fixtures or if you need to find a plumber near you, we’ve come up with five steps to ensure your toilet leak gets fixed fast and efficiently.
We recommend that only experienced homeowners with plumbing knowledge take the lead for this project. Those that are skillful can locate toilet tank bolts by lifting the lid of the toilet tank—you’ll see two tank bolts that run from the bottom of the toilet tank to connecting holes in the toilet bowl.
Toilets leaking at the base is typically a sign that the bolts or the washers—the part that secures the bolts from the tank to the bowl—are damaged, misaligned, or cracked.

If you see water pooling on the floor next to the toilet, you’ll want to check all toilet areas to find the source of the leak.
Start at the bottom of the toilet and feel your way up. Check if the toilet tank is wobbling—if so, you may only need to tighten the tank bolts with an adjustable wrench to fix the leak.
If tightening the bolts does not stop the leak, you’ll need to check whether the bolts, washers, and nuts are rusted or damaged. You may need to replace these parts entirely. Universal tank bolt kits are easy to find and purchase—averaging $5 per kit.
If you’re unsure where your toilet leak is coming from, you can reach out to a plumbing repair expert in your area to save you time, money, and hassle.
Locate the water supply valve—usually found behind the left side of the toilet.
Place a small bucket underneath the valve to catch excess water.
Grab your adjustable wrench, loosen the nut on the valve and slowly turn clockwise until you shut the valve off.
Flush the toilet to empty any water from the toilet bowl.
Take off the tank lid and place it in a safe spot where it won’t break.
Remove water remaining inside the toilet tank with a sponge. Wring out the water in your bucket.

Check the condition of the nuts, bolts, and washers. If they’re metal, they may be rusty and difficult to disconnect with a wrench—you may need to saw them off with a mini hacksaw. Otherwise, grab a wrench, pliers, or a screwdriver. Loosen the nuts, then turn bolts to the left until they disconnect.
Remove all bolts, nuts, and washers from the tank and the bowl. Lift the tank up—lay a towel on the ground, and place it on its side. While everything is removed and visible, take a moment to check for mold or mildew that may be a result of the water leak.
Take all loose parts and place them in a separate area from your new replacement kit parts. When changing your nuts, bolts, and washers, you’ll also want to replace the bowl gasket—the round rubber piece that sits between the toilet bowl and the tank to prevent leaks in the future. Place the new gasket on the bottom of the tank, open your kit and make sure you have the correct replacement parts.
Pro Tip: You may want to purchase additional washers—metal and rubber—to add an extra layer of security to your tank bolts.

You may need another person or a professional plumber to hold the toilet tank in the correct position for this step.
Align tank bolts with connecting holes.
Place a metal washer followed by a rubber washer on the bolt.
Slide the tank bolt into the hole and add another washer to the bolt under the tank.
Put a nut on each bolt underneath the tank. Tighten the nuts with your hand—and then gently use a tool tightener.
Carefully lift the tank and place it over the holes on the bowl.
Add a third rubber washer—and an additional metal washer on the tank bolt, followed by a nut under the bowl. Gently tighten.
Double-check to ensure you didn’t miss installing the tank bolts, nuts, and washers inside and below the tank—and under the bowl.
Grab your water supply line. Hand turn the nut counter-clockwise, turn the water back on, and let the tank fill up.
Flush the toilet a few times—feel around the tank, bowl, water valve, and tank bolts for any leaks.
Pro Tip: If you secure the fasteners too tight, it can cause the porcelain to crack.
Only DIYers with prior plumbing experience should tackle this project. We estimate you’ll save several hundred dollars repairing your own leaky toilet tank bolts.
If you’re unfamiliar with leaks and toilet parts, we suggest consulting a professional plumber in your area for toilet repair costs—with the average coming in at $240. While this may seem expensive for a seemingly simple fix, it’s a good way to make sure the job is done right and rule out any other issues at the same time.
For example, the signs of loose tank bolts and a toilet fill valve leaking are pretty similar and both often result in puddles of water on the floor by the base of the toilet. A plumber can help you diagnose the true problem and fix it all at one time without the time and cost of doing it yourself (and potentially doing it wrong).
From average costs to expert advice, get all the answers you need to get your job done.
Learn about main water line repair costs in Columbus and what affects pricing to be prepared before you start getting estimates.

Discover the leading factors affecting your main water line replacement cost in Columbus, including length, material selection, and installation details.

Learn how much plumbers cost in Columbus, Ohio. Discover pricing for faucet repairs, pipe work, and emergency services, plus how you can save money.

Accidents can cause your sewer pipe cap to break. While fixing it is essential, don’t jump right in. This guide will prepare you with must-know tips.
Constant dripping and a stiff shower handle can be the first (but not last) signs of a bad shower cartridge. Learn other signs and how to fix the issue.
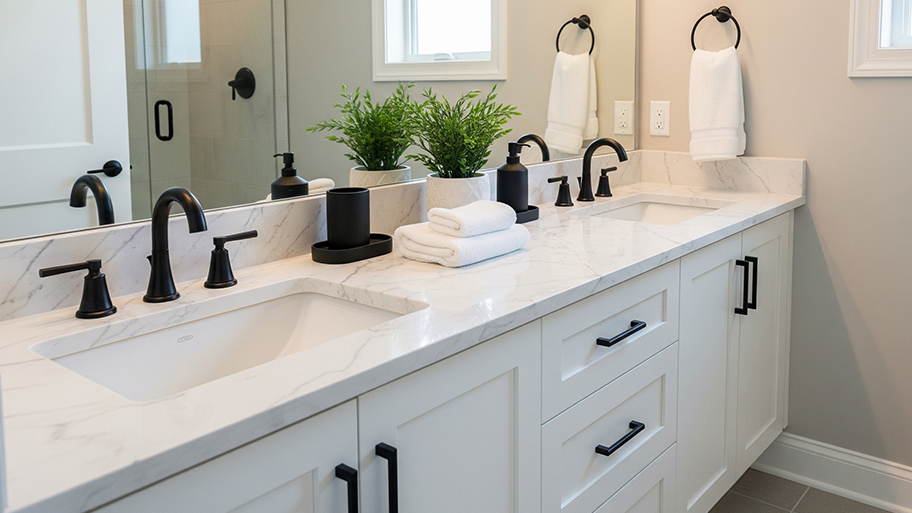
Before settling on bathroom fixtures, you should know the pros and cons of black bathroom faucets. This modern finish may offer the perfect touch.