Whether you’re changing your home’s floor plan in a remodel or just replacing old, worn-out plumbing, this guide will help you estimate the cost of repiping a house.
Take care of a toilet valve leak quickly


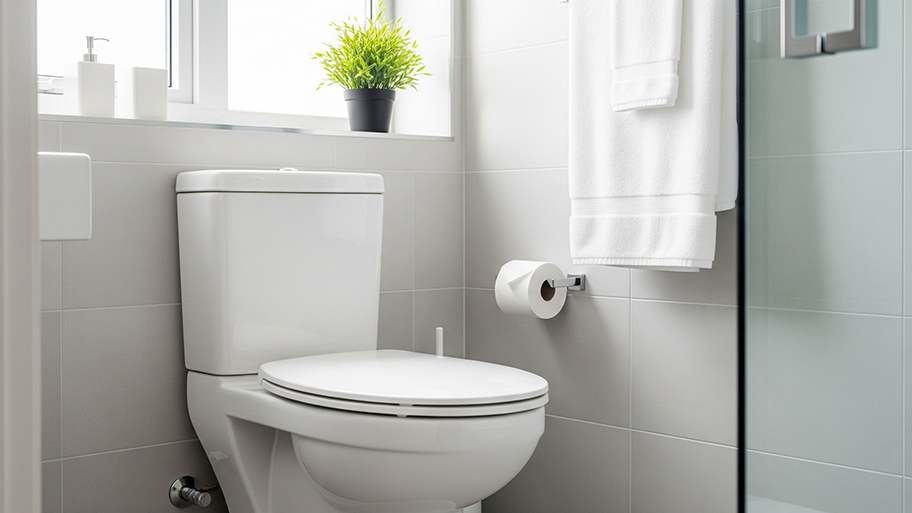
Is a running toilet causing your patience to run thin? The constant trickle of a toilet fill valve leaking water can definitely try your patients. That's why you might be eager to try a DIY fix for this common problem. This guide to how to fix a leaking toilet fill valve can help to get things quiet in your bathroom again.
To reduce the risk of water damage caused by faulty appliances, make it a habit to check for signs of dampness, mold, and pooling water monthly.
You'll want to avoid disassembling any part of your toilet before you have the right replacement part waiting. Purchase a new fill valve at a hardware store in anticipation of needing to replace the current one that is giving you problems. While fill valves are universal, you can consider removing your current valve in order to bring it along with you to the store to ensure that you're purchasing an exact replica.

In order to avoid water damage, you need to turn off the water supply to your toilet. The easy way to do this is to turn the supply valve that's located behind your toilet clockwise until you cannot spin it any more. It's possible that this valve could be stuck when you try to move it. In this case, you have the option to turn off the water supply to your home. Just keep in mind that all of your fixtures will become inoperable while you're working on your toilet if you go with this route.

The reason why it's recommended that you empty your toilet tank is that you're likely to get some leakage around the valve if you leave the tank full. Fortunately, emptying the tank is fairly easy. With the water shut off to the toilet, flush your toilet. This should remove all of the water from the tank. If some water remains, you can use an absorbent towel or wet/dry vacuum to dry up those last bits of water. This step is worth it because a bone-dry tank is going to be much easier for you to work with!

Locate the water supply hose under the tank. Next, put a towel down on the floor directly under the hose to catch any water that might spill out when you detach the hose. Generally, you can unscrew the hose pretty easily using just your hand. You can also get in there with a wrench if you're getting some resistance. Follow the direction of the hose up to the toilet tank's underside. Next, spin the nut counterclockwise to loosen it before setting your hose aside momentarily.
Look for a plastic nut that is situated on the bottom of your toilet tank. Next, remove the lid from the toilet to access the crown of the flush valve. Using a wrench, grip the plastic nut on the bottom of the tank. This puts you in position to grip the flush valve with your hand while turning the nut counterclockwise until it's loosened. You should easily be able to remove the nut with your hand now.
The new valve that you purchased in the prep phase of this project should come with a round rubber gasket. For this next step, place that gasket on the fill valve's threaded end. You should see the narrower end of the gasket point downward. You can secure it in place by pushing it down as far as it's able to go.

You're now ready to add your new replacement valve to your toilet. This new valve should offer a tight fit that perfectly recreates the fit of your old valve. After placing the valve, feed its threaded end through the hole that was left until it is visibly poking out from the underside of the toilet. The plastic nut that came with your replacement valve can now be screwed into place clockwise. While you don't want to overtighten the nut to the point of breaking or stripping it, you should use your hand to get it as close to the toilet's base as possible. If you feel like there's any space left, you can do a slight turn with a wrench.
With a replacement valve costing just $10 to $20, fixing a leaking toilet fill valve can be done on a budget with minimal hassle. With the average cost for a plumber to fix a toilet valve standing at $50 to $150, homeowners who feel confident about getting under the toilet tank to get their hands dirty might want to try this task. Of course, contacting local toilet contractors isn't a bad idea if you're not 100% sure about the diagnosis for why you're hearing running water coming from your toilet.
From average costs to expert advice, get all the answers you need to get your job done.

Whether you’re changing your home’s floor plan in a remodel or just replacing old, worn-out plumbing, this guide will help you estimate the cost of repiping a house.

Making updates to your home? You may need to move your gas line to fuel new appliances or meet code regulations. We’ll cover the cost of moving a gas line, plus project tips.

The cost to replace cast iron pipes depends on many factors, like size and accessibility. Use this guide to get a rough idea of how much you’ll spend.

The water main line is essential to your home’s plumbing. Over time, it can develop wear or damage. Find out how much a main water line replacement costs here.

Not sure who to hire for undermount sink repair? Countertop specialists are the best place to start, but plumbers may also be helpful.

Find the right type of toilet tank flapper for your bathroom, including rubber, silicone, standard, adjustable, and dual flush.