Everyone can relate to having toilet issues—we’ve all been there. There are several reasons why your toilet might need repairs, and the cost varies based on the damage.
Fix the leaking toilet tank yourself in six simple steps

Is your toilet making a noise even though it’s not being used? Perhaps you must jiggle the flush handle every time to stop it from running. These are signs that you may have a leaky toilet tank. In the worst-case scenario, water will gather around the toilet’s base. Thankfully, a leaky toilet tank is a quick fix that can be done within a few hours. You can do this alone, but it might be easier to have a helper if you’re new to DIY home projects. You only need to replace the tank completely if it’s cracked beyond simple patching.
Start with a diagnosis to ensure nothing else is leaking. If the base of your toilet is leaking, you will face a much bigger project. Use your hand to feel the toilet tank. This will give you an idea of where water is coming from. Most toilet tanks will leak from these spots:
flush handle if your floater isn’t working properly
fill valves
tank bolts
spud washers
Once you are sure the tank is leaking, lay down a few towels around the toilet on the floor and get all your tools and supplies ready. Now, it’s time to do the actual work.
You can find toilet tank repair kits online. These are more economical options compared to purchasing each part separately. A standard tank-to-bowl repair kit costs no more than $30 and comes with a fill valve, a standard 2-inch flapper, gasket, washers, spud washer, chains, and bolts. These kits work with standard 2-inch flush valves.
Alternatively, you can take apart the tank and diagnose your leak first. Then, you can purchase the necessary parts based on your diagnosis to save some expense. However, buying a full kit and keeping some spare parts around may be a good idea if this is your first time repairing a leaking toilet tank.
As a rule of thumb, you should always turn off the water before working on any plumbing project. Locate the water supply valve next to your toilet and turn it off. You may need gloves for a stronger grip to turn the valve completely. Now, remove the tank lid and flush the toilet. You won’t see water refilling the tank if the water is off.

You can skip this step if you’d rather replace all old parts with new ones you’ve purchased.
Mark the water level with a pencil or marker. Grab some water-dye tablets from your local hardware store, or use food coloring. Wait at least 10 minutes for the water in the tank to change color completely. Now, check the water in your toilet bowl. If it also shows a color change, the water in your tank leaks into the bowl through the flush valve.
Next, check the water level. If it has risen beyond the mark you made, you might have a faulty fill valve. Another indicator is if you see water leaking from the flush handle. That happens when the water level rises beyond the handle connector because the fill valve isn’t working properly.
Finally, see if the dyed water has leaked onto the floor. If the leak comes from the bottom of the tank, you might have a leaky gasket. However, if water is coming out of the tank body, you have a cracked tank, and it’s best to replace it completely.
Flush the toilet to empty the water and use a big sponge to soak up whatever is left in the tank. You want a dry working environment since you are taking the tank apart. Unscrew the bolt to disconnect the water supply line from your tank. The supply connection is usually on the far left.

If the only problem is a faulty fill valve, you can complete the replacement without removing the tank. Remove the existing fill valve with two adjustable wrenches. Then, insert the new fill valve following the manufacturer’s instructions. You may want to tighten the bolts a quarter turn for secure fastening. Turn on the supply line and check for leaks.
If the leak is happening at the bottom of the tank or into the toilet bowl, you will need to remove the tank. Having a helper for this step will make it go much faster.
Hold down the nut underneath the tank with an adjustable wrench with the water supply disconnected. Unscrew the bolt on the inside with a regular screwdriver. Remove the second bolt with the same process.
Carefully remove the tank and lay it down with the bottom facing you.
Follow the manufacturer’s instructions to replace the toilet flapper. Most toilets can use a universal flapper kit available at any hardware store. Now, look at the bolts you removed. You should find a rubber gasket on each one. These gaskets deteriorate over time. Therefore, you should replace them with new ones when you remove the tank.
Meanwhile, soak the metal washers, nuts, and bolts in vinegar to clean any build-up. If you haven’t opened the toilet tank during the past six months, you may want to replace all bolt parts.
Remove the big rubber washer in the middle of the tank by turning it with your hands. That’s your spud washer. If the washer seems stuck, try using an adjustable wrench to remove it.
Now, install the new spud washer. You definitely want to use a wrench for the new washer for sufficient tightening. You can also apply some caulk around the edge for a stronger seal.

Now, reinstall your toilet tank and reconnect the water supply hose. Repeat step 2 with food coloring or water dye to ensure you have successfully repaired the leak. If you still see colored water coming out of the tank or into the toilet bowl, you may consider hiring a professional for the repair job.
Generally speaking, you can fix a leaking toilet tank by yourself. Even if you have to replace the entire tank due to a bad crack, that’s still easily doable with a helpful friend. On average, it takes no more than two hours per toilet tank. There is also minimum mess and cleaning compared to other plumbing projects.
If you’d rather not spend two hours in your bathroom, you can hire a toilet repair or installation contractor for the job. They can complete the repair much faster and save you the hassle of looking for parts yourself. Repairing a leaky toilet tank usually costs between $50 to $400, depending on whether the tank needs replacing.
Positive experience. As previously stated, the replacement/repair could not be completed (no fault of the plumbing tech) b/c misinformation was rec?d by property management maintenance. Thanks to the plumbing tech for your efforts. Appreciate you!
 The Waterworks
If you want to pay the most exorbitant prices possible for your job, this is the company for you. “By the job” pricing is a rip-off, at least how these people use it. Every job is plugged into a category and prices are set by category. You might have a job that takes half an hour or one that...
 Benjamin Franklin Plumbing
Cole has been handling plumbing and general contracting for our four properties over the past three years, and he’s always done a great job. Most recently, he installed a sink and countertop in our retail store where none existed before, and it turned out exactly how we needed. He’s...
 ANB Renovations LLC
Matt is a consummate professional. The work turned out to be far more difficult than expected and rather than turn the job down, Matt rose to the occasion and completed a near impossible task. I can not recommend Greene's Plumbing Service more highly. On a scale of 1-5 I would give Matt a...
 Greene's Plumbing Service
Involved an extensive bathroom remodel, including removing tub & installing walk in shower, new drywall, custome tile work to ceiling, plumbing, etc. Overall, job was done on time and on budget. Nick & his team were very professional and had high attention to detail. Quality was great. Highly...
 Stamos Flooring and Remodeling LLC
Awesome company. Had a jacuzzi tub taken out and replaced with huge walk in shower with partial glass enclosure. Onyx to the ceiling with a decorative border, moved plumbing and installed hand held shower, new ceiling, flooring, and paint. Replaced window with glass block. Everything was done...
 Columbus Bath Design
The initial quoted price from a walk-through seemed high, but we discussed that the quote represented worst case scenario (re-wiring to two floors) and we were excited about the opportunity to have the work done in a timely manner with closing for fire safety reasons, etc. When the job was...
Initially, I called the Service People to have a leaking garbage disposal replaced. I had purchased a special deal through Angie's List: $79 for $200-worth of plumbing services. <br /> When I went to schedule the work, the earliest date I could get through Angie's List was after the upcoming...
This company did a very good job on the brick wall and it looks just amazing. The staff was always professional and was practically OCD on how the bricks were stacked and how they were laid. Although it took longer than expected, I am willing to sacrifice time over perfection anyday. The...
 My Handy Mate LLC Improvement & Remodeling
<p>I am so glad we called Rotor-Rooter. I was hesitant to call them because we usually prefer to give business to local providers. But when we had sewage back up in our basement on a Saturday evening, I had a hard time getting a hold of someone, not to mention the high weekend/evening rate...
 Roto-Rooter Plumbing & Water Cleanup
From average costs to expert advice, get all the answers you need to get your job done.
Everyone can relate to having toilet issues—we’ve all been there. There are several reasons why your toilet might need repairs, and the cost varies based on the damage.
When jiggling the handle doesn’t work, it’s not always clear how to solve a toilet problem. This guide offers tips to fix six common toilet problems homeowners face.
If your toilet is leaking at the base, it can be a cause for concern. So grab some towels to stop the flow and explore these six common culprits for a leaky base.
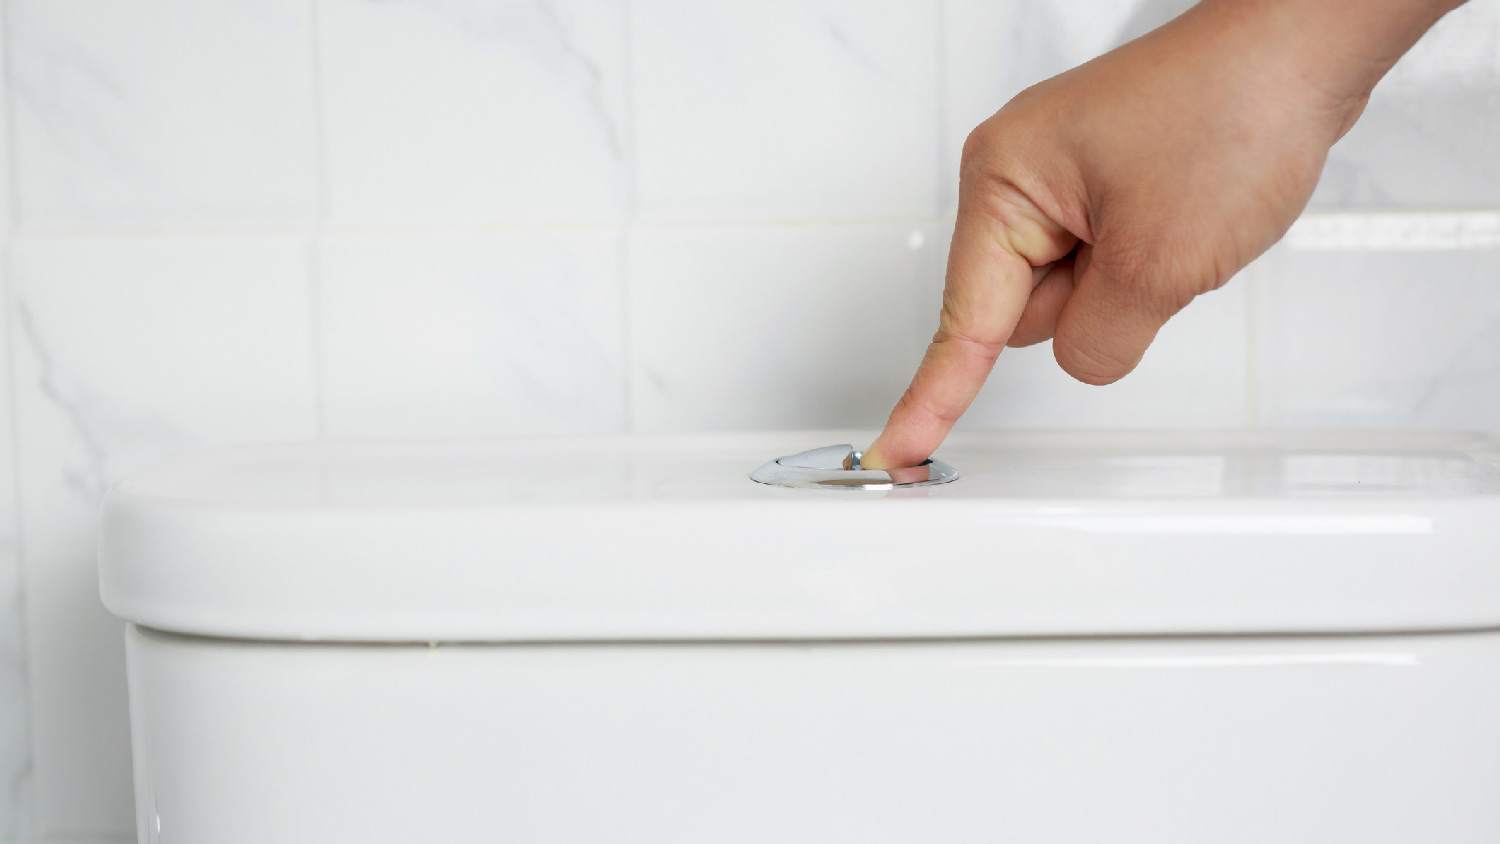
Learning about common toilet fill valve problems will help you understand whether it's something you can DIY or if it's better to call in a pro.
A toilet bowl leaking from the tank bolts may seem like a small issue, but can add up to a lot of costly damage if left untreated. Fix it easily in these steps.
Toilet leaks are not just annoying—they can cost you time and money as well. This quick test will teach you how to easily spot a toilet leak.