

Installing a dumbwaiter can save you time and energy. Learn how much a dumbwaiter costs with this guide.
It's time to tighten up your house for better cold weather comfort


When cold weather sets in, some homes tend to feel it more than others. If your home’s construction isn’t as thermally efficient as you’d like, it’s time to weatherize your home for winter. Focus on the key areas that lose heat first, like your floor joints and windows to name a few. It’s a finicky process, sure, but one that requires minimal skill and materials—perfect for a DIY weekend this fall. Here are 13 tips for how to weatherize your home for winter, so you can protect your home and keep your space warm during the coldest days of the year.
Water pipes that freeze could burst and cause flooding or water damage. You can winterize your pipes by insulating them. However, the cost to insulate pipes will vary depending on whether you complete the work yourself or enlist the help of a professional. To winterize, wrap the insulation around your water pipes, especially for the pipes in unheated spaces such as attics, basements, and garages.
You can hire a local handyperson for pipe insulation for $1–$4 per linear foot.
For DIY pipe insulation, you can find the materials for $7 per six feet at your local hardware store.
You can also winterize your sprinkler system for $56–$131.

Weather stripping is one of the most common ways to weatherize a home. This process helps stop cold drafts around your doors and windows to keep your home warm and lower your energy bills by as much as 30%.
Seal gaps from 1/16 of an inch to 1/4 of an inch with caulk to stop drafts.
For gaps larger than 1/4 of an inch, use a spray foam sealant or expandable foam tape.
You can put door sweeps on the base of exterior doors to help keep out cold air. A 1/8-inch gap in a door can let in as much air as a window that is open halfway, so it’s important to seal these gaps. Note that if you do have gaps, some experts advise reinstalling the door to prevent drafts.
Drafts can also come through the chimney and fireplace. So, you’ll want to close the dampers when the fireplace isn’t in use or add glass doors to the fireplace to ensure that cold air won’t come through the chimney.
Window insulation can improve the efficiency of your windows by up to 90%. Once you’ve added enough weather stripping to seal any gaps, you can also consider adding window film for optimum efficiency.
Find window insulation kits, or window film, at your local hardware store. Packs with enough film for 5 to 10 windows cost around $10 to $20. The steps to install window film will vary by manufacturer, but generally, you will apply the film to windows using a hairdryer.
In addition to applying window film, you can also install storm windows. Storm windows make your home more comfortable by reducing drafts and air leakage by 10% or more. Not only that, but storm windows take the hit when there’s snow, hail, or thunderstorms—keeping your windows safe and in better condition.
Check your air filters on your heating unit before the weather turns cold. A clogged filter restricts airflow, forcing the unit to work harder. The frequency at which you should change your air filter will depend on the type of filter you buy, so be sure to inspect them as needed. If you’re unsure which filter type you need or how to change it, you can always call an HVAC service near you for assistance. As for any window air conditioners, it’s best to remove window AC units and store them before winter.
With a programmable or smart thermostat, you can save money on energy bills year-round. You can save as much as 10% a year on heating and cooling by simply turning your thermostat back 7–10 degrees Fahrenheit for 8 hours a day. Here are a few ways to adjust your thermostat throughout the day:
Set the daytime temperature to about 68 degrees Fahrenheit when you are home and lower during the night.
Set the thermostat to a lower, constant temperature if you’re away for two or more days. Don’t turn it off or set it too low, though, to prevent burst pipes.
However, if you have an energy-efficient heat-pump system, you may not need to touch the thermostat at all. This is another energy- and money-saving option if you don’t want to mess with a programmable thermostat.
Water heater tanks that are located in unheated spaces, like a basement or garage, may require more energy to heat the water once the colder seasons arrive. A water heater tank cover can help ensure your tank doesn’t work as hard to warm your water and decrease heat loss by about 25 percent. A water heater tank cover usually costs around $20, depending on the material, such as fiberglass or foil, the R-value, and whether or not it is resistant to mold and water.
Pair water heater tank blankets with pipe insulation to protect your home from expensive utility bills and even burst pipes or water damage.
In addition, you can annually flush your hot water heater to prevent sediment buildup. It will cost between $75–$200 to flush your hot water heater, but you’ll have improved heating and lower energy bills.

Autumn’s falling leaves may be pretty, but they can clog gutters and prevent snow and ice from melting and draining properly. Recurring water buildup can lead to water spots or water damage, so it’s best to remove the leaves and debris before the snowy season starts.
Ceiling fans can be adjusted to rotate counterclockwise, which moves air downward and better circulates heated air in the winter. Simply flip the lever or switch located near the motor housing in the opposite direction to change directions. This will set the fan to pull cool air upward and push warm air downward. To save even more energy, set the fan on its lowest speed and only turn on ceiling fans in rooms that are occupied.

If you have a fireplace, you’ll want to prep firewood roughly six months in advance to help heat your house all winter. This will allow the cut wood to dry out before it’s used as firewood. Store the firewood on a log rack and in a cool, dry place to protect it from pests and prevent rotting.
Adding extra insulation around your home will help to keep you warm and cozy during the cold winter months. Not only that, but insulation also has additional benefits, such as energy savings and a reduction in emissions due to your home running more efficiently. Insulation keeps your home warm in the winter and prevents condensation from occurring—keeping your home dry and free of mold, dampness, and mildew. Here are the average costs to insulate your house:
Cost to insulate the attic: $1,700–$2,100
Cost to insulate walls: $1,066–$2,583
Cost to insulate floors: $1,000–$3,000
You may not realize it, but adding low-flow fixtures helps to weatherize your home for winter. Installing low-flow shower heads, toilets, and faucet aerators helps to conserve water, leading to less hot water waste and lower energy bills. If you use less water, then you’re also using less energy to heat the water.
Low-flow showerheads use no more than 2.0 gallons per minute, whereas traditional showerheads use 2.5 gallons of water per minute.
Low-flow faucets reduce your sink’s water flow by 30% or more.
Low-flow toilets use 1.28 gallons of water per flush, whereas standard toilets use 1.6 gallons per flush.
Flushing your water heater is a key step to weatherizing your home. This action helps to prevent freezing pipes and extends the life of this essential appliance. Start by turning off all power to the water heater, attach a drain hose, and then let all the remaining hot water drain into a safe location. Then, turn on the cold water supply to drain it. Once the hose runs clear, remove it, refill the tank with clean water, and turn the water heater back on.
From average costs to expert advice, get all the answers you need to get your job done.
Installing a dumbwaiter can save you time and energy. Learn how much a dumbwaiter costs with this guide.
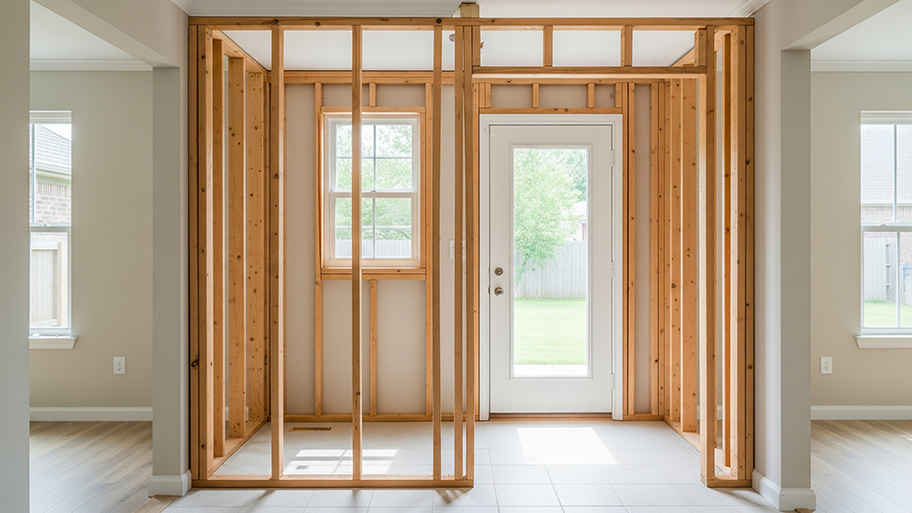
Sometimes, all your home needs is a new wall to make a room or provide an updated function to an existing space. Learn how much it costs to install a new wall.

Recessed living rooms used to be popular but have fallen out of favor. This guide discusses the cost to raise a sunken living room to modernize your home.

Not sure what the difference is between coffered and tray ceilings? Learn the key distinctions in design, cost, and benefits to decide which ceiling style is best for your home.

To make your home project stress-free, we’ve compiled a list of 12 questions to ask your contractor during every stage, from first contact to project wrap-up.

Freezing temperatures can cause damage to your garage, vehicles, and other items. Learn how to winterize your garage to prevent costly repairs.