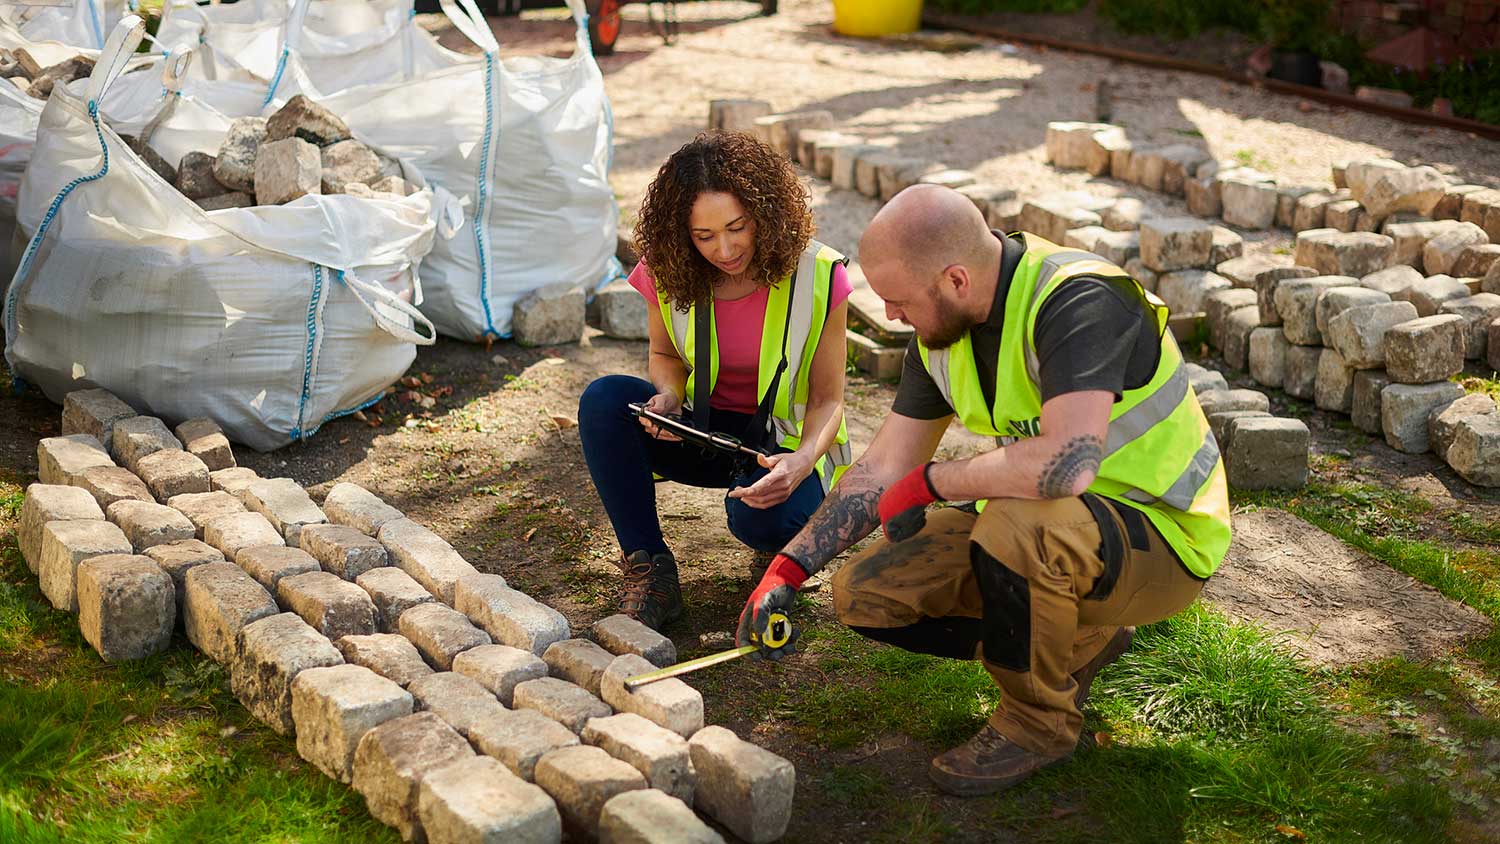
Landscape curbing can really improve the look of a yard, but at what cost? Find out how much it costs and the different ways you can do it
Rock your garden with a stylish stone wall


It’s hard to say what it is about natural stone exactly, but it just has a way of drawing you in. That’s why many homeowners love the idea of adding a stone wall garden bed to their living and growing arrangements.
Whether you’re adding a simple ring for a few flowers or plants, or want to give your yard and flowers an edge, it’s sure to turn heads (and in some ways, simplify things like weeding your garden). Ready for your own stone retaining wall? Learn how to build one in this six-step guide.

Taking the DIY approach means you’ll presumably be loading heavy stones, so make sure this is a task best suited for you. If you have any pre-existing injuries, especially to your lower back, it might be worth asking friends or family to help, or getting assistance from a local stone retaining wall contractor.
A pair of safety goggles and gloves are recommended, especially if you’re planning to be meticulous about chipping away stone to make the edges look even. When lifting rocks, bend your knees to lift and securely grab the stone with both hands. Pick it up by driving through your heels to activate the muscles in your legs like the hamstrings, and try to prevent your back from rounding as you lift.
Whether you’re adding an edge to a flower bed or making a full stone wall, you have countless options. Some common ideas homeowners may go for include:
Small single circular stone wall, or twin set of walls, for plants or trees
Perimeter-long stone wall around an entire garden or flower bed
Corner garden bed along the edge, or a smaller raised garden bed as a focal point inside your garden.
If you’re planning to build a taller garden bed (higher than 3 feet) or stone retaining wall, you’ll need to dig a trench that’s as deep as the stones are wide for support. This will require more stones, time, and labor. This may also require additional material to backfill the wall with, such as gravel for stability.

Natural stone is one of the most sought-after natural materials you can use in your home or garden. Fieldstone, flagstone, granite, quartz, and slate are just a few popular examples. Installing brick edging on flower beds is also a fan favorite.
The average cost to build a stone wall is $4,900. Fieldstone is a more affordable option, while synthetic stone can also be a budget-friendly choice for bigger builds.
Draw a line using a rope or string to give you a visual point to focus on when leveling out the area. You can also use a garden hose or paint out your line with marking spray paint. Use a shovel or flat edge to level off the space. You’ll want this area to be at least as wide as your stones. If the dirt is particularly dry or difficult to work with, it might help to use a pickaxe to break some of it loose. If you take this path, level it with a tamper before adding stone.
“Adding crushed gravel that has been tamped after you dig the trench (and before placing your stones) will help create a nice base for stone installation,” says Tara Dudley, Angi Expert Review Board member and owner of Plant Life Designs.
If you know you’re digging a trench for a taller structure, now is the time to do that and level it off as needed too.

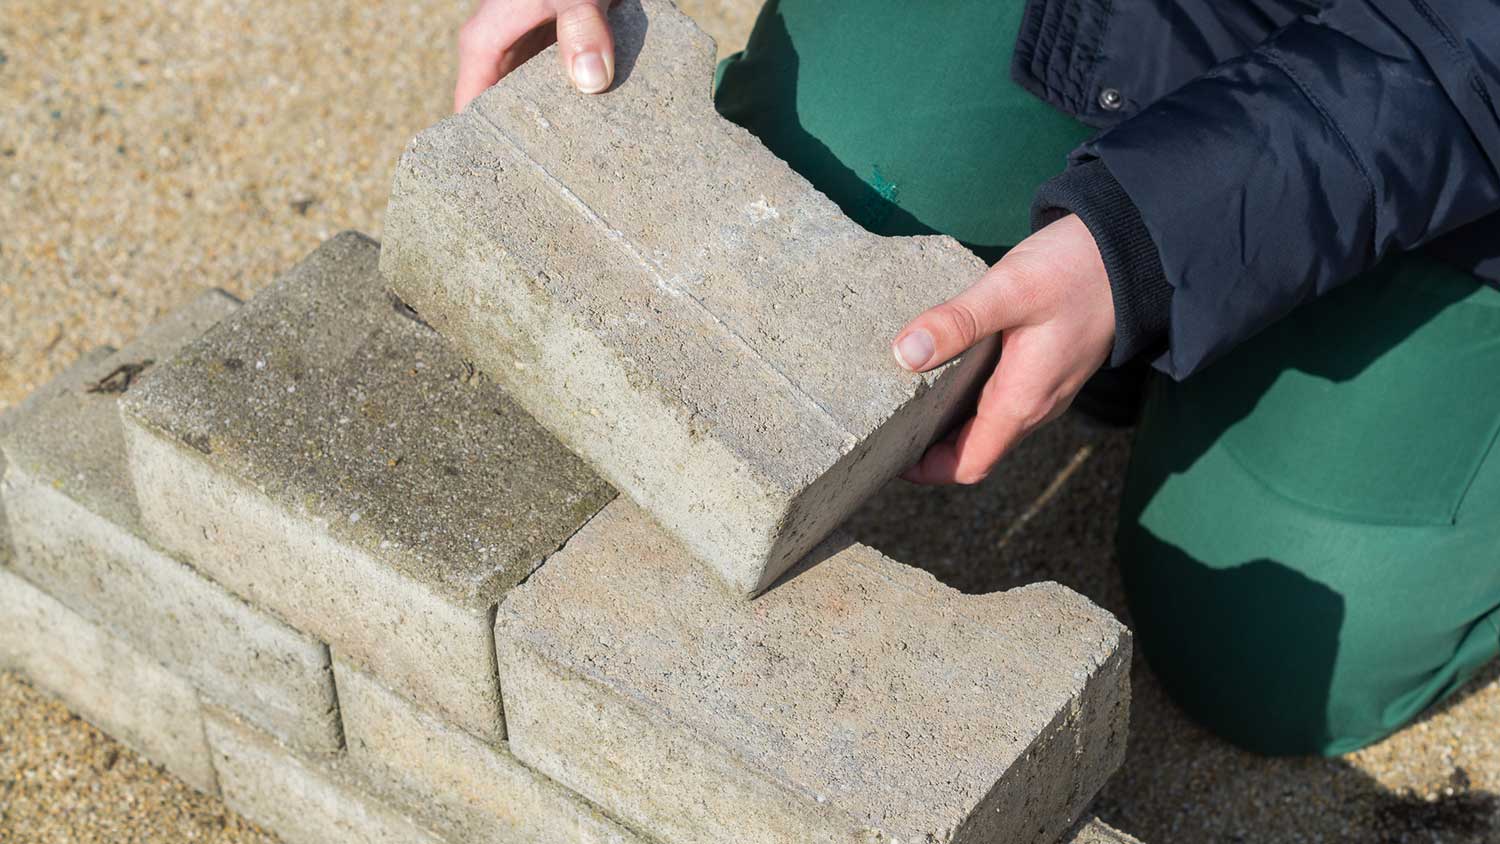
Take your first eight to 10 rocks and form a ring (or whichever shape you’ve chosen) to seal off your new stone wall garden bed. Make adjustments as needed to fill space between the rocks.
Use your level to figure out if any adjustments need to be made. If it’s way off, you may need to remove stones on one side, backfill with dirt or sand, then re-add and re-test. If you’re building a taller structure, this step is highly recommended, as the stones on top may not sit properly for a higher garden bed.
If you’re going for a tall garden bed, continue stacking your stones around one level at a time. Stack a new stone in the middle of the two stones below it, then push it slightly to the front to ensure it doesn’t shift out over the lip on the back edge once you add soil.
If you’re planning to stack more than two or three sets of rocks on top of one another, you may need to apply caulk with a silicon adhesive in between the stones to help them stay upright. Both are available for $5 to $20 at home improvement stores.
Once you’ve reached the desired height, carefully add soil, then plants/flowers.
If your garden wall is going to be tall, or cover a very large garden, it might be worth it to hire a professional simply for the amount of labor it’ll take to dig a trench and lay stone in a big area. A team of workers can tackle a job that might take you several hours or even days in a single afternoon.
Otherwise, this is a fun but challenging task you can be proud of! Make it your own and start thinking about what plants or flowers will go in your new garden beds.
Lawrence Bonk contributed to this piece.
From average costs to expert advice, get all the answers you need to get your job done.

Landscape curbing can really improve the look of a yard, but at what cost? Find out how much it costs and the different ways you can do it
.jpg?impolicy=leadImage)
Landscaping your yard adds curb appeal and expands your home’s living space into the outdoors. Learn how much landscaping costs for various projects.

What are average sod installation prices? Learn how much sod costs based on factors like square footage, land prep, land condition, and more.

What causes your lawn to have dips and bumps? We’ll answer this question and help you learn who to hire to fill an uneven lawn.

Overseeding your lawn can help fill in sparse areas and grow thick, lush grass without starting over. Find out how to overseed a lawn successfully.

Wondering when the best time to regrade your yard is? Learn why fall is ideal and what factors you should consider that affect your specific timeline.