

A home's primary water supply is crucial. Learn the factors that will affect your main water line replacement cost in Washington, D.C., to help you budget.
Use these tips to help you avoid leaks in your wallet


Drip, drip, drip. That’s not a sound anyone likes hearing, as it often means expensive repairs to your plumbing system. Luckily, maintaining your pipes is not as difficult as you might think. By performing preventive care, you can potentially avoid common issues like broken or rusted pipes, leaks, and clogs. Learn how to care for your plumbing system using our handy plumbing maintenance tips.
Be careful of what you flush down the toilet. Items such as hair, food waste, grease, and wipes—even “flushable” ones!—can form solid masses and clog your drains, eventually requiring you to snake the drain or pay a plumber to do it for you.
Toilet paper and waste are the only objects that should get flushed down the toilet. It’s the easiest way to make sure you avoid a costly (and unsightly) repair.
While a significant leak in your home's plumbing will typically require a licensed plumber to repair, there are a few things to be on the lookout for regarding more subtle toilet leaks that not only waste water but can cause trouble if ignored.
Occasionally check around your toilet's base for pooling water on the floor or dripping from under the tank. Repairing these could mean simply tightening the floor or tank bolts. However, the problem could be with the wax ring or tank gaskets, which will require a bit more work to resolve. Address these problems right away to avoid a more urgent water damage issue.
More commonly, your toilet may suffer a slow leak that's nearly undetectable without testing. In that case, you may notice the tank needing to refill itself from time to time for seemingly no reason. To test if water is slowly leaking within your toilet, place a couple of drops of food coloring in the tank and wait. If after about a half-hour you notice the color showing up in the bowl, you likely need a new flapper, or another part is failing.
You don't have to wait for symptoms to appear to check on these types of toilet leaks. You can keep an eye out for visible leaks all the time and perform the food coloring test once or twice a year to stay ahead of issues.
Did you know that faucet water leaks can waste up to 180 gallons of water per week, according to the Environmental Protection Agency? These leaks can happen as a result of:
A corroded valve seat
Problems with the O-ring
A worn-out washer
Not only do leaks waste a lot of water, but they can also increase your water bill. To prevent any issues from arising, inspect your faucets and showerheads regularly for signs of leakage.
Ensure that your handles aren’t leaking when you turn your water off. They tend to be a sneaky culprit for water leaks. You should also check under your sinks while the water runs to establish if one of your pipes is leaking. If you see water stains, you’ll need to address the issue right away.
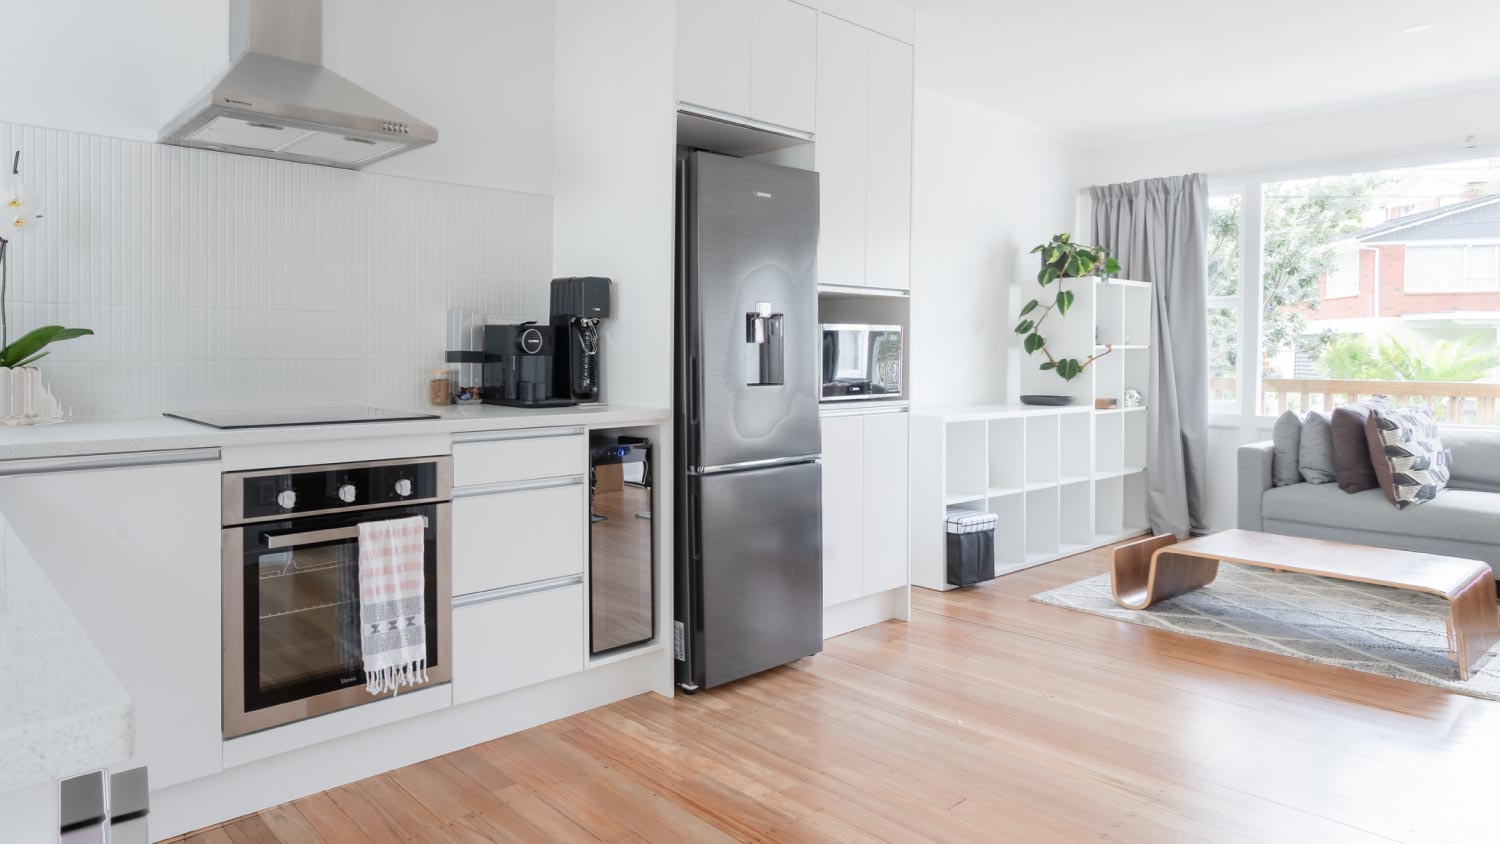
Several of the appliances in your home, such as the washing machine, refrigerator, and water heater, connect to your main water line. Each of their appliances can use heavy amounts of water, causing leaks at any point.
You’ll know you have a leak if there are water stains or standing puddles in areas around the appliances. Manufacturers always supply maintenance guidelines to help you care for the product. Following them will help you stay on top of any issues and schedule the necessary repairs or appliance replacements. Appliance repairs cost anywhere from $100 to $250 on average, depending on the replacement parts and the extent of the damage.
While having a garbage disposal in your kitchen is a fantastic convenience, it does have some downsides to bear in mind. Placing incompatible things in the disposer can cause both immediate problems and ones that aren't apparent for a while.
Avoid putting fibrous foods, uncooked starches like rice and pasta, coffee grounds, potato peels, or eggshells in the machine. These items can harm the disposal, easily clog your sink drain, or gum up the disposal’s inner workings. Fruit pits, bones, and other hard items can also easily damage the blades inside and are difficult to remove.
Finally, while putting grease (especially hot, liquid oil) in a drain or disposer may seem innocent enough, the substance cools quickly in your home plumbing, congeals back into a solid there, and can lead to clogs deep in your home's plumbing sometime down the road. Instead, put grease in a sealable container and throw it in the garbage.
If you’ve noticed water going down your drains slowly, you may have a slight clogging problem. Your first thought might be to buy a chemical drain cleaner. However, this isn’t the best move because these products contain acids that can eat away at your pipes or damage your toilet. To prevent damage, always steer clear of using drain cleaners.
Instead, you can use homemade cleaning supplies, such as a mixture of hot water, vinegar, and baking soda. The contents will bubble up and help clear out your drains, allowing your water flow to return to normal.
“Alternatively, use an enzyme cleaner from your local plumber or hardware store and allow the natural enzymes to do the heavy lifting for you,” says Joseph Wood, Expert Review Board member and master plumber and Founder of the Boston Standard Company in Mattapan, MA.
Try to use this method at least once a month or any time you see water leaving your drains slowly. Catching clogs early is an easy way to limit how much you’ll eventually spend on clearing them. But if you’ve tried these methods and the problem remains, contact a professional plumber in your area. The issue might be something more severe, like the wrong-sized plumbing pipes for your demand.
Depending on where you live, your home is either connected to a septic tank or a sewer line. Septic tanks treat your wastewater on-site, usually in a space near or underneath your property. Sewer main lines connect to your city’s water system. All of your wastewater gets sent underground to a nearby treatment facility.
Regardless of your home’s sewage system, a professional should inspect your drains at least once a year. Due to the constant flow of water, pipes can clog with debris from time to time, causing problems with your sewer drains at home. The sooner you identify a blockage, the easier and more affordable it will be to clear, and the less likely you are to see property damage as a result.
You can also schedule sewer line maintenance annually to prevent this issue from happening. A plumber will come in and clear out any slight blockages before they become substantial problems. The cost to clean a drain is between $150 and $350 on average and varies by the severity and location of the clog.
Have you had moments when you were looking forward to showering and the pressure trickled out slowly? You’re not alone. We might not think about it too often, but water pressure regulation is healthy for our homes.
When you have lower water pressure, it will take longer to do the dishes or have a quick shower. It can cause leaks or burst your pipes if it’s too high since they aren’t used to the heavy water pressure. That’s why balance is key.
You can test your water pressure levels using a pressure gauge on an outside hose bib. It will let you know if the pressure is too high or low. Another preventive measure you can take is installing a pressure regulator. Pressure regulators maintain your water pressure, so it doesn’t go above or below a healthy level. With these two tools, you’ll help keep your water bills at a reasonable price.
Your water heater works overtime to provide hot water for bathing and washing. All of this hard work means the water running through the appliance will leave mineral deposits behind in the long run—especially if you have very hard water.
Calcium and magnesium from your water supply can collect inside the tank and corrode the sacrificial anode rod and, eventually, the interior walls, destroying your water heater. It can also settle at the bottom and prevent the heating element from functioning optimally, which eventually wears down your water heater faster, shortening its lifespan.
Once per year, you should flush your water heater to remove any sediment build-up. If you have hard water in your area, consider flushing it twice annually. Doing so will prolong the life of your water heater and will even lead to better performance.
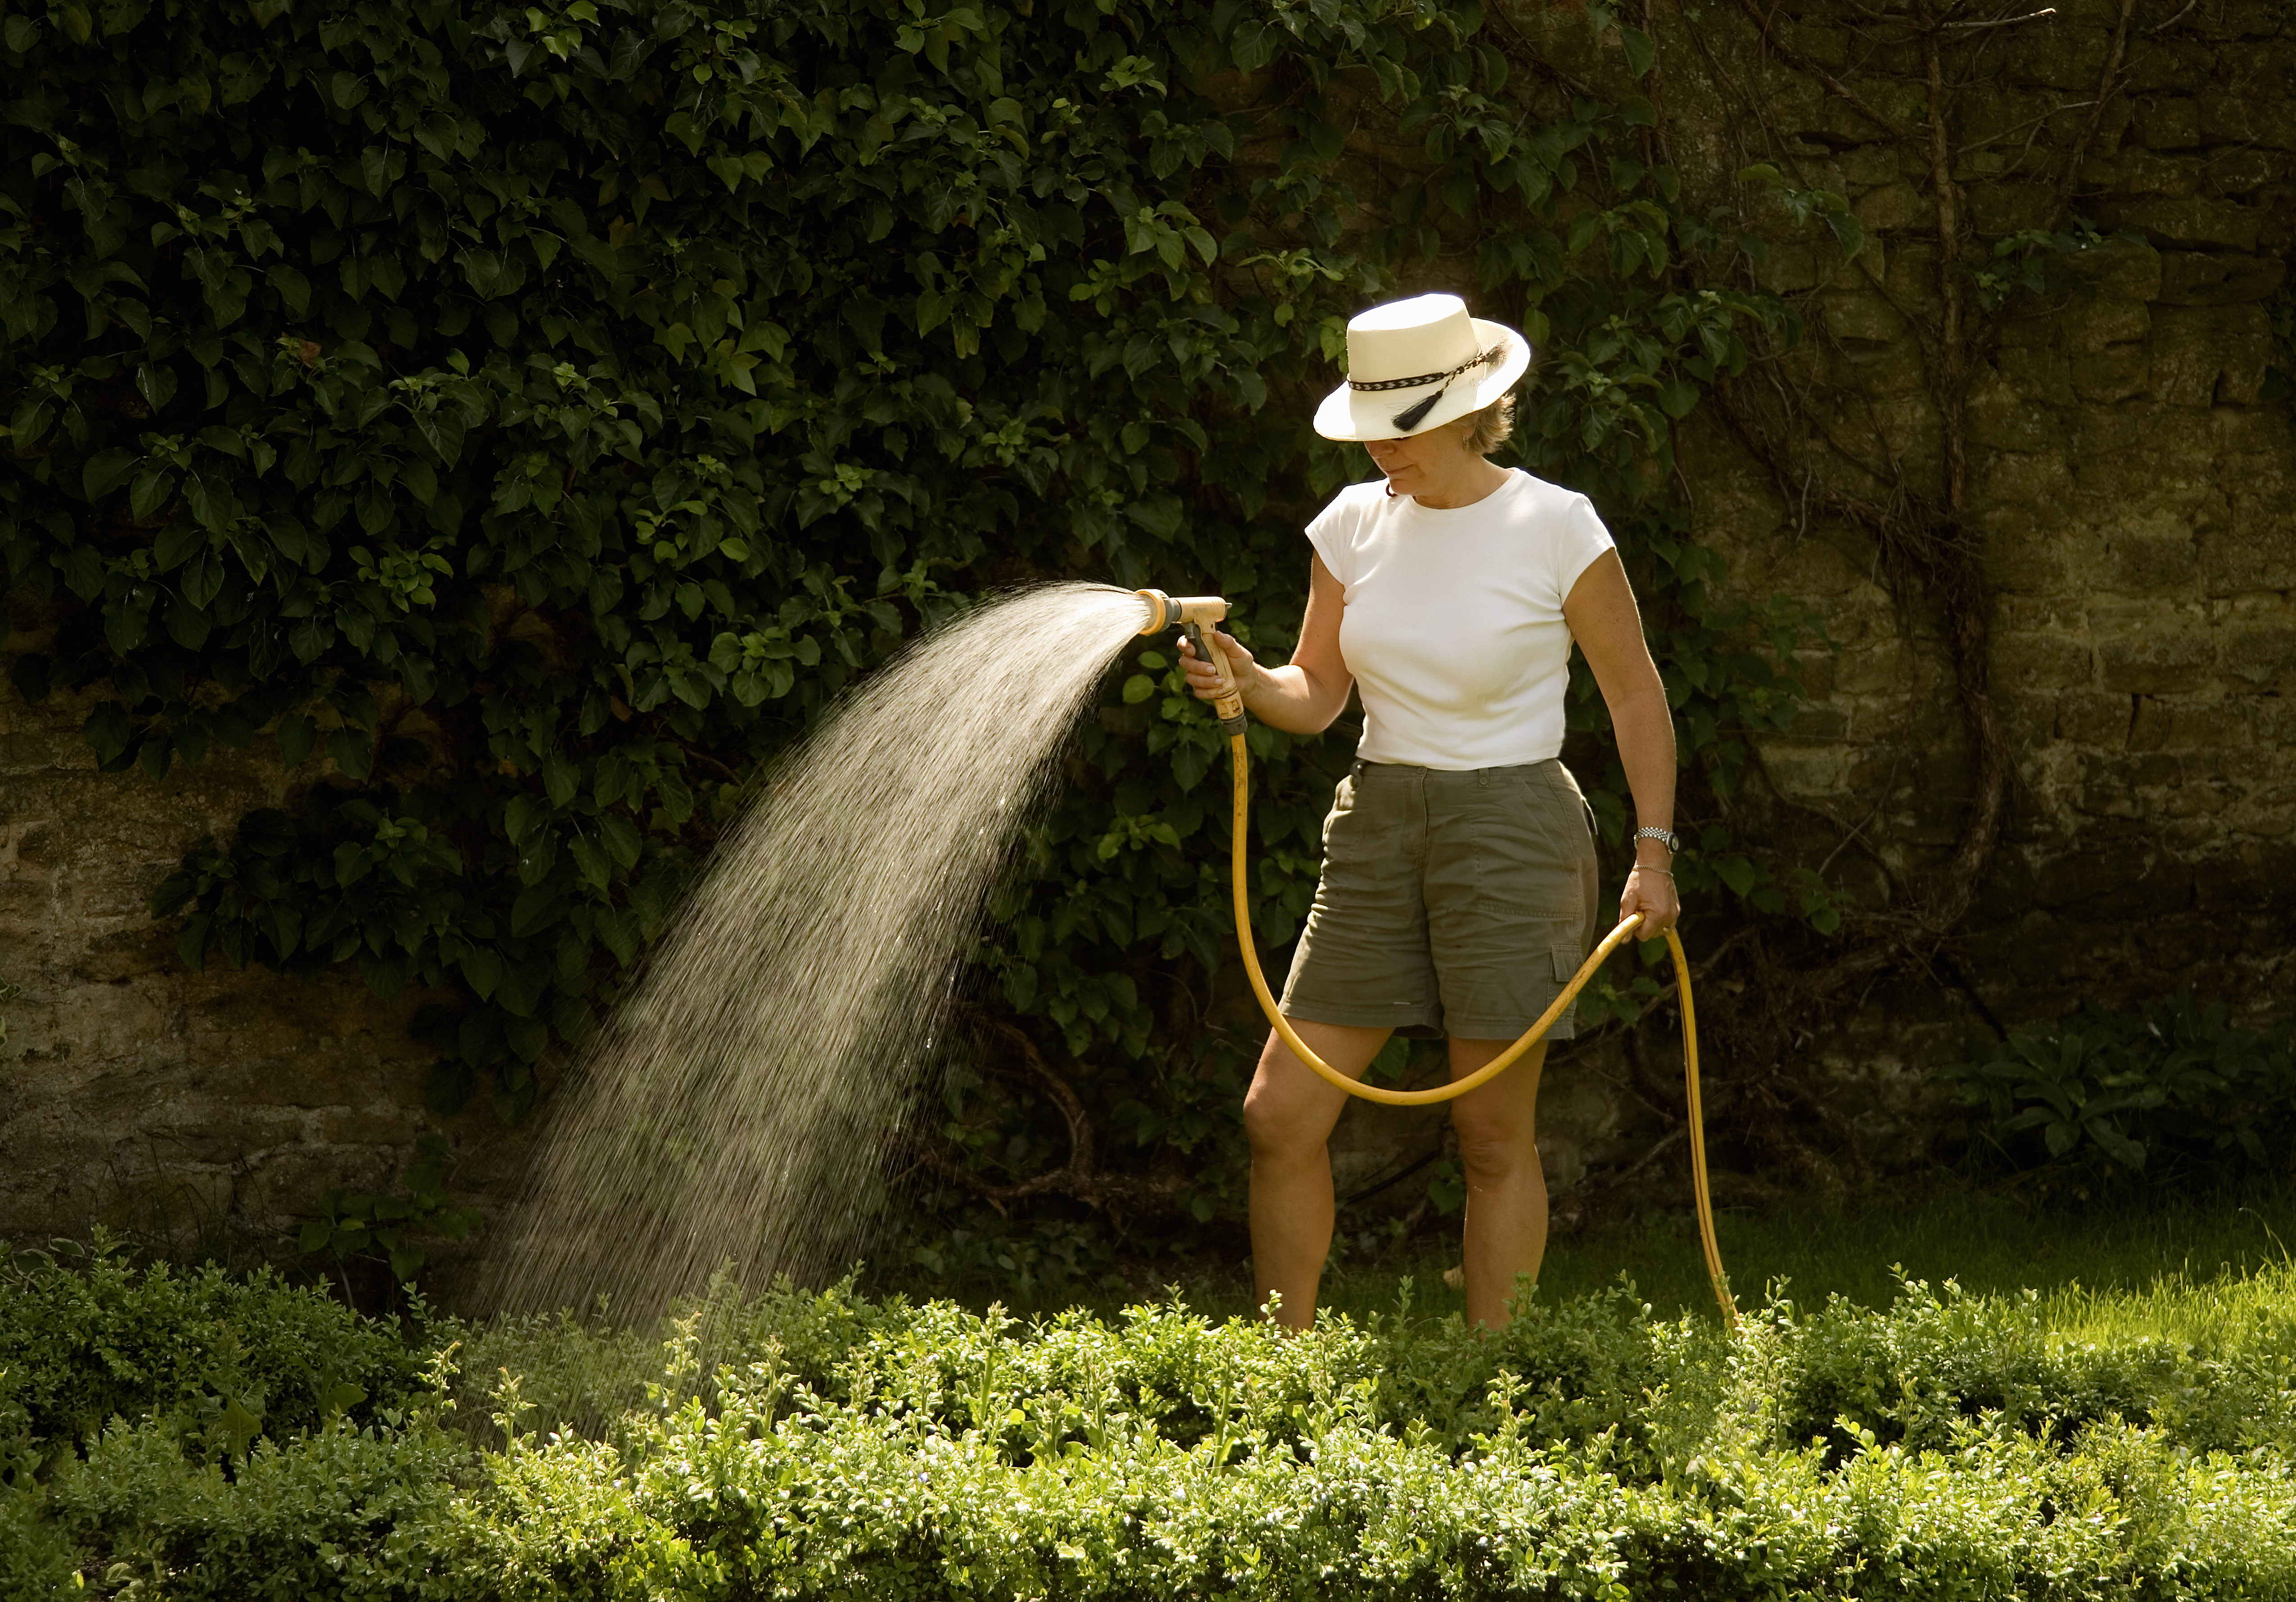
Don’t forget to shut off your outdoor fixtures on a seasonal schedule. If possible, shut off the water supply to these fixtures—think outside hoses, faucets, sprinkler systems, and backflow preventers—and drain and insulate them in the fall before freezing temperatures start. Depending on where you live, you may have to blow out your sprinkler system and follow a sprinkler winterization procedure.
The kinetic energy created by moving water, no matter how little, is sufficient to prevent your faucets and pipes from freezing. If you live in cold areas, dripping faucets in the winter could be a lifesaver. You should drip your faucets if the temperature falls under 20 degrees Fahrenheit for at least three hours. Therefore, if your region experiences mild winters, you can safely keep the faucets off.
Faucets needing dripping are determined by their locations. Generally, faucets attached to exposed pipes or located close to poorly insulated walls should be dripped. You should also drip each shower head in the bathroom. Also, drip at least one faucet in each section of your home.
Planning a winter getaway? You don’t want to return home to discover frozen pipes. When you leave for a vacation and notice the temperature might go below freezing while you’re gone, leave your heater at least 55 degrees Fahrenheit before heading out. This is mainly to ensure pipes in less insulated spaces, such as your basement, don’t freeze. If you have water hooked up to a detached garage, you might need a small space heater for the same purpose. Again, if you live in a region with mild winters, this step may not be necessary.
It’s no secret that we all have busy lives, so it can be challenging to ensure ample time for our household tasks. However, when it comes to plumbing issues, leaving any problems for too long could create lasting damage in your home.
On average, hiring a plumber costs around $330 for typical repairs but can increase as high as $950 if the issue is more severe or fall as low as $100 for smaller issues. To avoid any not-so-wallet-friendly prices, create a regular plumbing maintenance schedule.
Walk around your house and note things that may need a tweak or fix. Add them to your favorite calendar app so you can organize your time correctly. Your plumbing maintenance scheduling will keep your system working the way it should be and keep your money in your pockets.
A little bit of plumbing maintenance goes a long way. As long as you keep a consistent schedule and follow preventive measures, things should be fine.
On the off chance you experience an issue you’re not sure how to handle, hire a plumber near you. Their expertise will prevent the problem from worsening and leave you a happy homeowner. In case of emergency, you may need to contact an emergency plumber near you. An emergency plumber costs anywhere from $300 to $400.
Choosing the right plumber can make a big difference in how smoothly any maintenance or repair work goes around the home. With this in mind, you’ll want to have a list of questions to ask and a good three or more local plumbers on standby to get a good feel for the right fit for the job. Use the following questions as a guideline to help you feel confident in choosing the right plumber for your home.
Are you licensed and insured? Can you provide past referrals for similar projects?
Do you charge by the hour or a flat rate? Do you offer a free inspection?
What’s the estimate, and how long will the job take?
How much should I pay upfront? (Be wary of companies that ask for more than 10% to 25% up front, and know your state’s law regarding maximum advance payments to protect yourself from scams.)
Do you have a satisfaction guarantee or a workmanship warranty?
Is there anything I need to know or do before you arrive?
Do you offer a plumbing service contract? (Some contracts can fall at a lower rate if you schedule routine inspections.)
Hiring a plumber to conduct an inspection is different from hiring a plumber for repairs. The inspection comes before the repair to help the plumber identify the problem. A plumbing inspection can cost anywhere from $100 to $1,400 depending on the size of your home, location, and type of inspection.
From average costs to expert advice, get all the answers you need to get your job done.
A home's primary water supply is crucial. Learn the factors that will affect your main water line replacement cost in Washington, D.C., to help you budget.

Discover what it costs to hire a plumber in Washington, D.C. and what impacts plumber costs, such as permits and home age, plus how to hire a local pro.
Learn the pricing factor details that will affect your main water line repair cost in Washington, D.C., including the repair type, size, and accessibility.

Accidents can cause your sewer pipe cap to break. While fixing it is essential, don’t jump right in. This guide will prepare you with must-know tips.

We’ll show you how to keep pipes from freezing in the winter and how to thaw yours before they burst.

You never know when learning how to unclog a toilet will come in handy. Get to know these eight methods for the next time things stop flowing.