
A ceiling repair averages about $1,000, but multiple factors affect this number. Learn more about creating an accurate ceiling repair cost estimate with our tips.
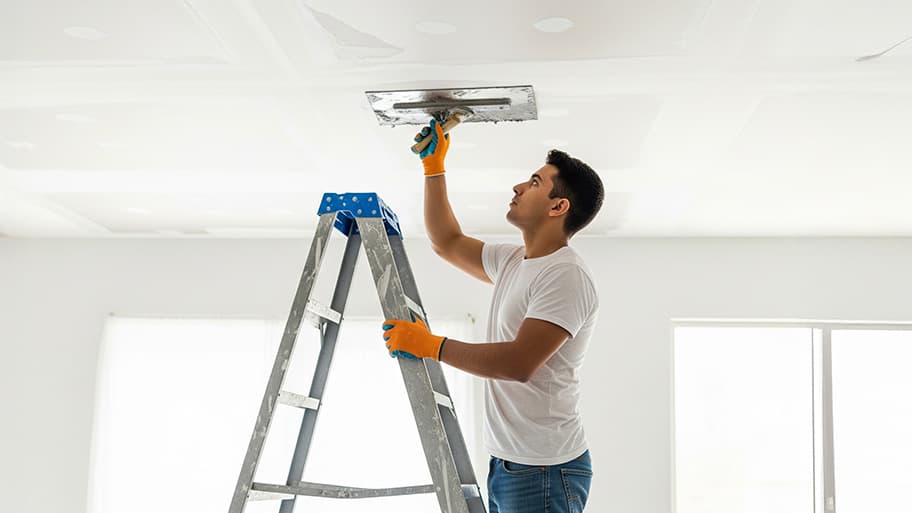
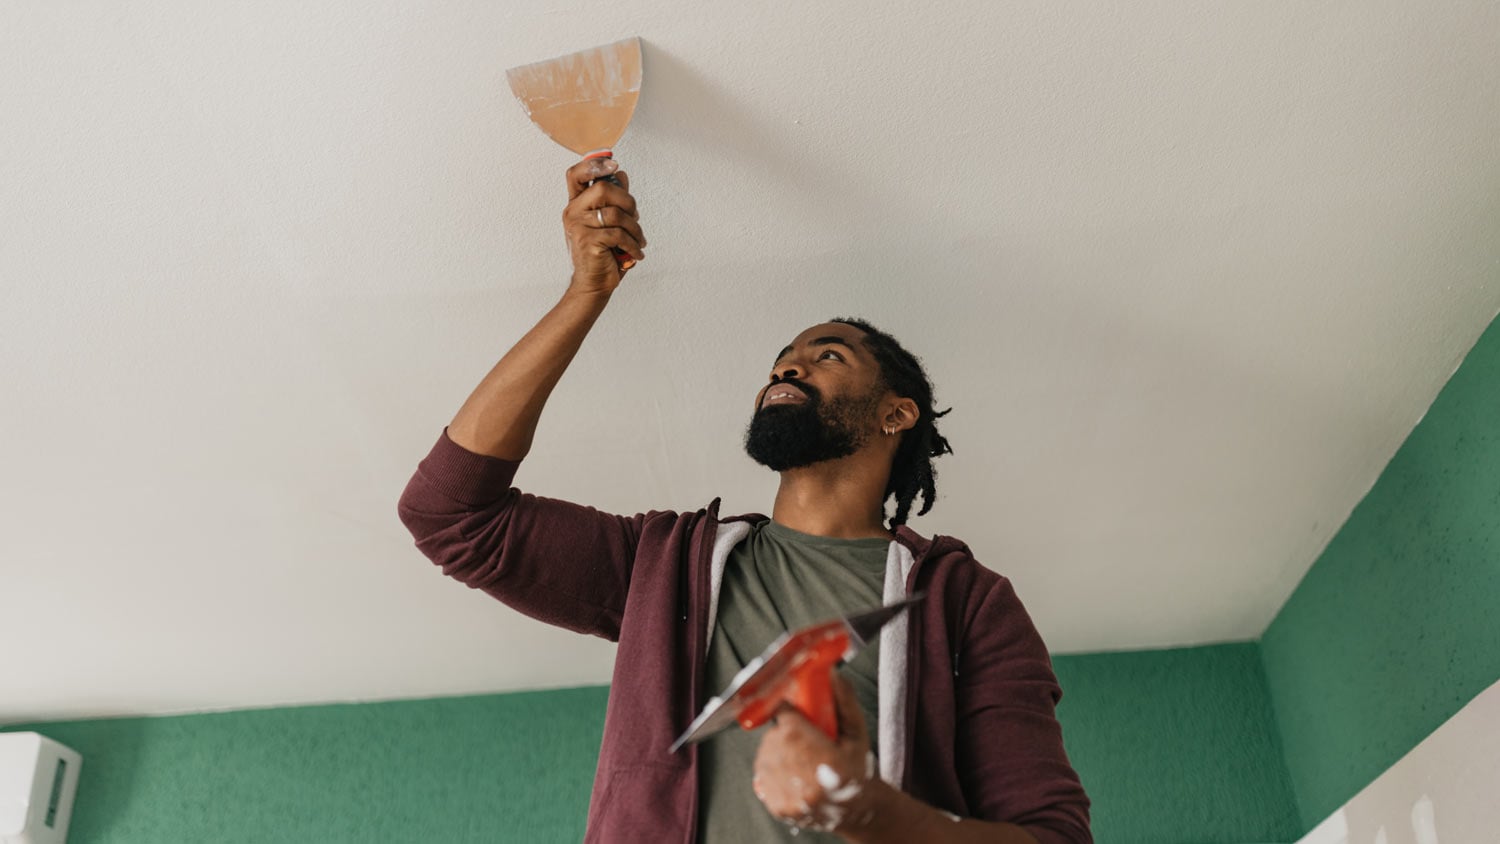
With a little patience, this DIY is well within reach—with the help of a ladder of course

If you're dealing with cracks, holes, or wear and tear on your ceiling, you may be ready to roll up your sleeves and get to work to fix those issues. The good news is that plaster ceiling repairs are fairly easy to tackle on your own once you have the right tools and supplies on hand. Keep reading for a comprehensive breakdown of each step you’ll need to take to learn how to repair a plaster ceiling.
To prepare your ceiling for plaster repair, remove loose or damaged plaster with a putty knife or scraper. Clean the area thoroughly. Use a vacuum cleaner or a stiff brush to remove dust, cobwebs, and debris from the surface. Don’t forget to clean the corners and edges.
Next, dampen a clean cloth with water and wipe the surface to remove any remaining dust or dirt. This step is essential, as plaster adheres better to a clean surface. Ensure the surface is dry before applying the plaster.

Once your work area is ready, it’s time to mix the plaster. Follow the instructions on the plaster packaging to mix the plaster with water. Use a mixing paddle attached to a drill to ensure a smooth and lump-free consistency. Let the plaster sit for a few minutes after mixing.

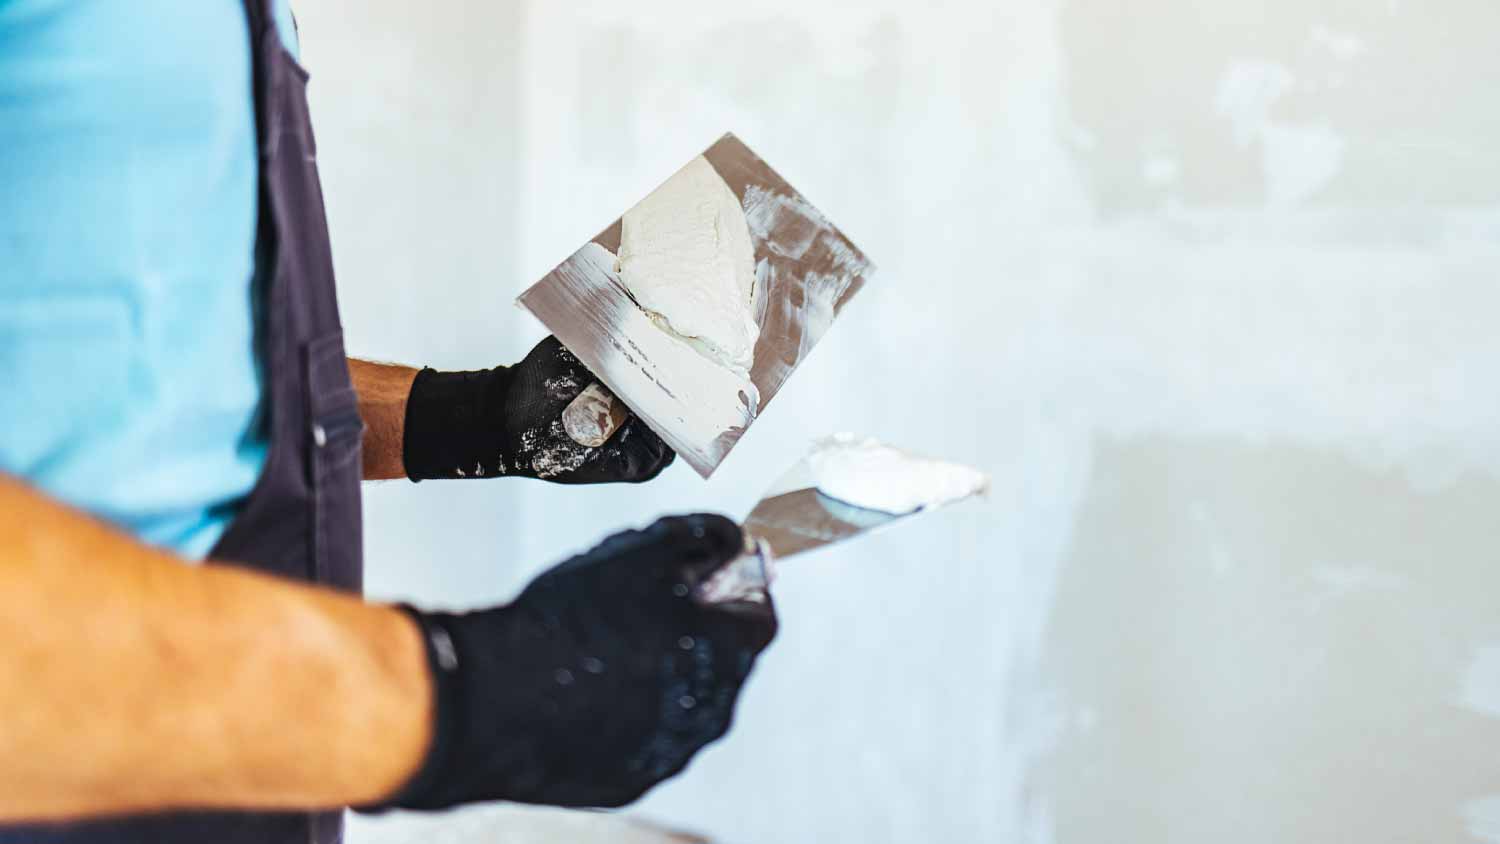
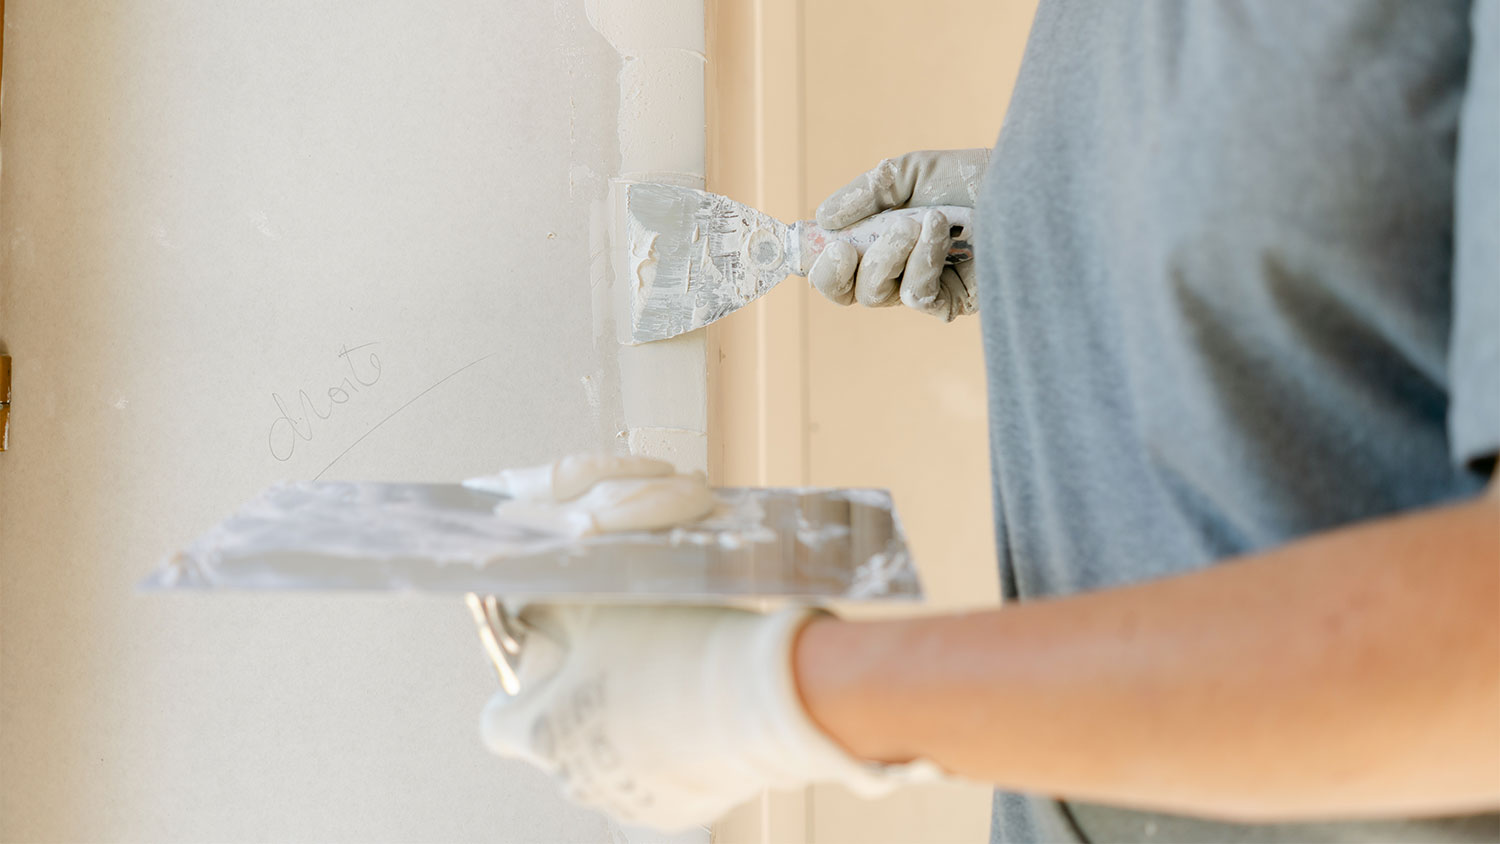
Scoop some plaster onto the hawk using the plastering trowel. A hawk is a tool used in plastering and masonry work. It consists of a flat, square board with a handle attached underneath. Plasterers use the hawk to hold some plaster or mortar, allowing them to easily and efficiently transfer the material to the wall or ceiling they’re working on.
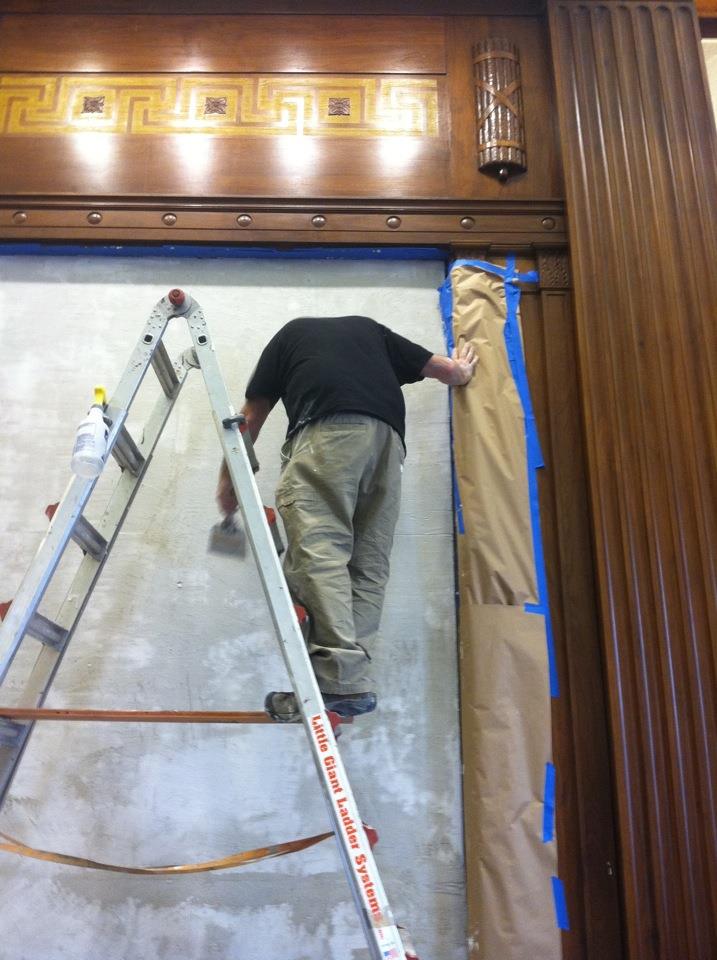
When it comes time to apply the first coat, hold the trowel at a slight angle and apply the plaster to the ceiling in smooth, even strokes. Work from one end of the ceiling to the other, slightly overlapping each stroke. Try to achieve an even thickness across the entire surface. After applying the first coat, use the trowel to smooth the surface. Hold the trowel at a steeper angle and apply gentle pressure to create a flat and even finish.
Once you apply the first coat, allow it to dry before moving on to the second coat. Plaster drying times may vary depending on the type of plaster used and the humidity level in the room. Follow the manufacturer's instructions carefully for drying time.

Prepare the surface before applying the second coat of plaster by lightly dampening the it with clean water. This helps the new plaster adhere to the existing plaster. Then, repeat the process of loading the hawk and applying the plaster. This time, focus on achieving a smooth and flawless finish. Use long, sweeping motions with the trowel to create a seamless surface.

Once the second coat is dry, use fine-grit sandpaper to smooth out any imperfections on the surface. Sand in gentle circular motions until the ceiling is perfectly smooth. Wipe away any dust with a clean, damp cloth.
Now it’s time for the finishing touches. Apply a coat of primer to the plastered ceiling to create a suitable surface for the paint to adhere to. Once the primer is dry, paint the ceiling with your desired color using a paint roller or brush.
Inspect the repaired ceiling carefully to ensure there are no visible imperfections. Touch up any areas if necessary, and allow the paint to dry completely before moving furniture back into the room.

Take some time to clean your tools and dispose of any leftover plaster and debris properly. Remove drop cloths and clean the surrounding area thoroughly.
Repairing a plaster ceiling requires careful preparation and technique, along with the proper tools and materials. Avoid these common plaster ceiling repair mistakes to ensure a sturdy, lasting finish.
Not fixing underlying issues: If you don’t address the underlying problem, such as a water leak, you risk new cracks forming soon after repair. Inspect and fix structural and insulation issues first.
Inadequate preparation and cleaning: If you don’t remove loose or damaged plaster or clean the surface, your new plaster will not adhere properly. Ensure a clean, dry surface before repairing.
Wrong plaster type: There are different types of plaster and patch filler on the market. Choose plaster that’s compatible with your existing plaster and the size of the crack.
Incorrect mix ratios: The wrong plaster-to-water ratio can lead to thick, runny, or weak plaster. Follow the manufacturer’s mix ratios to ensure the plaster is strong and applies smoothly.
Uneven application: Apply plaster in thin, even layers with a trowel to avoid a bumpy or rough finish.
Over-trowelling: Passing over the same area too often can lead to a fragile repair.
Rushing the dry time: Wait until each coat of plaster is fully cured before applying another layer or painting it.
Skipping the sanding: Lightly sand and polish your plaster between coats and after the final coat to ensure a smooth finish.
Failing to blend in the new plaster: If you don’t match the existing texture of your plaster, the repair can be an eyesore. Feather the edges of your repair so that it blends in with the rest of the ceiling.
Skipping joint tape on larger cracks: Without reinforcing larger cracks with mesh tape, you risk fresh cracks forming soon after repair.
Failing to wear protective gear: Repairing plaster can expose you to chemicals and dust. Work in a well-ventilated space and wear goggles, protective gloves, and a dust mask.
Plaster can be expensive to repair. Since drywall is less costly, takes less time to dry, and looks exactly like plaster when repairs are done properly, companies often use drywall to repair plaster to help homeowners save money.
How you choose to go about this project significantly impacts your ceiling repair costs. DIY ceiling plaster repair is more cost-effective than hiring a professional. DIY costs primarily include purchasing plaster, tools, and safety gear. If starting from scratch, expect to spend about $300 on supplies and tools. However, DIY requires time, skill, and patience, so individuals must weigh the cost savings against their ability to achieve a satisfactory result.
If you only need a small area repaired, hiring a ceiling repair specialist near you may cost less. Hiring a professional for plaster repair averages between $4 and $10 per square foot.
Positive experience. As previously stated, the replacement/repair could not be completed (no fault of the plumbing tech) b/c misinformation was rec?d by property management maintenance. Thanks to the plumbing tech for your efforts. Appreciate you!
 The Waterworks
Carpet repair done well. Scheduling was easy. Showed up on time.
I would recommend this company to anyone! He showed up on time, was friendly, completed a very difficult repair on our dryer vent cover, was responsive, and pricing was extremely fair and competitive. I would have him back to do any of our repairs or cleanings without hesitation!
Everything from initial contact to completion was absolutely top notch. We contacted the business during off hours to leave a message, and the owner still reached out to feel out the issue within minutes. We were scheduled and repaired within 48 hours. I cannot say enough about the...
 Supreme brick & chimney
Ace Fireplace Services came to the rescue for my chimney repair. They were quick to pinpoint the issue and worked their magic to fix it. My chimney is now in excellent shape, and I'm a satisfied customer.
 Ace Fireplace Services
Great experience all together. Dog friendly, courteous, great results and honest with recommendations. Will certainly be using Cardinal in the future for any carpet repairs
Description says they handle window repair including rotten hardwood - they called me back right away but didnâ t leave a voicemail. I followed up 3 days later and they said they donâ t do that kind of work.
Very good experience. He even moved things around in my bedroom to get to the wall. I would highly recommend him for plaster. I plan to have him come back.
 Peter J Grady
Great guys. Spend a lot of time repairing and prepping our walls before doing the new paint. Home looks great now.
They did an excellent job with the repair, took care of all communication with the insurance company and had car rental service also with a very reliable, quality care
 Three C Body Shop
From average costs to expert advice, get all the answers you need to get your job done.
A ceiling repair averages about $1,000, but multiple factors affect this number. Learn more about creating an accurate ceiling repair cost estimate with our tips.
Plaster repair costs are determined by the size and type of damage. Discover why some fixes you can DIY and why some require a pro’s help.

The cost of plastering walls and ceilings depends on the room size and ceiling height. Our tips can help you estimate an accurate cost.
Finding a qualified plaster repair pro? Learn how to hire the right specialist, what questions to ask, and what to expect for your project.

Who do you call for ceiling repair? Trust experienced contractors and other professionals for thorough assessment, removal, and restoration.
A drooping, damaged ceiling isn’t just an eyesore; it’s also a potential safety risk. Learn how to fix a sagging plaster ceiling in this step-by-step guide.