
Looking to give your fence a refresh? This guide explores the cost to stain a fence—and the cost to paint it, too— so you can budget for your project.
Transform your brick with an eco-friendly and breathable finish


A pro can properly inspect and repair brick before limewashing to prevent damage.
Limewashing brick is time-consuming, so leave it to a pro for the fastest possible results.
Applying limewash higher up on a home can pose a fall risk, so let a pro handle this project for your safety.
Limewash can be dangerous to handle, but a pro has the right protective gear and knowledge to work with this material safely.
Hiring a masonry pro near you for limewashing brick ensures the highest quality application and finish.
What's to love about limewash? Limewashing can dramatically change the appearance of bricks, giving them a softer, more weathered look. Plus, its matte, chalky, and semi-transparent nature preserves the essence of brick rather than masking it. If you're wondering how to limewash brick, get ready to pick up those paintbrushes.
Limewash brick has been coated with lime, water, and pigment to provide protection, regulate moisture, and enhance aesthetic appearance. Its breathable nature, alkalinity, and weather-resistant properties make it famous for preserving and enhancing the appearance of brick surfaces in historic restoration projects and contemporary design applications. Additionally, limewash has a high pH level, which creates an alkaline environment on the surface of the bricks. This alkalinity helps to deter the growth of mold, mildew, and fungi, which thrive in acidic environments.
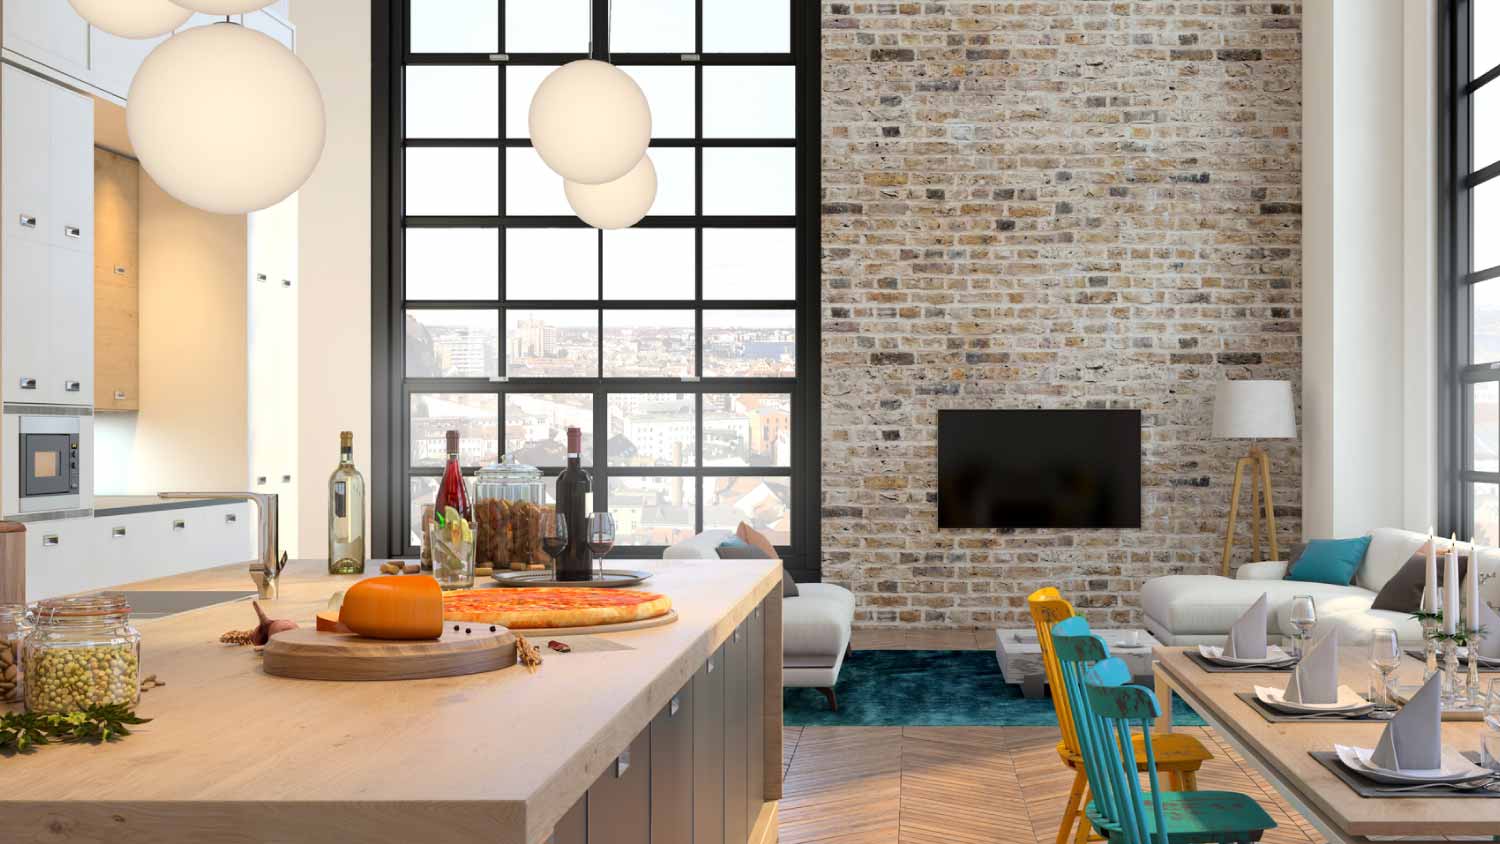
Following these steps will help you achieve a beautifully limewashed brick surface that adds protection, character, and charm to your home.
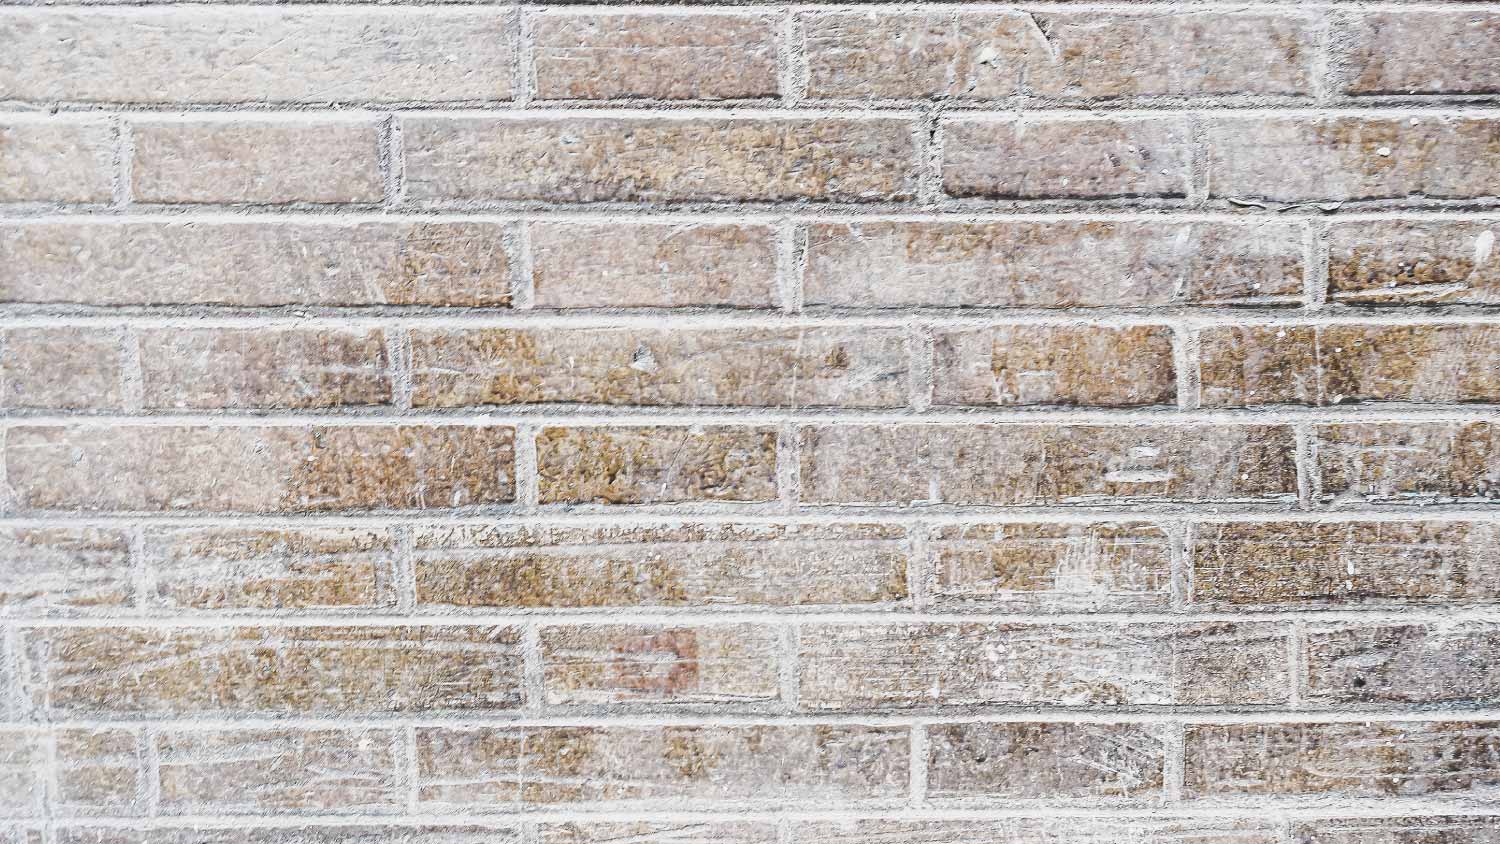
Thoroughly clean the surface of the bricks by scrubbing them with a mixture of water and mild detergent, and rinse well to remove dirt, dust, and grime. Allow the bricks to dry completely before proceeding, about 24 to 48 hours. For new brickwork, the mortar must be allowed to set for at least one month before cleaning and painting.
Inspect the brickwork for any cracks, holes, or areas of damage and repair them using a suitable filler or patching compound. The bricks should be in good condition before applying the limewash.
Mix the limewash according to the manufacturer's instructions. For the best results, use a paint stirrer attachment on your drill, not a stick. Limewash is more watery than paint, giving you more control over the desired finish via multiple coats.
Test a small area to determine the consistency and color before applying it evenly to the bricks using a brush, roller, or sprayer. If it is too watery, add more of the dry mixture. If it’s too thick, add more water. If testing for different opacities, allow the limewash to dry thoroughly between coats.
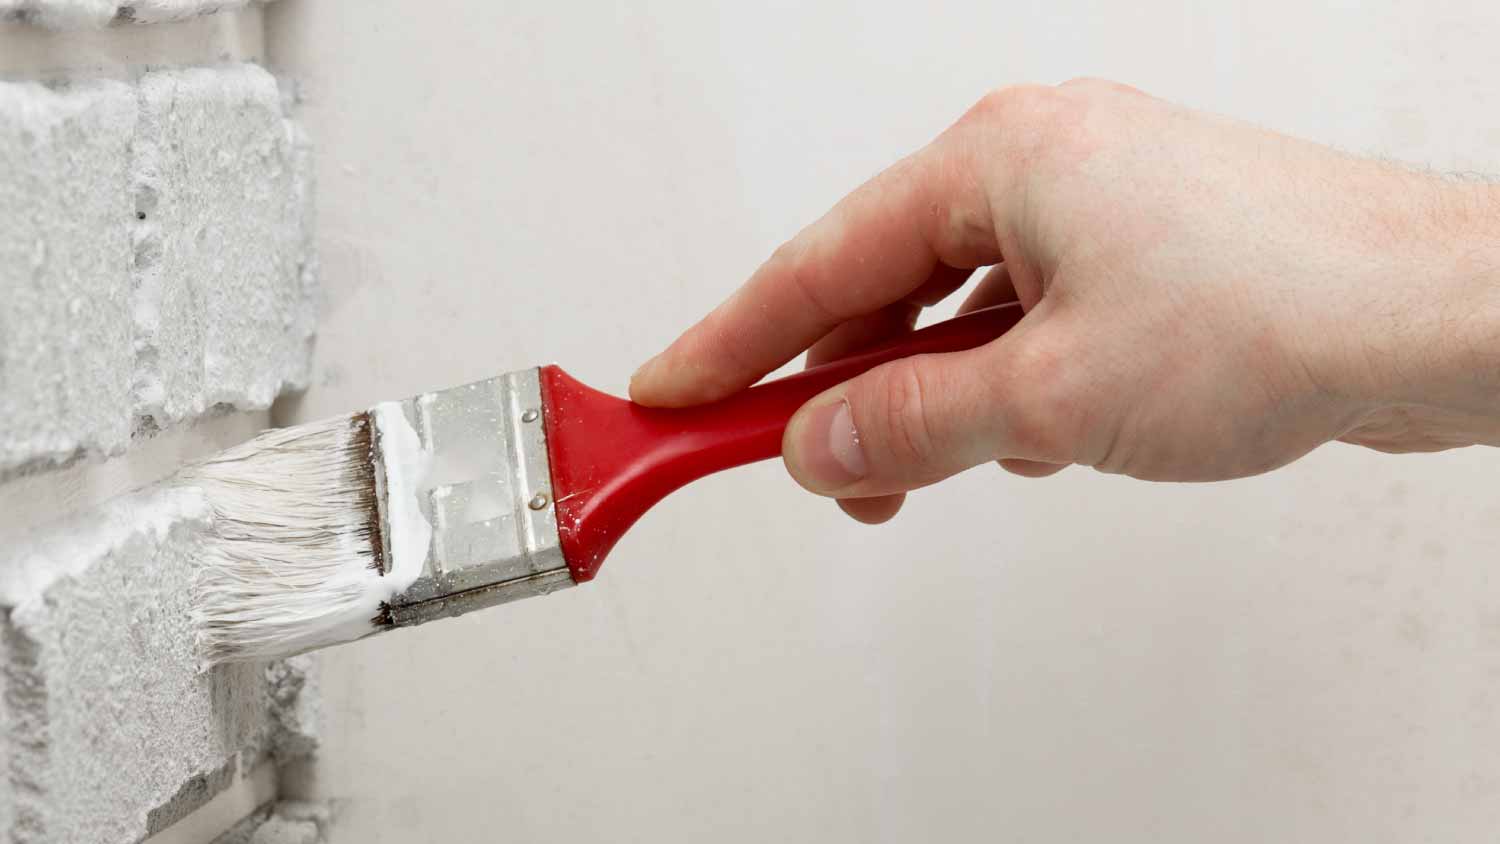
Here’s a quick tip for achieving a more historic and texture finish: Apply the limewash using a paintbrush. The best options are natural bristle brushes like large masonry, 4-inch, or 6-inch paintbrushes that can force limewash into the pores of brick and mortar.
Apply the limewash evenly in a thin coat—thick coats risk having the limewash that didn't sink in rub off.
Work in small sections, starting from the top and working your way down.
Allow the coat to dry thoroughly, waiting 24 hours.
Each coat will soften the brick's original color. For a semi-opaque finish, apply three to five coats, each spaced out over 24 hours, allowing the limewash to soak in thoroughly and dry.
Once you're satisfied with the limewash's appearance, you can leave it as is for a rustic look or apply a clear sealant to protect the finish and make it easier to clean in the future. Wait two to five days before doing so to ensure the limewash paint cures fully.
Remember that limewash is a fantastic way to add color to brick without compromising its natural porosity. While it boasts bacteria and mold resistance, it's worth noting that limewash isn't inherently fully waterproof.
Choose a sealant that is compatible with lime-based materials. Look for sealants for limewash or porous brick surfaces.
Allow the sealant to dry completely according to the manufacturer's recommendations, giving it time to cure and form a protective barrier over the limewash paint.
Apply additional coats depending on the desired level of protection you may choose. Follow the same application process, ensuring each coat is allowed to dry thoroughly before applying the next.
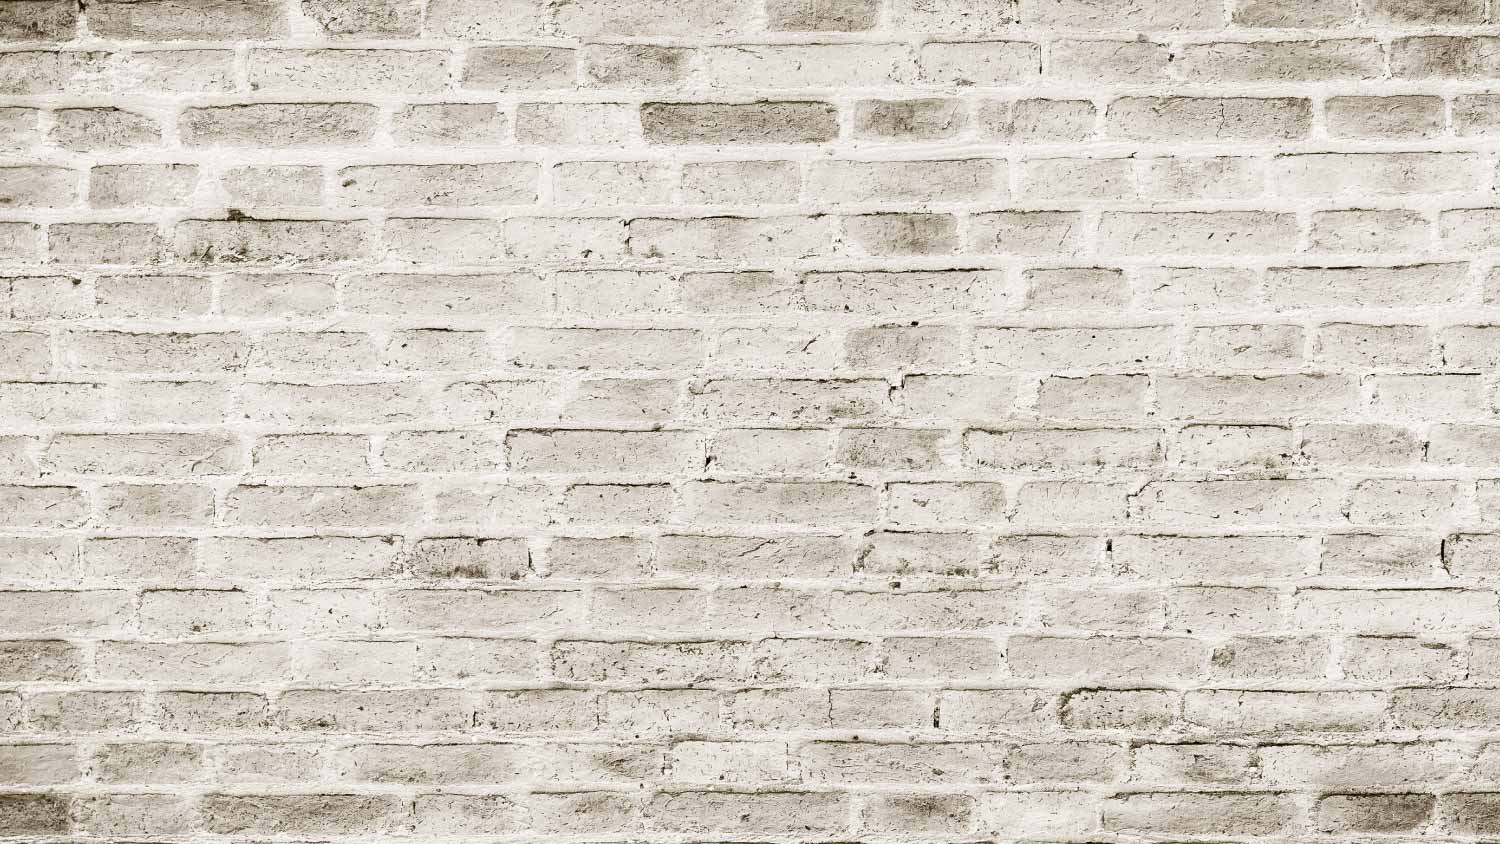
Monitoring limewash brick periodically for signs of wear or damage will ensure its longevity. A little maintenance from time to time will protect it from moisture, dirt, and other environmental elements while preserving its appearance. Maintaining and caring for limewash brick involves yearly cleaning and occasional touch-ups.
Use a soft brush or cloth and mild detergent mixed with water to clean the surface gently. Avoid pressure washing, harsh abrasives, or acidic cleaners that may damage the limewash.
Periodically inspect the limewash for any signs of wear, chipping, or flaking. Address any damaged areas promptly to prevent further deterioration.
Apply a small amount of limewash to touch up any minor damage or discoloration. Blend the new limewash carefully with the existing surface for a seamless finish.
Consider installing overhangs or awnings if you're concerned about excessive moisture or UV radiation.
If you're looking to hire a local painting professional, applying limewash to your home ranges from $1.50 to $5.00 per square foot, totaling $1,500 to $6,700 for an entire house. Regarding limewash vs. paint, a standard paint job costs between $1.50 and $4.00 per square foot, totaling around $1,810 to $4,500 for a complete house.
The difference in cost is that limewash application requires specialized skills to achieve the desired look. But in the end, it may be worth the cost since limewash can last up to 30 years, while most exterior paints last up to 10 years.
The cost to DIY can vary, between $110 and $200 for every 250 square feet, including paint, rollers, brushes, and a ladder. This equates to about $0.45 to $0.80 per square foot.
Ultimately, hiring a professional or doing it yourself depends on your comfort level with the process, available time and resources, the equipment you may or may not own, and the desired outcome. If you're uncertain, consulting with a professional for advice or a quote can help you make an informed decision. Here's what to consider.
Skill and experience: Limewashing requires some skill and knowledge of proper techniques to achieve the best results—hiring a professional may be a better option to ensure a high-quality finish.
Time and effort: Limewashing is time-consuming, especially for large areas or intricate surfaces—working with a pro can save you time and effort, particularly if you have other commitments.
Safety concerns: Working with lime-based materials involves handling potentially caustic substances that can burn your skin, so proper safety precautions, such as wearing protective gear and ensuring adequate ventilation, are essential.
From average costs to expert advice, get all the answers you need to get your job done.

Looking to give your fence a refresh? This guide explores the cost to stain a fence—and the cost to paint it, too— so you can budget for your project.

The cost to paint a house's exterior depends on its size, siding type, and height. The finish and the home's exterior condition also play a role.
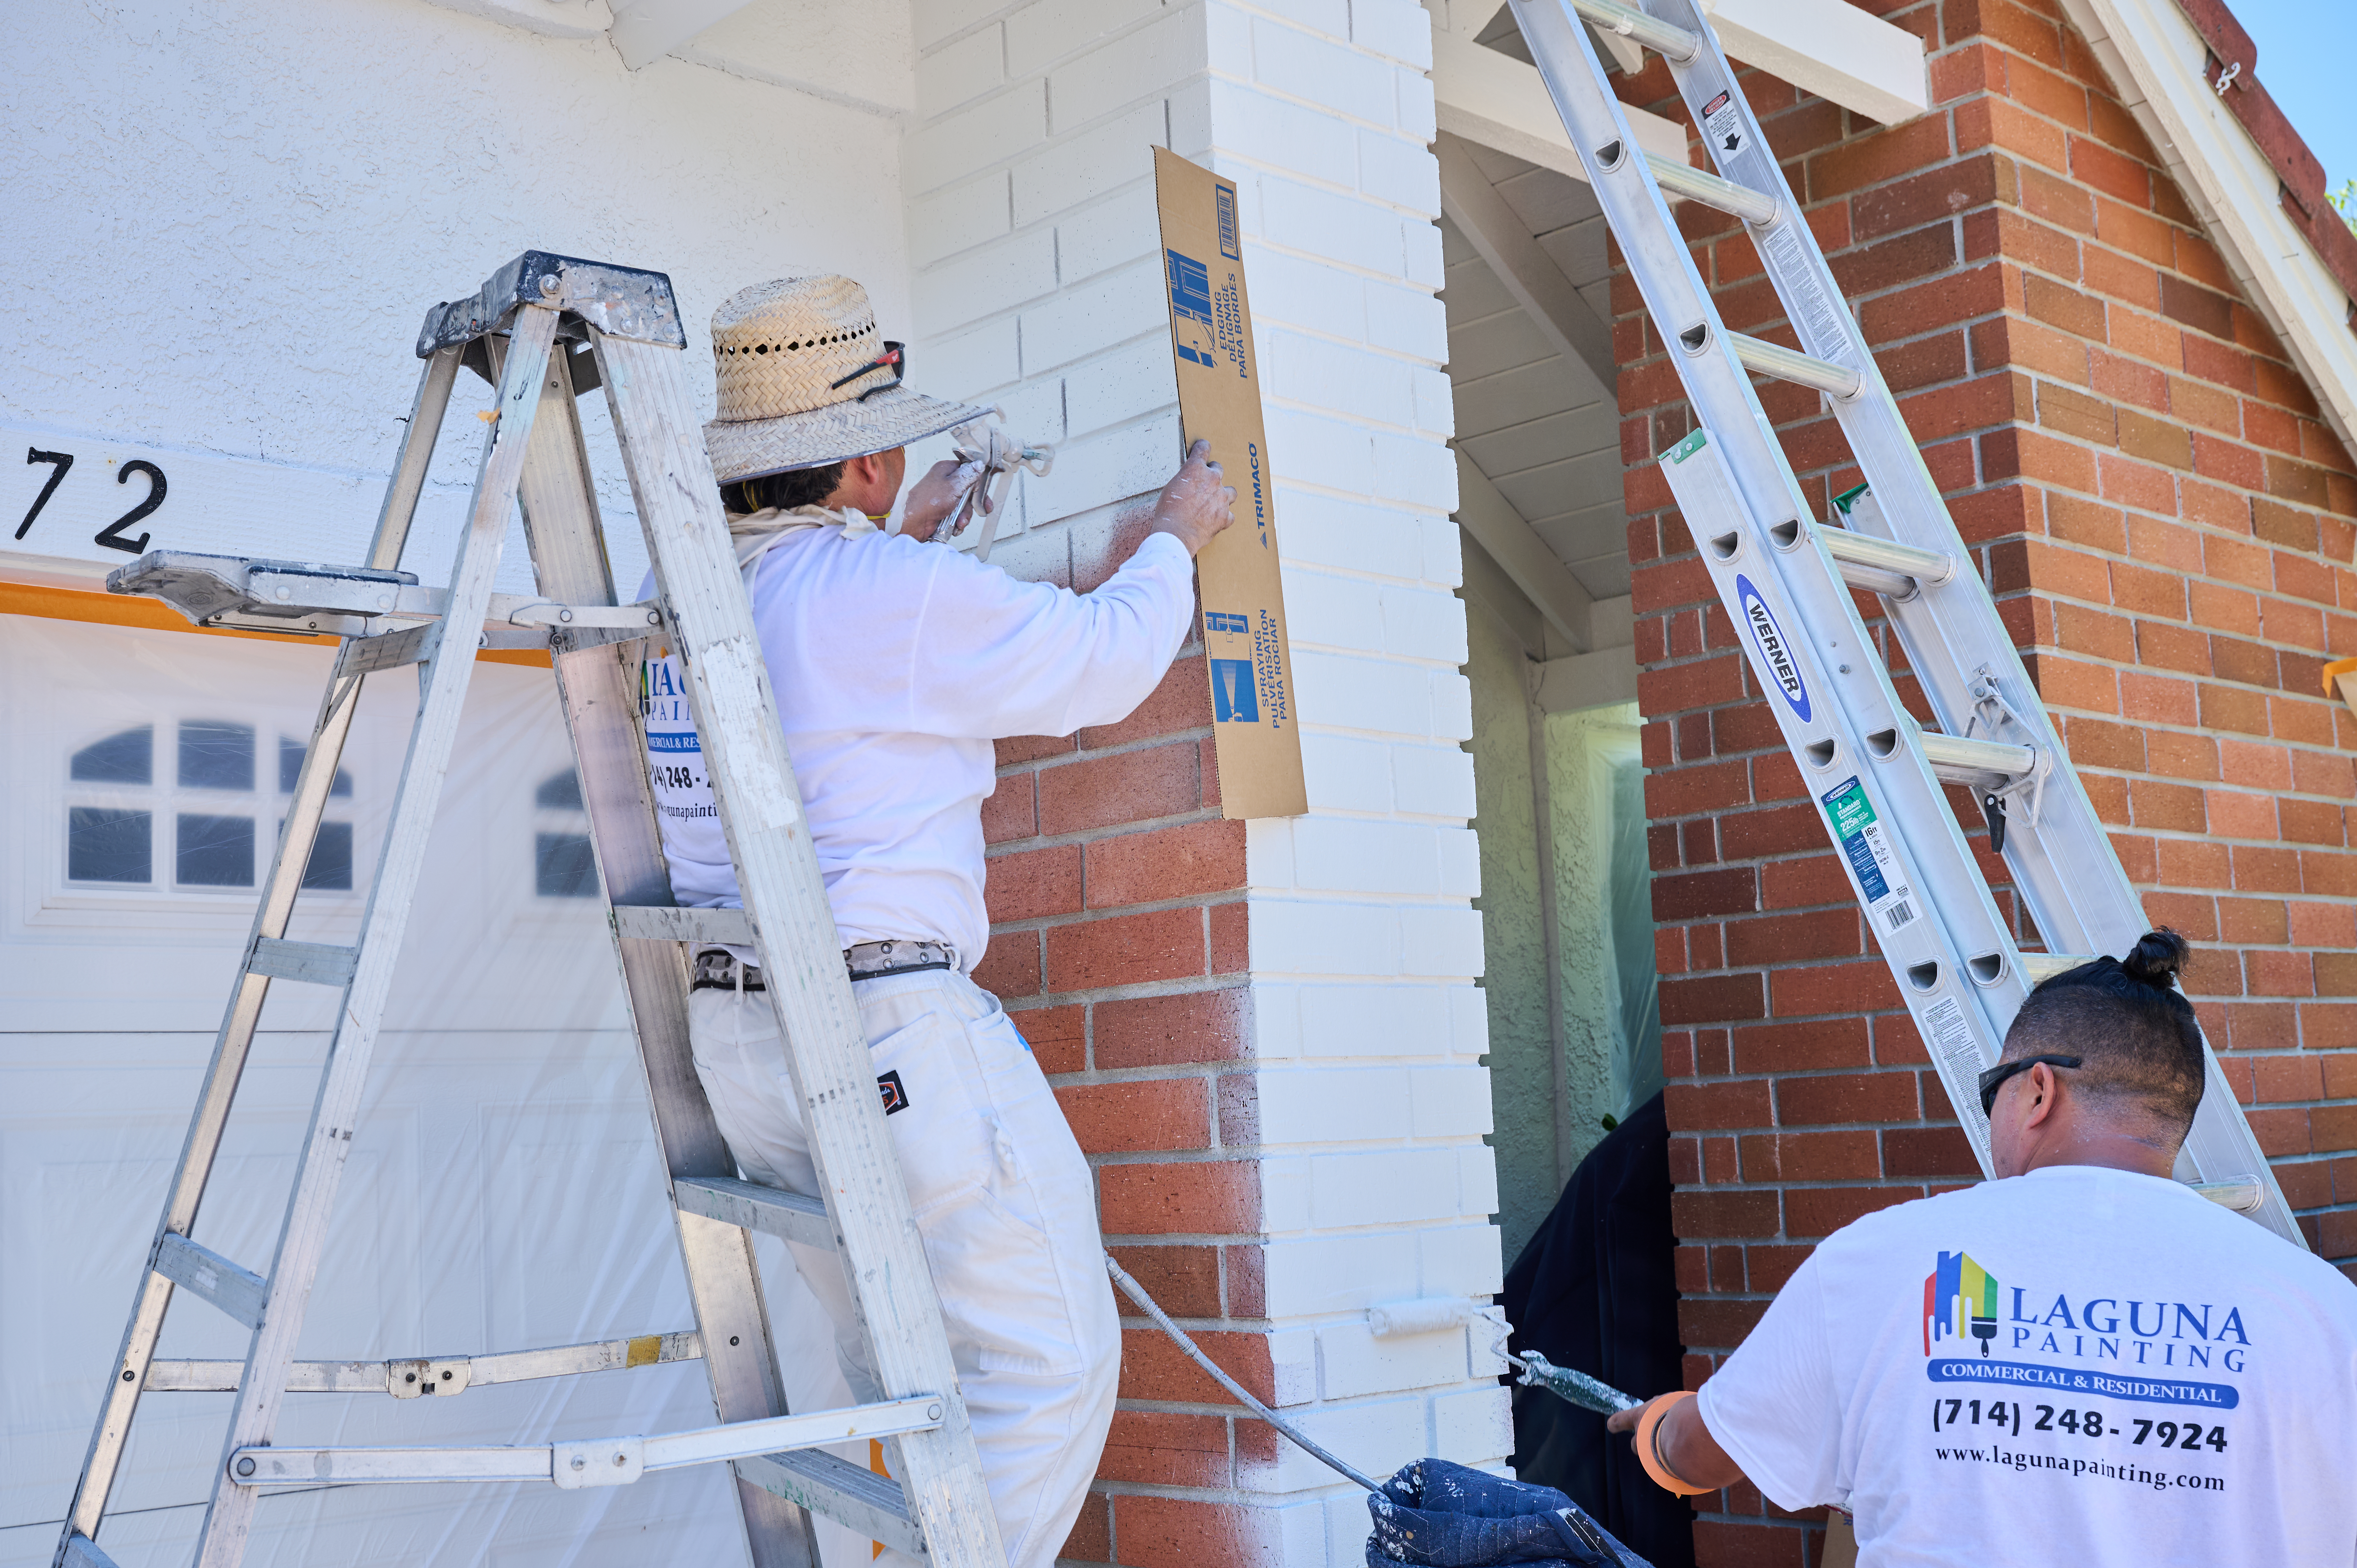
Painting a brick house typically costs between $1.40 and $4.20 per square foot. Your total cost will depend on where you live and the finish you use.
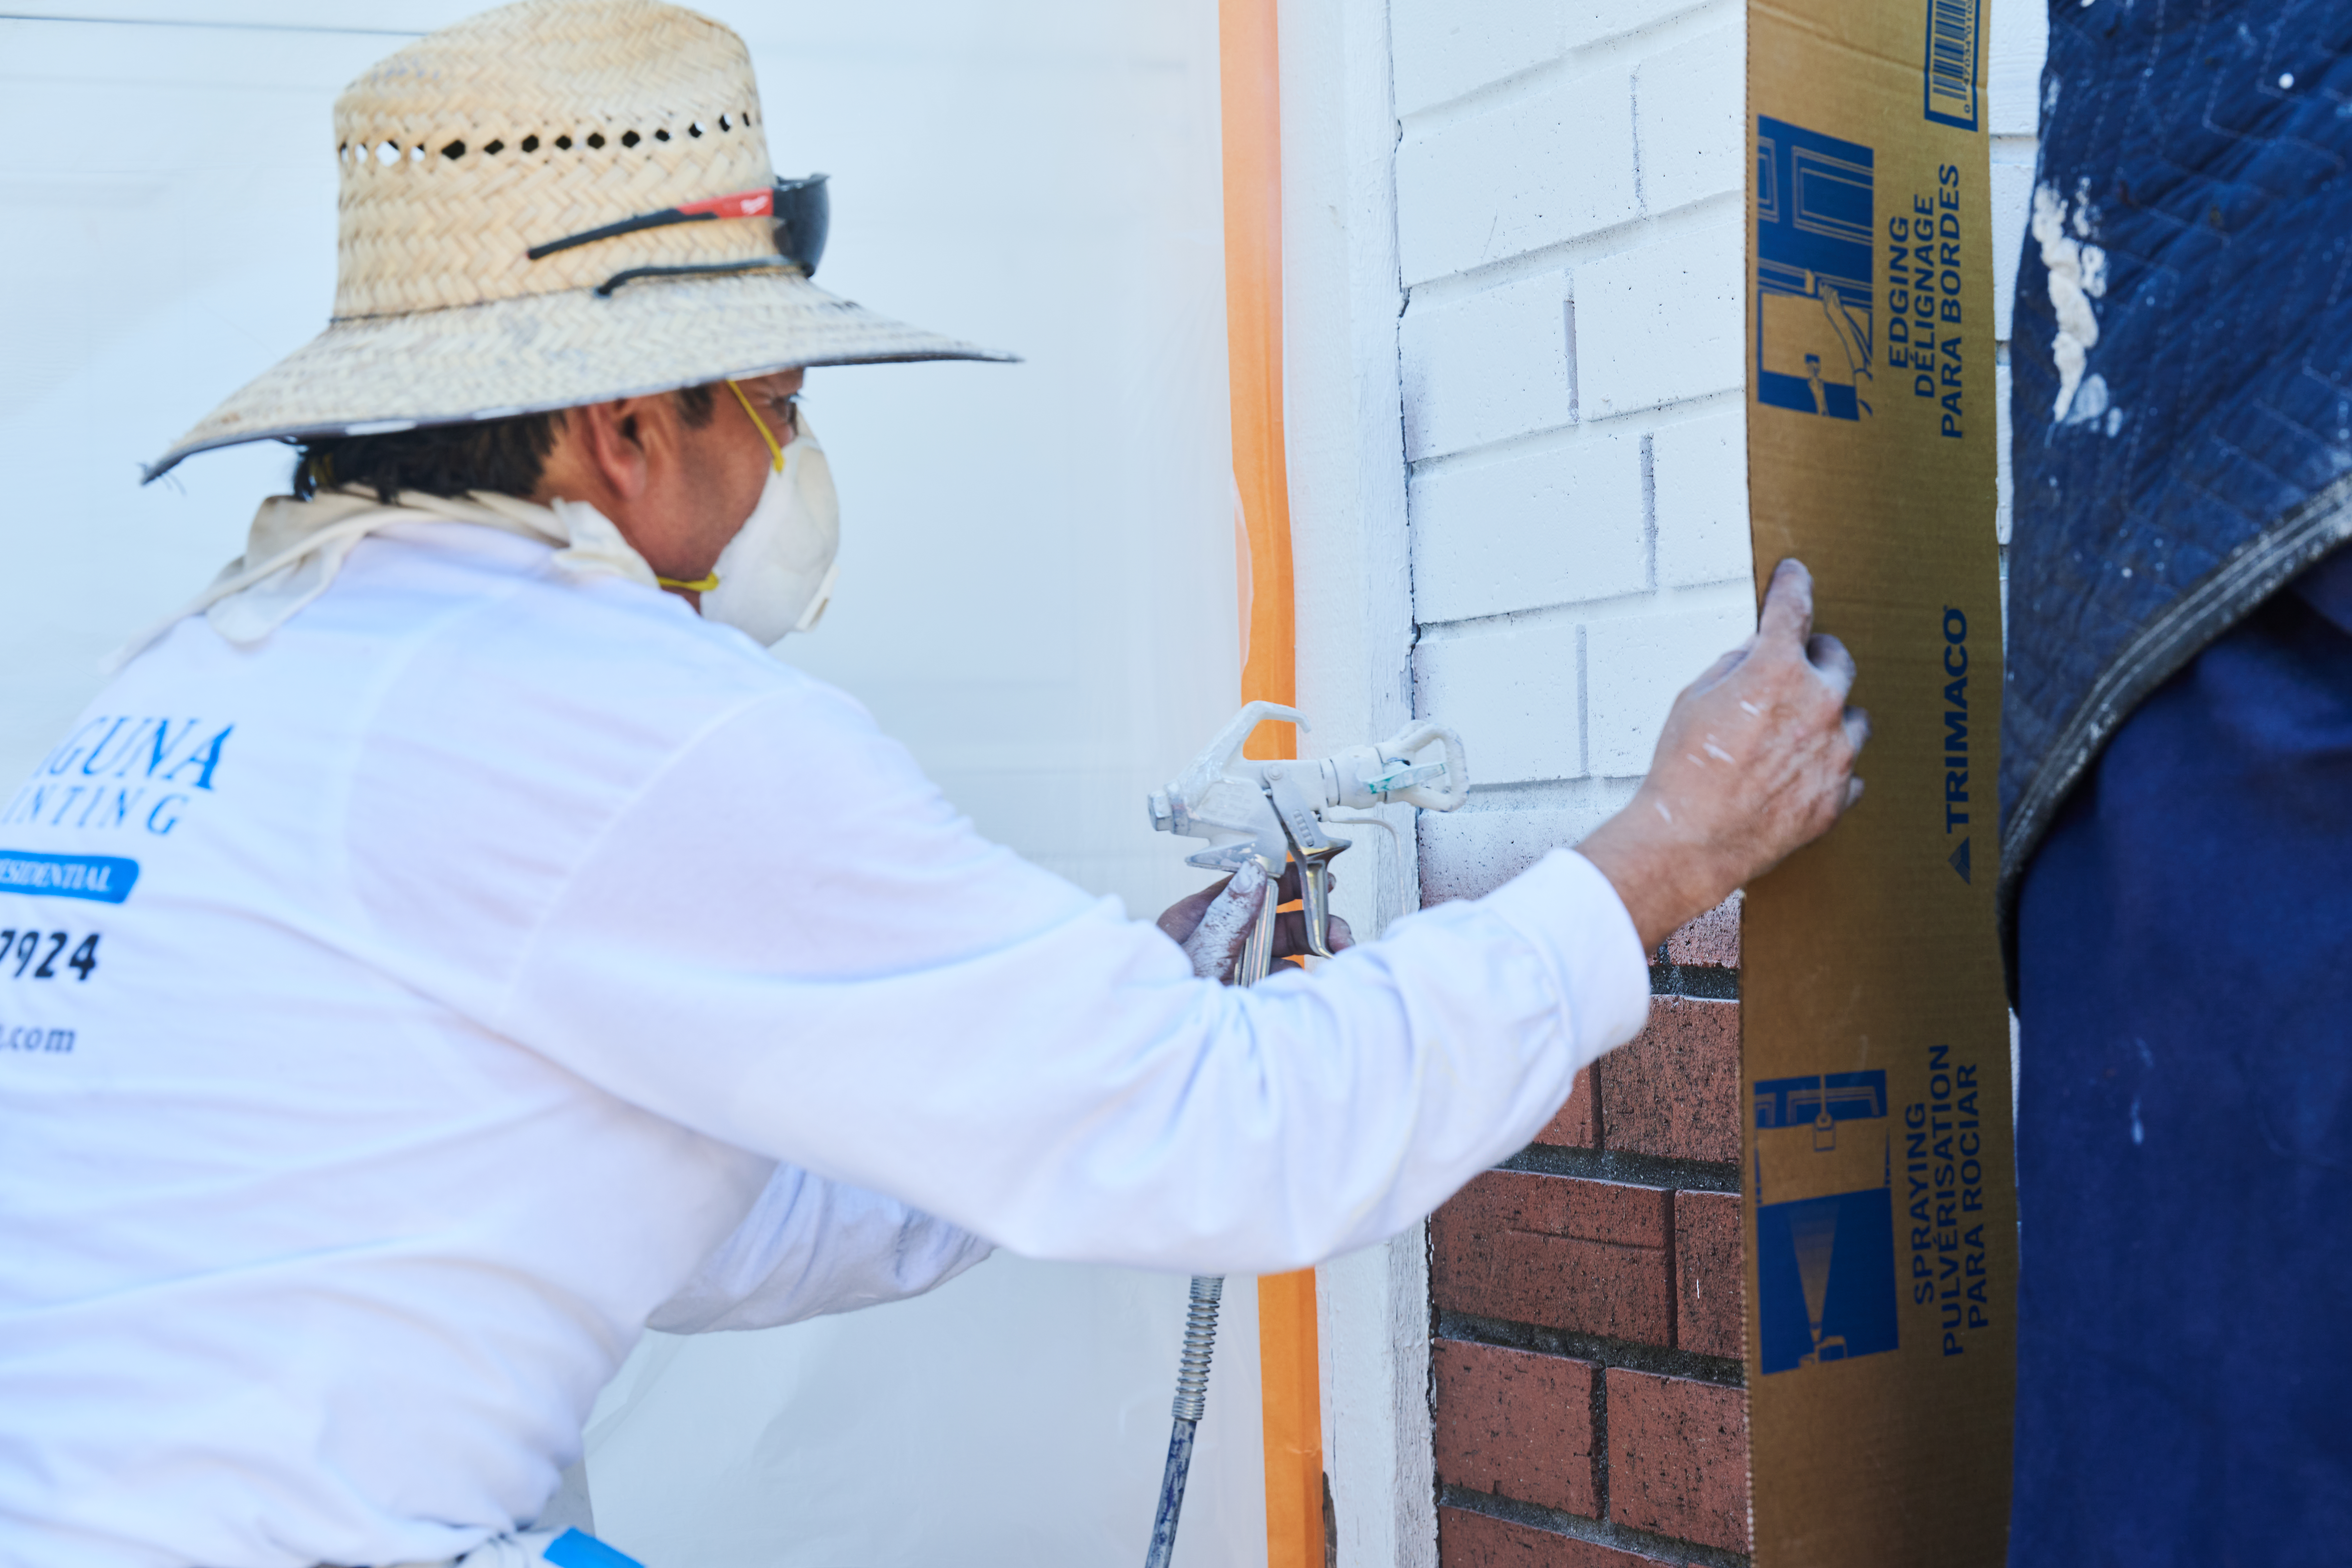
Learning how to whitewash brick can make for a brighter, lighter space with a natural appearance. Keep reading to learn how you can whitewash brick yourself.

Breathe new life into your deck by sanding it before adding stain. Follow this guide to learn how to sand a deck and choose the right grit sandpaper.

Can you paint vinyl siding? The good news is, yes, you can—but there are things you should know first. Learn about the pros and cons of painting vinyl siding and if it's the right project for you.