
From dead branches to exposed roots, our guide will help you figure out how to tell if a tree is going to fall and what warning signs to look for.
Straighten things out once and for all

Your leaning tree often results from shallow planting, unstable soil, storm damage, or an imbalanced crown pulling the trunk off-center.
You can straighten young saplings yourself with stakes and tree straps, but mature or uprooted trees need professional equipment and expertise.
Your tree needs at least half its root system intact to survive replanting, and you need moist, workable soil for successful straightening.
Hiring a local tree maintenance professional provides reliable support for assessing large leaning trees and safely handling equipment-intensive straightening or removal.
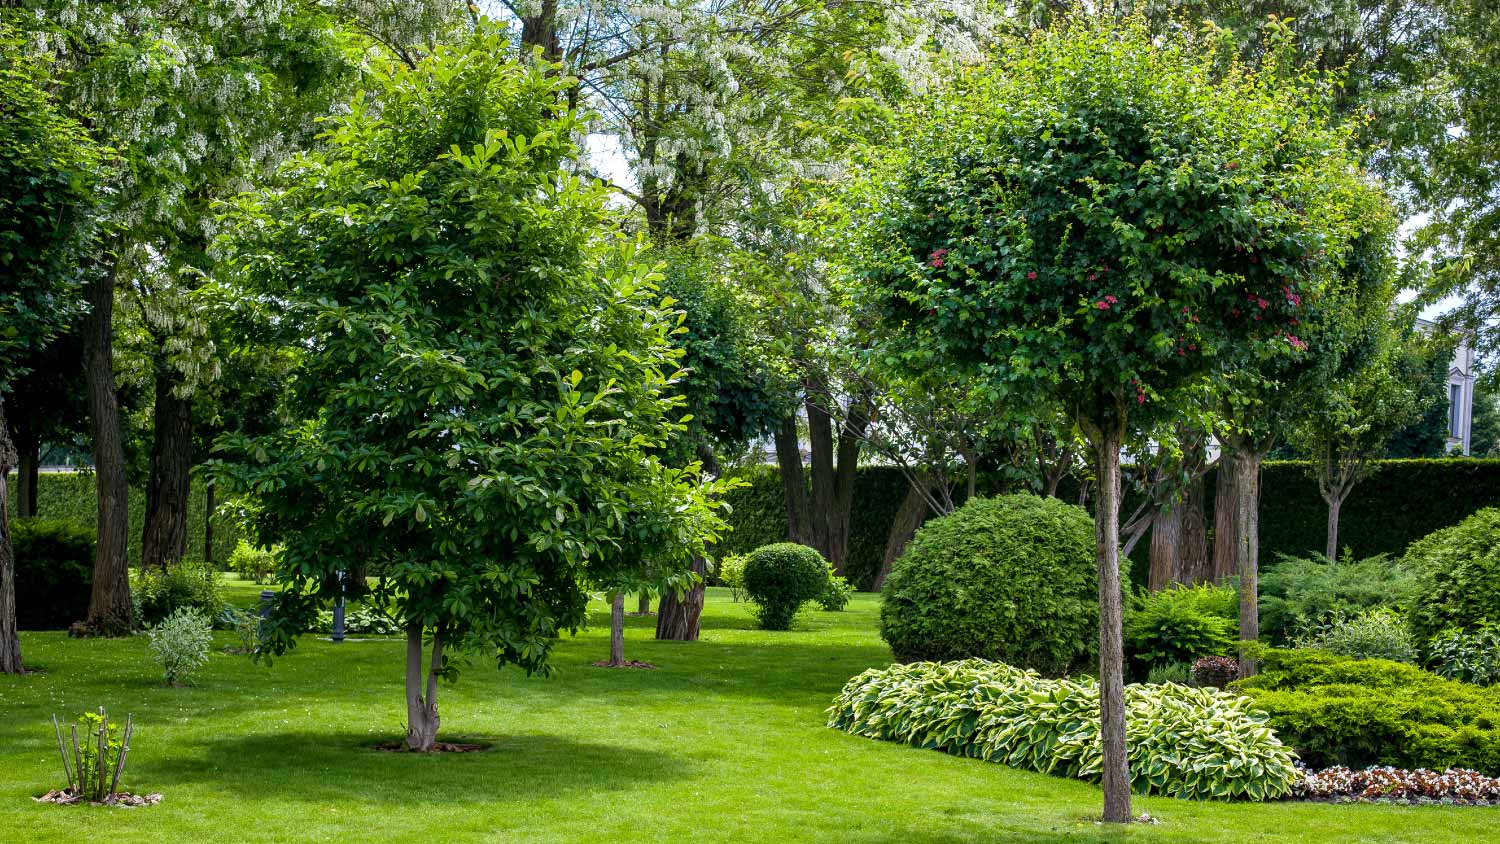
The Leaning Tower of Pisa might be a wonder to look at, but when it comes to the trees in your yard, it’s less than ideal. In some cases, you can learn how to straighten a tree DIY-style, but in other situations, you might need the help of a professional tree maintenance service. Here’s what you need to know to make the best decision about your tree.

Staking works well to straighten a young tree, but you’ll want to pick your materials carefully to avoid any damage. It’s very helpful to have another person assist with this task so that one of you can keep the sapling straight as you tie the stakes.
Always stake very young trees after you plant them when their roots are still delicate. Staking can help prevent damage from wind, and you can adjust the stake ties if the tree starts leaning.
For a young tree, purchase long, thin stakes that you can position around the tree and tie at least a few feet up to stabilize more spindly trees. For example, bamboo sticks work well and are very affordable.
You’ll also need to choose your tie materials carefully. Consider investing in stretchy tree ties or wider tree straps, which are perfect for the job and won’t harm the tree. Stay away from wire and thin strings, which can damage the delicate bark of young trees. You can also find garden tie tape, large “tactical” rubber bands, and a variety of other options.
Plant two to four stakes around the tree. With smaller, young trees, you should be able to plant them perpendicular to the ground. Position the stakes a couple of feet away from the tree, so they don’t harm the root ball. Remember, soil can shift over time so it’s better to err on the side of caution and plant stakes as deeply as possible. For thicker stakes, use a hammer to tap them into the soil.
Holding the tree toward the base, gently push it into the proper position, adjusting until it is at the right angle. Avoid pushing so hard that the roots come out of the ground or the tree trunk is in danger of damage.
One by one, wrap your ties around the tree and then around the stakes. Pull them taut and make sure they are strong enough to support the tree in its newly aligned position. Keep the tree positioned until all stakes are tied. Make adjustments to the stakes so they provide balanced support for the tree on every side.
Water the tree well to help its roots thrive in their newly shifted position. Watch the tree over the next year as it grows. Saplings can develop quickly, and you may need to adjust the stakes and ties in response. If the ties come loose or the tree looks like it's leaning again, tighten and readjust. The first several months are key to the tree’s new growth.
You’ll want to have the following tools on hand before you begin:
Sledgehammer
Tree straps or a cable with a rubber hose
Three 5–8-foot stakes (metal or wood)
Shovel
There are also tree straightening kits available for purchase that include the straps and stakes, though you still provide the tools. Once you gather everything up, you’re ready to start straightening a leaning tree with the steps below.
Before straightening your tree, it’s a good idea to evaluate the tree’s condition. Generally speaking, you can DIY straightening a sapling or smaller tree, but if your tree is mature and on the larger side, you might need a professional to use machinery to pull the tree back in place.
Even if you’re straightening a small tree, you’ll need to use extreme caution here. Work with a partner, only go out in good weather, and have a plan if things go wrong and the tree begins to fall.
Start by hammering a stake opposite the leaning tree, hammering it into the ground about 18 inches away, 18 inches deep, and at a 15-degree angle directed away from the tree.
Do not hammer into the tree roots. If you feel resistance, try moving the stake slightly further away. Install the other stakes in a triangular shape on the outside of the tree, also opposite the direction the tree is leaning. The deeper you drive your stakes, the better the reinforcement. Just be sure to avoid driving them in too deeply to remove them once your tree is straight.
If you’ve got a bigger tree on your hands, then it’s time to phone a friend for this one. You and a partner will want to push the tree back into alignment by pressing on the trunk. If your tree doesn’t straighten fully, that’s OK. Spraying the ground around the tree with a garden hose might be a good idea to make the job a little easier.
If the tree is exceedingly large, or just won’t budge, you’ll definitely want to hire a pro.
Once your tree is relatively straight, place the tree strap or hose and cable around the tree and then secure it around the stake. Repeat with the other stakes, tightening securely. As your strap loosens, tighten it again.
Note: You’ll want to check the tightness of the stakes every week and after storms to ensure that it’s still taut. Leave the tree tied to the stakes for around a year to ensure it stays straight.
You should only attempt to replant a small uprooted tree and you’ll definitely need the help of some friends. Be sure to wait for good weather and only attempt this work if you’re confident you can do it safely.
Your tree must have no less than one-half of its root system intact for replanting and straightening an uprooted tree. The uprooted roots also cannot be majorly damaged, or the tree might not survive.
There’s also the matter of the soil on the replanting end. The best time to complete these steps is when the soil is moist and pliable, which is nearly guaranteed in the spring. However, no matter the season, make the soil more pliable by giving it good spraying from the garden hose.
Before transplanting an uprooted tree, you’ll need to dig out the soil underneath the roots to allow for tree realignment. Be sure to take out as much soil as you can to give the roots space for when you straighten the tree or you’ll risk damaging the roots. Go slowly here and work carefully to avoid transplant shock, as trees include massive root systems that deliver nutrients and help maintain stability. In other words, you want enough room for the roots and root ball while leaving enough soil to help with the transition.
The replanting process is best suited for small or medium-sized trees, and this step is why. Adjusting the tree into place is slow and arduous work, so have some friends with you for assistance. Slowly lift and adjust the tree into a straight position by hand, being mindful of how the roots appear as you pull the tree back into place. Ensure that all roots and the associated root ball are below the ground—you don’t want any poking up into the air when it’s time to add soil.
Again, this step is a big reason why only working with small trees is so important. Never try to lift or move a large tree without a pro.
Speaking of soil, once you’ve properly adjusted the tree and it looks straight, you should begin adding a new layer of soil. Make sure to fill in the entire gap over the root ball and cover every root in the system with dirt. Once you are satisfied, begin firmly tamping down the soil. You want it to be compact so that your tree won’t move out of place again. Finally, add some water to the newly packed soil to feed those roots.
Lastly, stake your tree by driving stakes into the ground and attaching them to support wires and straps. Your stake should be at least 5 feet long and approximately 15 to 18 inches from the tree trunk, with around 18 inches of the stakes hammered into the ground. Make sure only the strap comes into contact with the tree trunk, as bare wire, cables, and rope all damage the bark.
Canvas hammock straps or burlap straps are the least invasive options here for long-term support and fen come and feel free to run lengths of rubber garden hose from the strap, attaching the rope or cables to the hose instead of the strap itself to further minimize the chances of these materials rubbing against the bark. Finally, give any ropes used to secure the tree a small amount of slack to allow the trunk to move if needed.
You are just about finished here. Once staked and properly supported, conduct minor pruning of any damaged tree branches during the inciting event (storm or otherwise.) Only prune broken branches at this stage. Wait until later for any serious cosmetic adjustments.
To that end, wait until the tree has established new growth before going in for more pruning. Generally speaking, a root system takes a full year to re-establish itself per inch of trunk diameter. This time frame varies depending on the type of tree and the extent of the previous damage. As you wait for the root system to extend deep into the soil, fertilize and water the tree as necessary.

In some cases, you won’t be able to straighten a bent tree by yourself. Two possible scenarios include large mature, leaning trees and uprooted trees. If your tree is large or uprooted, you’ll need special equipment and knowledge of how to replant the tree’s roots.
To save your tree, the root ball will need to be intact. If it is, and you can tether the tree via a cable, then you can likely straighten the tree. This isn’t a do-it-yourself job, though. It will likely involve specific tools and techniques that require an expert’s touch. Trying to attempt this on your own can be very dangerous.
A tree maintenance service near you is your best bet for examining your tree and determining whether they can straighten it. An arborist’s goal is to save trees rather than remove them, and they’re generally eager to share their knowledge about how to keep trees healthy. If there’s no hope for your tree, they’ll break the news to you, too. Get at least three estimates before you decide how to proceed. Many local tree services have arborists on staff, so they can offer advice for saving trees, as well as their safe removal.
Knowing why your tree is leaning can help you prevent it from happening again. Here are a few reasons why you might have a leaning tree:
You have a newly planted sapling that hasn’t established a robust root system yet.
You live in a wet, stormy climate where the weather makes the soil too soft.
Strong winds, rain, snow, and ice continuously pull at the branches of your tree.
The soil conditions on your property are too porous to secure the root system—think sandy soil.
Conversely, the soil conditions are too compact for the roots to anchor into the soil—think clay soil.
The sapling wasn’t planted deep enough.
The soil wasn’t tamped down when the tree was planted.
The tree was planted at an angle.
The crown of your tree is imbalanced.
The roots were damaged via digging, trenching, tilling, drought, fertilizers, pesticides, or other environmental factors.
Your tree is infected or diseased.
Proper tree management is the best way to prevent your yard from looking like a vertical game of pick-up sticks. If the pro successfully straightens the tree, it will require extensive time to recover and become stable again—sometimes three to five years—so it’s important to do the job safely and regularly inspect your tree.
You can prevent your trees from leaning by:
Checking the tension on the cables of your newly staked tree
Applying a tree growth regulator
Covering the root ball with extra mulch leading up to winter
Following best practices for planting a tree
Pruning your trees
Enhancing your soil
Avoiding synthetic fertilizers
If you’ve tried staking your tree and, come time to remove the straps, it does not hold its weight, then it may be time to call in a pro to assess the situation. Trees that you cannot straighten after a fall, mature and completely uprooted trees, or those whose roots are significantly damaged may require removal, as they present a safety hazard if left standing.
One of my old tall evergreen trees was suddenly leaning toward the busy street in front of my house. I submitted a request for an emergency tree inspection, and Alejandro, owner of Cajete Tree Service, contacted me immediately and arrived to look at it just 20 minutes later. We agreed the...
1 tree was cut down and 5 others including a large willow tree were trimmed. The Grant Tree Service men were professional and cleaned up afterwards. The cost of the 6 trees were affordable. I am very happy with the results. I would hire them again.
Promptly arrived for quoting! Demonstrated superb customer service, affordable pricing, and completed service swiftly! Looking forward to the spring for our service!
 All Star Paving and Sealing
Seth was very professional, prompt in responding to queries about the work required , gave sincere advice as to what would be best for tree trimming and did the job timely.
Ace Fireplace Services' chimney sweep service is truly exceptional. They used advanced technology to ensure a thorough cleaning process, and my chimney has never looked better. I highly recommend their services.
 Ace Fireplace Services
Binion and Alex did such a good job. Fast, fair, efficient. Would def use them again. Best experience Iâ ve had in moving - someone should give them a raise. Will undoubtedly recommend this service.
I definitely recommend Ramonaâ s cleaning service! I have booked services with her many times and she arrives on time, ready to work and provides a great service.
Webb â s was priced well, flexible on scheduling, great with communication, and detailed in their work. Iâ ll definitely use their services again.
Great tree company, very professional and honest. Glad we found them, they had the best pricing
The service was great. Overall experience amazing. From initial call to completion, it was under 2 hours.
 Precision Overhead Garage Door Service
From average costs to expert advice, get all the answers you need to get your job done.
From dead branches to exposed roots, our guide will help you figure out how to tell if a tree is going to fall and what warning signs to look for.

Are you wondering, is my tree dead or dormant? Our tips will teach you how to tell the difference and what to do next.
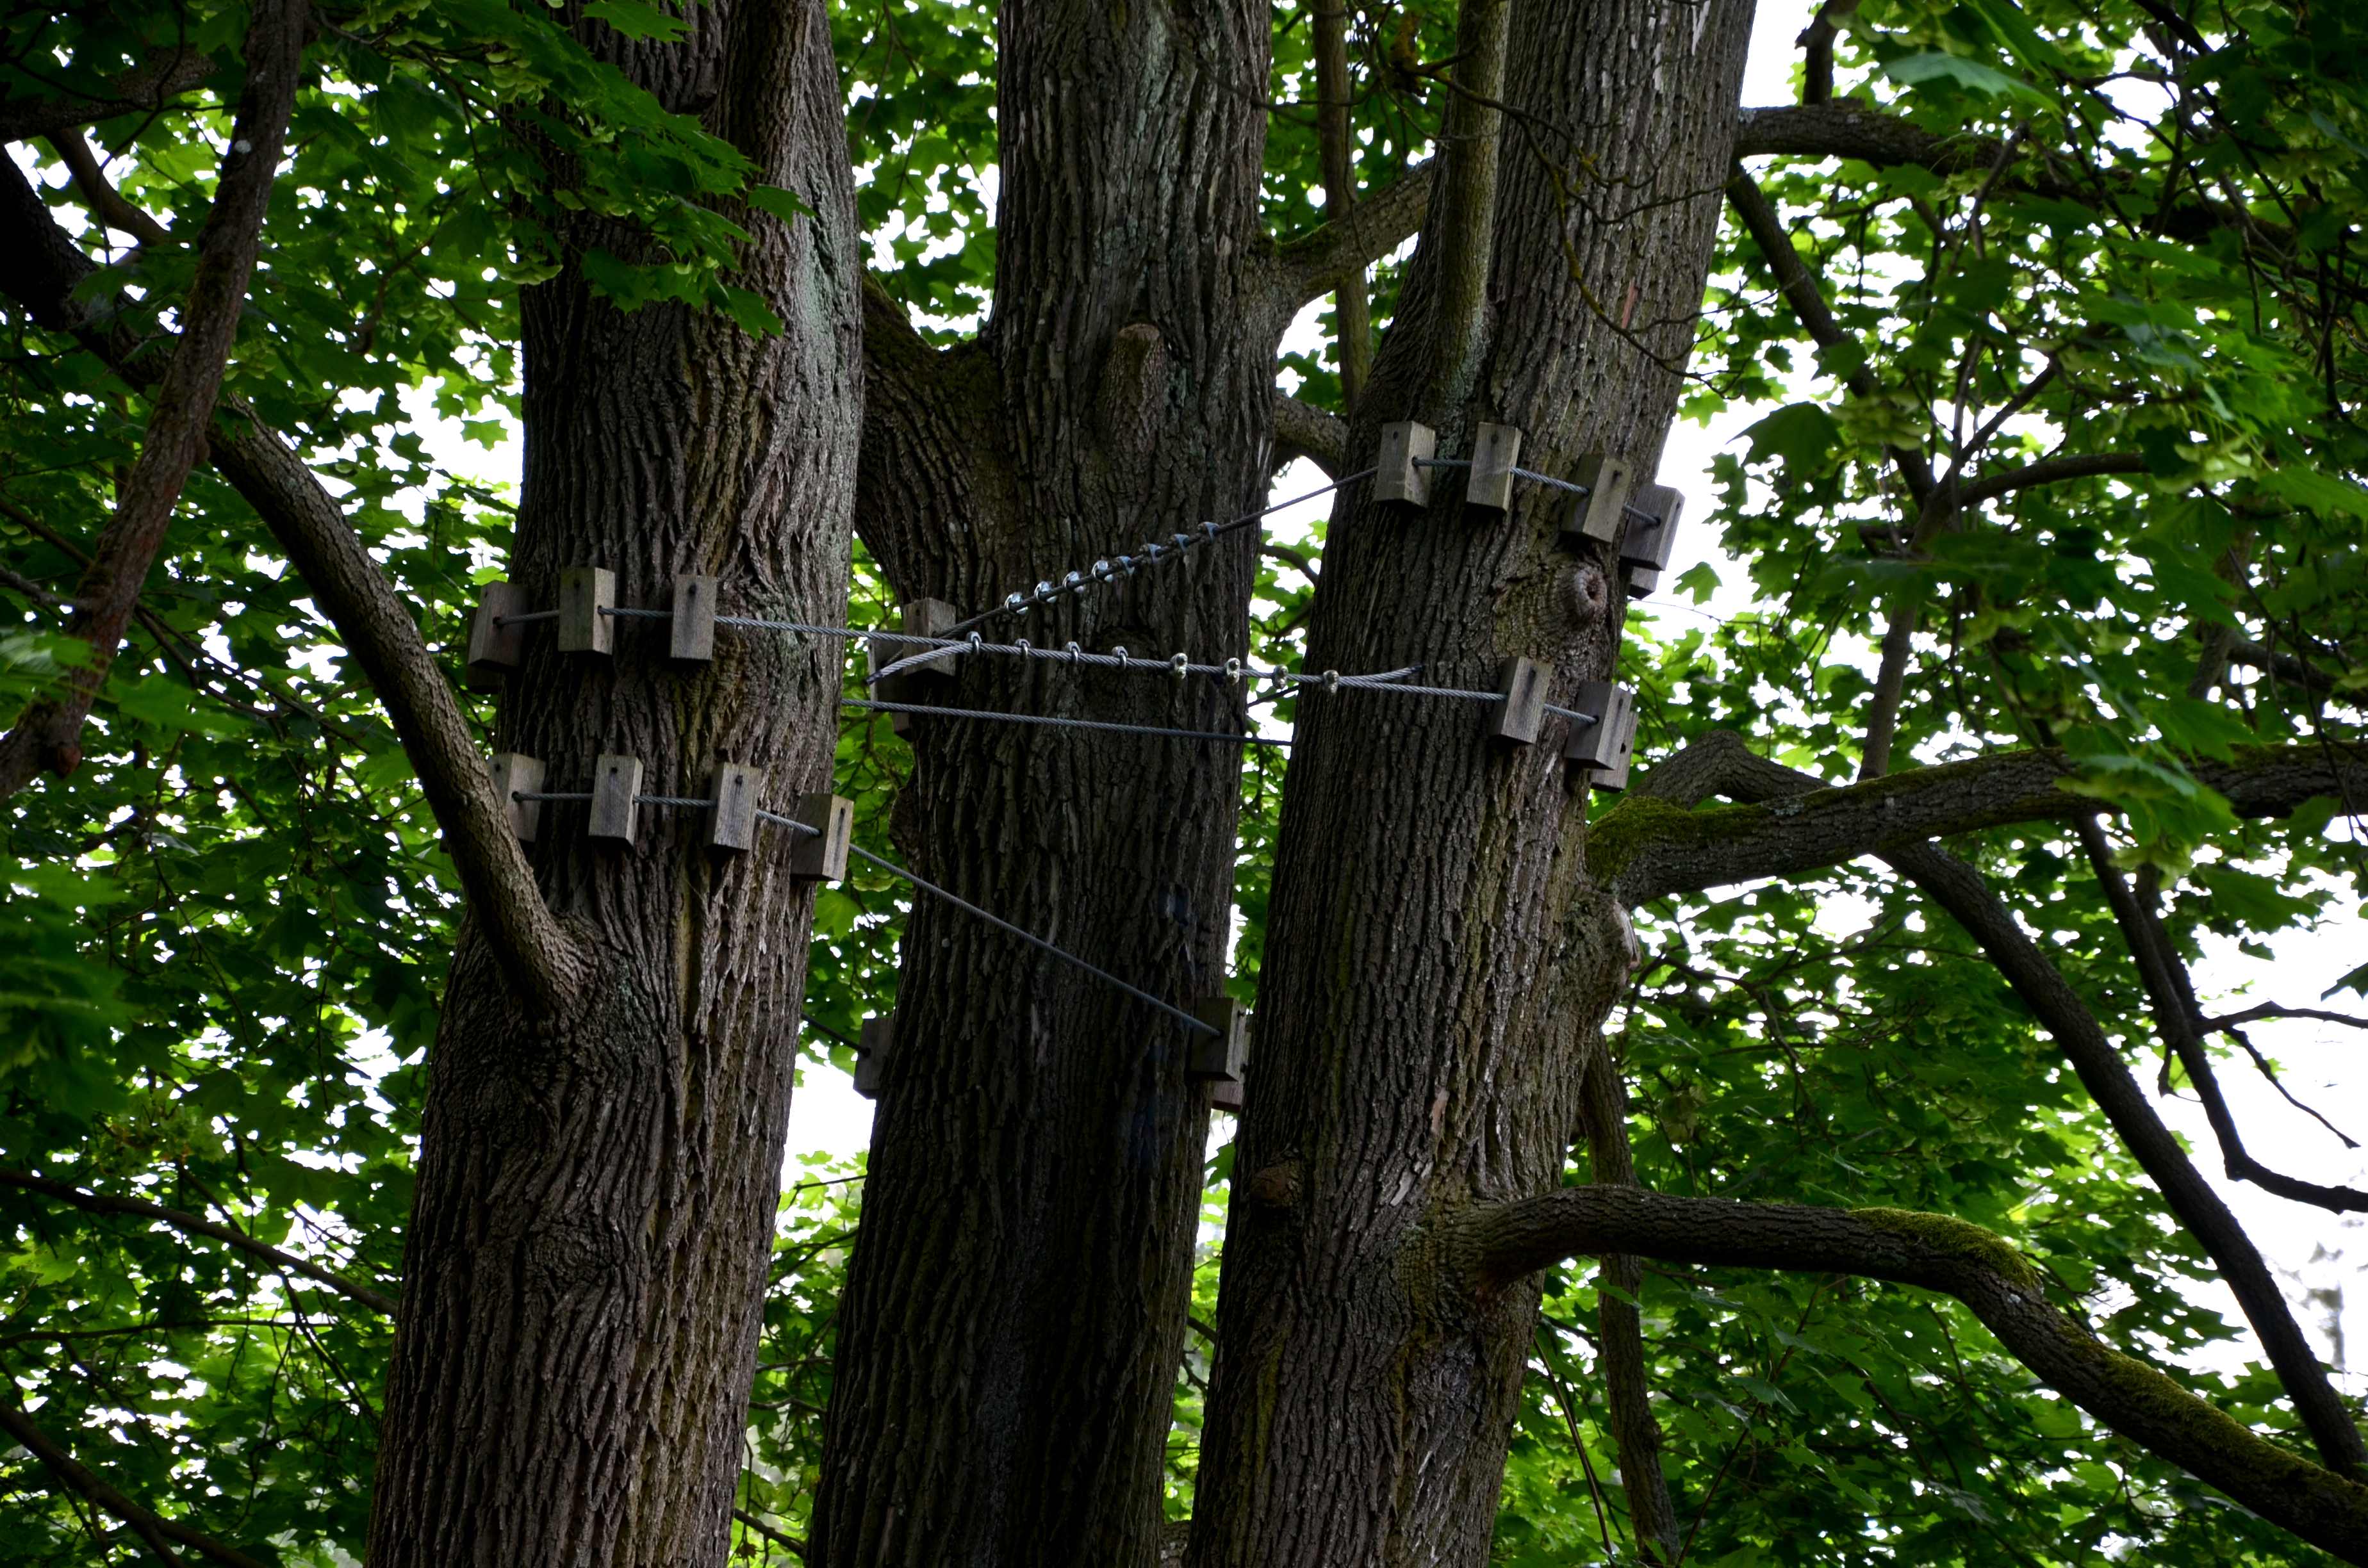
Cabling and bracing trees may help to increase longevity and prevent limbs from falling when trees are showing certain signs of distress.

If you have a tree that has been split or broken in half, don’t panic. There are some ways to attempt to save the tree, depending on the damage.

Find out how to tell if a tree is dying and what you can do about it in this guide. The sooner you catch the problem, the higher your chance of saving your tree.

You must know how to notch a tree before felling it to direct where it lands. Notching a tree requires accounting for the tree’s lean, location, and more.