Find out the average sprinkler system repair cost, what impacts pricing, and how to save. Get transparent estimates to plan your sprinkler repair project.
It could be electrical—or something as simple as an accidentally pushed button


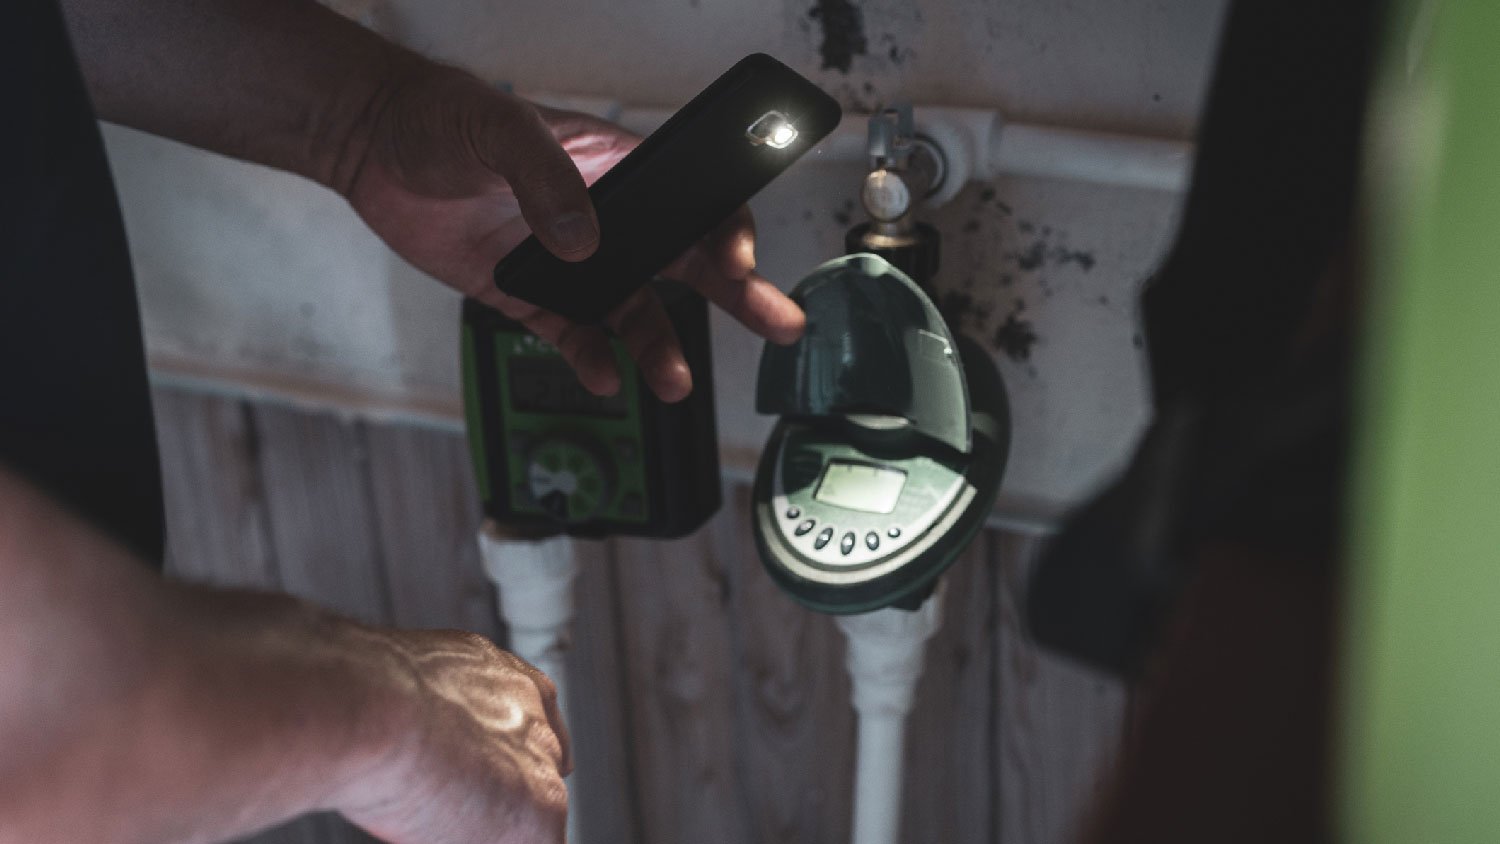
Your sprinkler controller is the device you use to control your sprinkler system.
Controller problems may be electrical, mechanical, or related to programming.
Try basic troubleshooting, like checking the water supply, before moving forward.
When things are going right, your sprinkler system works like a watery symphony to keep your landscaping looking lush and lively. But a symphony is nothing without its conductor—and in this analogy, that conductor is your sprinkler controller. That’s why we’ve put together this guide to help you know how to proceed if your irrigation controller is not working.
Maybe you’re facing down a sprinkler system on the fritz and wondering whether or not the irrigation controller is even the problem. Maybe you’re scratching your head and thinking, “How do I know if my sprinkler controller is bad in the first place?
Don't neglect your sprinkler system maintenance, such as annual cleanings and inspections. These upkeep tasks can help prevent costly issues like clogged pumps and leaking pipes.
Using the process of elimination, you can help narrow down what might be going on with your sprinkler system—including problems with the controller.
Ensure your water supply is turned on all the way and that any valves along the line are in good working order and fully open.
Does your sprinkler system include a rain sensor? Inspect the sensor for debris or damage. The sensor may need to be cleaned, restarted, repaired, or replaced.
If your controller seems to be working, or at least turning on, but the sprinklers themselves are acting erratically, there may be damage to a sprinkler line, head, or another part of the sprinkler system.
Even if the problem is more obvious—i.e., your controller simply won’t turn on at all, and the screen is blank—scope out the easiest explanations first. Is the power to the controller working? Since most controllers have a backup battery power supply, remove the batteries to ensure the electric power source is properly working.
Note: Your controller may also feature a blank display after a power outage, even if the electricity has come back. In this case, you may need to reset the controller by pressing a small, sunken button with a long, narrow tool like a stretched-out paper clip. You could also try unplugging your controller for 10 seconds and then plugging it back in to see if it powers back up.

The transformer is the appliance that converts the power coming out of your wall to the voltage your sprinkler needs to operate. If your sprinkler controller seems to have electrical issues, they may not stem from the controller itself, but rather from the transformer.
If you own an electrical multimeter, which tests the amount of voltage coming from a source of power, you can use that device to check on the status of the transformer. It should put out between 19 and 30 VAC (volts of A/C power). You can also test the power coming from your home source, which should be between 110 and 120 VAC.
If you don’t own a multimeter, you could also buy and install a replacement transformer and see if that takes care of the problem—they usually cost between $15 and $50.
Even if both your transformer and the controller seem to be in proper working order on an electrical level, another type of electrical issue might still be plaguing your system. For example, each zone of your irrigation system likely has its own electrical terminal connected to the controller, and one of these may be off.
Again, you can use your multimeter to test the voltage at each zone by touching one lead to the common terminal and one to each zone terminal in succession. Again, the reading should be between 19 and 30 VAC. If it’s not, the electrical problem may be somewhere along the electrical line out in your irrigation field, rather than in the controller.
If that’s still not the answer, having a professional electrician come out to assess other electrical and wiring problems that may be causing the failure is worth it.
Sometimes, the problem isn’t with the controller, but with the sprinkler valves out in the field that open and close in response to what the controller tells them to do. For example, if your controller screen is reading an error message or flashing an alarm light, there may be a problem with one or more valve solenoids—the metal coils that conduct electricity and cause the valves to move under the controller’s instructions.
If that’s the case, the solenoids may need replacing, which can be tricky for a novice DIYer. It’s critical that the solenoids are of the right type for your sprinkler system. If it uses A/C power, for instance, only A/C solenoids can be used. Having the wrong type or amount of voltage is one of the primary reasons solenoids fail in the first place.
When working with electrical components, it’s always important to put safety first and ensure that power is not running through the line when making any repairs. If in doubt, contact a qualified, professional electrician.
You may also be experiencing a mechanical issue with the valve itself, and you may need to replace the sprinkler valve.

If your tests so far have come back negative and all the electrical and mechanical parts of your system seem to be working, there’s a good chance the problem isn’t with the controller itself, but rather how it’s programmed. Here are some common programming issues that are sometimes mistaken for an irrigation controller gone bad:
An inactive system. Even if you program your sprinkler system correctly, it won’t be activated until the controller is set to automatic.
Unsaved start or run times. Sometimes, the start or run times that are programmed in are accidentally unsaved, which means your sprinkler system isn’t actually programmed at all.
An accidentally activated manual override. Particularly if your sprinkler is running when it’s not programmed to, you may have accidentally activated the manual override key. This can often be solved by turning the sprinkler off and back on again. If not, check your sprinkler’s programming to ensure that your start and run times are correct, and delete any accidentally scheduled waterings.
Other programming errors may also be causing you trouble. When in doubt, refer to your owner’s manual—or enlist the help of your friendly local sprinkler repair company to get a handle on exactly what’s going on.
If you suspect the problem is electrical (like an issue with voltage), call in a pro to avoid being the unwilling recipient of a nasty shock. Similarly, if you think there’s a programming error but you just can’t get it to work no matter what you do, reach out to an irrigation expert.
From color consultation to the final brushstroke, Custom Paint Jobs LLC provided a seamless experience. I m thrilled with the vibrant look they ve given to my office.
Window Depot did an amazing job on my deck. I wasnt sure what I wanted to do, but their composite decking was affordable and will last a long time. I am excited to have family over, and I am no longer embarrassed by my backyard. Jeff and the ground crew were polite, respectful, and caring for...
Fred and his brother are great. They are always on time. We are very pleased with their work. They incorporated some of their ideas to make things look nicer. We would use them again.
Maple Tree Service should serve as a mentor for other business! Customer service was superior and beyond expectation. Response to request was prompt. The representative was very courteous and proud of the company. Quote was given during initial visit and work date established. A follow up...
We used Unique Hardwood Floor LLC three years ago to work on the floors of a 70 year old home that needed a great deal of work. Some floors needed repairs, some were replaced and others just needed to be refinished. It was a complicated job as they needed to blend the old and the new to...
We hired Jim to replace our hardwood floors with new hardwood. He and his helper Jerry did a fantastic job. Their work ethic is impeccable!! We would highly recommend McColl Floors!
Bill Gerhardt sold the company to his employees at the end of 2019, apparently without a workable succession plan and without notifying prospective customers of this fact. Most aspects of the maintenance contract have not been fulfilled: no installation of anual plantings per contract, no...
They show up and they did take us on as a client which seems to be a problem with other lawn care providers. We have multiple properties and this one was located close to downtown and no one really wants to mess with it.
The worker came out when he was supposed to come. He informed me he would honor the Angie's List deal, but would not do any more work for me since my son in law owns lawn care company as well, even though they do not do the same type of work. He said he did not feel comfortable giving me...
BEECHWOLD ACE HARDWARE IS THE OLD FASHIONED TYPE OF HARDWARE STORE THAT IS HARD TO FIND THESE DAYS. MANY OF THE EMPLOYEES ARE VERY EXPERIENCED IN EVERY TYPE OF HOUSEHOLD REPAIR: PLUMBING, ELECTRICAL, AUTO, LAWN & GARDEN, PLASTER, PAINTING, ETC. AND IF THEY CAN'T ANSWER YOUR QUESTIONS...
From average costs to expert advice, get all the answers you need to get your job done.

Find out the average sprinkler system repair cost, what impacts pricing, and how to save. Get transparent estimates to plan your sprinkler repair project.

Discover the average outdoor misting system cost, key price factors, and ways to save. Get transparent, expert-backed estimates for your installation.

Discover yard drainage cost estimates, including average prices, key cost factors, and tips to help you budget for your yard drainage project.

Learn how to adjust Rain Bird sprinkler heads, no matter the type. Fine-tuning your sprinklers ensures optimal water usage and reach.

Can an irrigation system leak if turned off? It unfortunately can. We’ll show you eight signs to watch for that indicate a leak in your irrigation system.

Putting your sprinkler system to bed for winter will help avoid damage from freezing temperatures. Use this guide to winterize your sprinkler system.