
Home elevator costs depend on the size and type of lift, if it needs retrofitting, and the number of floors. Our guide outlines all residential elevator costs.
Use these techniques to winterize your garage with long-lasting results


Hiring a pro to winterize a garage costs between $250 and $1,500, and it makes your home more efficient.
A pro can identify hidden drafts, insulation gaps, and air leaks that DIYers might miss, which helps you save on heating bills.
Improperly sealing vents, over-insulating around electrical fixtures, or blocking moisture escape routes can create fire hazards, mold issues, or air quality problems.
Professionals use specialized equipment, including infrared cameras to detect heat loss, as well as professional-grade sealants and insulation materials.
The garage is typically the space where you work on projects and store vehicles, lawn equipment, and other items. Although most garages are built for durability, it’s essential to know how to winterize your garage and garage door so you can keep it warm and protect it from costly repairs. Follow this helpful guide to learn how to winterize your garage to prepare it for harsh winter conditions and temperatures.
Now that you know how to prepare, grab your supplies and get a head start on this task with the following steps.
The first thing you need to do is inspect your garage for signs of damage. Check for air leaks around electrical outlets and light switches, see if any weatherstripping needs replacing, and look for cracks or chips in the floor. Knowing what you need to winterize will help you purchase the correct supplies for the job.
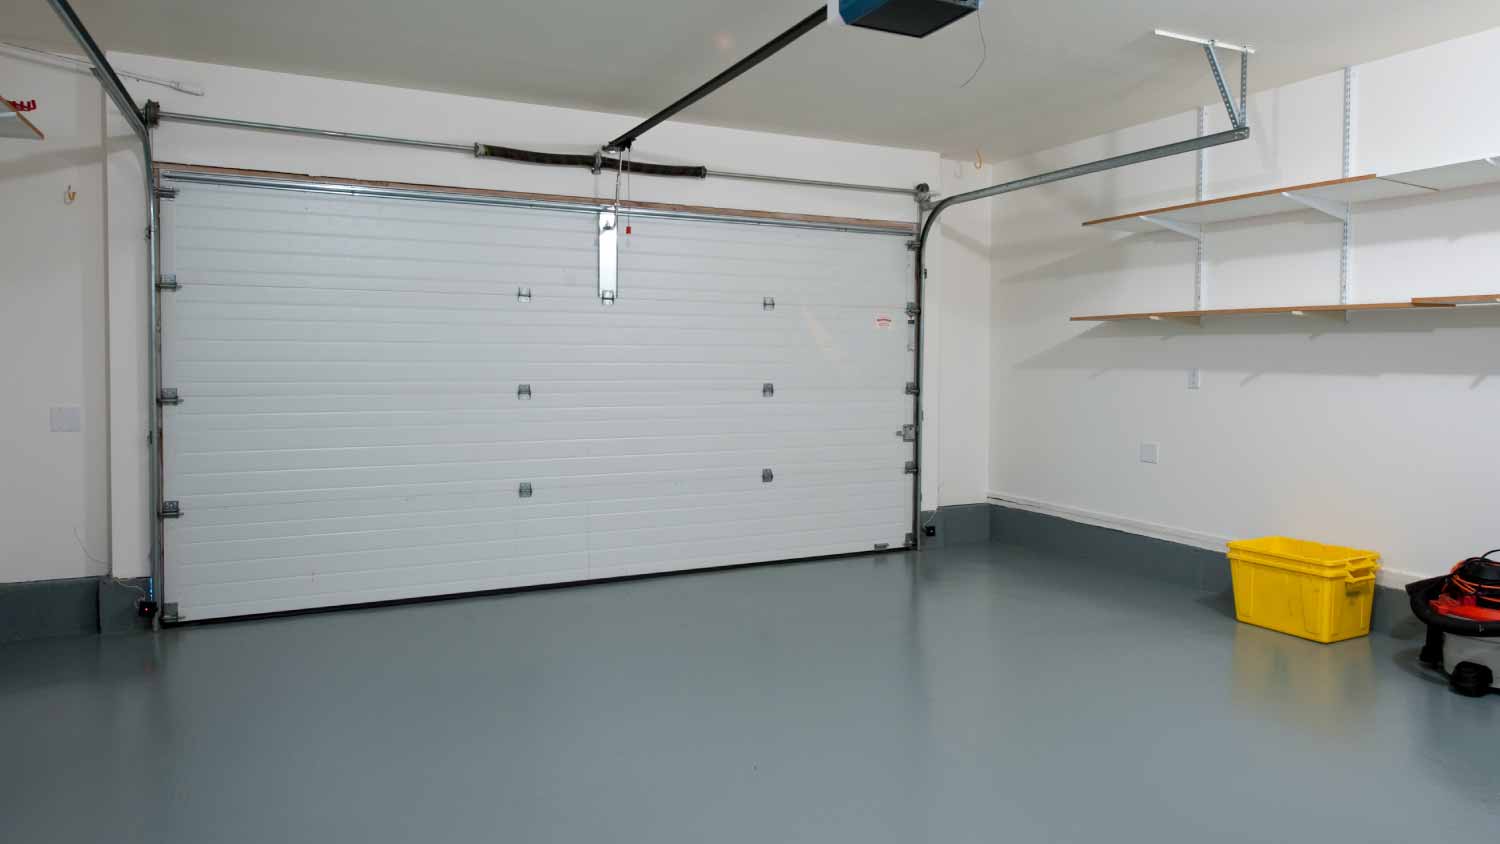
Start by getting rid of items in your garage you don’t use or need. A good rule of thumb is to purge items you haven’t used in the past year. Ensure you properly dispose of old chemicals and liquids and gather the ones you are keeping in a specific spot in the garage.
Tidy up and organize items so they are out of the way and easy to locate. Wipe down counters and shelves to remove dust and debris. Last but not least, sweep the floor and get it ready to winterize.
Sealing up small air leaks can make a big difference in helping keep your garage warm. If your garage has no insulation or is poorly insulated, air can blow into electrical outlets and light switches. Installing outlet foam insulators is the easiest way to seal air leaks from outlets or switches.
Note that working with electricity is dangerous. Always turn off the breaker to the room you are working on or shut off the main breaker to help prevent electrical shock. In some cases, it’s best to hire a professional electrician rather than doing it yourself.
After installing the foam insulators, use outlet plug covers to prevent airflow from coming in through the plugs.
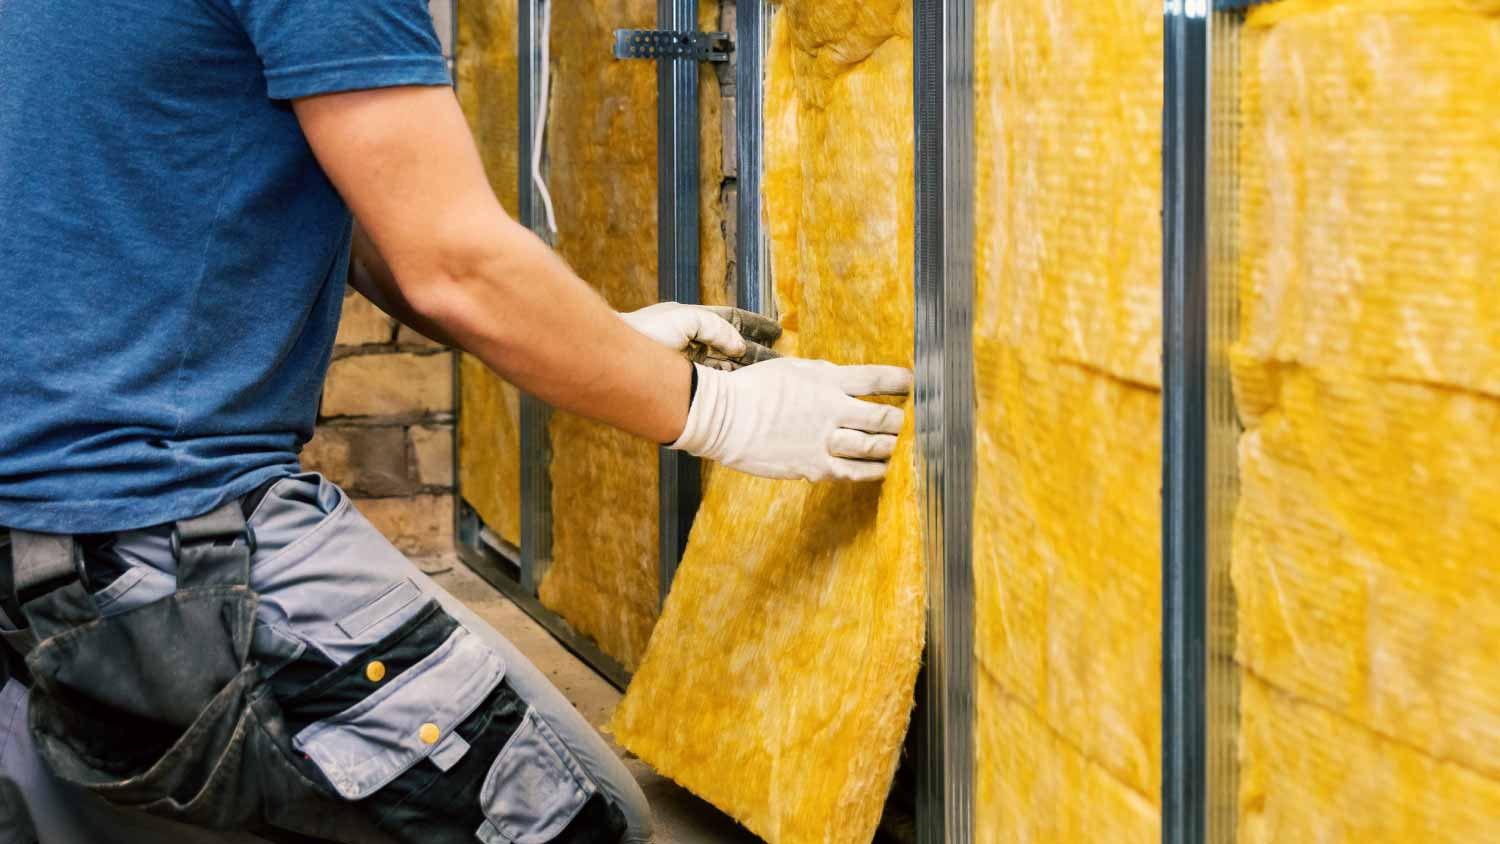
Are you wondering how to winterize your garage that will reduce energy use and cost? Then, you should upgrade or install wall insulation. There are many types of insulation to choose from, but fiberglass insulation is among the easiest to use if you are going to do it yourself. Keep in mind this is a challenging project, so it may be worth hiring a garage pro if you lack experience.
If your garage is not insulated, you should prioritize tackling the project yourself or hire a professional to get it done.
If your garage is insulated, but you have drafty outlets, rooms that adjoin the garage have difficulty staying at a comfortable temperature, or it’s been over ten years since the insulation was installed, it’s time for an upgrade. These are all signs that your garage is poorly insulated, making it much more challenging to keep it temperature-controlled.
Insulation is how to winterize your garage door efficiently. It reduces electricity use, cost, and noise. For homeowners who live in cold climates, it also assists in keeping your garage warmer and prevents issues such as your car battery from malfunctioning from frigid temperatures.
You can buy materials and custom-fit your insulation yourself or purchase a garage door insulation kit. A fiberglass insulation DIY kit costs between $50 to $100.
Of course, the type of installation you need depends on your climate zone. Different types of insulation have different resistance values. A higher R-value is more effective at reducing energy loss. If you live in a colder climate, then you will need to ensure you purchase insulation with a higher resistance value than you would if you lived somewhere with milder temperatures.
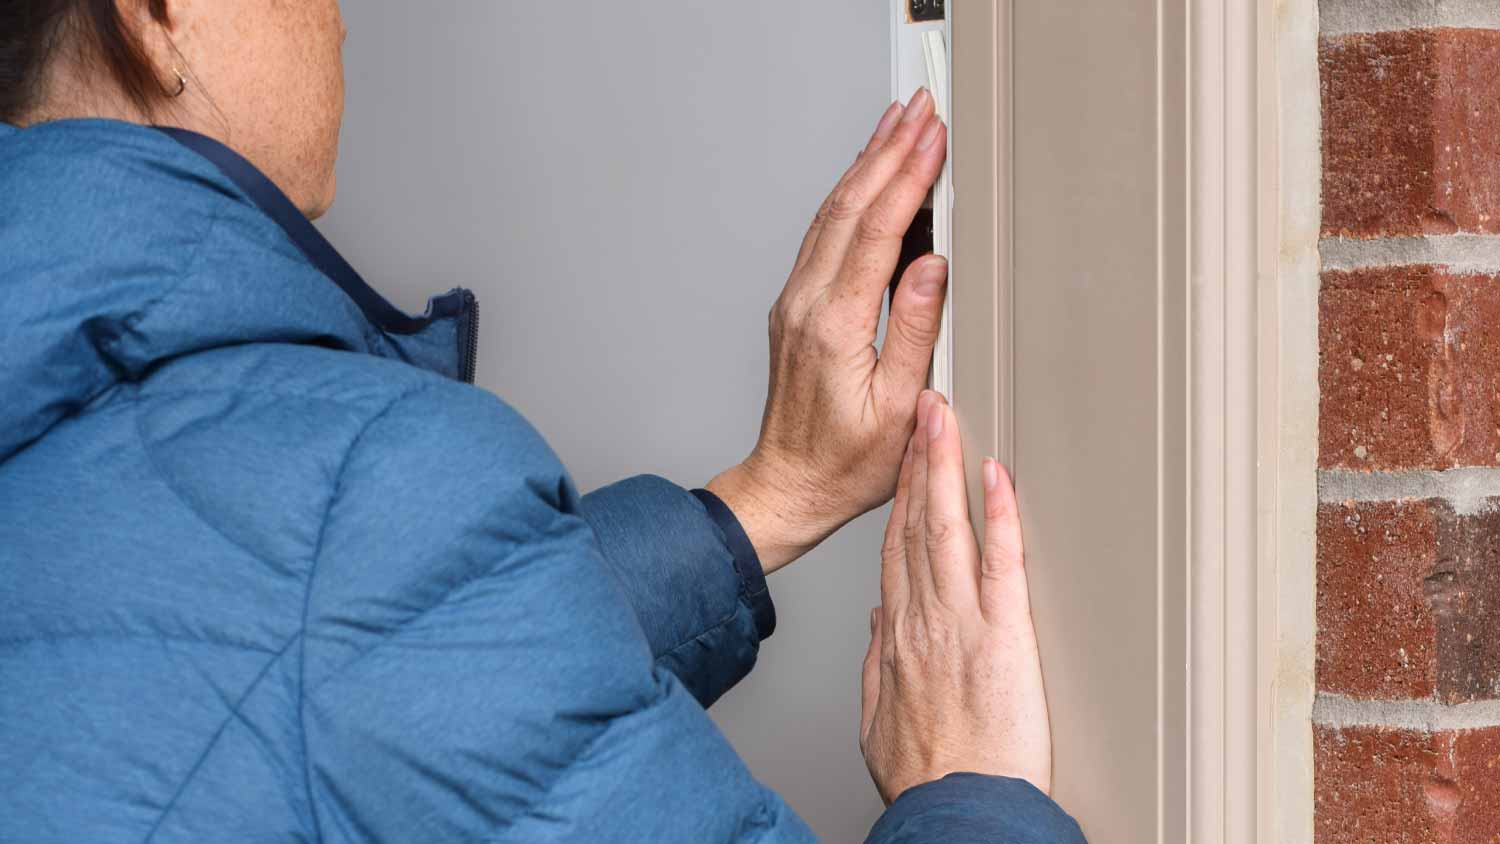
Installing weather stripping is how to winterize your garage easily. It protects your home from air leaks and the elements. Sealing up windows and doors by installing weather stripping is a simple way to prepare your garage for winter.
There are different types of weather stripping to choose from that you can install that will prevent air leaks and keep out water, snow, and debris. If your garage has weather stripping, inspect it to see if you should replace it. Weatherstripping that has noticeable damage or is peeling away from door frames and windows needs to be replaced.
Weatherstripping the garage door is vital for winterizing it. Before you start, make sure to unplug the garage door opener, use vice grips to clamp the door, and put the door into manual mode to avoid injuries.
Measure the door to ensure you purchase the correct amount of weather stripping you need before proceeding. You will need to remove the existing weather stripping and clean the track and door frame beforehand. Then, you will be ready to install the new weather stripping to your garage door.
You should store liquids and chemicals in a temperature-controlled area because extreme temperatures can cause them to be ineffective and cause the container to rupture. Some chemicals may also be combustible, so ensure you properly store them in other areas that don’t experience harsh temperature changes.
Read the labels of any products to ensure you store them properly according to the manufacturer. It’s best to have a garage organization system in place and only store chemicals and liquids in secure, temperature-controlled spaces.
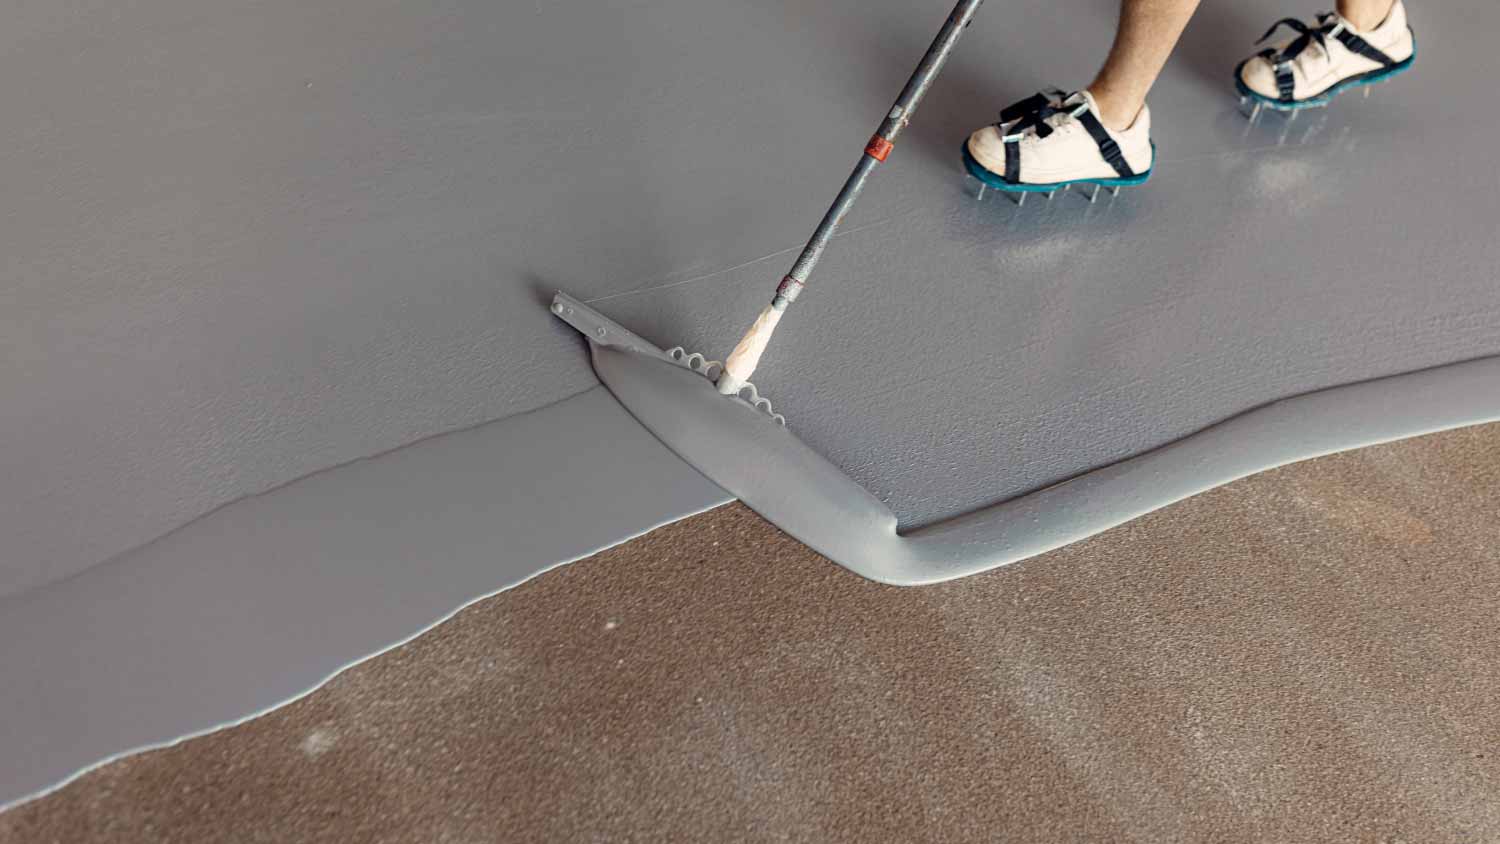
Concrete is tough and durable, but waterproofing your garage floor will add a protective layer and prevent it from absorbing moisture. You can use various methods, but some of the most common options are polyaspartic floor coating, epoxy, and sealers.
If your garage has cracks in the floor, they need to be fixed before applying the coating. Unless you are an advanced DIYer, you may want to hire a professional garage floor coating contractor to take this project on.
A heater in your garage will keep it nice and toasty while working on your projects or hobbies. It also helps prevent pipes from freezing, which can keep you from having expensive repairs if they burst. Garage heaters cost between $150 to $4,000 to install. Price varies depending on fuel type and installation costs.
Gas heaters tend to be more efficient than electric ones, but you need to have proper ventilation if you choose this type. Remember that installing insulation will retain the heat and reduce energy loss.
Now that you know how to winterize your garage, use these tips for additional protection and prevent costly mistakes.
Don’t waterproof your garage floor during extreme temperatures: Most coatings or sealers should not be applied if the temperature is below 50 degrees. Otherwise, it will dry too slowly or quickly and can cause imperfections in the sealant.
Protect the garage door entrance: This will help prevent you from tracking in water, debris, and deicer if you live in a cold climate, which protects your garage floor.
Create ventilation: Having proper ventilation prevents moisture build-up, stabilizes temperatures, and allows hazardous fumes to escape. Install wall vents and a garage ventilation fan to protect yourself and improve airflow.
Insulate pipes: If you live in an area with frigid winters, then you should insulate the pipes in your garage. Winterizing your pipes can prevent them from freezing and bursting, which saves you a bundle in expensive repairs.
There are many tasks to take on when winterizing your garage. If you have experience and are an advanced DIYer, then you can do most of it yourself. However, in some cases, it may be best to hire a professional garage builder near you to help. Consult at least three garage services to determine an accurate quote for your specific project and garage size.
For instance, if you hire a professional to epoxy your garage floor, it can cost between $1,600 to $3,400. Having insulation installed in your garage can run between $1,500 to $8,000.
Keep in mind you also need to winterize your home and even your sprinkler system. You may want to handle the projects you feel comfortable doing yourself to save some money and hire professionals for the more extensive tasks so they are done correctly.
From average costs to expert advice, get all the answers you need to get your job done.

Home elevator costs depend on the size and type of lift, if it needs retrofitting, and the number of floors. Our guide outlines all residential elevator costs.
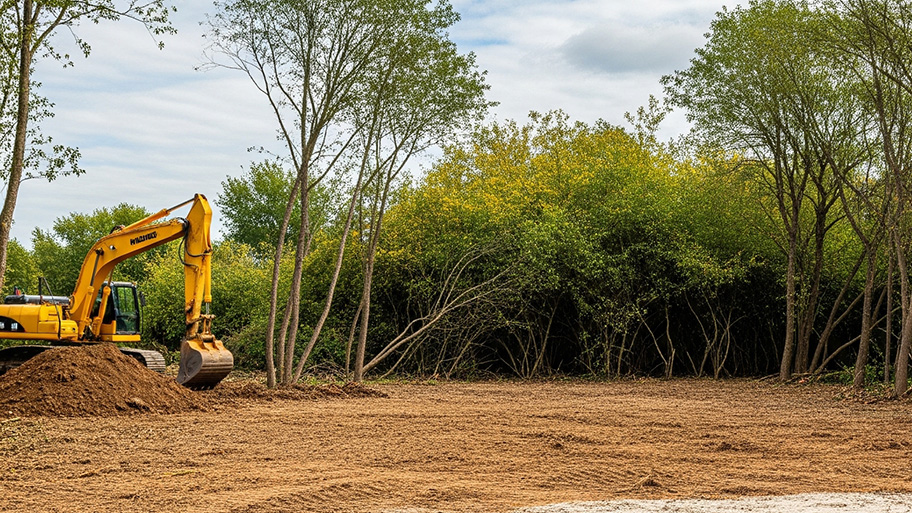
Going from an undeveloped plot to your dream home can be expensive. Learn about the cost to develop land and what factors can affect your total.

Recessed living rooms used to be popular but have fallen out of favor. This guide discusses the cost to raise a sunken living room to modernize your home.

Making your home wheelchair-accessible requires wider-than-standard doors. Learn what door sizes you need for wheelchair access.

Curved staircase chair lifts can enhance your home’s safety and accessibility. Use this guide to learn how much they cost to install based on factors like staircase size and lift type.

Many homeowners are unsure about tipping contractors, and if so, how much. This quick guide will help you understand whether you should tip.