The cost to insulate a basement varies based on materials, size, and other factors, as well as how much of the work you wish to perform yourself.
Because a garage should be a space for more than just your car


This project requires a lot of experience, so we don’t recommend DIYing it. Hire a pro with the special skills and tools necessary to complete the job safely.
Insulating your garage walls, ceiling, and door makes your garage a usable space year-round, lets you store items that are sensitive to extreme temperatures, and, if it’s attached to the house, boosts your home’s energy efficiency and reduces your heating bills. Below, we’ll walk you through how to insulate a garage in eight steps.
Garage insulation is a challenging task that should be left to a professional in almost every instance. However, if you’re a skilled and capable DIYer, perhaps with some contracting experience, you may be able to tackle this job on your own.

The first step to insulating a garage starts before you roll up your sleeves and get to work. You’ve got to decide which type of garage insulation you’re going to use. There are four main types of insulation commonly used for garages:
Fiberglass
Foam board
Spray foam
Cellulose
Fiberglass is the most common type of garage insulation, and it’s also the most affordable and relatively easy to install. If you live in an area with more extreme climates, however, you might want insulation with a higher R-value (indicating how effective it is), such as spray foam or rigid foam.
Before installing insulation, you’ll need to remove anything that’s hanging from the walls, such as nails, fasteners, and hooks used to store tools, sporting equipment, and lawn equipment. Then, remove all existing drywall from the studs. Do so carefully so that you can reuse the same drywall sheets rather than buy and install new ones (drywall costs $60 to $90 per panel).
After you’ve removed all the drywall, use a wet/dry vac to clean the garage space. Also take this opportunity to inspect for mold. If you detect any signs of mold, stop the project and call a pro. Mold remediation is serious business, so leave this work to a local mold specialist who is trained and certified.
Note: You will not remove the drywall if you plan on using blown-in insulation.
Check the walls of your garage—both inside and outside—for small holes, cracks, and gaps. Pests and insects can enter your garage through these small openings. Plus, these can cause air leaks even with insulation.
To fill the cracks and gaps, use expanding foam spray. Spray it in all openings while holding the spray can upside down. Fill each opening by roughly 50%, then wait 15 minutes for the foam to expand and completely fill the opening.

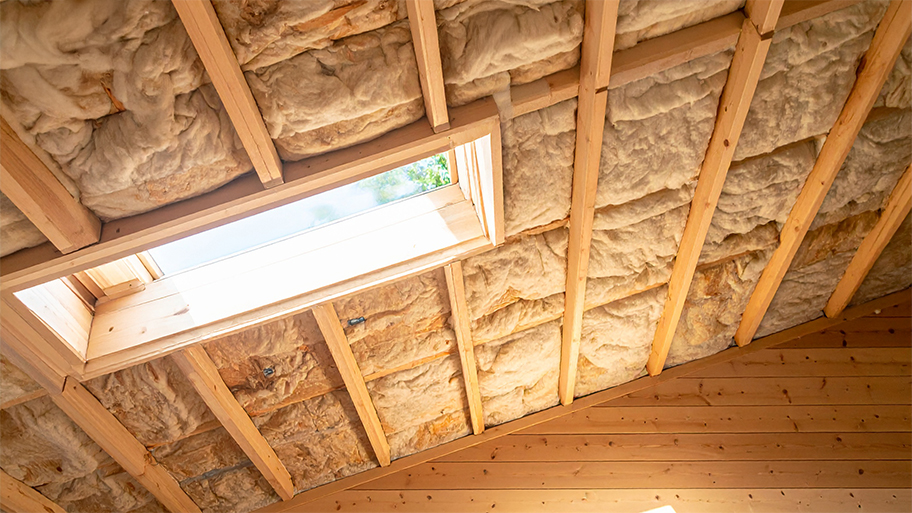
Assuming you’re using fiberglass or foam board, measure each opening and make proper cuts on the insulation using a utility knife. Once you’ve cut a section of insulation to size, fit it into the wall cavity and staple it to each of the studs it sits within. Make sure it fits snugly inside and is properly secured. Repeat for each wall opening you’re filling.
Note: Always wear proper protective gear for the type of insulation you’re using. When working with fiberglass, you should wear long sleeves, goggles, gloves, and a face mask.
If you’re using spray foam insulation, you’ll need special equipment, like spray foam guns, hoses, and filters. Because of the complexity of spray foam insulation, we really recommend a professional installation.
Similarly, if you’re installing cellulose insulation, you won’t be making cuts like you will with fiberglass or foam board. Instead, you’ll leave drywall in place (or install drywall before insulating) and use a blowing machine to spray foam into the wall cavities.
After you’ve installed the insulation, install a vapor barrier over the top of the insulation before reinstalling the drywall. You can use your staple gun to fix the vapor barrier to the wall studs.
Next, reinstall the drywall you removed earlier in the project. Use screws to attach the drywall to the studs every 8 inches.
You don’t need to drywall over some types of insulation, but doing so offers another sound barrier and can make your garage more aesthetically pleasing. If your garage wasn’t drywalled before, budget $1,100 for the cost to drywall the garage with the help of a pro.
For added efficiency and comfort, you can also insulate the ceiling of your garage. The process is relatively the same as installing insulation in the garage walls, except you’ll need to work from a ladder. Measuring and installing are more challenging with gravity working against you, so call a pro to tackle the job instead.
For maximum efficiency and comfort, you can also insulate your garage door. There are a few different methods for insulating a garage door, but the most straightforward for a DIY install is to purchase a garage door insulation kit and follow the accompanying instructions.

There are a number of pros and cons to garage insulation, but the advantages far outweigh the drawbacks. You can enjoy reduced heating costs, a comfier workspace, conditioned storage, and protection for your appliances and pipes.
If your home has an attached garage, you could be losing significant amounts of heat if the garage space isn’t insulated. Though the cost to insulate your garage can be steep, you’ll save a lot of money on utilities over time.
If you use your garage as a workspace, you might find it gets too cold in the winter (and maybe too hot in the summer, even with the garage door open or a window AC unit). By insulating, you can more easily control the temperature within the garage.
If your home is low on storage space but you have items that can’t be stored in extreme temps, an insulated garage can be a serious help.
If you have appliances in your garage, such as a refrigerator, freezer, or washer and dryer, you can better protect them with an insulated garage. This will also help prevent any frozen pipe bursts if you have plumbing in your garage.
Keeping your vehicle warm, even during cold weather, can help extend the life of its battery. Plus, your car will be a lot more cozy when you get inside it.
There are a few main types of insulation to consider for your garage:
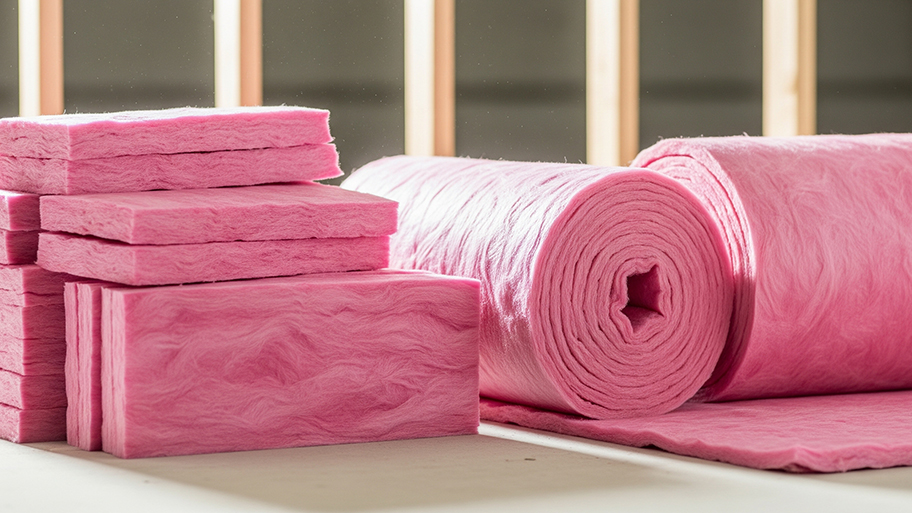
Fiberglass insulation batts and rolls are the most common type of garage insulation because fiberglass is affordable and easy to install. Fiberglass batts are precut, making them perfect for sliding between the wall studs. Measure the distance between studs before selecting a precut fiberglass size.
If you don’t intend to install drywall over the paper, you can purchase a fiberglass roll with paper on the outside, which gives the insulation a cleaner look (and keeps the fiberglass from being exposed to curious children and pets).
According to Angi data, adding insulation to an existing home—whether that’s to a garage or the attic—accounts for over 80% of all batt and roll insulation projects.
Correctly installing insulation can be difficult. Health and safety risks are involved; therefore, we highly recommend contacting a pro to ensure the job is completed safely and correctly.
Another easy type of garage insulation to install is foam board. Also called rigid foam, this type of insulation comes in thick sheets that you can cut to fill the spaces between wall studs as needed. This is a good option for soundproofing and air leaks, but it’s also flammable and challenging to install.
Spray foam insulation is a chemical-based solution that you mix at home and spray into the wall cavities. It’s great for insulating small spaces, has a high R-value, and is resistant to mold, water, and insects. However, it’s pricier than fiberglass and foam board. It’s also flammable and difficult to install. You’ll also need to purchase or rent a sprayer if DIYing, but you should really hire a pro if you want spray foam insulation.
Cellulose insulation is a type of loose-fill, blown-in insulation, and it makes sense for garages that already have drywall that you don’t want to remove or demolish. Cellulose insulation is also affordable and easy to install, but it’s got a higher mold risk, and the material—recycled paper, cardboard, and wood that has been treated with flame retardant—can settle over time, leaving parts of your garage walls uninsulated.
We highly recommend hiring an insulation company near you to handle this task. Working with insulation can be dangerous, and insulating a garage ceiling adds even more risk. Plus, it’s really easy to incorrectly install the insulation, which can defeat the whole purpose of insulating your garage. Only attempt this project if you’re a skilled DIYer with prior insulation experience.
From average costs to expert advice, get all the answers you need to get your job done.

The cost to insulate a basement varies based on materials, size, and other factors, as well as how much of the work you wish to perform yourself.

Insulating your attic can massively improve your home’s efficiency and reduce electric bills. Use this guide to find out what attic insulation will cost you.

Crawl space insulation costs vary by size, insulation type, and material. Read this guide to learn how much your crawl space insulation could cost.

A radiant barrier can help keep your home cooler without cranking the AC. Learn about radiant barrier problems and how to fix them.

Need to improve your home’s energy efficiency or just make your workspace more comfortable? Learn everything you need to know about garage ceiling insulation.

Is your house feeling chilly? Adding insulation can help keep it warm without requiring you to crank up the heat. Here's how to install wall insulation.