
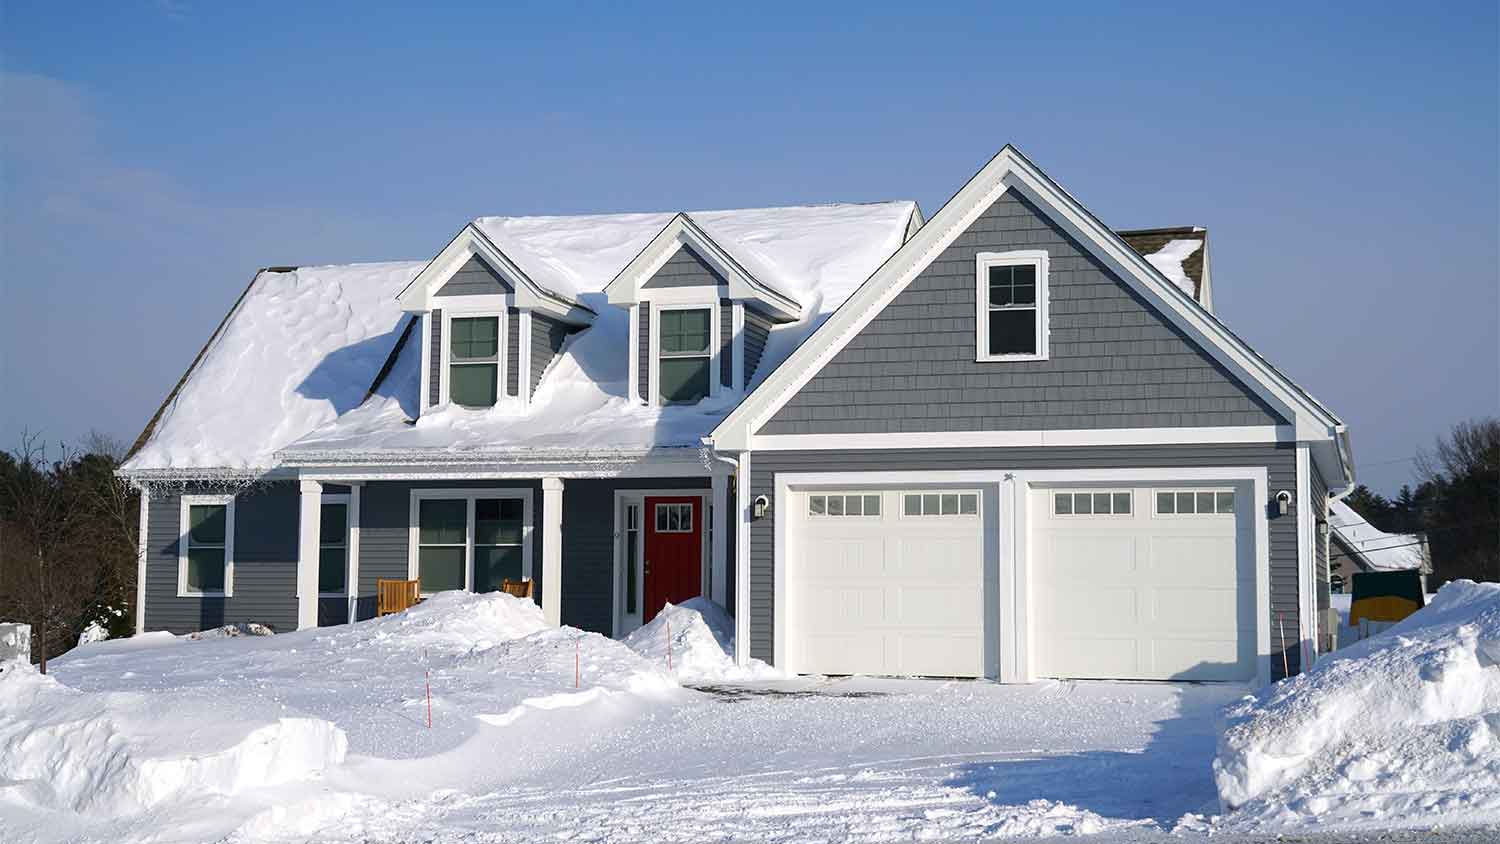
If you live in a climate that experiences harsh winters and summers, you should consider an insulated garage door. Learn what impacts the costs and how it can help save you money over time.
Make your garage more energy efficient with insulation

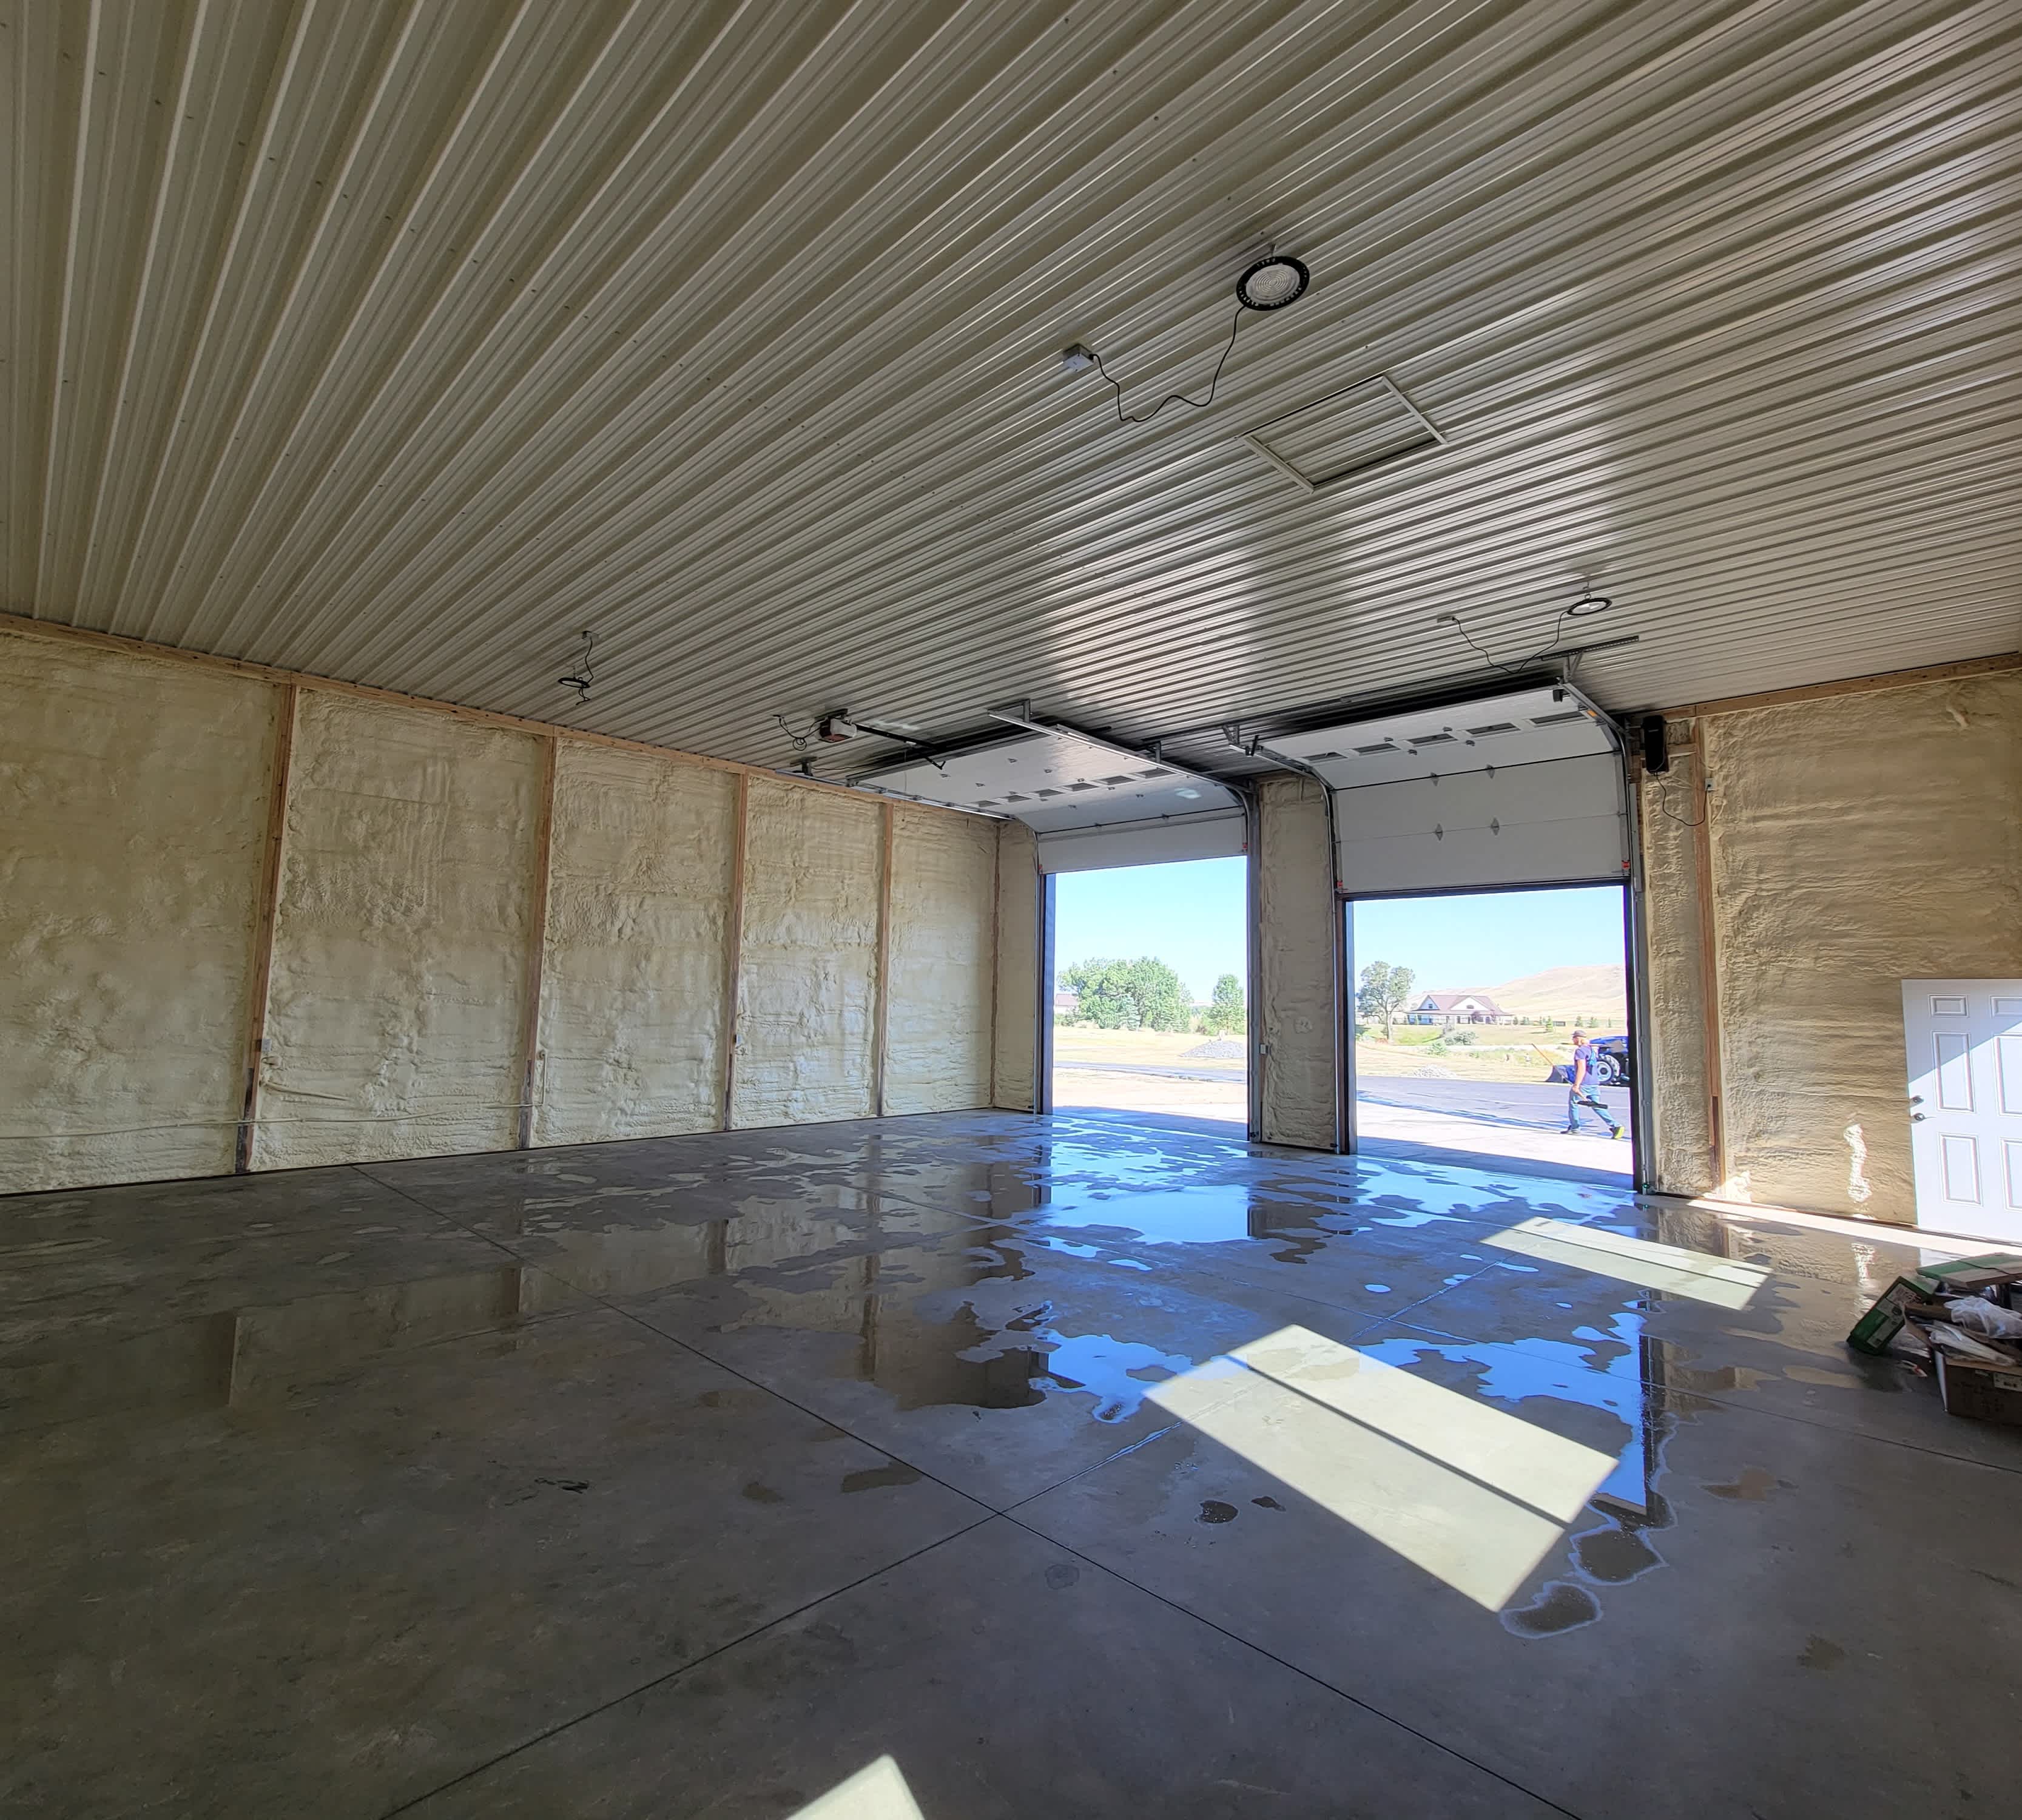
Be it scorching hot or freezing cold, when extreme climate hits, your garage is one of those areas of the home that feels it the most. And, while you can dish out around $1,500 on the cost of a pre-insulated garage door, you can save big time by insulating the door you already own, adding garage ceiling insulation, and updating the weatherstripping. Follow these steps to have your garage door insulated and more comfortable no matter the season.
Getting the right insulation for your garage is key to making the most out of insulating the space. To do this, you'll need to factor in the R-value required to maintain the desired temperature, the insulation installation method, and the type of garage door you have, which can impact the type of insulation material you'll need.
Depending on where you live and the type of garage that you have, you want to factor in the insulation’s R-value. The R-value, or resistance value, measures the insulation's ability to handle energy loss. This is dependent on your climate zone and whether your garage is attached, partially attached, a standalone, or has heating inside.
Below are the basic R-values needed for different home types.

If you live in a cold region, you’ll want insulation with an R-value toward the higher end of the range. In warmer climates, you can choose a lower R-value.
You also have two options for installing garage door insulation materials: a garage door insulation kit or a custom fit.
An insulation kit comes with pre-cut insulation in the materials you'll need to complete the project. Depending on the kit, you may need additional tools. If you decide to customize your insulation, then you’ll buy the materials yourself and cut them to fit your specific garage door. This option can be cheaper, but it requires more measuring, cutting, and basic geometry skills.
If you have a frame-and-panel garage door made of wood, then you will need to choose rigid insulation for this project. Metal garage doors, on the other hand, are flexible and can generally use a variety of insulation types—including fiberglass batts.
Common types of home insulation materials include:
Rigid foam insulation: Best for wooden-framed panels—comes in expanded polystyrene (EPS), extruded polystyrene (XPS), and polyisocyanurate (ISO)
Cellulose insulation: Requires drywall and used for finished garages
Spray foam insulation: Best for narrow cavities
Fiberglass insulation batts: Can irritate skin and isn’t moisture-resistant

The first step is to identify where to put the retention clips (also called fasteners or retainer pins) that hold the insulation in place. To know where to install the retainer clips, you'll need to measure and mark the location on your garage door.
Use your tape measurer and pencil to mark where you'll install the retainer clips. The pins should be 12 inches away from the panel's edge and at the halfway mark between the garage door's horizontal rails. You will need two pins per door panel—with one on each side of the panel.
If you purchased an insulation kit, then peel off the adhesive tape to stick your retainer clips where you measured their location in the first step. If you’re installing insulation without a kit, place double-sided tape on the pencil markings. Press each clip firmly against the tape until every marking has a retainer clip.
For extra weatherizing measures, you can also replace garage weatherstripping if your garage door won’t stay closed. This helps prevent heat from exiting your home in cold weather and heat from entering your home in hot weather. Remove the old seal, clean the bottom of your garage door, measure the door's length, cut the new seal, and slide the new seal into the bottom of your door.

To ensure you have the right size and amount of insulation materials, you'll need to measure the individual panels using a tape measurer and cut them as needed. Be sure to measure from the inside of the panel to get an accurate length for the insulation materials.

With your safety glasses, gloves, and face mask on, it's time to cut the insulation to size. Use your utility knife for a clean, leaving around 1 inch of extra space. Remember, if you take away too much material, you’ll need to purchase additional insulation for full coverage, whereas you can always remove extra material if you find you have too much insulation.
If you opted for rigid foam panels, take care not to bend the panels as you carefully insert the insulation into the panels one by one.
Fiberglass batting needs to be fastened using a retention clip. Use your utility knife to cut a tiny incision into the batting where it lines up with the fastener clips you installed previously. Then, snap the retention cap into clip the until it clicks into place. This will prevent the insulation from falling out.
Insulating a garage door is by no means a tall ask for a determined do-it-yourselfer. The most challenging part of the installation is correctly measuring the insulation material so that it fits snugly in your garage door panels.
One area that may benefit from working with a professional is choosing the right insulation material and R-value for your garage. We recommend checking in with a professional garage door installer near you before you get started with your project to make the most out of insulating your garage door.
Jason has helped me with multiple household projects, with the most recent being new door installation. He has always showed up on time and organized and has done an incredible job! Jason is very professional and he's now my go-to for anything around my house that needs to be fixed or...
Company came to look at my garage door that was off track. They also said I needed a brace on the other garage door. They put the door back on track, and I paid to install the brace. The technician told me I needed a new garage door opener, and it would cost $1000. Red flags went off in...
 Precision Overhead Garage Door Service
On Sunday 2/26 I requested quotes via Angi from 4 refrigerator repair businesses. Northwest Appliance responded to me Monday morning (2/27) and my refrigerator was repaired by noon the same day. Great communication, they did everything they said they would. The technician had the parts on...
Excellent customer service and knowledge. I was recommend to him from my neighbour. My front door and window came in great and were installed beautifully perfectly, I m very satisfied with their excellent work, so decided to order one more big bow window for my living room. I cant wait for...
Called ahead and worked quickly to install keyless locks on vintage wooden doors.
Scott did not get appropriate access to the property prior to the scheduled inspection which required us to come back later in the day to complete it. He also, unprofessionally, knocked on a neighbor?s door in his attempts to reach someone with access. His overall report was fine though the...
I highly recommend KTM construction! I will look no where else for anything that needs to be done, in or out side of our property. The level of craftsmanship is 5 star service across the board! The level of detail, knowledge and professionalism is 5 star service across the board! Ken is a...
Door Depot was very responsive - they came out the day after my call to assess my needs, then returned at my convenience to complete the work. They arrived early, and the work was completed in a shorter period of time than estimated. Very pleased with the results. I would definitely use them...
 Door Depot LLC
Replace garage doors: Fast response, competitive estimate, timely work done well.
I would have given an "A" rating were it not for the devil being in the details. 1. The van rear doors, when open, expose the track area and that had not been cleaned. Noticeable only when you look for it and then it's obvious. 2. Was able to get 99.5% of the dog hair out of the cargo area...
 614 Detail
From average costs to expert advice, get all the answers you need to get your job done.
If you live in a climate that experiences harsh winters and summers, you should consider an insulated garage door. Learn what impacts the costs and how it can help save you money over time.
How much does it cost to insulate a garage? Discover insulation options, prices, and expected and unexpected circumstances that affect the project cost.
Replacing a garage door is necessary to add security and value to your home. Learn how each door type affects the total cost of this project.
Insulating your garage door may seem like a pricey update, but you can do it on a budget and save money on your power bill all year long.
Our guide helps you select the right type of garage insulation to regulate temperature, sounds, and smells in your garage space.

Learn the best tips for how to insulate a door to reduce drafts, keep moisture out, and lower your energy bills. There are many DIY door insulation tips that can make your home more comfortable!