A wood stove can add warmth and ambiance to your home, but is it in your budget? Discover average wood-burning stove installation costs in this guide.
When it comes to washer ventilation, a pro has to stick to a strict plumbing code


It was a typical laundry day until you noticed a strange gurgling, a rotten smell, or a small pool of water around your washer. A clogged drain could be the problem, but these issues can also pop up due to a lack of ventilation in your pipes. You should call a plumber either way, but it helps to know what to expect. This guide will explain how to vent a washing machine drain and how the experts fix a washer ventilation problem.
Complex, high-risk projects demand more than typical DIY projects. They require time, specialized tools, and trained expertise to make sure the job is done safely and correctly. We made it easy for you to find a local pro—with our skilled network, you'll get the job done without the stress of doing it yourself or significant safety risks.
Air is a crucial part of any plumbing system; it always needs a way in and out. That's where ventilation comes in. Once a washer cycle is over, a pump forces water to drain up through a curved hose into a standpipe, which takes it out through a sewage line. Without this process, water could leak and cause a mess.
Without proper ventilation, water flow can cause air pressure to build in the plumbing system. Too much pressure can cause pipes to burst, clog up, and flood your home. Another benefit of ventilation is that harmful, foul-smelling sewer gas is pulled out of your home as fresh air is pulled in.
The cost of plumbing ventilation will depend on what your system needs. You can replace a drainpipe for $230 to $1,235, including the required building permits. If you need to move part of the existing system, the cost to reroute a plumbing vent is about $500.
If the issue stems from the washer itself, you might simply need to replace your machine. A new washing machine costs anywhere from $350 to $1,200.
Washers can have many problems, but the following signs may indicate poor drainpipe ventilation.
Foul smells: Washer drain vents typically keep sewer gas out of your home. Without proper ventilation, your washer may stink.
Gurgling sounds: There may be insufficient ventilation if your washer or sink makes a spurting, gurgling noise when your laundry drains.
Slow drainage: This typically only happens in severe cases, so call a plumber immediately if your washer drains very slowly.
Water in your sink: Water coming up through your sink drain as your washer cycle ends means there's nowhere for it to go.

Below are the steps and possible methods a pro will use to vent your washing machine drainpipe.
You never want to mix water and electricity, so the first step is to unplug and disconnect the power for the washing machine before the work begins.
The same goes for your water supply; it’s best to disconnect it to avoid accidental flooding. With the water supply shut off, disconnect the red and blue hoses on the back of your washer from the hot and cold water lines, respectively.
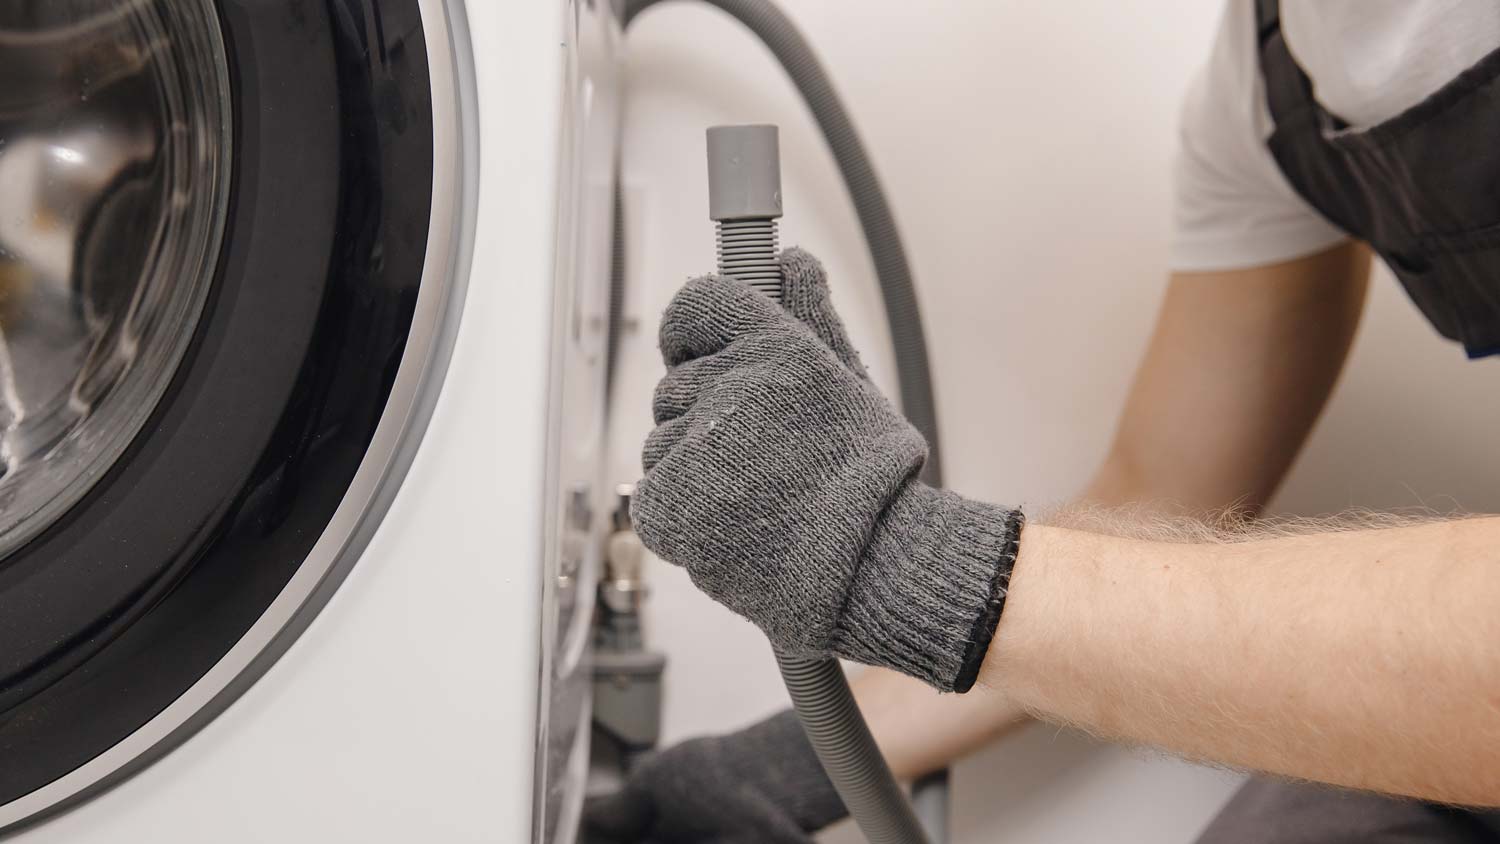
Your washing machine's drainpipe is a gray hose that comes out of the back of the machine and runs into a standpipe. This pipe drains into the sewer line and connects to the vent stack. Your pro will visually check the hose for blockages and may snake it out to unclog the washer drain.
The easiest and most effective way to vent a washing machine is to run the drainpipe into your home's vent stack. The vent stack, or waste stack, is a vertical pipe that connects to your home's plumbing and exits through the roof. Building codes require all homes to have at least one vent stack to allow sewer gasses and built-up air pressure to escape the home.
If your washing machine’s drainpipe isn’t connected to a vent stack, your plumber or contractor will likely attach a new pipe between them. This typically consists of a U-shaped P trap and a vertical standpipe.
A P trap is a necessary part of the plumbing for a washer. It's a U-shaped piece of piping between the appliance and the sewer line. After water drains out of the washer, the P trap's shape holds enough water to create a barrier between the house and the sewer line. This barrier prevents foul smells and harmful gas from entering your home.
Your plumber will use an adapter fitting to connect a P trap to the existing vent stack if needed. One end of the P trap should attach to the washing machine's standpipe, and the other should connect to the vent stack to allow ventilation.
It’s possible that your washer drain and your home’s roofline vent stack aren’t connected. If making that connection would be too complex or expensive, your plumber may use an AAV. These one-way mini vents attach via an adapter on a drainpipe coming out of a plumbing fixture—in this case, your washer.
Unlike regular vent stacks, AAVs are mechanical and can fail. They must be accessible for repairs, so they cannot go behind walls. They also don't replace a home's regular venting system, so you’ll still have a roofline vent stack. Some municipalities don't allow the use of AAVs at all. Your plumber should be familiar with the local washing machine drain code.
With a ventilation method for the drainpipe in place, it's time to reconnect your washing machine. Connect the red and blue hoses back to their respective water lines, ensuring a tight connection for each that won't leak. Bend the gray drain hose into a U-shape and hook it back up to the drainpipe.
Restore power to your washer and test the machine on a full wash cycle. Let it fill with water and fully drain. If it completes the cycle without any problems, you're all set! If not, ventilation may not be the issue.
Avoid the hassle of an overflowing washing machine drain by following these preventative maintenance tips.
You may not realize that your washer catches lint just like your dryer. Check and clean your washer’s lint trap or filter at least twice a year. You can wash removable filters in your sink with a soft-bristle brush. Others are fixed, and you’ll have to scrub them before running the washer on a short rinse cycle. Reduce the amount of lint in your washer by using garment bags.

If your washer isn't draining correctly, check to see if the gray drain hose is kinked or damaged. If there are leaks, the hose may be punctured or clogged. If needed, shut off your power and water supply, disconnect the hose, and check it for blockages. Repair any small holes using waterproof repair tape. Larger leaks may call for an entirely new hose.
The curved part of your gray drainpipe hose should be a half inch or more from the standpipe it drains into. If unsure about the positioning of your plumbing, talk to a pro.
According to Angi customers, about 21% of washer and dryer problems involve a system that doesn’t work at all. Other commonly cited problems include being too noisy and not draining properly, at 10% each. Check out the most commonly requested projects:
A washing machine is a complex piece of equipment. Venting a washing machine drainpipe may involve removing drywall, cutting pipes, and following strict plumbing or building codes.
Unless you have the skills and knowledge to handle the job properly, you'll likely need to call a licensed plumber or washing machine repair service near you to ventilate a plumbing system. The sooner you do, the more you can save on repairs. Plumbing issues can build and cause damage to not just your washer but your entire home.
From average costs to expert advice, get all the answers you need to get your job done.

A wood stove can add warmth and ambiance to your home, but is it in your budget? Discover average wood-burning stove installation costs in this guide.

Discover the average dishwasher installation cost, key price factors, and tips to save on your project. Get transparent, expert-backed estimates.

Broken glass stove tops are not only unsightly; they can also be dangerous. Use this guide to learn how much glass stove top replacements cost based on factors like size and type.

If a constantly squeaking noise has you wondering why is my dryer squeaking, keep reading to learn what may be causing the issue and how to fix it.

Your gas stove may not light for a number of reasons, including problems with the safety valve or igniter. Learn how to troubleshoot why your gas stove is not lighting.

You can usually unclog your dishwasher by cleaning the filter and using a DIY solution to clear the drain hose. Learn more with this step-by-step guide.