How to Install a Washing Machine Standpipe Drain
Don’t worry, this project shouldn’t be too much of a drain


- Wrench
- Pliers
- Hacksaw
- Screwdriver
- Drill
- 2-inch DWV PVC pipe
- 2-inch PVC P trap and elbow
- Pipe sealant
- Water discharge hose
- Hose clip or zip tie
Installing a washing machine standpipe—also called a washing machine drainpipe—is a great task for a handy homeowner. While installing the standpipe itself isn’t too difficult, it’s crucial you have access to a drainpipe to attach the standpipe to. The goal is to screw the newly-assembled standpipe into an existing drain and have it drain water efficiently and without leaks. Read on and learn how to install a washing machine standpipe drain in your home.
Prepping to Install a Washing Machine Standpipe Drain
When you’re installing a standpipe, the first thing to decide is where you’re going to put the machine. Not all houses have preinstalled standpipes, and while this article will guide you through it, you need to be aware you can’t install a standpipe anywhere. You need access to a drainage pipe. This is why many options are limited, but some options are excellent, such as basements and garages.
You can get a bit creative with placement within reason. If you think of plumbing as gravity-fed, any room that has washer and dryer hookups should, in theory, have pipes in every room under it that you might be able to access to install a standpipe drain. However, any pipe still needs a hookup option—you can’t simply screw a standpipe drain into a solid pipe. If drainage isn’t obvious, call a local washing machine repair pro to help.
How to Install a Washing Machine Standpipe Drain
Installing this required drain isn’t terribly hard if there’s already a hookup and you won’t be installing a new one, but it isn’t easy either. You must install the pipe correctly so it drains the water well without leaking. You must also size it correctly so it’s hidden behind the appliance. Measuring twice and cutting once should be your mantra with this DIY project.
Choose Your Washing Machine Room
 Photo: New Africa / Adobe Stock
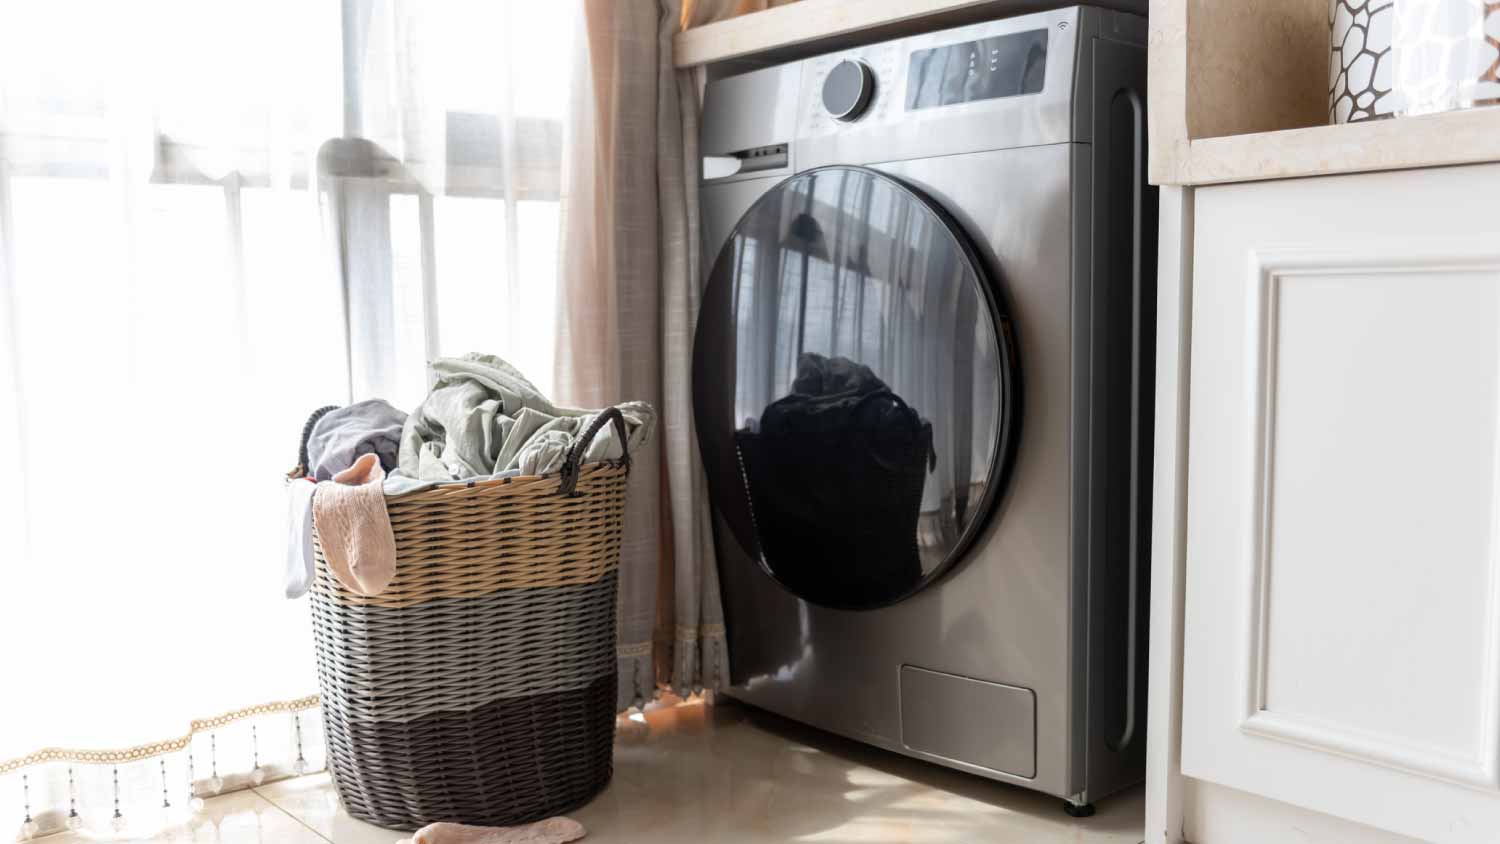
If you don’t want to keep your machine in the laundry room or want to add a second washer somewhere like a basement, you need to make sure there’s a drainage pipe in the room. It may be behind drywall, but it’s rare it will be patched over, so there should be a hole. Pick a room that has access to drainage pipes and where you can easily access the machine.
Gather Tools and Supplies
While you can pause this project in the middle in case you need to run to the store for a forgotten part, it’s better to have everything on hand. Remember that once you start this project, your washing machine will be out of commission. For those with large households, this timeframe should be as short as possible.
Turn Off the Water and Unplug the Washing Machine
When working on appliances with power, you need to unplug them before you do any work. As an extra precaution, you can turn off the power to the entire room via the circuit breaker. Once you’re positive there is no power to the machine, you can shut off the water supply to the room. If a machine is already installed, this can be as simple as turning off the faucet located on the water line. Otherwise, find a water shut-off valve.
Once you’re sure the water is off, you can unscrew the hoses that feed into the machine (one hot water and one cold). Have a towel ready, as there will likely be water left in the pipes.
Locate the Wastewater Drainpipe
 Photo: Yunava1 / iStock / Getty Images
The drainpipe will likely stick out from the wall around your ankle or shin. If there isn’t an obvious one, don’t assume that means it isn’t there. If you have schematics of your plumbing, check them. A drainpipe is sometimes hidden behind drywall.
Cut the Standpipe to the Appropriate Length
The standpipe should be cut so that it runs perpendicular to the wall, and a few inches below the wastewater hose that comes out of the washing machine. This ensures the water drains efficiently. Make sure to check requirements for both the machine and your home, as many municipalities require a 2-inch thick pipe.
Assemble the Drainpipe
 Photo: Aitor Diago / Moment / Getty Images
Now that the vertical drainpipe, the U-shaped bend, and the piece that connects to the wall drain are cut to length, you need to connect them. However, you can’t simply screw the pieces together. Teflon tape and other sealing solutions need to be added to the threads to close the system. Without them, there is a high possibility of leakage.
Connect the Drainpipe
When connecting the drainpipe to an existing drain channel, use the same strategy of Teflon tape or other sealant. Make sure there is nothing blocking the drainage pipe as that can cause the drainpipe addition to simply fill with water and then overflow.
Seal the Drainpipe and Check for Leaks
Once the system is attached to the wall, you can check it for leaks by slowly pouring water into the drainpipe. Water isn’t supposed to sit in the pipe, so as long as it doesn’t leak when you run a few gallons of water through it, it should be secure. However, it’s worth watching for a few cycles. Keep some towels nearby so you don’t grab laundry to use in case of a spontaneous leak.
Place the Washing Machine Drainage Hose in the Drainpipe
 Photo: Mariia Demchenko / iStock / Getty Images
Locate the washing machine drainage hose and place it into the drainpipe. It should be far enough in so there is no danger of splashing, but not so far down that there’s no room for the water to go. Around 6 inches into the pipe is a safe distance. Once in, you can secure the hose with a zip tie, but be careful not to pinch the hose and kink it.
Reconnect the Washing Machine to the Power and Water Lines
Once everything is attached, push the washing machine into position, but not so far back that you can’t check the drainpipe. Hook up the water to the machine before turning it back on, and turn on the power.
Run and Monitor a Washing Cycle
If your machine has a short-cycle option, this works well here. You want to fill the washing machine with enough water to check your work but not run an empty cycle that just drains power and wastes water. Once you’ve run two cycles and everything seems to be working properly, push the washing machine into its final position, monitor one more cycle, and then you’re done.
DIY vs. Hiring a Washing Machine Pro
If you can find an existing drainage pipe, this is a project you can DIY if you’re able to move a heavy machine and like to test your plumbing skills.
However, many factors could complicate this task and lead to damaging leaks. If you don’t have prior plumbing experience or feel the task is out of reach, you should call a local washing machine repair expert to set up your standpipe drain and make sure it’s functioning properly. While you’ll pay between $50 and $110 per hour for a professional, it’s still less than any water damage that arises from an improper installation.
Frequently Asked Questions
A washing machine should drain the water used during its cycle through a drainpipe and out through the house’s plumbing. This is the same plumbing that sinks and shower drains run to, and if the U-bend is installed correctly, it shouldn’t smell. The total drainage from the house is then integrated into the city sewer system or, if you’re in the country, dispersed into a septic tank.
If your washing machine drain is clogged, that isn’t a good sign. Unlike toilet drains or kitchen sink drains, there isn’t matter that is easily broken up with a plumbing snake, and more care is required. If you’re in an old house or have mineral-rich water, there could be a buildup inside the pipe. Either way, if the blockage isn’t obvious and doesn’t dislodge with a snake, you need to call a pro—otherwise, you risk damaging integral plumbing.
The hot and cold water hookups are the two pipes at the back of the washing machine. In many homes, independent taps turn on or off and are usually located directly behind the washing machine. If they aren’t there, try looking inside a cupboard or closet. If you plan on unhooking either pipe, make sure the water is shut completely off and have towels nearby, as there’s still water stored in the pipes.


.jpg?impolicy=leadImage)

- Appliance Repair Companies
- Washing Machine Repair
- Dryer Repair
- Refrigerator Repair
- Dishwasher Repair
- Oven Repair
- Wood & Pellet Stove Repair
- Freezer Repair Services
- Wood Stove Services
- Gas Stove Repair
- Emergency Appliance Repair Companies
- Ice Maker Repair
- Gas Appliance Repair
- GE Appliance Repair
- GE Refrigerator Repair
- GE Dryer Repair
- GE Dishwasher Repair
- GE Washing Machine Repair
- Samsung Appliance Repair
- Samsung Refrigerator Repair
- Samsung Dryer Repair
- Samsung Washer Repair
- Samsung Dishwasher Repair
- Samsung Oven Repair
- Whirlpool Repair
- Whirlpool Refrigerator Repair
- Whirlpool Washer Repair
- Whirlpool Dryer Repair
- Whirlpool Oven Repair
- Maytag Appliance Repair
- Maytag Refrigerator Repair
- Maytag Washer Repair
- Maytag Dryer Repair
- Maytag Dishwasher Repair
- Kitchenaid Appliance Repair
- Kitchenaid Oven Repair
- Kitchenaid Refrigerator Repair
- Kenmore Appliance Repair
- Kenmore Dishwasher Repair
- Kenmore Washer Repair
- Kenmore Dryer Repair
- LG Refrigerator Repair
- Bosch Appliance Repair
- Kenmore Refrigerator Repair
- LG Appliance Repair Services
- GE Microwave Repair
- Electrolux Appliance Repair
- Electrolux Washer Repair
- Kitchenaid Dishwasher Repair Services
- Wood Stove Inspection
- Dishwasher Installation
- Trash Compactor Repair


