
.jpg?impolicy=leadImage)
Sealing your grout goes a long way toward extending its life span. This guide breaks down the cost factors for sealing grout, including size, materials, and labor.
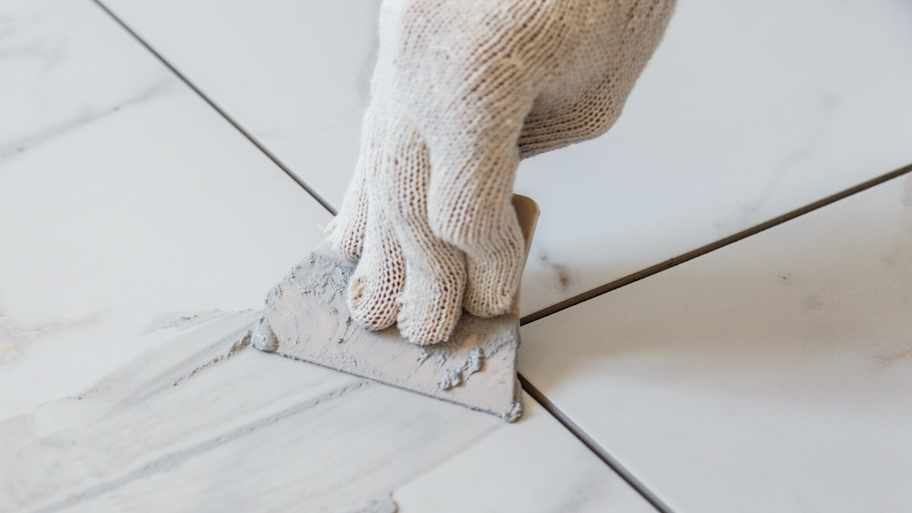
Master corner tiling for a seamless installation


Professional tile installation costs between $400 and $4,250, but hiring a professional will ensure this tricky job gets done well.
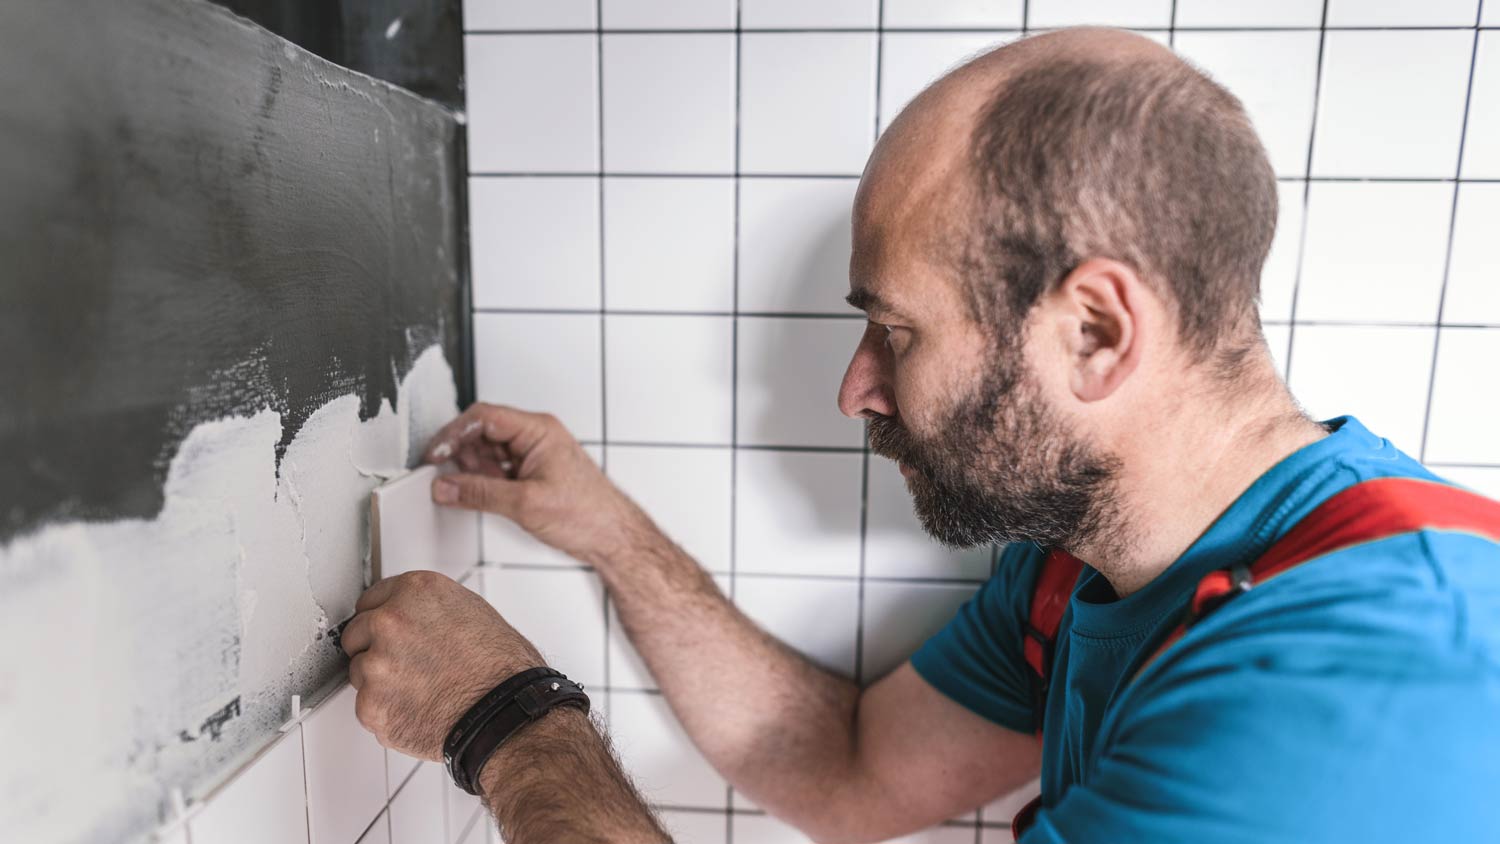
Accurate cuts in inside corners are tricky; hiring a pro ensures a clean, professional finish.
A tile pro has the tools and techniques to install various types of tile
To tile inside corners, you’ll need a saw and adhesive specific to the type of tile you’re installing.
Improperly installed tile not only looks unattractive but can also leave surfaces prone to mold and mildew. Hiring a pro tile contractor near you can help you avoid this.
Tiling installation seems pretty straightforward, but what about when you get to the inside corners? Knowing how to tile inside corners is key to a successful tiling job. So if you want to bring your shower tile ideas to life (or whatever else you have in mind), this is a great skill to learn.
When you install tile, you usually start from the bottom middle of the wall and work your way up in rows. This means that the tile pieces in your corners aren’t going to fit as they are. So, you’ll have to cut them to size.
Also, you can’t grout inside corners (use caulk instead). As the walls settle, the tiles shift a little. When the corners are grouted, there’s no room for the tiles to move, leading to cracks or other damage. And once you have damaged tiles, you’re susceptible to mold and mildew issues.
Depending on the bathroom design, you might also have inside corners by your tub. If you happen to grout those corner lines, you can potentially cause your tub to flex or crack over time.
Since tile installation costs can reach thousands of dollars, it makes sense to do it right. Learning the basics now will help you avoid common pitfalls later.
To prep for tiling inside corners, make sure you have all of the tiling tools and materials you need on hand. In addition to your tile, mortar, and grout, grab some waterproof flexible silicone caulk.
Also, you’ll need some way to cut your tile. Depending on the tile type, that might be a tile cutter, grinder, or wet saw.
Finally, finish all of the tiling except for the corners before starting the steps below. When working on tiling the wall, you should apply the mortar to the entire wall, including the area by the corners.
Here are five easy steps to tile inside corners.

Grab a measuring tape and figure out the distance between the last tile and the corner wall. Take that number and subtract 1/4 inch. That’s where you’ll want to make your tile cuts.
Use a pencil and draw the cut line on the back of your tiles. To do this precisely, make three measurements on the tile and connect them together with a straight edge. Take your time during this step, because making mistakes here will end up being costly.

The cutting tool you need will depend on your tile type. You may need a manual tile cutter, a grinder, or a wet saw.
Always use protection while cutting tile. This might include gloves, goggles, and a respirator, depending on the material you’re working with.
Manual tile cutters can cut several tile types including ceramic, glass mosaic, porcelain, and terra cotta. If you’re wondering how to install ceramic tile in corners, know that you can use any basic cutter since the material is so soft and easy to cut. If you have more durable materials, like porcelain or glass, you should grab a higher-end cutter to get the job done.
To use a manual tile cutter, place your tile along the top of the cutter. Once you have the cut area aligned properly, slide the cutter from the bottom up.
And while manual tile cutters are the easiest to use out of all of the tools, it doesn’t leave a smooth edge. If you’re looking for pristine tiling work, you should skip the manual cutter and use a wet table saw instead.
For any tile or natural stone, you can use a 4-inch angle grinder with a diamond blade. The grinder is handheld, so you’ll need a steady hand and some skill to get a perfectly straight cut. The cut edge is smoother than what a manual tile cutter produces, but not as smooth as a wet saw.
This tool produces a lot of dust, so use a respirator and work outside.
The wet table saw is a must-have tool for most tile installation jobs. You’ll need to use one for natural stone tiles, as well as for softer tiles like ceramic too.
True to its namesake, this table saw feeds water onto the cutting surface. You place your tile at the base of the cutter, and then slide it upwards into the moving saw.
This tool helps you work quickly and cut multiple tiles within minutes. Plus, it leaves clean edges so your installation will look nice and neat.
Operate the saw outside and take necessary precautions before turning it on. If you’ve never used a table saw before, you should learn the ins and outs of them before attempting to turn it on.
As with any power tool, safety is of the utmost importance. If you’re unsure about the table saw, either pass the job along to a pro or have a knowledgeable friend supervise your first tile cuts with the saw.
Before moving forward with pressing the tile onto the mortar, you should lay out the cut tile pieces so you know which one is going where.
As you tile into a corner, keep in mind that one piece will reach all the way to the wall. The tile piece next to it will overlap with a small gap. This gap should be the same width of one spacer. You’ll eventually fill this space with caulk.
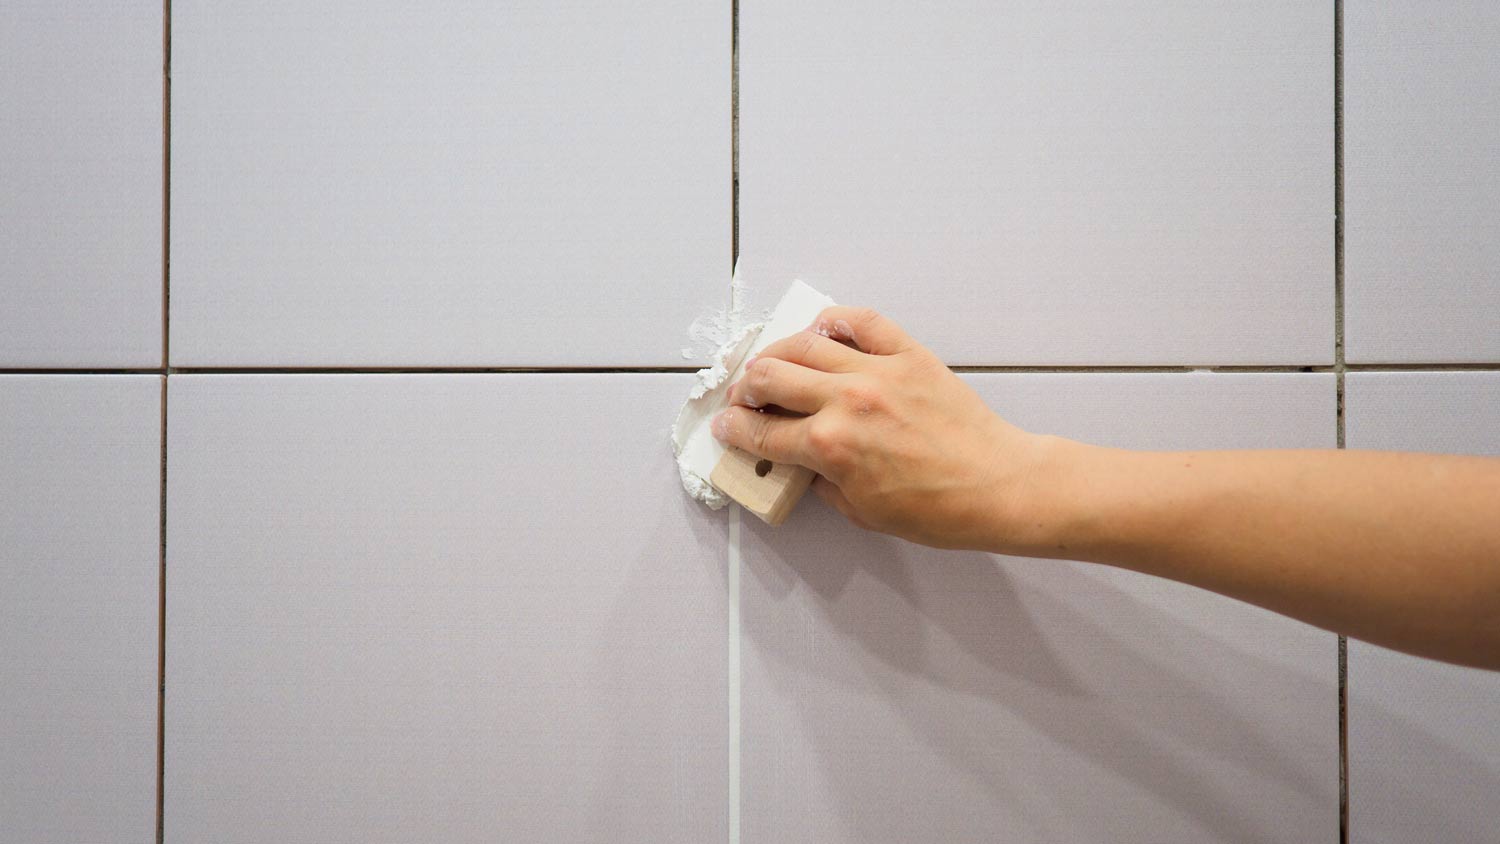
Next, grout the tiles except for the corner seams. Allow the grout to completely dry, which can take 24 to 48 hours depending on the grout type and the temperature in the room.
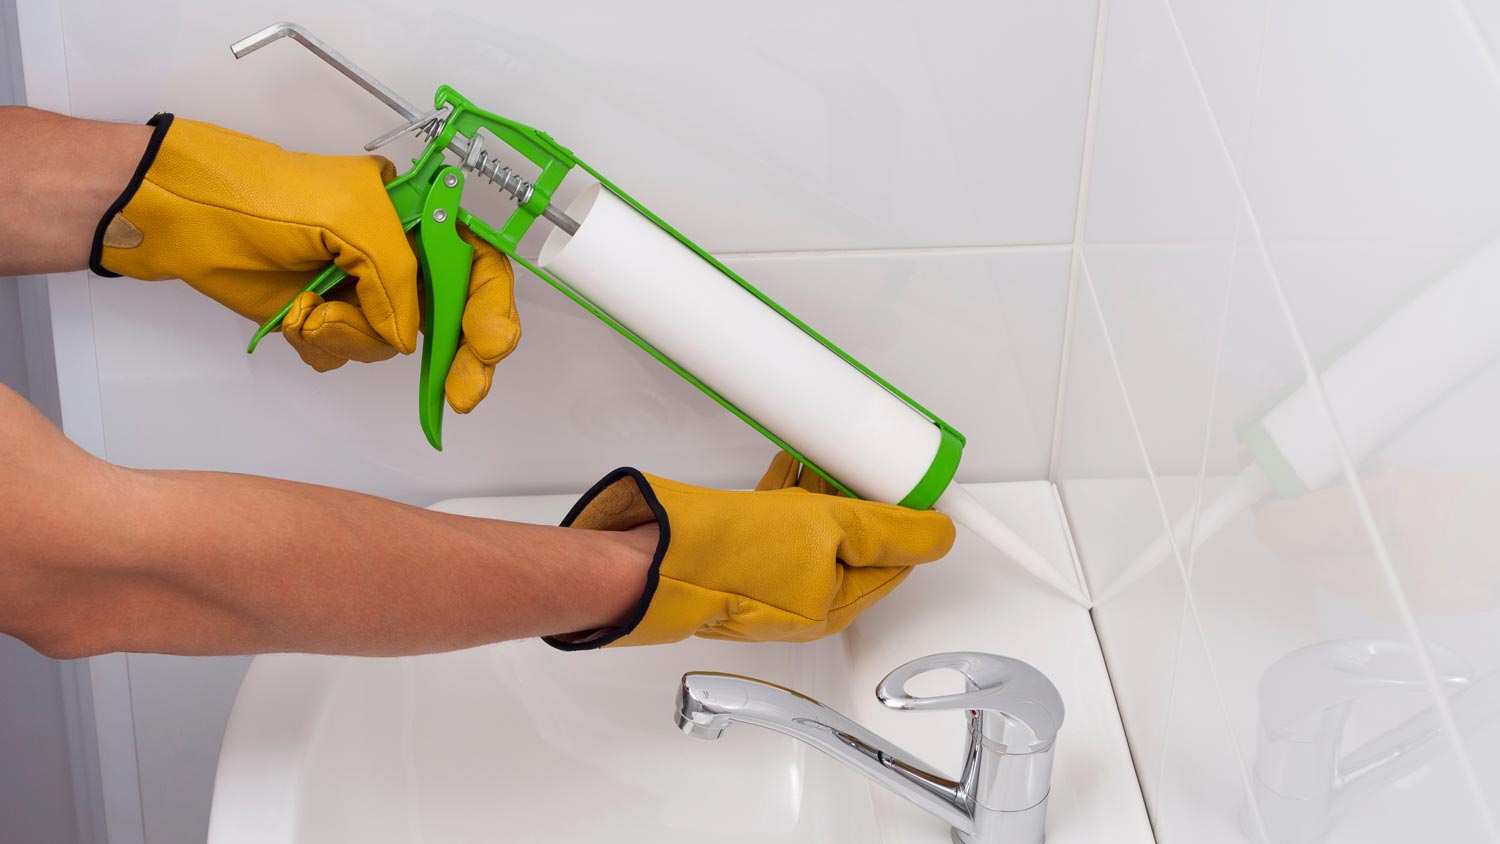
The last thing you have left to do is to caulk the corner seams. Take your waterproof flexible silicone caulk and apply it from top to bottom.
Then, mix a dash of dish soap in water and put it into a spray bottle. Spray the soapy water onto the caulk, and then use the flat side of a popsicle stick to smooth it out. As you do this, the excess caulk will come off, leaving you with a nice, clean finish.
The most difficult part of knowing how to tile corners is usually the cutting. Instead of trying to use a handheld manual tile cutter (which are like fancy scissors designed for tile) or even a grinder with a diamond saw, it’s usually easiest to go with a manual tile cutter or a wet saw.
If you don’t want to buy a saw because you doubt you’ll need it again, then you can save money by doing a short-term rental from your local hardware store. This is a good way to cut costs when you’re looking at the cost to install tile floors.
Manual tile cutter rentals run about $20 per day, $75 a week, or $230 a month. A small wet saw rental that cuts up to 14 inches is $40 a day, $170 a week, or $515 a month.
As long as you’re comfortable using the cutting tools, then you should be able to handle a corner tile installation. In particular, if you’re working with easy-to-cut materials like ceramic or mosaic glass, then tiling corners should be fairly manageable.
However, if you’re not used to cutting tiles or are working with expensive materials like marble or granite, you might not have room for error. In these cases, it makes sense to hire a tile contractor near you to do the job for you. After all, having to redo cuts or making mistakes may end up being more costly than getting a pro to handle it from beginning to end.
Finished Basements Plus was wonderful from beginning to end! First, they came out quickly for an estimate. I had 4 estimates and theirs was by far the best. (2 of the estimates were more than $20K higher than for the exact same work). Beyond their fair pricing, the work was excellent. They...
 Finished Basements Plus Inc.
Window Depot did an amazing job on my deck. I wasnt sure what I wanted to do, but their composite decking was affordable and will last a long time. I am excited to have family over, and I am no longer embarrassed by my backyard. Jeff and the ground crew were polite, respectful, and caring for...
It was wonderful working with Yordy and his team. They were very professional and are experts in what they do. They have completed the work on time, with better quality and with in fairly reasonable price. We just started with backsplash work , but liking his work, we went on to provide...
We were having 2”x 2” tile installed . There was a small installation error and the new additional replacement tile was from a different lot and the colors didn’t match. Joe assured us that he would rectify everything , which he did without hesitation. We decided to go with the 18” x 36” tile...
 CarifaTile
We used Unique Hardwood Floor LLC three years ago to work on the floors of a 70 year old home that needed a great deal of work. Some floors needed repairs, some were replaced and others just needed to be refinished. It was a complicated job as they needed to blend the old and the new to...
 Unique Hardwood Floor LLC
It went very well! The end product was amazing and we keep getting a lot of compliments from friends! M&E were very professional and they made sure we were happy with the product before leaving. They met with us in our home and at the tile shop to make sure we were okay with our tile and...
 M&E Remodeling
I was delighted with SemBro. The kitchen designer (Nadia) created a design that was both very attractive and functional, including some features that we had not ourselves imagined (e.g., corner cabinets). The design far exceeded what another company had generated. After we visited the...
 SemBro Designs
This company did a very good job on the brick wall and it looks just amazing. The staff was always professional and was practically OCD on how the bricks were stacked and how they were laid. Although it took longer than expected, I am willing to sacrifice time over perfection anyday. The...
 My Handy Mate LLC Improvement & Remodeling
What a pleasure working with a professional organization that takes pride in its work and wants to ensure customer satisfaction. Out of the several quotes I received for the re-roof, Capps was not the cheapest, but I felt I could trust them to do an excellent job and I was not disappointed....
 Capps Roofing
I was very impressed with Miller Cantrell! I live in an old home in which the sewage line that runs from my home to the sewage system is a line of clay tile. These eventually collapse and need to be replaced - an expensive problem and sure to happen at the worst time. I told them that my...
From average costs to expert advice, get all the answers you need to get your job done.
Sealing your grout goes a long way toward extending its life span. This guide breaks down the cost factors for sealing grout, including size, materials, and labor.

Discover the cost to regrout shower, including average prices, key cost factors, and tips to help you budget for a fresh, watertight shower.

You're planning a bathroom remodel, but how much will it cost to retile your bathroom? Read this guide to find out.
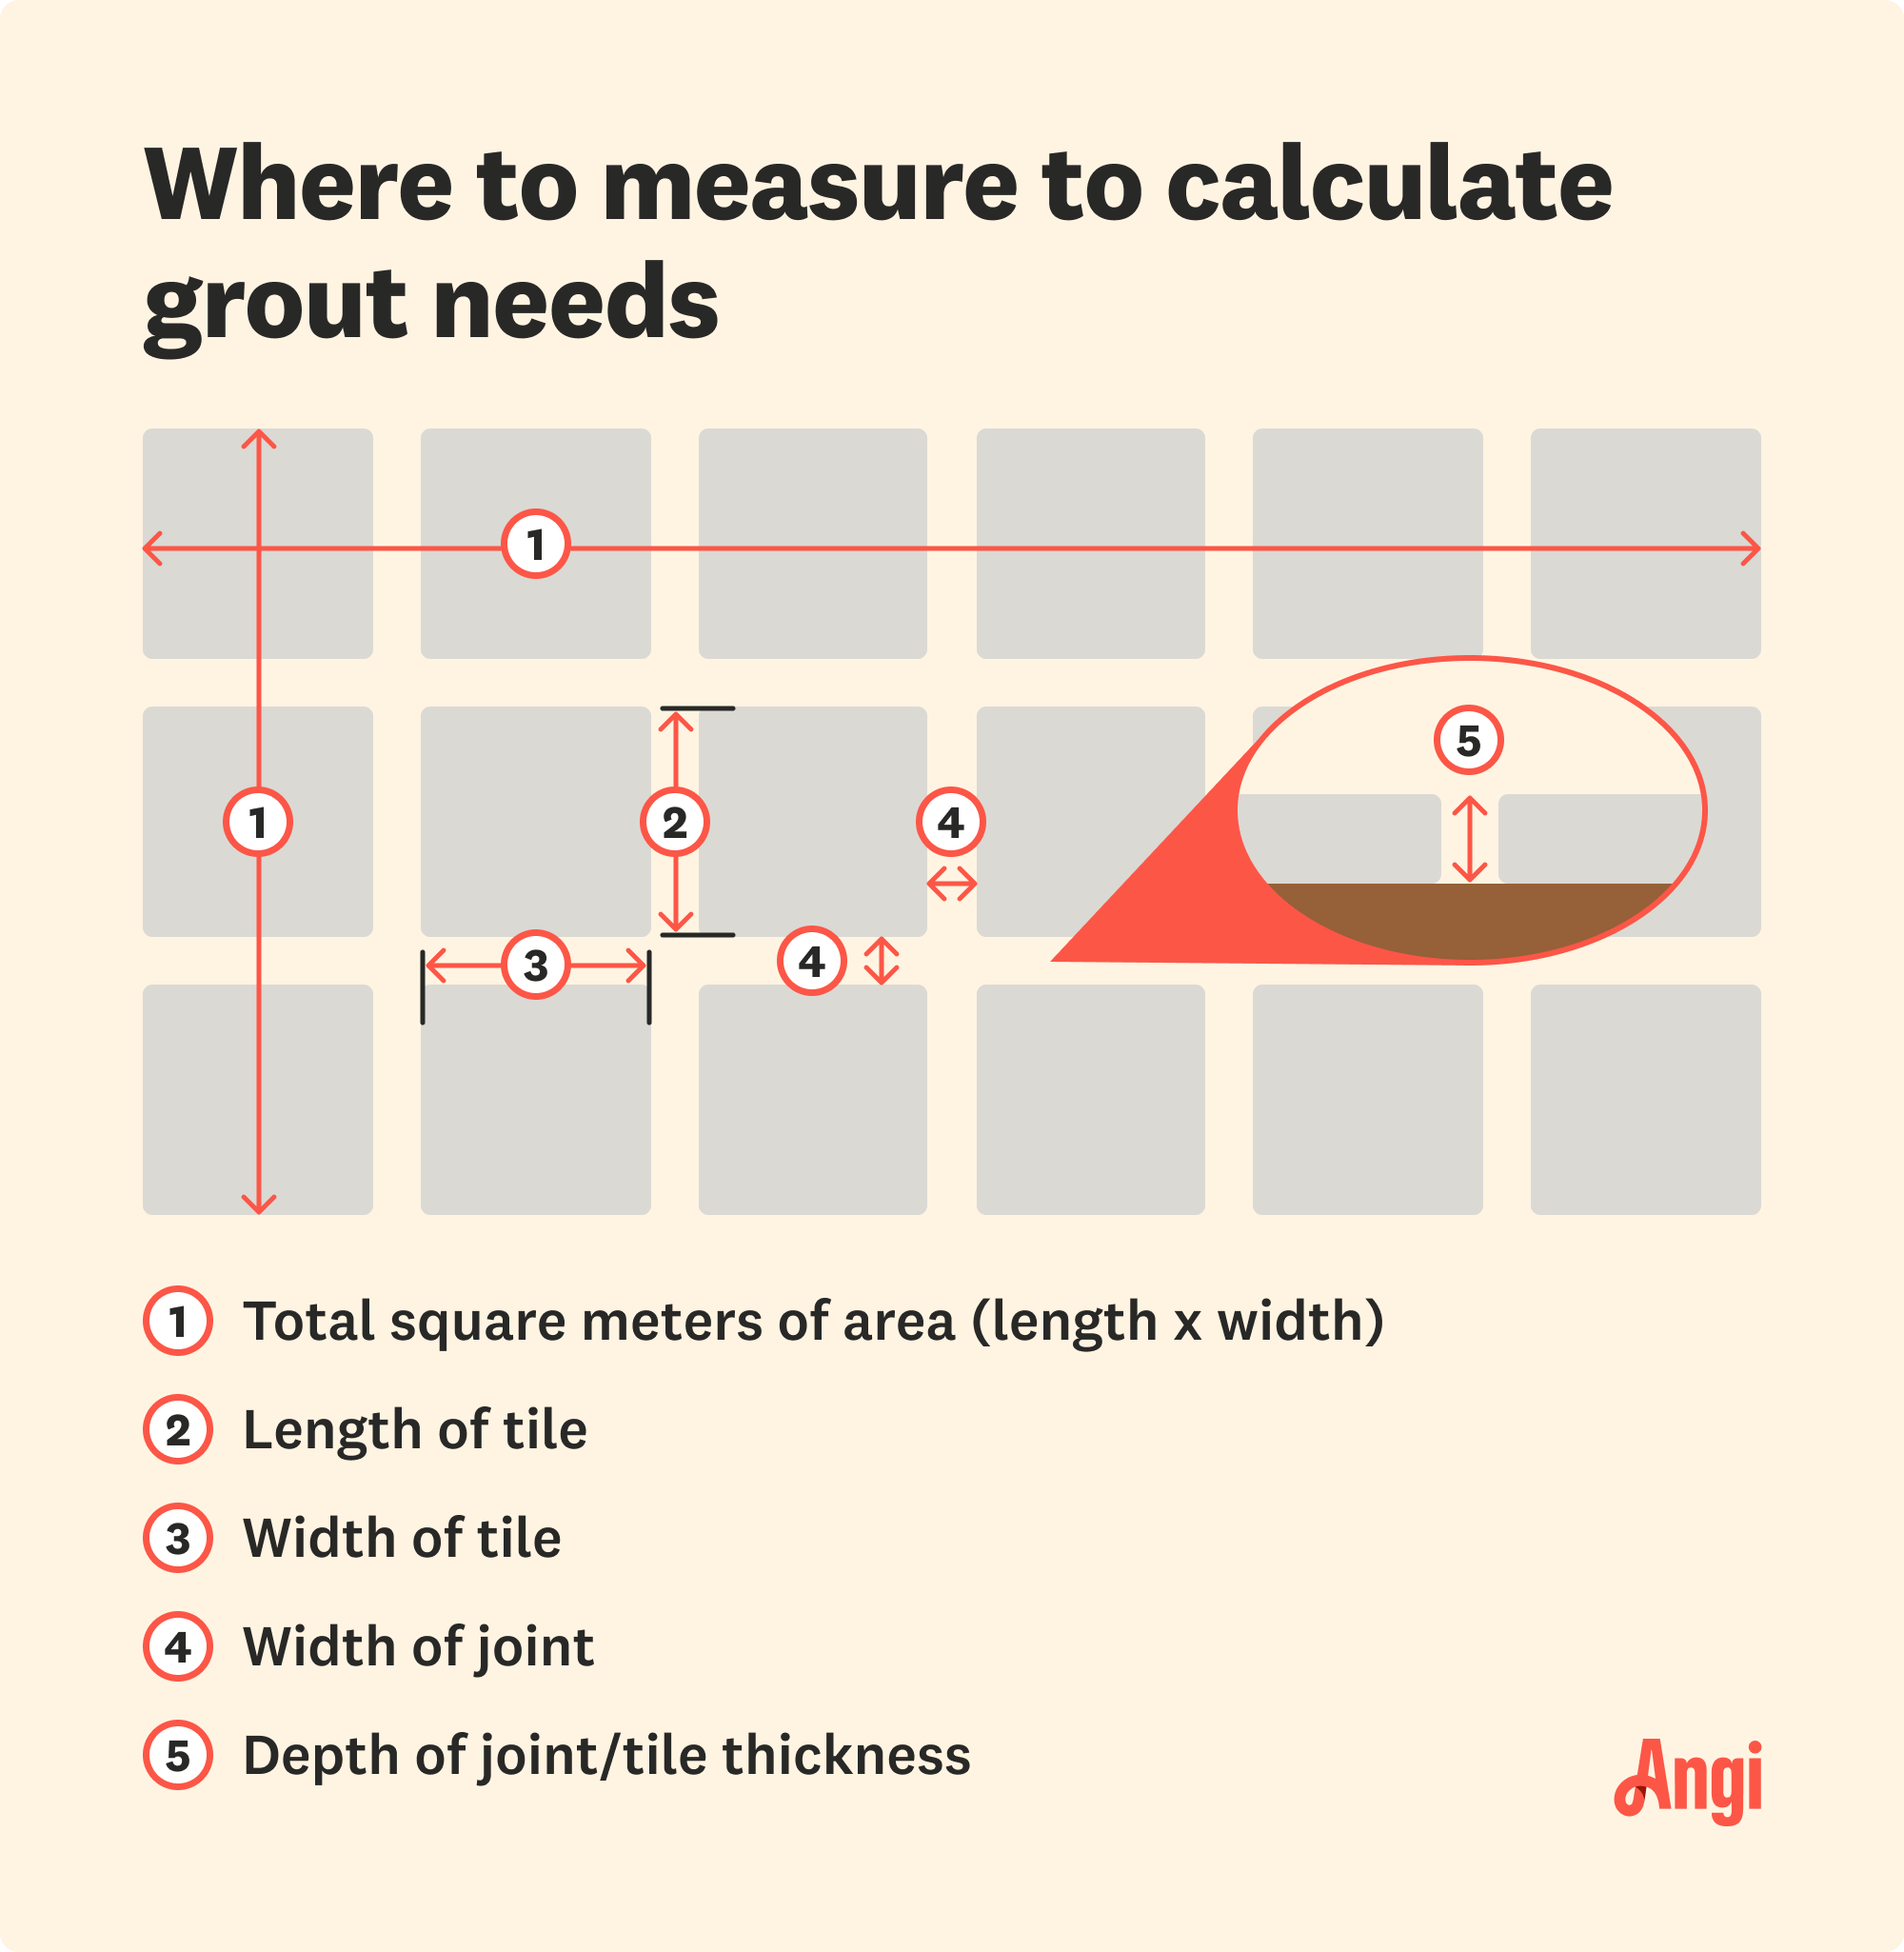
How much grout do I need? This calculator will help you estimate how much grout you’ll need to purchase for your tiles so that you can start budgeting.

If you’re wondering how long it takes for grout to dry, our guide has the answers. Letting grout dry and cure completely ensures a long-lasting tile job.

What causes tile to crack? We discuss seven reasons why your tile floors are cracking, including falling objects and installation problems, and how to stop it.