
•
Discover the cost to stain cabinets, including average prices, key cost factors, and tips to help you budget and save on your cabinet staining project.
Get the new cabinet look without the new cabinet price


Whether you opted to save money by purchasing unfinished wood cabinets or want to revamp an outdated kitchen, you can make a big impact by learning how to stain cabinets yourself. But without the right know-how, the cabinets can turn out patchy or streaky. To avoid mishaps, follow these nine steps for staining wood cabinets like a pro.
Consider applying water-based stain to your cabinets, as it is easier to apply and dries significantly faster than its oil-based counterparts. This time-saving stain option is also less prone to streaks or imperfections in the finish.

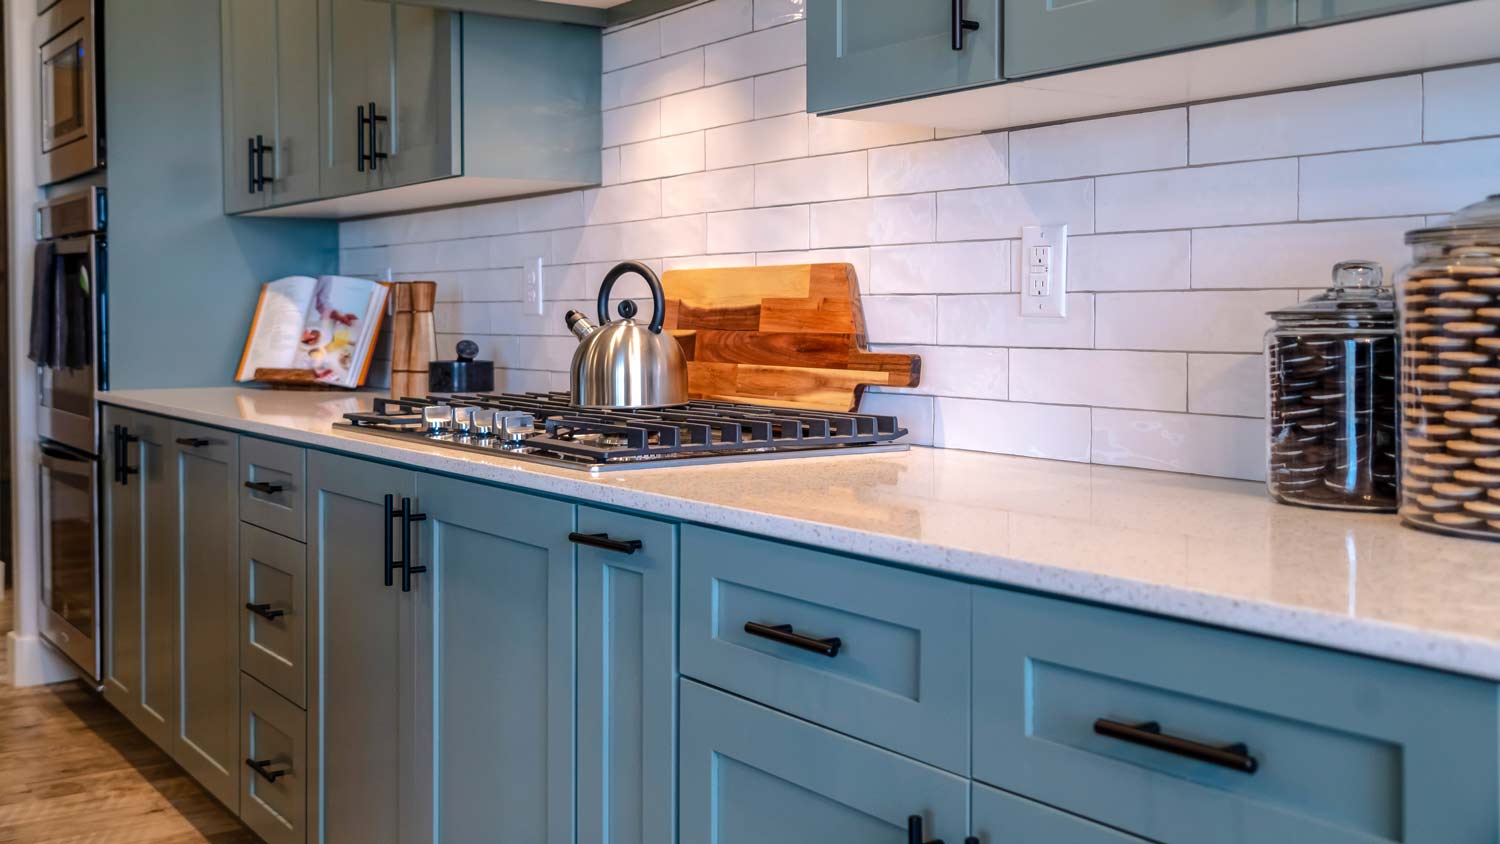
Before you stain wood cabinets, there is one important prep task: selecting the base stain for your cabinets. In general, it’s easier to stain cabinets darker than lighter. If you choose a new stain darker than your existing cabinets, you don’t need to sand your cabinets down to the original wood. A rough finish is all you need, and the dark stain will blend with your old stain.
For a lighter stain, you’ll need to sand down cabinets to the original wood for the new stain to show through properly. This process can take significantly longer than a light sanding for a dark stain, so plan accordingly to give yourself enough time to fully remove the existing stain.
Staining wood cabinets requires one important supply: the stain itself. Take time to consider which color stain you want since lighter stains can show the natural wood finish while darker stains are more vibrant. Keep in mind that some cabinet materials will stain better than others. For example, oak is easy to stain because it’s porous, while maple is difficult to stain because it’s less porous.
Another factor to consider is the type of stain, whether oil-based, water-based, or gel. Oil-based stains leave a deeper color and more even finish but also have a lingering odor. Water-based formulas are more eco-friendly but can raise the wood grain and require extra sanding. Gel stains don’t soak into the wood but sit on top of it, so this option is ideal for less porous woods, like maple.
It takes two to four days to finish most cabinet staining projects. The timing largely depends on how long the stain takes to dry between coats and how many cabinets you have. You can save even more time by using a two-in-one stain and sealant product, so you don’t have the extra step of sealing the surfaces after staining.
Even a drop of dark wood stain could ruin those pearly white marble countertops, so take the extra time to protect all the nearby surfaces—it’s what a cabinet professional would do, after all. Use drop cloths or plastic sheets to cover counters, sinks, tubs, toilets, floors, and other nearby objects before you start staining.
You’ll also need to clear out a space to work on staining the doors, drawers, and shelves, whether on the drop cloth-covered kitchen floors or the empty garage. Choose an area with room to move around easily and windows for ventilation. Place a fan near your workspace to help with ventilation.

While you don’t have to remove the cabinet bases from the walls, you should remove the doors, shelves, drawers, and any hardware like kitchen cabinet handles and drawer pulls. This step goes a long way toward obtaining an even stain coating.
1. Use a screwdriver or drill to remove hinges from doors, brackets or plugs from shelves, and any remaining hardware.
2. Place the wooden elements on the drop clothes in your workspace.
3. Keep the hardware together in labeled containers to make reinstalling the finished doors, shelves, and drawers easier.
If your cabinets have holes or deep scratches, fill in the areas using a small, flexible putty knife and wood putty. Use wood filler instead of wood putty if you need to fill larger holes from cabinet handles or other damage.
1. Fill holes or scratches with wood putty or wood filler.
2. After the hole is full, scrape the excess putty or filler from the cabinet surface with a putty knife
3. Smooth the putty or filler to the cabinet surface with a piece of fine-grit sandpaper.
For unfinished wood cabinets, you’ll need to clean the surfaces with a damp cloth and mild detergent. You can skip the cleaning step if you plan to strip an existing finish, like paint or an old stain. But if the drawer, shelf, or door interiors are unfinished and you plan to stain them, make sure to clean those surfaces.
1. Wipe down the surfaces with mild soap and water.
2. Then dip a cloth in plain water and ring it out before wiping down the raw wood surfaces once more to remove any detergent left behind.

1. You have to remove the old stain before applying new coats.
2. Use 100- to 120-grit sandpaper to remove the finish; sand following the wood grain.
3. If you want to work faster, use an electric sander, moving non-stop to avoid damaging the wood surfaces.
1. You can use a low-grit sandpaper to gently sand the surfaces after cleaning for a smooth surface to apply stain.
2. If you’re staining a lot of cabinets, you may consider using a chemical stripper.
3. You’ll need protective gear, like rubber gloves and goggles, and a well-ventilated work environment.
4. Apply the chemical stripper following the manufacturer’s instructions; it will need to set into the wood for about 20 to 30 minutes, then you can use a putty knife to scrape away the old finish carefully.
5. With the old finish scraped off, buff the wood with sandpaper or use an electric sander to prepare the cabinets for conditioner and stain.
Pre-stain wood conditioner helps create the smoothest surface for your stain and helps the stain better adhere to the cabinets.
1. Apply the wood conditioner with a paintbrush in a thin, even layer on all the wood surfaces you plan to stain.
2. Let the conditioner dry according to the label instructions (about 15 minutes).
3. Follow up by gently buffing the wood with extra fine steel wool.

It’s time for the exciting part: applying the stain to your wood cabinets.
1. Use a paint stir stick to stir the wood stain until there are no clumps. With a paintbrush or clean cloth, apply the stain to the intricate parts of the wood surfaces and move along the direction of the wood grain.
2. Move on to coating the flatter surfaces, and apply a thin, even coat. Wipe away the darker areas of stain or excess stain with a clean cloth. Let the first coat dry for eight to 48 hours, depending on the consistency of the stain and coat thickness. Water-based stains tend to dry faster than oil-based or gel stains. Check the instructions on the container of stain.
3. Apply additional coats, and let each layer dry until you reach the desired color.
4. Use fine-grit sandpaper or extra fine steel wool to lightly buff the wood between each layer of stain.
Sealing is optional but highly recommended to better protect the stained cabinets from wear and tear. You can skip the sealer if you used a two-in-one stain and sealant product.
1. Use a clean paintbrush to apply a thin layer of polyurethane sealer over the stained wood surfaces.
2. Follow the manufacturer’s instructions for drying times.
3. Then apply a second, thin layer, and allow it to dry.

Once the sealer has dried, you can reinstall the doors, drawers, shelves, and hardware with a screwdriver or drill. Vacuum up sawdust in the room before carefully cleaning up the drop cloths. Finally, admire your handiwork and begin placing dishes and utensils back in the cabinets and drawers.
Staining kitchen cabinets costs about $300 to $500 for supplies, depending on how many cabinets you’re staining. The more cabinets to cover, the more wood conditioner, stain, and sealer you’ll need. Although this is a simple DIY project for handy homeowners, it can take a long time to apply thin layers of stain and sealer carefully; plus, you’ll need to wait several hours for each coat to dry.
Hiring a local cabinet painter adds about $500 to $1,000 to the cost to stain cabinets, but pros can work more efficiently. With a professional, you can have your kitchen back together in just a few days. DIYing, especially if you can’t work on this project around the clock, could take at least four to five days, if not several weeks.
From average costs to expert advice, get all the answers you need to get your job done.
Discover the cost to stain cabinets, including average prices, key cost factors, and tips to help you budget and save on your cabinet staining project.

Discover the cost of resurfacing kitchen cabinets, including average prices, key cost factors, and tips to help you budget and save on your next kitchen update.

If you are wondering how to sand cabinets for painting, there are several ways to do it. We share the most effective sanding methods.
Discover the cost of glazing cabinets, including average prices, key cost factors, and tips to save on your cabinet glazing project.

If your cabinets need an upgrade, consider whether you should reface or refinish them based on the type you have in your home using our helpful guide.

Learning about problems with refacing kitchen cabinets can help you avoid common errors before and during your kitchen upgrading project.