
Skim coating drywall is a great alternative to replacement, and is often more affordable. Use this guide to estimate the cost to skim coat walls in your home.
Patch holes like a pro


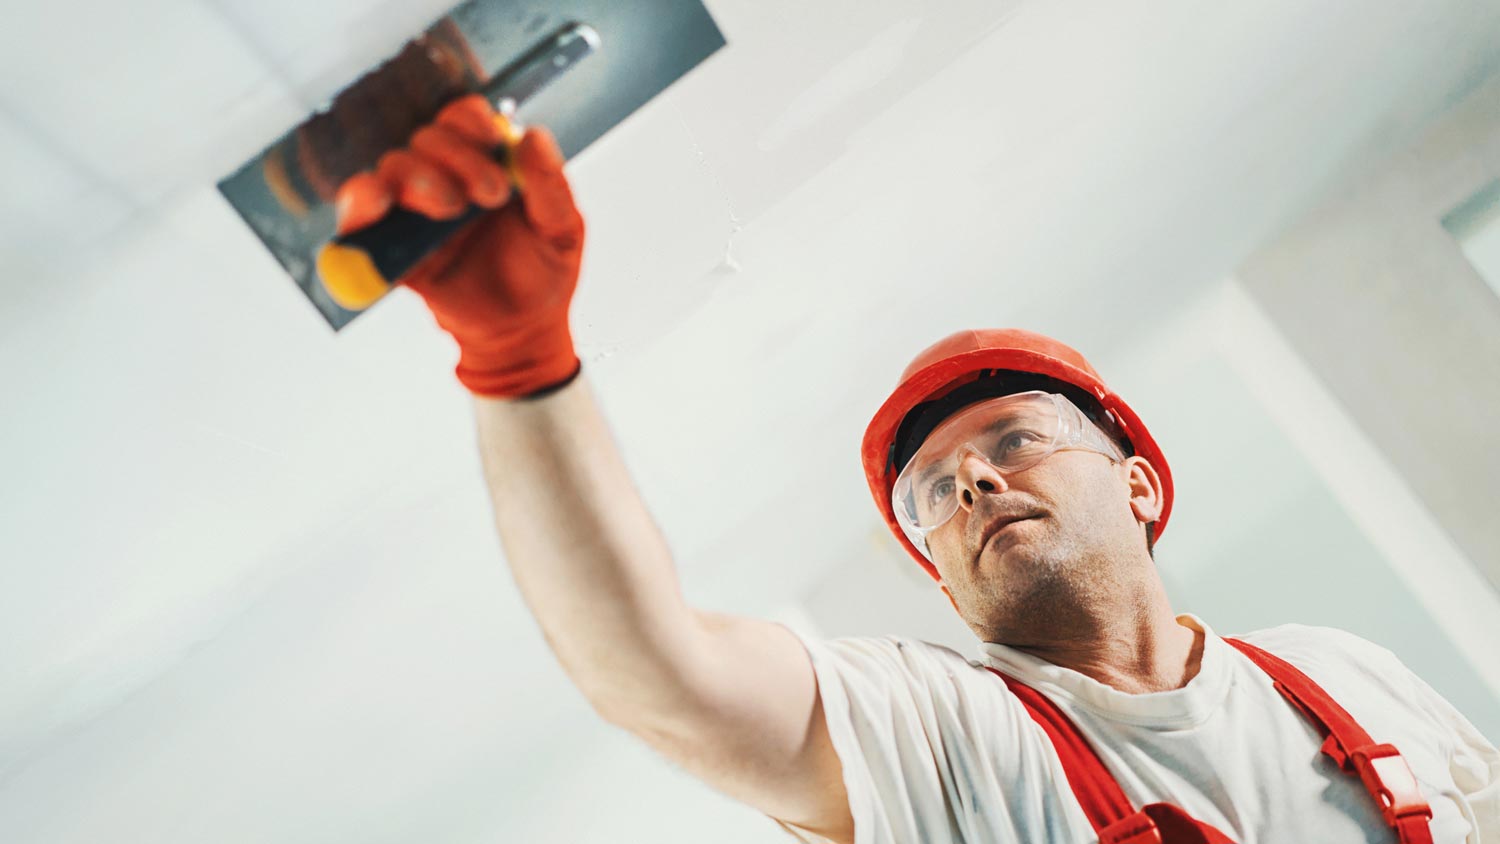
If your walls could use major repairs or you have a few unsightly nail holes to fill, spackle compound can be handy. Plus, the material is excellent for DIY drywall repair projects. It's a breeze to apply, even for folks who don't have a ton of DIY experience under their belt. All you need are a few drywall tools and a free afternoon, and you'll be working with like-new walls in no time. This guide will teach you how to spackle a wall like a pro.
Before you start spackling the wall, spend a few minutes clearing away anything on the floor beneath the area you plan to spackle. Then, put a drop cloth or towel down to protect the floor from spackle splatters. This is also a good time to grab all your tools and supplies, including the bucket you plan to mix the spackle compound into.
It’s also a good idea to consider your materials. Spackle and joint compound are used to fill different types of drywall cracks, holes, and dents. Spackle is more elastic, which makes it better for repairing minor damage. It won’t shrink as much as it dries, so you can use a single coat. If you have a larger crack or hole that requires taping to repair, you’ll need to use joint compound. Spackle is not a substitute for joint compound.
Spackle compound sticks best to smooth, clean surfaces, so take time to prepare the area you're spackling. Use a damp cloth to clean any dirt from the area, then use a putty knife to remove debris around the hole. If the area is rough, gently sand it with fine-grit sandpaper to smooth it out before spackling.
If you opted for a premixed spackle compound, you can skip this step. If you bought powdered spackle compound, now is the time to mix it with water. Start with a small amount. Read the manufacturer's instructions to determine how much water to mix in, and use a mixing paddle to combine the mixture.
The final consistency should be stiff enough to stick to your mixing paddle when you remove it but not so stiff that it's difficult to work with. If it's too stiff, you can add more water. And if it's too watery, add more powdered compound until you reach the desired consistency.

Now that your spackle is mixed and ready to go, it's time to apply it. Dip your putty knife into the spackle compound and scoop out a generous amount—you can always wipe away excess compound after you apply.
Load your spackle knife with compound. Hold it at an angle and place it above the area you want to fill, then gently pull the knife down, filling the hole with the compound. Don't worry about getting compound outside and around the hole. You'll wipe this away and sand it down in the next steps.
Depending on the size of the hole, you might only need to do this once. But if the hole still needs to be completely filled, repeat this step until it's full of compound.
After filling the hole, wipe off your putty knife with a rag, then drag it at an angle across the hole again to remove excess compound around the hole. Make sure the hole remains completely full after this step. If it’s not, add some more compound and repeat it.
Next, use a damp cloth to wipe away any compound that might be left around the hole.

After cleaning up the residual compound around the hole let the area dry. The drying time for spackle is around two hours, but it can vary from compound to compound. Before proceeding, touch the spackle to see if it's dry to the touch.
It's common for spackle to shrink as it dries, sinking into the hole you filled. If you notice that the spackle has sunk into the hole, apply a second coat. To keep the spackle from receding into the hole again, mound the paste over the hole rather than spreading it flat.
Let the new coat dry before you proceed.

Now that your second coat is dry, use fine-grit sandpaper to sand down the compound until it's completely smooth and flush with the wall. Depending on how much you need to sand, start with coarse sandpaper before finishing with fine grit.
Finally, use a damp cloth to wipe away any dust. At this point, your wall should be ready for any next steps, such as painting or wallpapering.
Spackling is a doable DIY for most handy homeowners. It does take some trial and error to get a smooth finish but it can save you significant money. A drywall repair kit costs around $45 from your local hardware store, compared to $300 to $950 for the cost of professional drywall repair.
That said, DIY repairs are often noticeable. You won’t get the same invisible finish as a pro, but many homeowners don’t mind if it’s a small repair like a tiny crack or nail hole—especially if it’s hidden behind furniture or picture frames. For more significant repair jobs, it’s best to bring in a local drywall repair contractor who can make your wall look new.
Part of getting a smooth finish on your DIY spackling job is knowing what not to do. Here are a few things inexperienced DIYers often get wrong:
Using too much spackle makes the surface uneven and can affect the drying time. Apply thin, even layers.
Thinner layers also make it easier to feather out the edges of the patch job to blend it more seamlessly into the rest of the wall. Think thin, thin, thin while you work, using the putty knife at an angle with medium to strong pressure to smooth it out.
If you want a good finish on your wall, it's absolutely worth it to pay for professional taping and mudding. Many DIYers are tempted to pay someone to hang the drywall and do the rest themselves, but this is one area where a skilled contractor can make a huge difference.
If you don’t leave enough time for the spackle to dry all the way through, moisture can bubble up. You might wind up with cracks or dents, and this makes it difficult for paint to adhere well. A moist environment can also affect the dry time for spackle, so if you’re working in high humidity, you should plan for a longer drying time.
Sanding is an important step when spackling a wall, but sanding too much or too hard can ruin the finish. You might even tear the paper off the drywall, which would require another repair.
On the other hand, sanding too little will leave a rough, uneven surface, and you may have a hard time getting paint to stick.
The wrong type of spackle for the job, or spackle that’s too old or dried out, can lead to a disappointing result. The same can happen if you use a spackle knife that’s too big or a different tool that isn’t meant for spackling. For a repair that looks good and holds up, make sure you use the right tools and supplies.
From average costs to expert advice, get all the answers you need to get your job done.
Skim coating drywall is a great alternative to replacement, and is often more affordable. Use this guide to estimate the cost to skim coat walls in your home.

Pre-drywall inspection costs vary depending on the home size, build complexity, and reporting you receive. Estimate your budget with this cost guide.

Drywall texture can create an attractive finish and add dimension to your home’s walls. This guide breaks down the factors that influence the cost to texture drywall.
Hanging and finishing drywall can be hard work if you don’t have experience. These professional-level drywall mudding tips make the project easier.

Ceiling cracks along drywall seams come from improper installation, leaks, settling, and foundation issues. Read this to learn why you have ceiling cracks.

Whether you’re renovating a room or finishing a home addition, this guide on how to cut drywall will make your job easier and help keep your home neat.