The cost of a well inspection depends on the design of your well, the location of your property, and the add-ons you select. Use this guide to plan your budget.
It’s not electric, It’s chlorine


It’s essential to use the right amount and type of bleach when shocking your water well.
After shocking, the chlorinated water needs to be drained properly to avoid damaging your septic system or landscaping.
A trained well pump contractor can test your water and let you know when it’s safe to drink again.
Professional well shocking costs range from $80 to $200, but will ensure the process is completed properly and doesn’t need to be redone.
If you’ve heard of shocking a well, you might have images of electrified water running through your head. However, this process is done with a concentrate of chlorine. Shocking a well can help rid it of harmful bacteria like E.coli, restoring the quality of your well water. It’s not a good idea if bacteria aren’t the problem, but if they are, here’s your guide on how to shock your water well.
Shocking a well helps clear out harmful bacteria, like E. coli, that could cause you to become sick if you drink your well’s water. Newly built wells are often shocked, along with those that have been out of commission for a while and are now returning to service. Damaged wells whose water may have been exposed to outside contaminants, such as animal feces, should also be shocked after a professional repairs them.
Shallow wells and those surrounded by more porous materials like gravel and sand are more likely to get contaminated. And no matter your well’s state of repair or age, it’s important to test your well’s water quality at least once a year.
Along with shocking your well after it’s constructed or when it’s been repaired, there are some other telltale signs to be on the lookout for that may mean it’s a good time to learn how to disinfect your well.
A sulfuric (rotten-egg) smell could mean there’s a buildup of bacteria.
Slimy residue in your toilet tank could imply a bacterial infection in your well water supply.
If your area has experienced very heavy rainfall or flooding, bacteria may have been introduced to your well.
A water test that’s positive for harmful bacteria is a sure sign that a shock is in order and can confirm the other signals listed above.
If you’re concerned about your ability to safely shock your well, call in a well and pump expert. The process deals with chemicals in your water supply, so it’s always better to play it safe if you’re even 1% concerned about the job. Once you’ve determined shocking your well is the right fix, you can follow these steps to shock your well in eight easy steps.
Keep in mind that you won’t have access to your primary water system for at least a couple of days—and up to a week. You shouldn’t drink your well water until you get a clean test one full week after the shock process is over. You should make plans to stay at a friend’s or family member’s place for a couple of days after shocking, and buy enough bottled water to last you for a week once you return home.
Additionally, remove any carbon water filters in your system. If you don’t, they’ll immediately filter out the chlorine and foil the project. Then, you’re ready to begin.

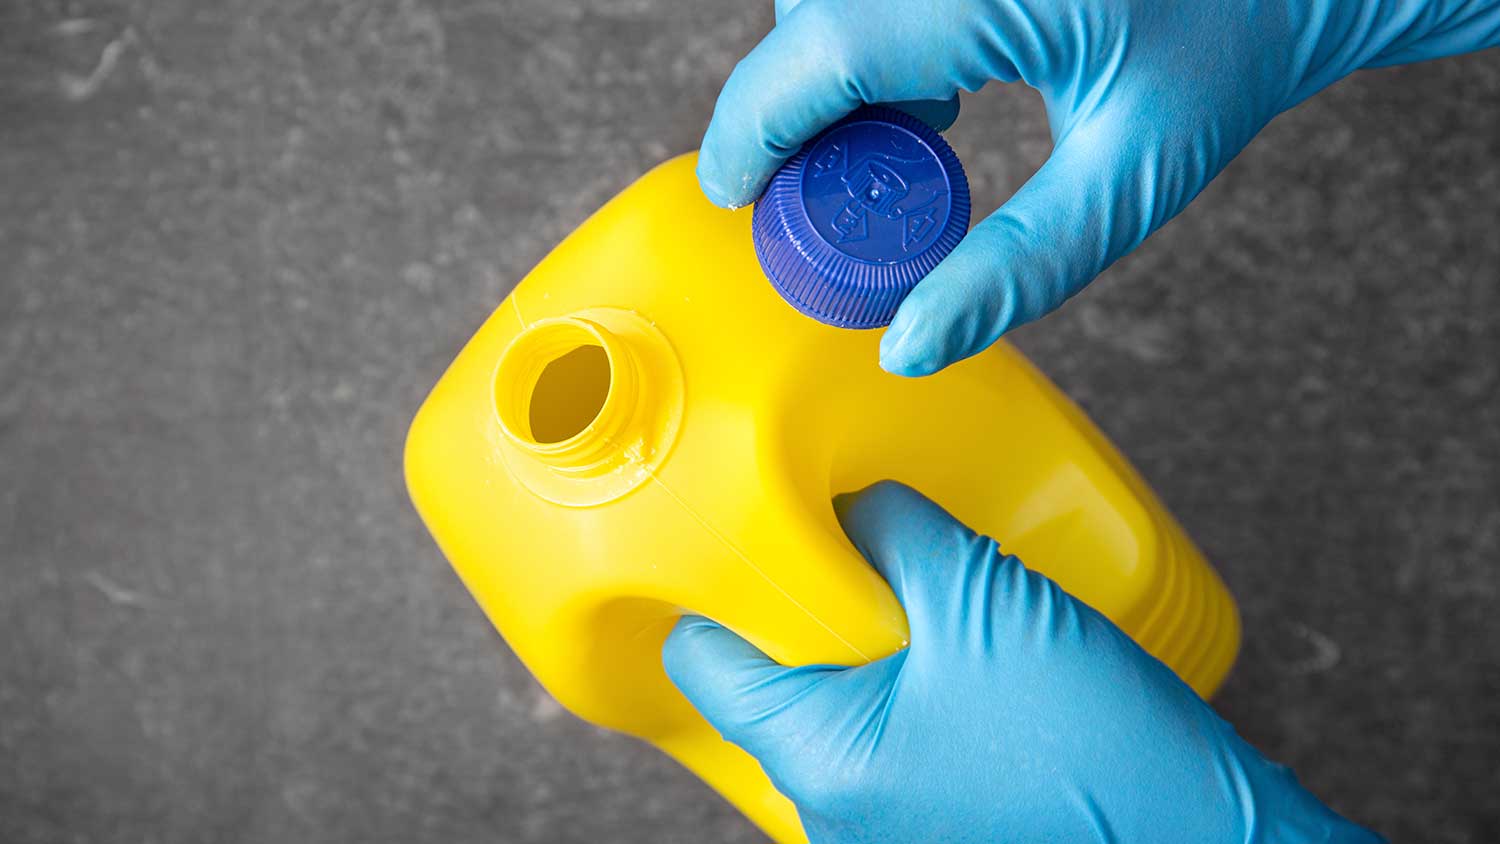
To shock your well, you’ll need to introduce a chlorinated bleach solution into it. But first, you need to determine how much chlorine bleach you’ll need. Do not just start pouring bleach all willy-nilly into your well.
The amount of bleach required to shock a well depends on the well’s size and the amount of water in it. The bigger the well, the more chlorine you’ll need to disinfect it. To determine the exact amount you’ll need, visit your area’s well index or call your local department of health. Here’s a guide to how much bleach (with 5% to 6% chlorine concentration) you’ll need for a disinfection, depending on the diameter of your well and the depth of its water column, according to the Minnesota Department of Health.
| Diameter of Well (Inches) | Amount of Water (Feet) | Amount of Bleach Needed |
|---|---|---|
| 2 | 10 | 2 cups |
| 2 | 50 | 2 cups |
| 2 | 100 | 2 cups |
| 2 | 300 | 3 cups |
| 4 | 10 | 2 cups |
| 4 | 50 | 2 cups |
| 4 | 100 | 3 cups |
| 4 | 300 | 4 cups |
| 6 | 10 | 2 cups |
| 6 | 50 | 3 cups |
| 6 | 100 | 4 cups |
| 6 | 300 | 10 cups |
If all those numbers seem overwhelming or you just can’t make sense of the calculations, call a local well pro to shock your water well instead of trying to DIY.
Once you’ve determined how much bleach you need, there’s still another step. Don’t pour undiluted bleach directly into your well. Instead, mix a solution of one part bleach to 10 parts water. Be sure to use unscented bleach.
Now that you have your shocking solution ready to go, it’s time to get it into your well.
You may be able to pour the solution into the well if it’s a relatively small amount, or if it’s a larger tank of solution, you may want to siphon the solution from its holding tank into the well using a garden hose. If it seems like too much to handle on your own, reach out to a well and pump expert near you to help.

Once you’ve poured all of the shocking solution into your well, you need to ensure it makes its way throughout your entire plumbing system. To do so:
Open all faucets, both indoors and outdoors.
Flush all of your toilets.
Allow your water heater to drain and refill.
In short, operate every system connected to your well water, and continue to allow the water to run through the system until you can smell chlorine at each outlet. Once you can, shut them off immediately to keep the chlorinated water where it is.
If you don’t smell chlorine, you may need to add another shocking solution to your well or get in touch with a pro to help.
Now that your entire system has been chlorinated and the faucets are off, you can sit back and allow the bleach to do its work. Don’t run any water for at least 12 hours, but you can safely allow the disinfection to continue for up to 48 hours if you want. The longer you let the water stand, the more thorough the disinfection will be.
When it’s finally time to drain the chlorinated water, use a faucet or hose that drains outside to avoid dumping large amounts of chlorine into your septic system, which can harm it. Keep in mind, too, that the chlorinated water may harm nearby plants or grass, especially in concentrated amounts, so drain it over a larger area and away from any delicate landscaping.
Once the chlorine smell has fully dissipated, it’s safe to open the taps inside your home as well. (Small amounts of chlorine shouldn’t have a serious impact on your septic system.) This is also a good time to backflush any connected devices, like your water softening system or water filter, and to reconnect carbon filters that you may have removed or bypassed before the flush.

After you’ve allowed the water to move through your system, wait at least 48 hours before you retest to ensure that all the bacteria have gone bye-bye.
At this point, your well water should be safe to use for household needs like doing laundry and flushing the toilet, but you shouldn’t drink the water until it’s been a week since you flushed the system. If you get a clean test at that point, you can consider your well ready to go.
Maintaining your well is one way to ensure it won’t need to be shocked—or at least that it won’t need to be shocked very often. Some basic well maintenance steps include:
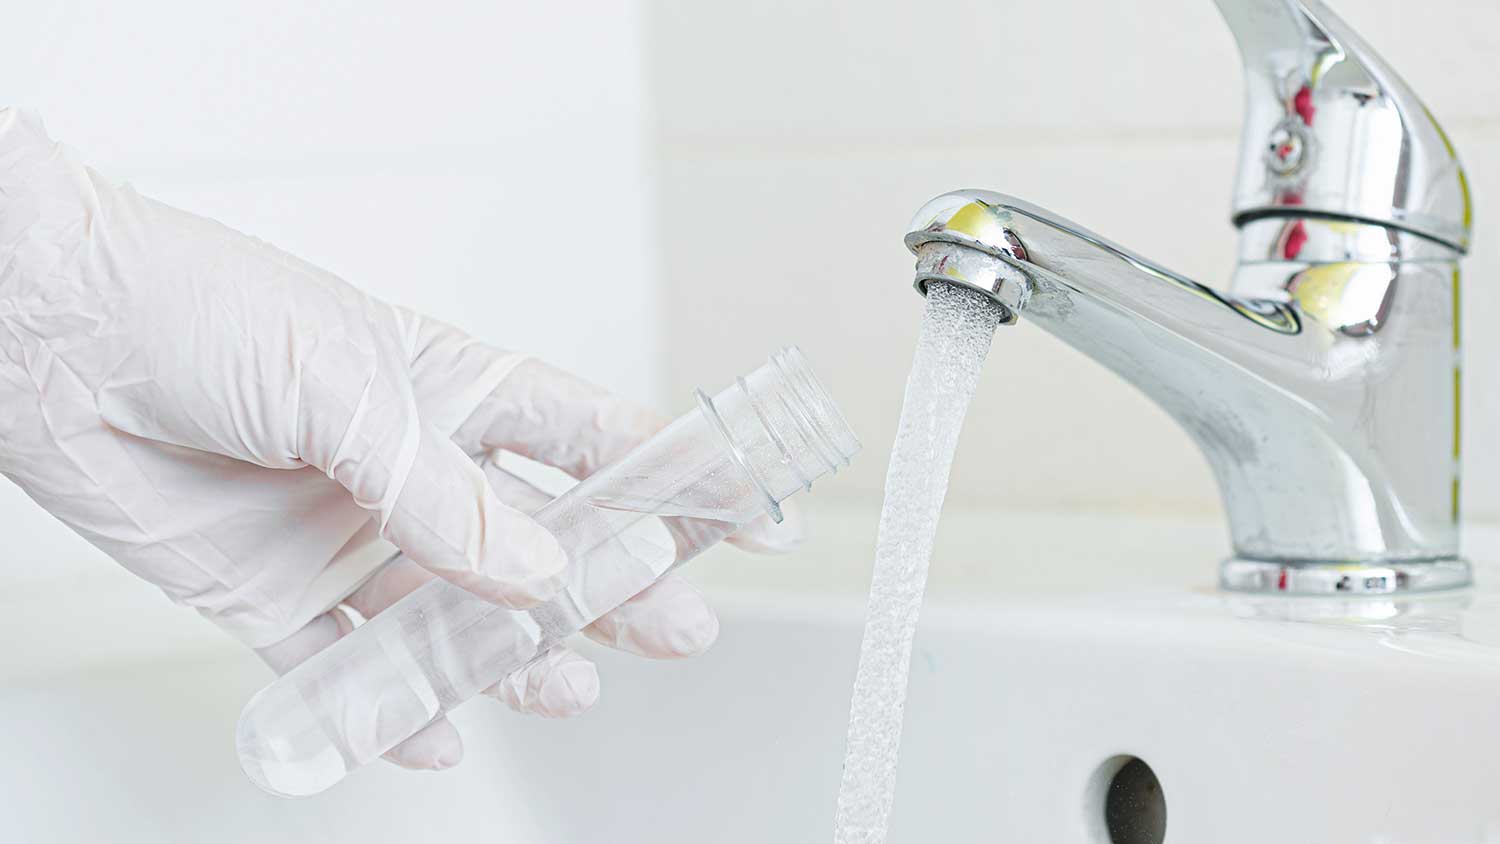
Regularly test and inspect your well and well water. You can test your well water using a DIY test kit, and this should be done at least once a year. Get a professional well inspection annually and any time you have suspicions about the health of your well water. Well inspections cost between $250 and $550 on average.
Maintain the area outside the well. Keeping the wellhead clear of debris and ensuring any vegetation is far enough away to avoid contamination could help keep your well water healthier for longer.
Inspect and maintain the pump. Your well pump does the important job of pushing water from your well into your home. Changes in water pressure or unusual noises should always prompt a call to a pro.
Well shocking is a fairly simple DIY project, but you should hire a professional to shock your well if you’re concerned about measuring the right amount of bleach or correctly flushing your system. Professional well shocking costs $80 to $200, and hiring a pro means you can avoid the annoyance of calculating how much bleach you need (or having to redo the process if something goes wrong).
From average costs to expert advice, get all the answers you need to get your job done.

The cost of a well inspection depends on the design of your well, the location of your property, and the add-ons you select. Use this guide to plan your budget.

Well pumps require electricity to operate and can affect your monthly bill. Learn about the factors that impact the average cost to run a well pump per month.

A water pressure booster can add a lot of volume for a small price. Discover booster pump installation costs and cost factors in this guide.

Ready for a new shallow well? Follow these eight DIY steps on how to replace your well pump and secure a safe, reliable water supply for your home.

Are you buying a home or looking to install new utilities, including a water line? Compare city water versus well water to find out which is right for you.

Find out the ways to calculate how much electricity a well pump uses, and then explore energy-saving tips to reduce your well pump’s electrical bill.