

Knowing how much a cedar fence costs will help you stay on budget. Use this guide to estimate and plan for your project.
Add ten years to the life of your cedar fence

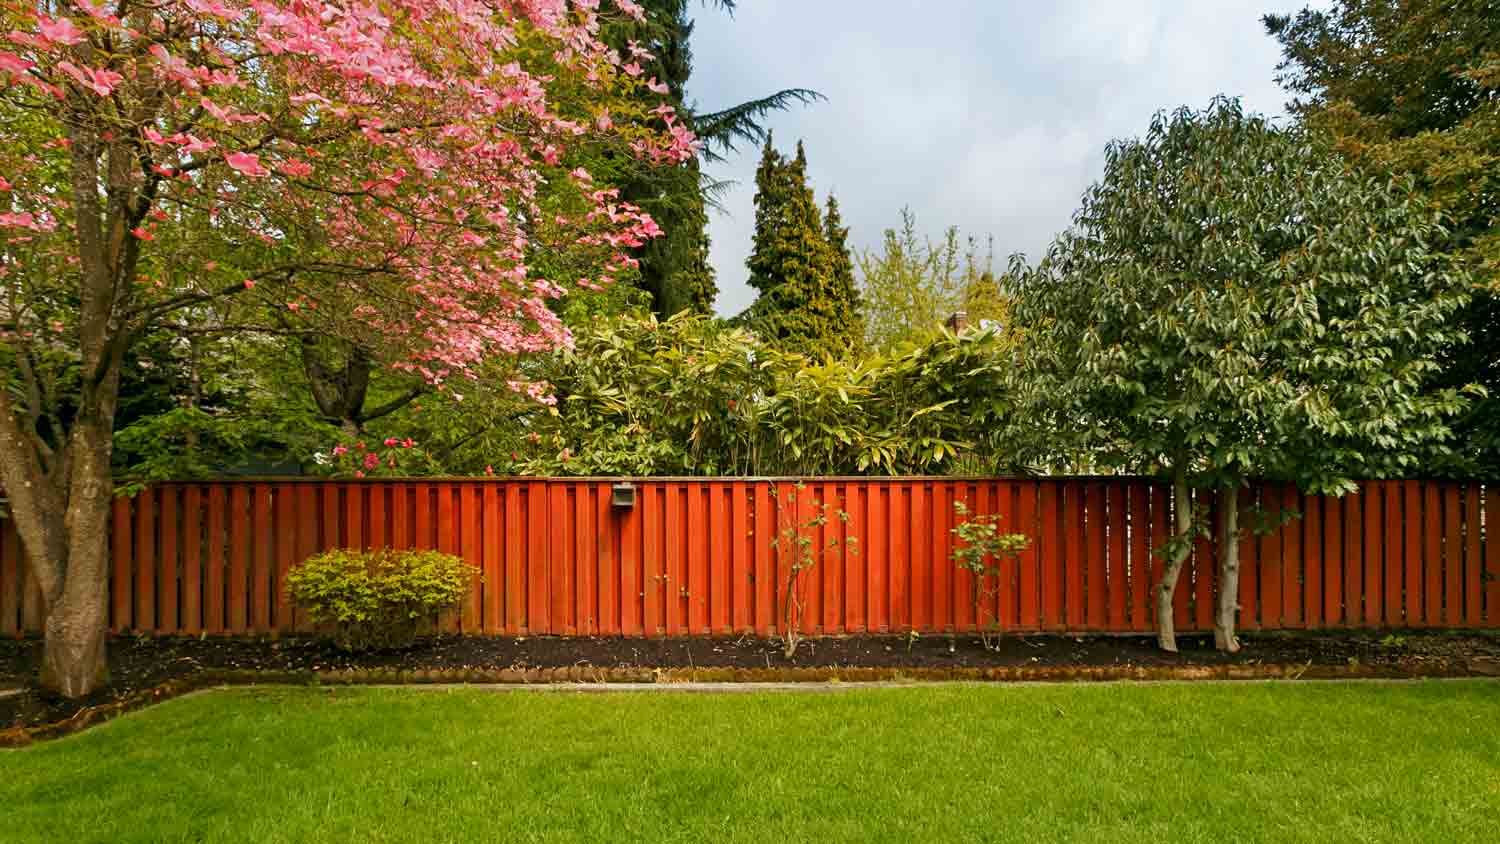
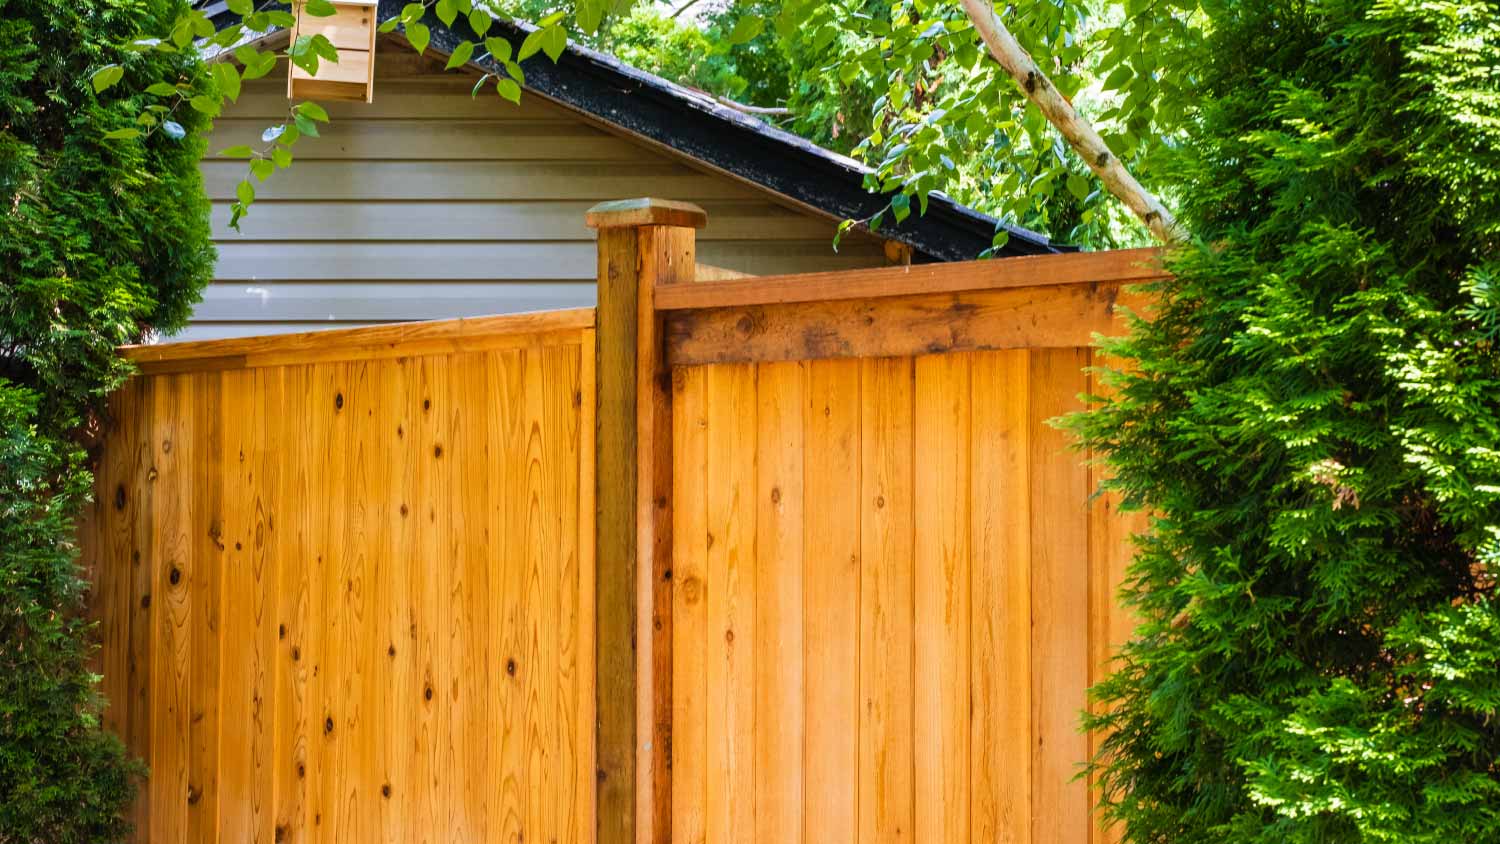
Sealing a fence extends your cedar's lifespan by protecting the wood from UV damage and moisture while preserving its natural reddish color.
Expect to pay $7.50 per linear foot for professional fence sealing, with costs around $2,625 for a typical 6-foot-tall, 350-foot-long cedar fence.
You can apply sealer yourself using a paint sprayer for the most efficient coverage, working in smooth strokes and applying two coats for best results.
Hiring a local fence repair professional provides expert application and quality finishes, helping your fence maintain its protection and appearance for years to come.
While your fence will undoubtedly last a long time even if you do nothing to it, it will last even longer and retain that beautiful red color if you learn how to seal a cedar fence. By following the instructions in this guide, you can ensure your cedar fence will maintain the privacy and security of your yard for up to 40 years.
Cedar naturally resists pests and inclement weather, and you can expect to get 15 to 30 years out of a cedar fence even if you do nothing but sit back and admire it year after year. However, if you really want to get your money’s worth, seal your fence. Sealing a cedar fence every 3 to 5 years is the best way to protect your cedar fence and extend its life.
While that’s reason enough to invest the time and effort to seal a fence, there’s also an aesthetic incentive. Over time, that fence will slowly turn from the beautiful reddish color it was the day you installed it to a dull gray. While there’s nothing structurally wrong with a cedar fence that turns gray (many people actually like the color), if you prefer the reddish look, you’ll need to seal the fence periodically.
How much it costs to seal a cedar fence depends on its length and height. Expect to pay an average of $7.50 per linear foot to stain a 6-foot-tall, 350-foot-long cedar fence or an average of about $2,625. A shorter, 4-foot tall picket fence will cost you around $3.50 per linear foot.
Since the bulk of this price is labor, you can save several thousands by doing the job yourself. If you DIY, expect to pay between $0.30 and $0.60 cents per square foot for stain.

Before you start your fence staining project, you’ll need to gather a few supplies first, including brushes, rollers, and a paint sprayer. You’ll also need to determine the type and amount of sealer to purchase.
Before heading to the store to buy supplies, you first need to figure out how much stain to get. Begin by taking a tape measure and measuring the length and height of your fence. Once you have the total length and height, multiply those two numbers together to get the square footage. One quick way to do this is to find the square footage of one panel and then multiply that by the number of panels in your fence.
Since you're treating both sides of the fence, you’ll need to multiply the total square footage by two to get your final total. Once you have the total surface area of the fence, head to your local home improvement store.
Cedar stain and sealer is the best way to preserve your cedar fence. A combination of stain and sealer soaks just below the surface of the wood’s fibers, creating a film over the wood that allows moisture to pass out while keeping in the natural oils that maintain the wood’s reddish color. A good cedar stain and sealer will last up to five years before you need to reapply it.
You have the option of choosing between a semi-transparent or a translucent sealer. A semi-transparent sealer is ideal. This type will have enough pigment in its mix to provide a barrier against the sun’s UV rays but not so much that it affects the wood's natural coloring.
If you want the natural grain of the cedar on full display, go with a translucent sealer. Remember that if you choose a translucent option, you’ll need to treat the fence more often to prevent it from going gray.
| Semi-Transparent Sealer | Translucent Sealer |
|---|---|
| Stronger UV protection | Lighter UV protection |
| Enhances natural grain | Lightly enhances, requires more frequent touch-ups |
| $30–$50 per gallon | $20–$30 per gallon |
Sealing a cedar fence isn’t a complicated job, but you’ll need to follow some crucial guidelines if you want to achieve the best results. Here are the steps to seal your cedar fence.

Before applying sealer, you need to clean your cedar fence. You can clean the fence the easy way by using a pressure washer or the hard way with a scrub brush.
If you choose the former, use a broad 25-degree nozzle tip on the sprayer wand. Hold the wand’s tip about 18 inches from the wood when applying the sealer, and keep the pressure under 1,500 psi to avoid damaging the fence. If you don’t feel comfortable pressure washing the fence yourself, consider hiring a pro to get the job done.
If you go with the scrub brush, mix a solution of 1 part bleach to 3 parts warm water. Test the solution first on a small portion of the fence to ensure it doesn’t discolor the wood, then apply it with a stiff bristle scrub brush.
Over time, your fence will take a beating from various threats, including Mother Nature, mischievous pets, and errant baseballs. Walk your fence line, check for damage, and make any necessary repairs before sealing the fence.
As the wood expands and contracts with changing temperatures and humidity, fasteners can work loose or rust and break apart, causing your pickets or rails to come loose. Check for loose boards and repair them with deck screws, which will hold the fence together better than nails that can pull out more easily. Recess the screw head about a 1/4 inch into the wood and cover it with wood filler that matches the fence color.
Sometimes cedar boards can splinter, causing small pieces to break off. If the broken piece is still present, reattach it with wood glue and clamps. You’ll need to remove it and replace badly damaged boards with new ones.
If you’d rather not handle the repairs, you can call a local fence repair pro to get your fence back in good shape.
Dry wood accepts stain much better than damp wood. With that in mind, give the fence a chance to dry by waiting a few days after cleaning your fence. After you finish the job, the sealer will also need a chance to dry, so make sure there isn’t any rain in the forecast for 24 hours after you apply it.

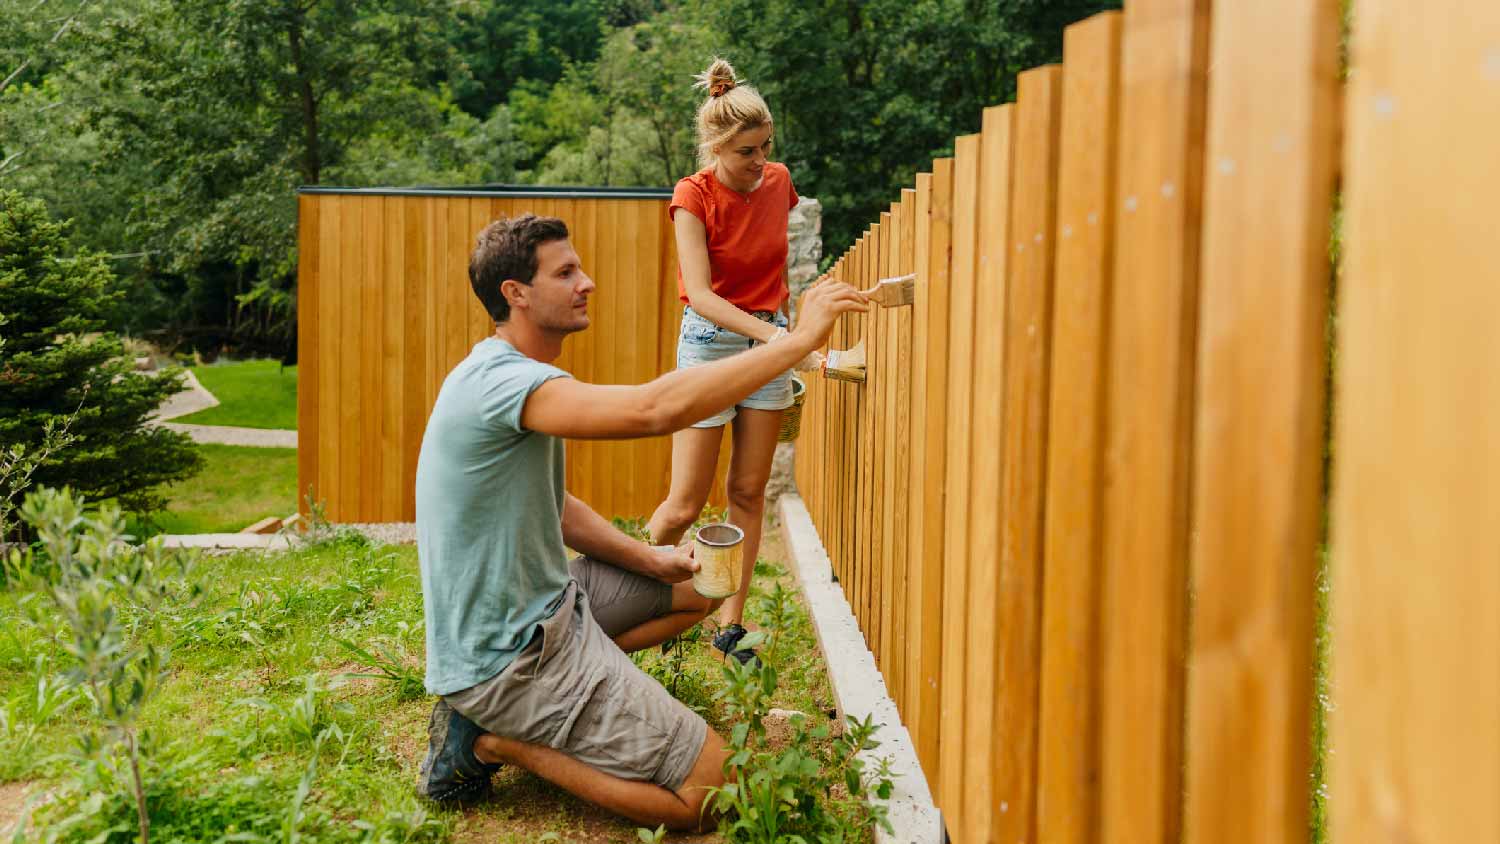
While you can apply sealer with a standard paint brush or roller, the most efficient method is to use a sprayer, which you can purchase for around $80. Better yet, borrow one from a neighbor or friend. Regardless of which method you use, plan on applying two coatings.
To apply an even coat with a sprayer, hold the nozzle about 1 foot from the fence. Wait to pull the trigger until you're moving the sprayer to avoid adding too much sealer to one spot. Use smooth strokes as you spray the fence, moving from side to side and overlapping edges. Periodically stop and smooth out any areas with excess sealer with a bristle brush.
If you use a roller to apply the sealer, work in small sections of about two or three pickets at a time. Stop periodically and use a paintbrush to hit all the gaps, corners, and other nooks and crannies the roller can't reach.

While sealer may be the most effective way to add years to your fence’s life, there are other measures you can employ to preserve your cedar fence and extend the time between sealer applications:
Preserve the Posts: Most fence installers coat the underground parts of the fence post with a preservative when installing them. You can replenish that protection by applying a wood preservative with copper naphthenate around the base of each post. Wood preservatives are available at most home improvement stores.
Install Post Caps: You can protect the top of a post by adding a post cap, a barrier that prevents water from soaking into it. Since many post caps are decorative, they also add to the aesthetics of your fence. Buy a cap that’s about 1/16 inch to 1/8 inch larger than the post to allow the wood to swell and contract.
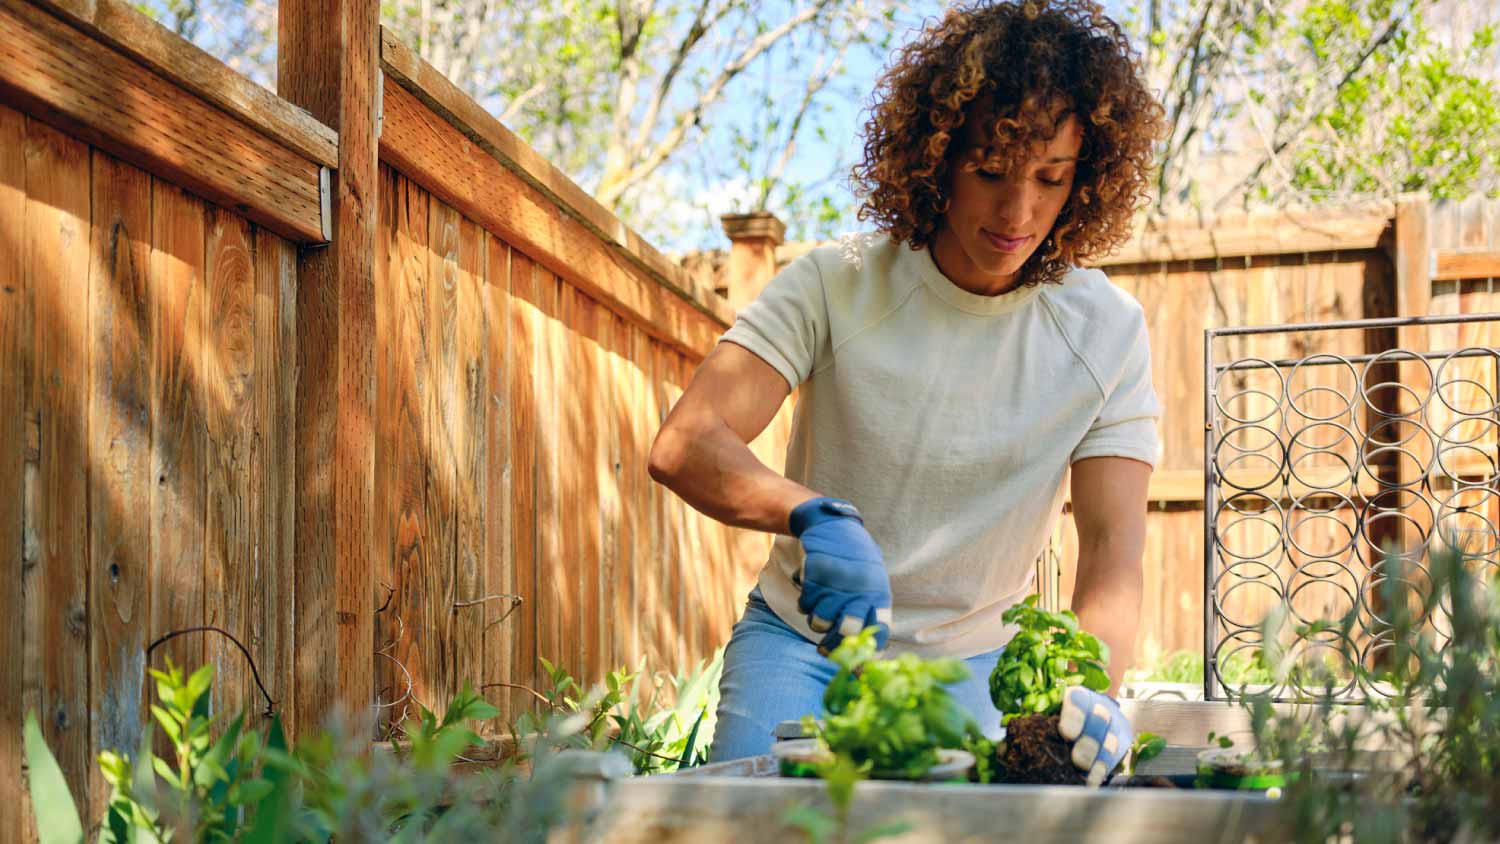
Keep Weeds and Plants at Bay: Shrubs and weeds growing up against a cedar fence prevent the wood from drying after rain, giving moisture more time to infiltrate the wood grain. Create a buffer of about 1 foot between your fence and any vegetation in your yard by pruning plants or tying them back.
Avert Your Sprinkler Heads: Redirect your sprinkler heads so your fence isn’t in the line of fire and save that water for your lawn.
Monitor Your Fence: Use the water test to determine if your fence is ready for retreatment. Sprinkle water on the fence using a garden hose. Then, check if the water beads up and rolls off or soaks into the wood. If it beads up, your stain still does its job and protects the wood from water. If it soaks in, the stain has worn out, and it’s time to reapply.
Sealing a cedar fence is a job you can handle if you have the right tools and don’t mind putting in about a day’s worth of work about every three to five years. You can handle shorter, smaller jobs with a brush and roller, but you’ll need to rent, buy, or borrow a paint sprayer if you're covering a full-sized privacy fence.
While staining a fence is not a job that requires a lot of skill, you will need to take care when applying the stain to ensure you get a smooth, even coat. You’ll pay significantly more to hire a fence staining company near you to do the job, but you’ll end up with a quality finish on your fence that may end up lasting longer.
Window Depot did an amazing job on my deck. I wasnt sure what I wanted to do, but their composite decking was affordable and will last a long time. I am excited to have family over, and I am no longer embarrassed by my backyard. Jeff and the ground crew were polite, respectful, and caring for...
Bill Gerhardt sold the company to his employees at the end of 2019, apparently without a workable succession plan and without notifying prospective customers of this fact. Most aspects of the maintenance contract have not been fulfilled: no installation of anual plantings per contract, no...
I highly recommend KTM construction! I will look no where else for anything that needs to be done, in or out side of our property. The level of craftsmanship is 5 star service across the board! The level of detail, knowledge and professionalism is 5 star service across the board! Ken is a...
Excellent work. Opted for the service contract which provides spring and fall checkups and deduction on maintenance charges which seems to be a good value. Initial dehumidifier for our large basement was undersized. They replaced unit after it failed with a larger unit and charged only for...
 Total Comfort Heating & Cooling Inc
They took care of the job promptly, keeping the area clean and the deck looks great.
 The Deck Doctor & House Medic - Columbus
It went marvelous, we have decided to use them for all of our summer work! Inside my home they painted the living room, kitchen, master bedroom, dining room and foyer. This company did an excellent job and I can tell that they really care about the work they do for their customers. They came...
 Rhino Painting & Color Consulting LLC
I am extremely pleased with the service provided. The owner showed up to assess the project excatly when he was scheduled to do so. The estimate was provided within 24 hours of the meeting as promised. The crew that completed the work did so when scheduled and with great results. I couldn't...
 Bello Giardino LLC
All around they have done a really great job. <br /> I have used JL Landscapes for the past 8 years. I own and operate my own commercial/residential real estate company where we own, operate, and maintain our own properties. JL Landscapes has been our exclusive landscaper for both our...
 J.L. Landscapes
The work went great! Couldn't ask for better. Joel set a work start date. About the time of the storms that may have been associated with Sandy. He was half a day late. They set up on a Thursday. On Friday they had a full crew at work. By Monday they were finishing up. Now, the best...
 NJW Construction
The car had some deferred maintenance that needed to be performed and some issues to check out. They offered understandable explanations and a very helpful ranking of what needed to be done and what to keep an eye on for the future. He warned me that in test driving it he had had issues where...
 Bexley Automotive
From average costs to expert advice, get all the answers you need to get your job done.
Knowing how much a cedar fence costs will help you stay on budget. Use this guide to estimate and plan for your project.
Installing a redwood fence costs around $6,300, though several factors, such as size, landscaping, and permits, can impact the price.
Staining a fence is a great project if you’re a handy DIYer. Learn how much it costs to stain a fence and how you can influence the price.
When deciding between a cedar vs. pine fence, both options have pros and cons. Each wood type has its own price point, appearance, and longevity. Let’s explore.
Cedar fences are a perfect blend of nature, style, and affordability. Use this guide to find your perfect design and upgrade your yard.
If your cedar fence has seen better days, a once-over with a pressure washer and a fresh stain job can have it looking good as new. Find out all the necessary steps and considerations for cleaning your cedarwood fence here.