How to Restore an Old Wood Fence in 8 Steps
Rejuvenate your yard and save cash by restoring your old wood fence


- Power washer
- Hammer
- Paint roller
- Paintbrush
- Cordless drill
- Wood glue
- Corrosion-resistant nails
- Stain
- Wood screws
- Sandpaper
That old wooden fence in your yard may hold lots of memories, but upgrading it can breathe new life into your outdoor space. In many cases, restoring an old wood fence is actually a better option than replacing it. A new wooden fence can cost up to $3,000, and installing a wrought iron fence could cost even more.
This step-by-step guide will help make your old fence look new again.
Check the Posts
If you’re, you know, on the fence (sorry) about restoring your old wooden fence, the first thing you should do is check the state of its foundation.
A well-constructed fence is held up by its posts. If those are structurally sound and just need some TLC, then you can proceed. If they are falling apart or compromised beyond repair, installing a new fence (or hiring a local fence company) might be the better way to go.
Inspecting your posts first will help you decide which is a better investment of your time and energy.
Identify What Needs to Be Repaired or Replaced
Take careful note of all the areas of your fence that need repairs.
Be sure to check:
Top and bottom railings
Each individual picket
Gate
Latch
Other areas, depending on your style of fence (battens, lattice panels, fencing roll on a DIY garden fence, etc.)
It might help to diagram your fence on a sheet of paper and highlight areas that need restoration or repairs after drying. You can also write yourself short notes so you remember everything.
Power Wash
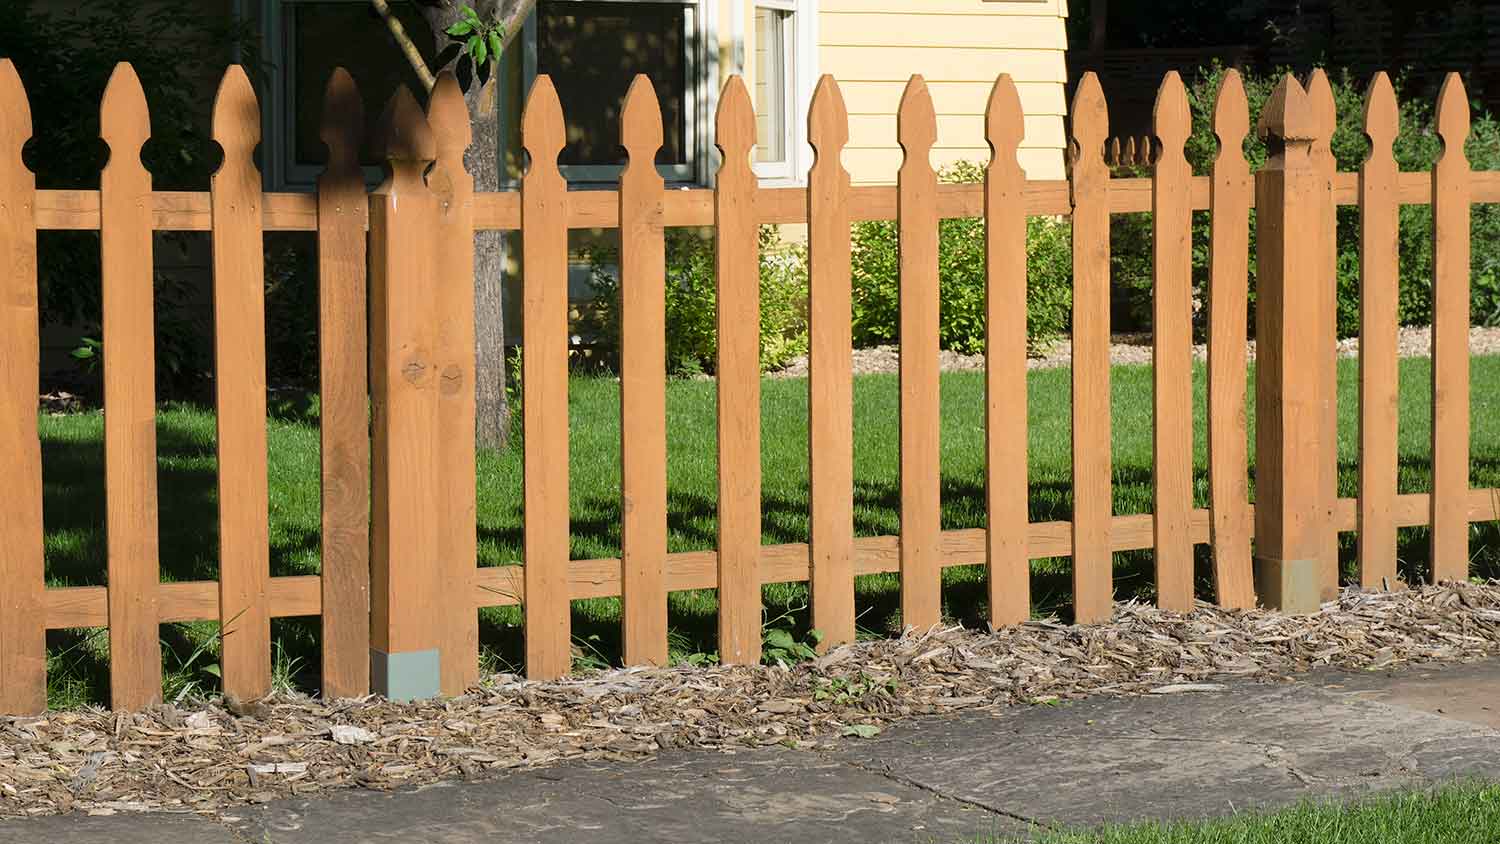
 Photo: LARISA SHPINEVA / iStock / Getty Images
Power washing your fence helps remove grime, fungi, wood flakes, and peeling wood. It’s also a good way to clear away gray fading, a common occurrence when tending to older cedar fences.
Depending on the extent of the damage, or if there’s severe sun bleaching, you may want to power wash using chemicals (sodium hypochlorite is common) or a mixture of water and bleach (75% water, 25% bleach). If you use a store-bought chemical cleaner, be sure to read the label and use the correct water ratio.
Start on low (500 to 800 PSI) when power washing your fence and increase as needed. Too much pressure could strip or damage the wood.
Let the Fence Dry
Let your fence dry for at least an hour (more if it’s cool or damp outside) before continuing.
You can use this time to reassess what needs repairs or to run to the hardware store to pick up tools or wood.
Sand Your Fence
After your fence is dry, now it’s time to start sanding. Doing this well might be the most time-consuming part of restoring your fence, but the end result is worth it.
Sanding helps remove splinters and sharp edges and gives your old wooden fence a fresh look. Medium-grit sandpaper is good for most fences.
If you’re only planning to apply sealant—if you’re sealing a cedar fence, for example—you don’t have to sand. However, if you want to paint or stain, sanding is recommended to help strip away old colors.
Depending on the extent of work, you might also consider buying or renting a power sander. New devices cost between $60 and $120. As with power washing, be sure to press lightly against the fence and increase as needed.
Make Any Necessary Repairs
Now, it’s time to repair the parts of your fence you identified in step two.
Common old wooden fence repairs include:
Gluing support beams back to the post
Gluing broken pickets back together (or replacing them)
Removing protruding nails (or replacing those boards completely)
Repairing or replacing the latch on the door
Wear gloves and eye protection to avoid splinters.
Apply Sealer or Stain
You’re almost done. If you’re happy with the color of your fence, all you have left to do is apply sealant and let it dry. If you’re looking to change things up or bring new life to your old fence, you can also try staining or painting it.
There are advantages to both staining and painting your wooden fence. But in either case, consider the aesthetic of your backyard and home before applying color. A local fence installation professional (along with your family members) can also recommend which colors will look best for your home.
Repeat Every Two Years
It’s a good idea to make old fence restoration a regular thing. In fact, repeating these steps every couple of years can help preserve the wood and keep your fence looking new.
A few hours and a trip to the hardware store every other year could add a decade of life to your fence or more, saving you thousands of dollars. When you eventually decide it’s time to upgrade, installing a new fence during fall or winter can also help you save money.
DIY vs. Hiring a Pro
Restoring your old wooden fence could cost less than $200 after you factor in buying tools, paint or stain, and new wood.
Hiring a professional to install a new wooden fence costs between $1,500 and $3,000. The average pro charges $50 to $70 an hour for labor, so a two- to four-hour restoration project could still cost you several hundred more.
Frequently Asked Questions
You can paint an old wooden fence, but make sure first to do a deep clean (ideally with a pressure washer) and inspect the fence for any existing damage. Painting over dirt and debris will cause your paint to peel. Once you’ve cleaned and repaired any minor issues, use a primer and high-quality satin paint
You can weather a new wood fence by applying vinegar with steel wool as a way to fade some of the coloring. You may also find it easier to stain your entire fence a new color, instead of trying to get newer fence boards to match an older one.


Get our Angi-powered app


