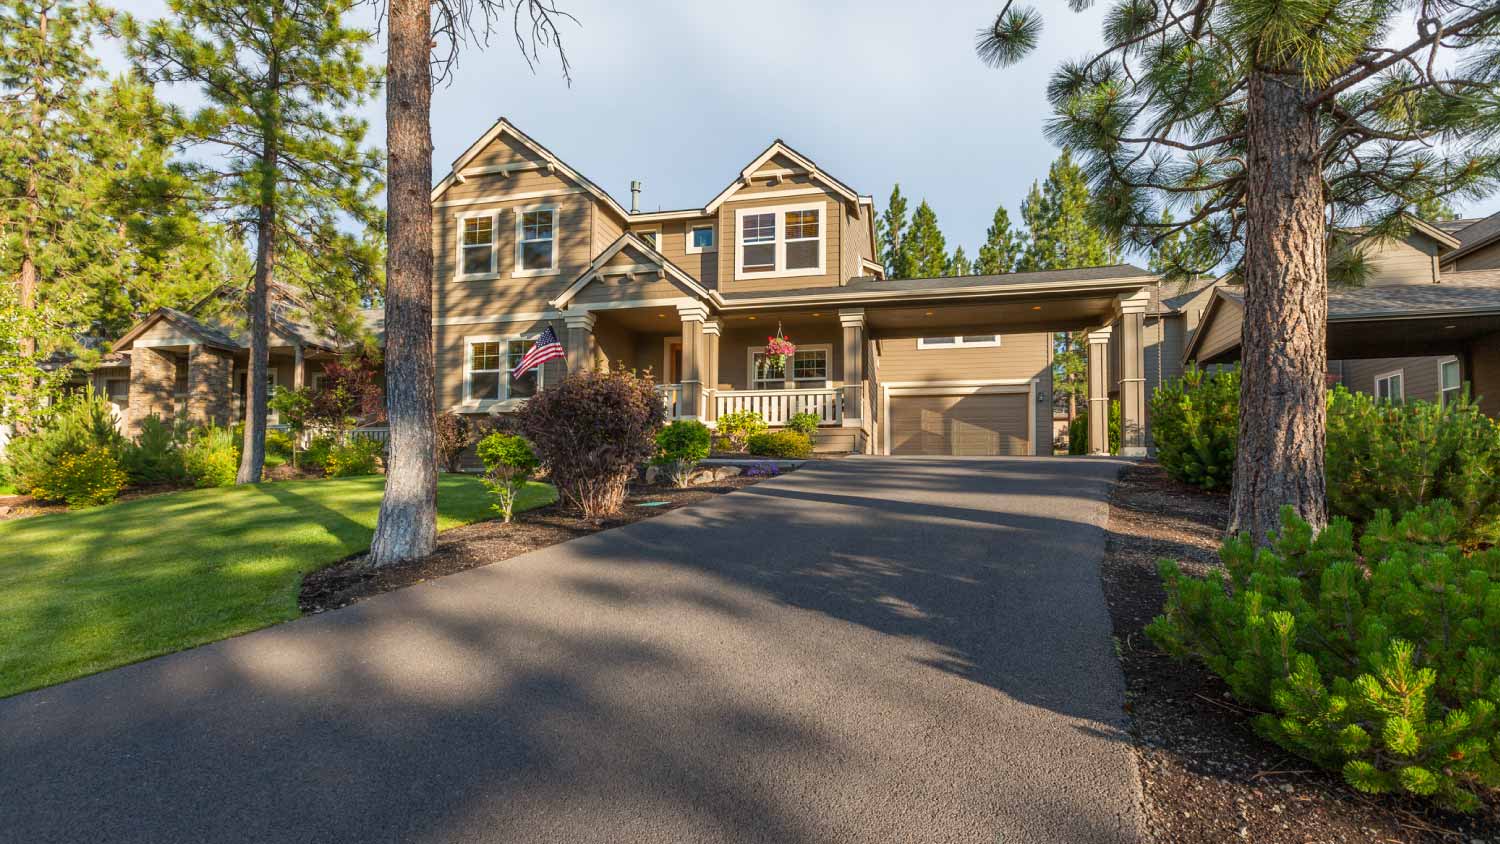
How To Seal an Asphalt Driveway
Clean, coat, repeat

This project can take a long time to complete if you’re doing it in your off-time. Hiring a pro ensures a job done well and a quicker turnaround—plus you get your weekends back.
- Pressure washer
- Asphalt squeegee
- Stiff-bristle push broom
- Chip brush
- Asphalt cleaner or bleach
- Oil spot primer
- Driveway patch or crack filler
- Asphalt sealer
You can seal an asphalt driveway with asphalt sealer yourself. This is a labor-intensive and time-consuming project, so prepare to spend a full day on the job. You will start by cleaning and prepping the surface, pretreating stains, and applying the sealant evenly until the entire driveway is sealed. If you don’t want to spend all day outside washing your driveway and spreading sealant, we recommend hiring a professional for the project.
Prep the Driveway
You must clean and prime your driveway before applying any sealant. Start with a garden hose or a soap nozzle and spread the asphalt cleaner onto your driveway. Switch to a stiff-bristle push broom and sweep the entire surface. This will remove dirt, tree sap, and the oil film often deposited from the exhaust gas, which would prevent your sealant from properly sticking to the driveway.
After sweeping, switch to a pressure washer to wash off the soapy residue. While asphalt is sturdy and impact-resistant, it is not unbreakable. Therefore, make sure to set your nozzle to the lowest pressure and maintain a 40-degree angle against the ground. You should also move the nozzle evenly across the surface because pointing at the same spot for too long could damage the asphalt layer. Make sure the driveway is completely dry before proceeding with the next step.
Pretreat Oil Stains and Fill In Cracks
For proper sealing, you’d want as clean and flat a surface as possible. After the general cleaning, it’s time to pretreat oil stains and patch up any small cracks and holes. Use an oil spot primer to cover the stains so your sealant can stick. Stubborn stains might require an additional layer of primer. Wait until the primer is fully cured before applying sealant.
You also need to fill in any cracks and holes before proceeding. For cracks and holes smaller than half an inch in diameter, use a regular crack filler. For larger holes and cracks, use a driveway patch. Flatten the filling with a squeegee and allow the material to fully cure. Crack fillers take 6 to 8 hours to cure, whereas driveway patches take 4 to 6 weeks.
Mix the Sealant
Choose one area on the driveway and cover it with poly sheeting to prevent spills. Remove the paid lid and cut a small hole in the center. Insert the mixing paddle. Start mixing from the top of the pail, then slowly lower the paddle to the bottom. Repeat this cycle by moving the paddle up and down until the sealant reaches a smooth consistency.
Start with the Edges
With a dashing brush, coat the edges of your driveway first. Make sure the sealant layer is thick enough to fill in all the pores. You’ll need to cut in any edges that meet a structure, such as a garage, by hand with a larger brush. Cover all four edges by going from the top of your driveway to the bottom so you don’t have to backtrack yourself.
Stage the Pails
Though not mandatory, staging the pails along the driveway creates a smooth workflow so you don’t have to stop and grab a new pail after the previous one runs out. Your pail should tell you how much surface it can cover on the container. You can also estimate how much each one can cover and place it accordingly on the driveway.
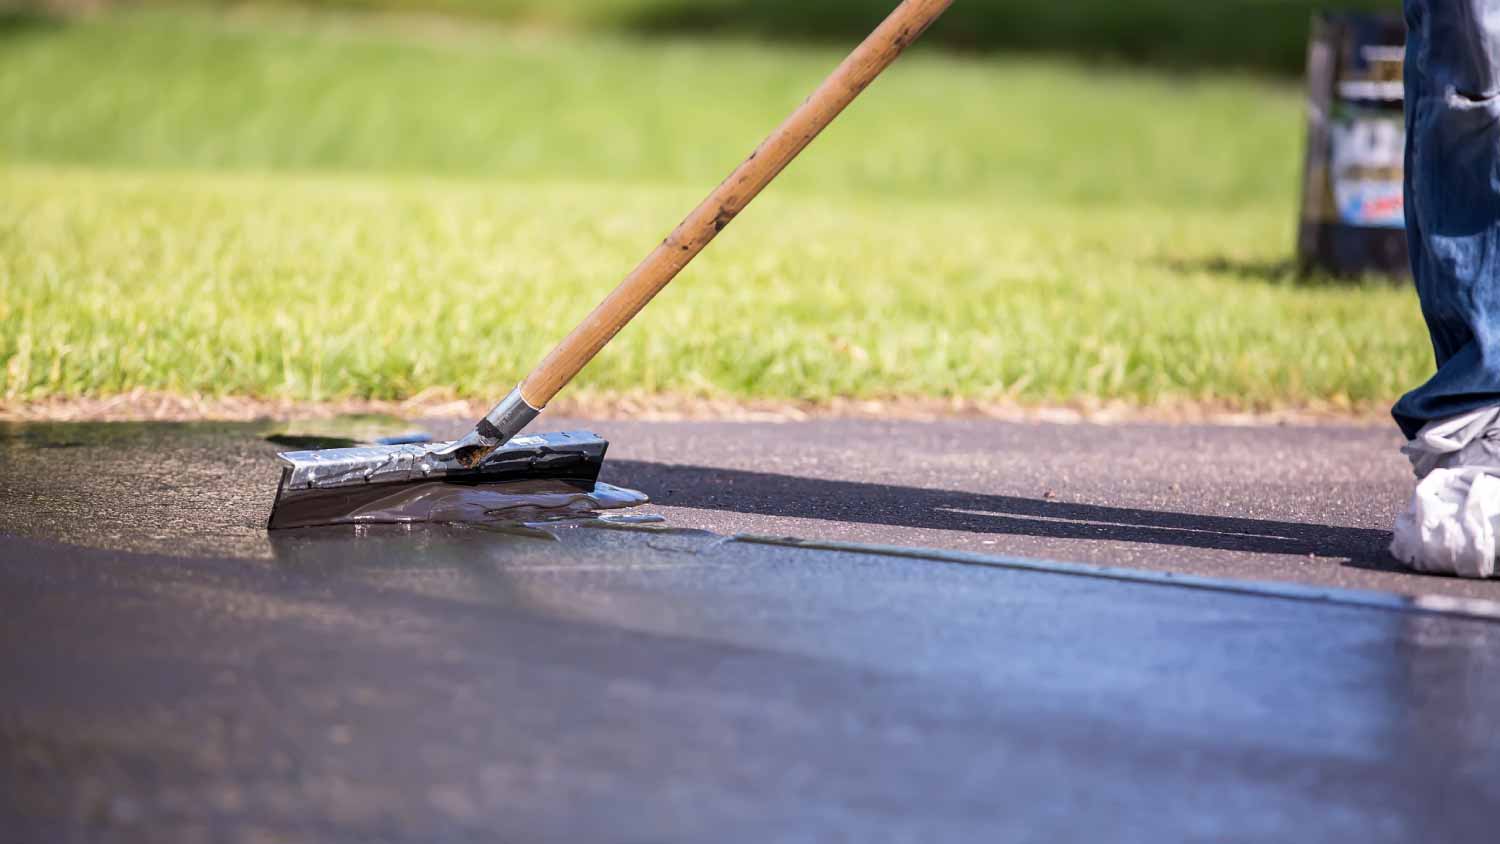
Seal the Driveway
Now, you’re ready to seal the rest of your asphalt driveway. Pour a line of sealant on one edge following the width of your driveway. Use a squeegee to pull and compress the sealant into the driveway. Holding the squeegee at 45 degrees with both hands makes it easier to spread the sealant evenly. Avoid applying too much pressure. You’ll know if you see sealant being pushed over the squeegee. Move at a steady pressure and speed until the driveway is fully covered.
7. (Optional) Apply a Second Coat
Depending on your situation, you might need to apply a second coat of sealant. For example, if you have heavy-duty vehicles, tend to tow heavy equipment or luggage, or live in an area with extreme weather, a second layer would protect your asphalt driveway more thoroughly. Be sure to let the sealer dry for 48 hours before applying a second layer.
Common Mistakes to Avoid
While sealing your asphalt driveway might seem like a straightforward process, there are a handful of common mistakes that can ruin the project:
Using sealant to fill holes and cracks: Sealants are different from fillers. They do not have the density to create a solid filing to patch up holes or cracks. Don’t try to seal over damaged parts on your asphalt driveway. Properly repair them first.
Dirty work surface: Dirt and grime will prevent the sealant from sticking to the surface properly.
Uneven mixing: Use a mechanic mixing paddle to mix the sealant properly. A manual mixing stick will not do the job, and unevenly mixed sealant will not perform its duty properly.
Wrong applicator: Use a dashing brush for sealing edges and a squeegee for the driveway surface. A soft brush or other tools won’t spread the sealant evenly and sufficiently for your driveway.
Too much sealing: While you might think the more sealing, the better, putting down too much sealant at once or too frequently will only make the sealant flake off. There is no need for a new layer of sealant until you notice asphalt aggregate.
When to Seal Your Asphalt Driveway
The best time to seal your asphalt driveway is during late spring, early summer, or fall. The temperature should be between 50–90 °F, and you need at least two to three rain-free days in a row. You also need the driveway to be nice and dry, so sealing right after the rain is not an option. Since sealing an asphalt driveway yourself can take all day, slightly overcast weather would serve you better than the blazing sun.
DIY vs. Hiring a Pro
Sealing an asphalt driveway can be labor-intensive, tedious, and extremely time-consuming. Improper sealing also causes more problems and takes longer to fix. Therefore, unless you’re fully confident in your skills, we recommend you hire an asphalt company to handle the job.
Normally, sealing an asphalt driveway costs between $278 and $854. Most contractors will charge you by the surface square footage of your driveway plus material cost. Double coatings also cost more than single-layer jobs.
Frequently Asked Questions
No. You cannot use asphalt products on concrete driveways. To seal a concrete driveway, use acrylic, epoxy, polyurethane, silane, siloxane, and silicate sealers or deep penetration sealers made specifically for concrete. Meanwhile, asphalt sealers contain refined coal tar (asphalt emulsion), water, sand, clay, polymers, and additives and are incompatible with concrete’s surface texture and higher density.
If you don’t want to seal the entire driveway using a squeegee, you can use a roller instead. Rolling the driveway sealer also provides an even, sufficient coating, although it might require more skills to control the speed and pressure. We don’t recommend spraying the driveway sealer because it would cause more splash, hence wasting more material. If anything, you may spray the sealant and go over the surface again with a squeegee to ensure proper coating.
You need to repair any major damage on your asphalt driveway before sealing it. Hire a professional for major repairs. Asphalt driveway repairs cost $2,459 on average, or $1 to $3 per linear foot. Heavier damages, such as potholes, minor sinking, and crumbling, cost $2 to $5 per linear foot. It might be a better deal if you bundle repair and sealing in one project and have your contractor take care of everything.


Get our Angi-powered app


