
Don’t let sinking concrete capsize your budget. Learn about concrete leveling costs and the available methods to plan ahead for your project.
A little sandpaper goes a long way

Sanding concrete surfaces renews your patio, driveway, or countertop by removing stains, smoothing rough edges, and preparing the surface for repairs or sealing.
Professional concrete resurfacing costs around $6 per square foot, and sanding before sealing helps the finish last longer while protecting your investment.
You can sand concrete using hand sanding for small areas, orbital sanders for countertops, or floor sanders for larger spaces like garage floors and driveways.
Hiring a local concrete company provides reliable help with heavy-duty equipment and dust control, keeping your home safe while achieving a smooth, professional finish.
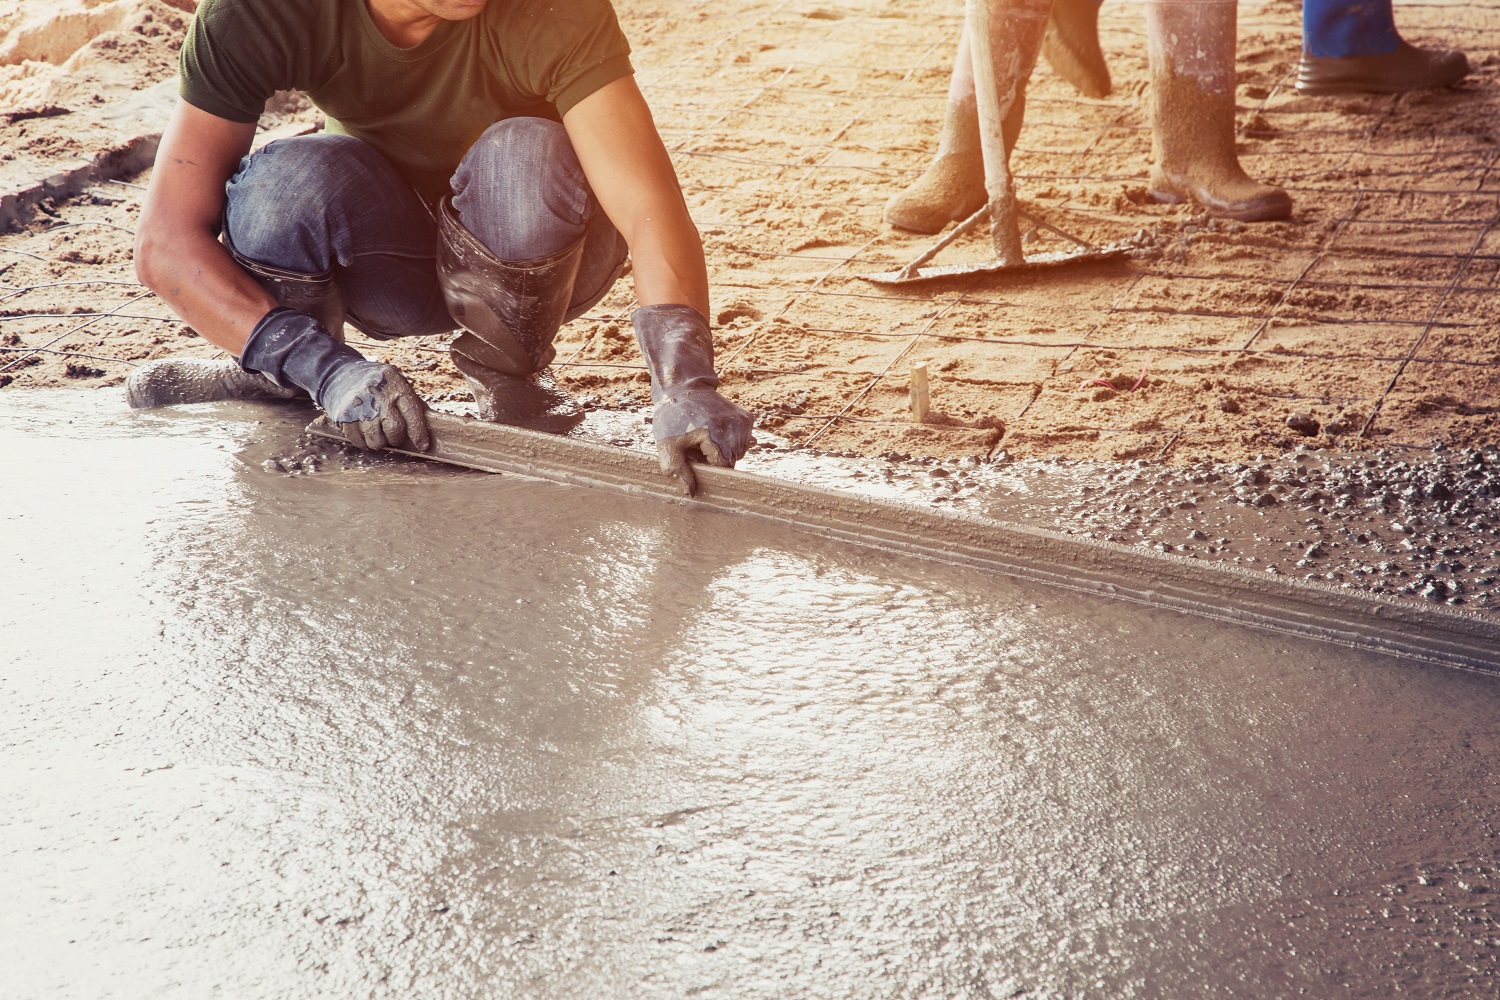
Concrete is a durable material, but age, wear, cracks, and chips can leave it looking rough. You can sand concrete to get it back to its former smooth glory or give it a new look. Sanding your concrete countertops and floors can polish and renew them, eliminating small stains, bumps, and pocks. This guide walks you through how to sand concrete and the best tools for the job.
Sanding concrete is a relatively easy DIY task that you can do with a little know-how, a few basic tools, and some patience. However, methods and DIYer experience levels vary, so you’ll want to be sure you choose a concrete sanding method that fits your needs, the surface you’re sanding, and your abilities.
Always put on protective clothing before working with concrete, as it can cause chemical burns. Make sure to wear long sleeves, pants, waterproof gloves, safety goggles, and a face mask.


The concrete that makes up your patio, driveway, flooring, or countertop should last several years, and sanding it is one way to help it look and feel as new. Reasons to sand your concrete surfaces include the following:
To improve aesthetics when your concrete is looking aged, damaged, or has stains and other imperfections
To smooth sharp edges that may have formed when the concrete was poured, in the interest of safety and aesthetics
To expose aggregate within the concrete for more beautiful surfaces
To remove paint. While chemicals can work for small splatters, sanding can remove layers of stained concrete, making it look brand new. That said, it can change the texture of the concrete, depending on how much is sanded away
To prep for making repairs to chipped or pocked concrete. After sanding the concrete, you’ll add filler to the chipped or pocked area—this probably won’t be the same color as the original, so plan to use stain to make the old and new concrete look uniform.
To save money. Whether you do it yourself or hire a concrete pro, sanding is often less expensive than concrete resurfacing costs.
A little preparation goes a long way, and getting ready to sand concrete is an important part of the job. You can avoid mistakes, frustration, and concrete damage by thinking through the process and making careful decisions that fit your abilities and the job you’re planning. If you’re ready to go, here are the steps to start:
Your first and most important task is protecting your own health and safety. When sanding, wear goggles and a face mask—preferably a respirator. Inhaling silica, which is present in concrete dust, can be hazardous to your health.
Ear protection is also necessary when you’re using power tools. Consider wearing coveralls, long sleeves, and gloves, and make sure the area has plenty of ventilation.
If you’re using large machinery, have another person with you to help where needed.
From hand sanding to floor sanders, your tool options for working with concrete vary greatly. Before you begin, think carefully about the surface, its current condition, the size of the job, and the outcome you’re expecting. Make sure to choose the right sander for the job. You may need to use more than one type of sander to get your desired final result.
If you don’t have the right tools, you can find what you need at a local hardware store or home improvement center. Some locations even rent tools. Before you go, do some basic research so you can pick out what you need more easily or know what to ask store employees. Be sure to buy enough sandpaper and other materials while you’re there.
Once you know which tool you’ll be using, decide on the grit of your sandpaper, if applicable. The higher the grit, the finer the finish; so, for a simple job polishing concrete, look for 800 grit or higher. To sand away pocks, you’ll likely need 40- to 60-grit sandpaper. You may need a few different types of sandpaper to achieve the result you want—some to take off layers of concrete and others to give a fine finish.
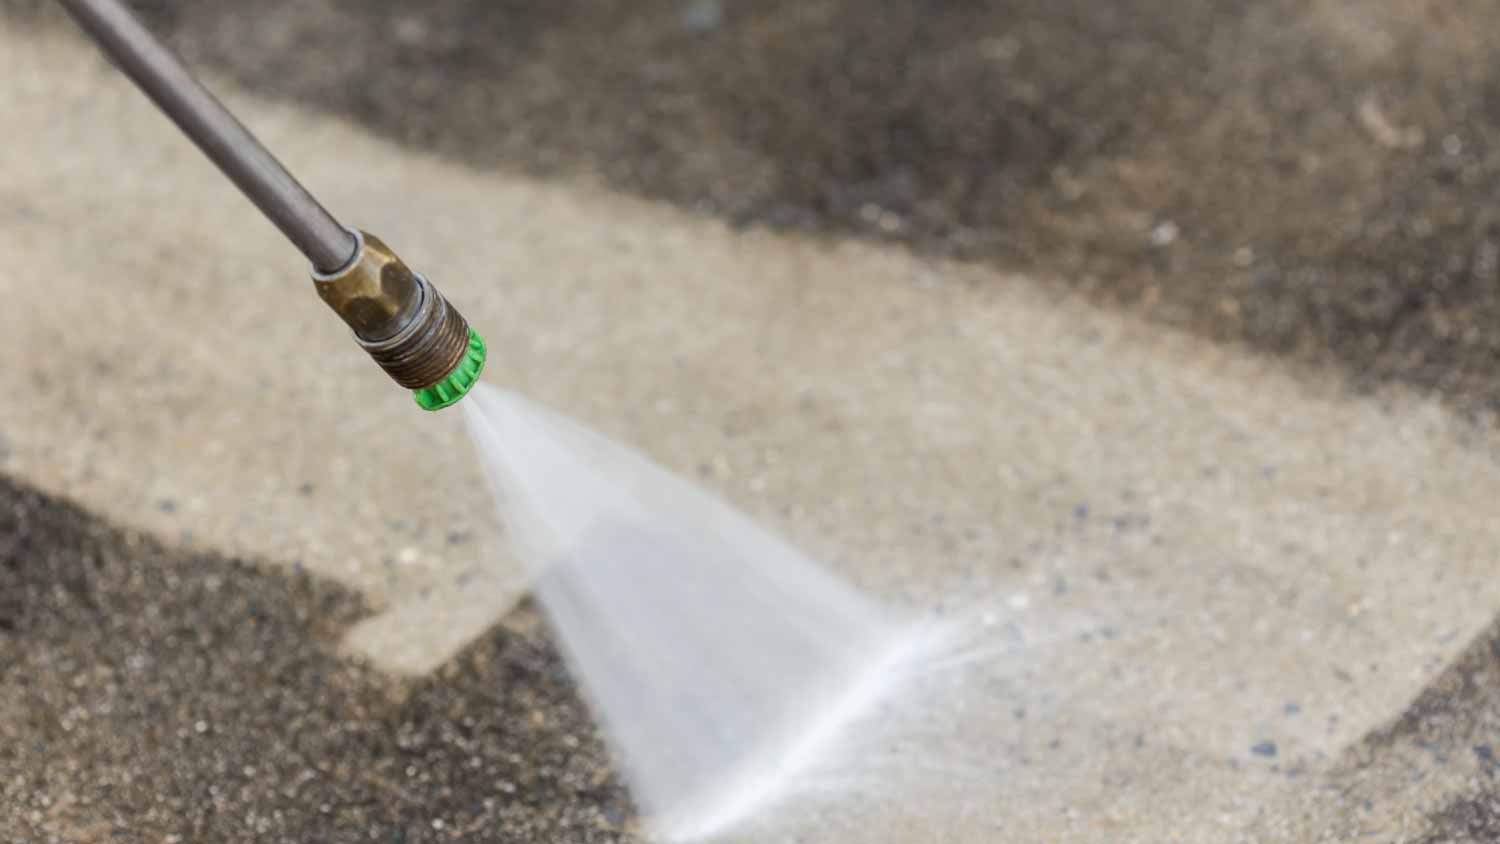
Completely clear and clean the concrete you’ll be working on. Remove debris, and wipe down or pressure wash the concrete to give yourself a clean working surface. If there are any cracks, chips, or imperfections, you may want to use a store-bought epoxy or sealant to fill them in. Any nails, screws, or metal or wood pieces embedded in the concrete could damage equipment or injure you; remove them by cutting concrete sections or hand sanding around them.
Finally, you’ll want to take safety precautions to ensure your furniture and other objects are safe. Remove unneeded items from the area, particularly breakable or expensive items. Place plastic sheeting over unmovable furniture or plants, and survey the area for any other precautions you may need to take to make your job easier and safer. It’s also a smart idea to block off the area or room where you’ll be working to keep kids, pets, and others away.
Sandpaper in hand, here’s how to tackle the process of sanding your concrete and getting rid of those imperfections.
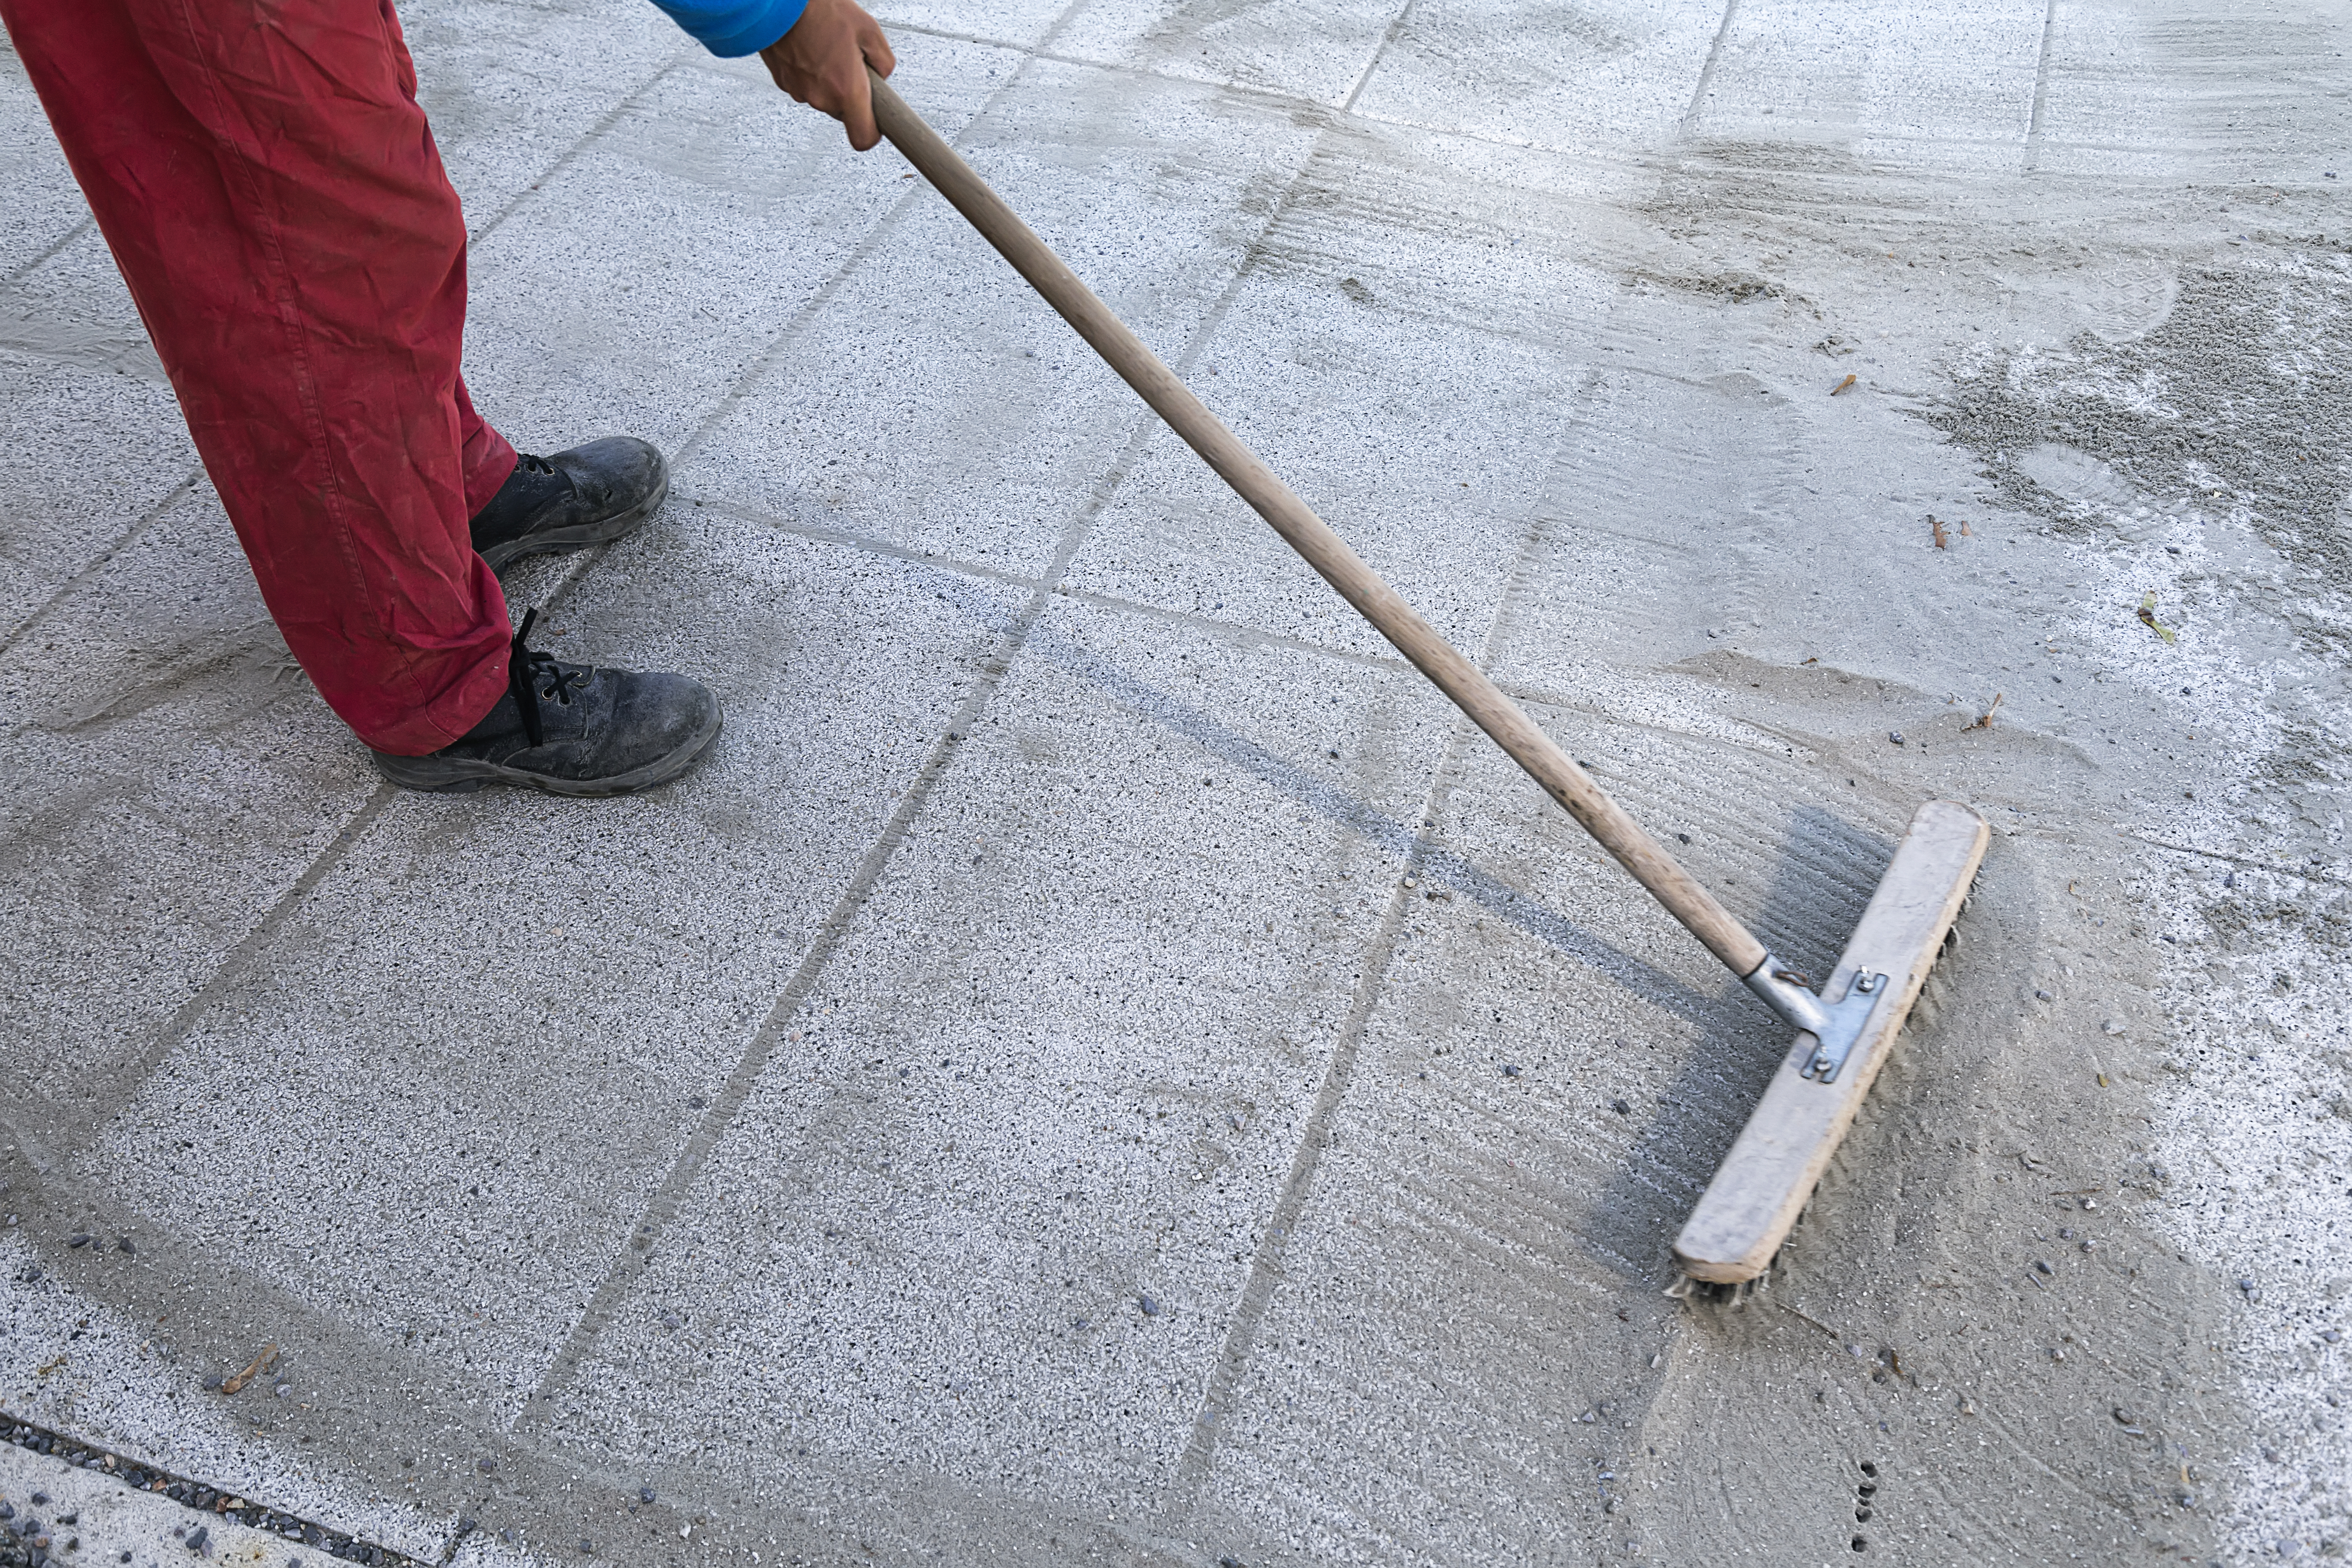
If you’ve got time, patience, and sandpaper, you’re ready to hand sand your concrete. This is the simplest method of sanding, and many DIYers choose it because it doesn’t require special machinery. To hand sand concrete surfaces, you’ll want to use 80- to 100-grit sandpaper and a sandpaper block (or a block of wood that’s easy to hold). Wet the sandpaper and the concrete, then rub the sandpaper across the concrete in long, smooth strokes, using moderate pressure.
Work in smaller sections, completing each before moving on to the next. When done, rinse the concrete surface and let it dry completely. Then, look at the surface from various angles with natural and artificial lighting to ensure you’re happy with the results. If you see uneven areas or want a smoother finish, repeat the process until it looks exactly how you want.
Best for: Small projects, easy projects, areas that need light sanding
Orbital sanders are handheld sanders with an elliptically rotating sanding face and can move in any direction. They’re light and effective, so they’re a good choice for larger projects requiring more pressure or power than hand sanding. When using an orbital sander, use even pressure at all times to prevent swirls, divots, and over-sanding in some areas.
Start by choosing sandpaper with an 80 to 220 grit, depending on how much surface you want to remove. Then, move the sander with steady, even pressure across the concrete. When done, rinse or dust off the concrete and look for uneven areas. If you find any, go back over the area and make a pass across the wider surface to smooth out the entire area and prevent digging in or making dips in the concrete.
Best for: Small projects, countertops, final finishing, polishing
Angle grinders are handheld tools with circular grinding blades. These don’t use sandpaper; instead, they have a hard disc that quickly removes a lot of concrete in a single pass. Angle grinders can be tricky to use, and inexperienced individuals can end up with inconsistent results. If you use this tool, practice before starting on important or visible concrete surfaces, and always wear eye and ear protection and a respirator.
Use a grinder with a speed of at least 10,000 RPM (revolutions per minute) and an abrasive disc for grinding concrete. Start with a clean surface, and work from the outer perimeter toward the center. Don’t let the grinder overheat; take breaks to let it cool down if it starts feeling hot to the touch. If you’re doing a large job or are worried about overheating, you can use a wet conversion kit or wet angle grinder that uses water to prevent dust and overheating.
Best for: Small projects, countertops, rough edges
Floor sanders, also called floor concrete grinders or walk-behind sanders, are large and powerful machines that use diamond abrasive discs to sand concrete surfaces. Because they’re so large, you can cover a large area relatively quickly. That said, floor sanders aren’t for novices. They’re powerful and require a strong, experienced operator.
To use a walk-behind sander, choose the right grit sandpaper for the concrete and results you want and load it into the machine. Stand behind the sander, pushing evenly on both handles while walking slowly across the floor from one side to another, sanding long swaths of the floor. Stay focused on the job so you get consistent, uniform results. You may need to go over the surface with a harsher grit first and finish with a finer grit for smooth concrete.
Best for: Large areas, rough concrete, outdoor areas, driveways, patios, garage floors
Belt sanders are powerful handheld tools best for sanding large areas or concrete that need deeper sanding. Most require 120- to 180-grit sandpaper loaded onto the sanding drum in a loop shape. It’s important to maintain a firm grip on the belt sander and move it evenly across the surface of the concrete without using too much downward pressure. Because they can leave sanding marks, you may want to go over the entire surface with an orbital sander as a final step.
Note: Always use eye and ear protection when using a belt sander, as they can be very loud and create a lot of dust.
Best for: Large areas, rough areas, garage floors, basement floors, first passes

To ensure your freshly sanded and sealed concrete remains in good shape, clean it regularly and wipe up any spills quickly before they stain. Steer clear of using deicing chemicals on concrete, as they can induce freeze-thaw cycles and cause cracking.
Finally, consider painting or sealing your concrete, which can give it an extra layer of protection—and a little style.
Sanding small objects or areas is an easy DIY job, but if you feel uneasy about using large equipment to tackle your patio or driveway, you can call a local concrete finisher. If you’d like to hire a professional, the average cost to resurface concrete is about $6 per square foot. You’ll likely pay an additional cost to have the area sealed.
C.E. Larusso contributed to this piece.
Positive experience. As previously stated, the replacement/repair could not be completed (no fault of the plumbing tech) b/c misinformation was rec?d by property management maintenance. Thanks to the plumbing tech for your efforts. Appreciate you!
 The Waterworks
Carpet repair done well. Scheduling was easy. Showed up on time.
I would recommend this company to anyone! He showed up on time, was friendly, completed a very difficult repair on our dryer vent cover, was responsive, and pricing was extremely fair and competitive. I would have him back to do any of our repairs or cleanings without hesitation!
Everything from initial contact to completion was absolutely top notch. We contacted the business during off hours to leave a message, and the owner still reached out to feel out the issue within minutes. We were scheduled and repaired within 48 hours. I cannot say enough about the...
 Supreme brick & chimney
Great experience all together. Dog friendly, courteous, great results and honest with recommendations. Will certainly be using Cardinal in the future for any carpet repairs
Working with Peter and his crew was a breeze. They were exceptionally polite and did a neat job to repair and seal our driveway. I will definitely talk to them first for additional work.
 Central Paving
Description says they handle window repair including rotten hardwood - they called me back right away but didnâ t leave a voicemail. I followed up 3 days later and they said they donâ t do that kind of work.
They did an excellent job with the repair, took care of all communication with the insurance company and had car rental service also with a very reliable, quality care
 Three C Body Shop
We recently had our office sidewalk repaired and CT Concrete did an "Outstanding" job. They were quick, friendly and the job is "flawless". I would highly recommend CT Concrete for any of your concrete/sidewalk needs.
Mr. Bunting repaired one broken brace (the "sticks" that connect the legs of a chair to make it stronger), and replaced another on two high end antique replica Windsor chairs I own. The one that was replaced required him to turn a new brace on a lathe to be the same as the missing brace would...
From average costs to expert advice, get all the answers you need to get your job done.
Don’t let sinking concrete capsize your budget. Learn about concrete leveling costs and the available methods to plan ahead for your project.
Discover the cost to polish concrete floors, including price ranges, key cost factors, and tips to help you budget for your next flooring project.
Before you start pouring, should you use sand or gravel under a concrete slab? Let's explore how the foundation below your concrete works.
Learn how to apply polymeric sand to keep your pavers sturdy and secure for years to come. It's important to know how to use paver sand in the right weather.
Take a look at how to give old concrete a facelift or put new concrete on the path to a gleaming, glossy finish in this guide on how to grind concrete.
How long does it take concrete to dry? Keep reading to learn all about concrete drying and curing times, plus tips to speed up the process.