
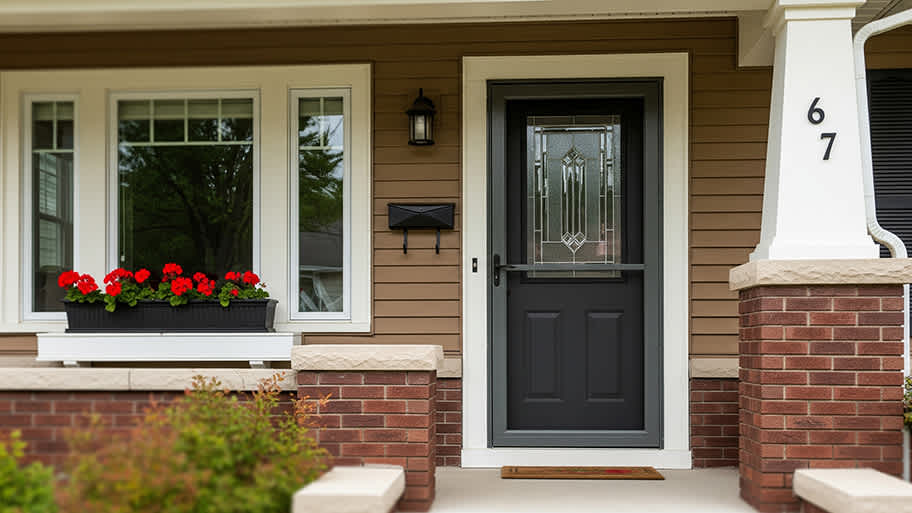
A storm door can protect your front door and let in more fresh air. Find out how much storm door installation costs for materials, labor, and more.
Learn how to replace a storm door handle with this step-by-step guide

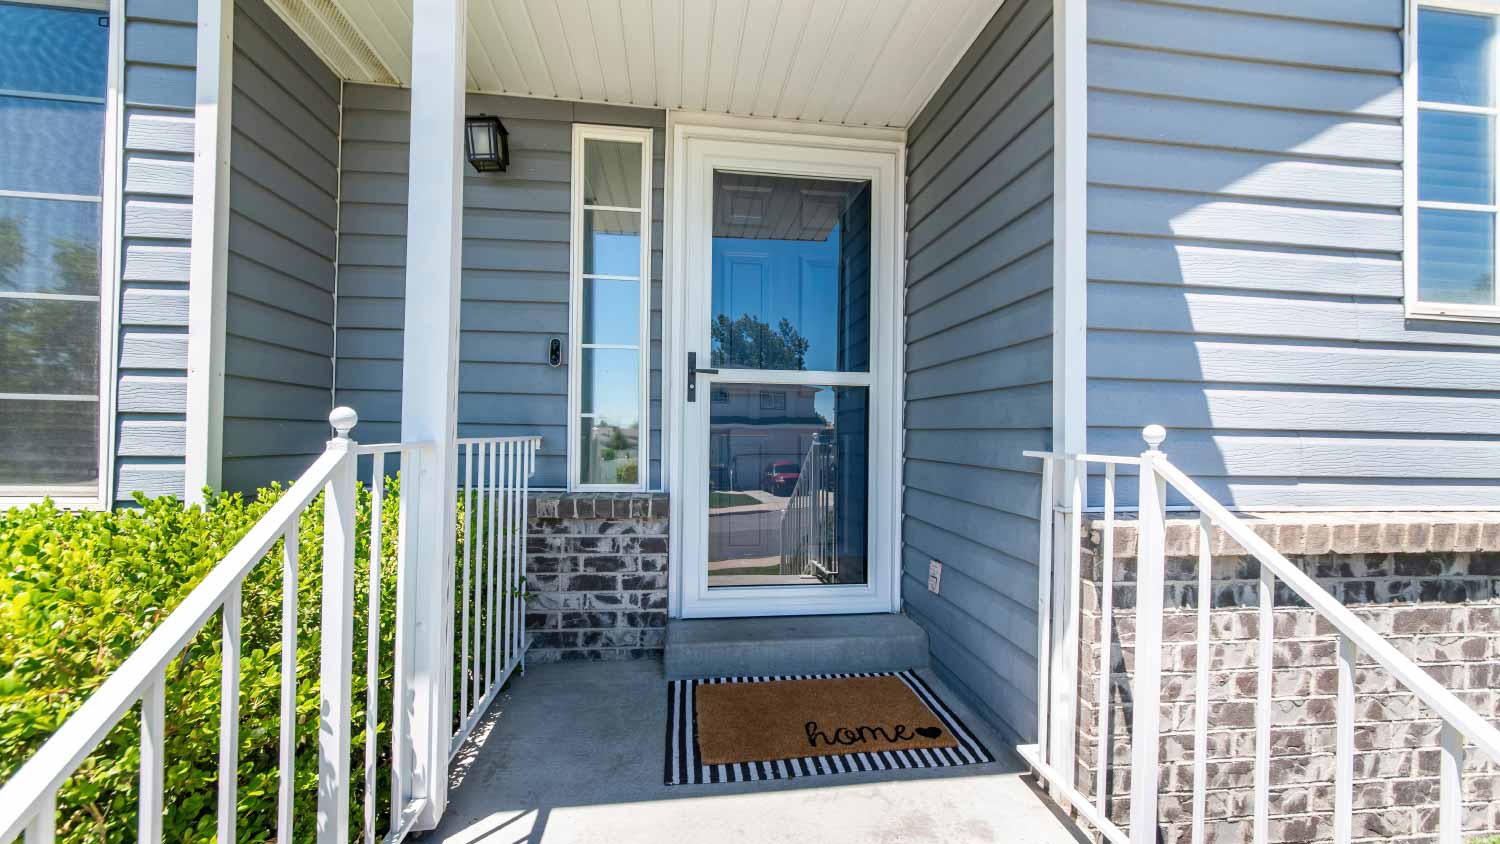
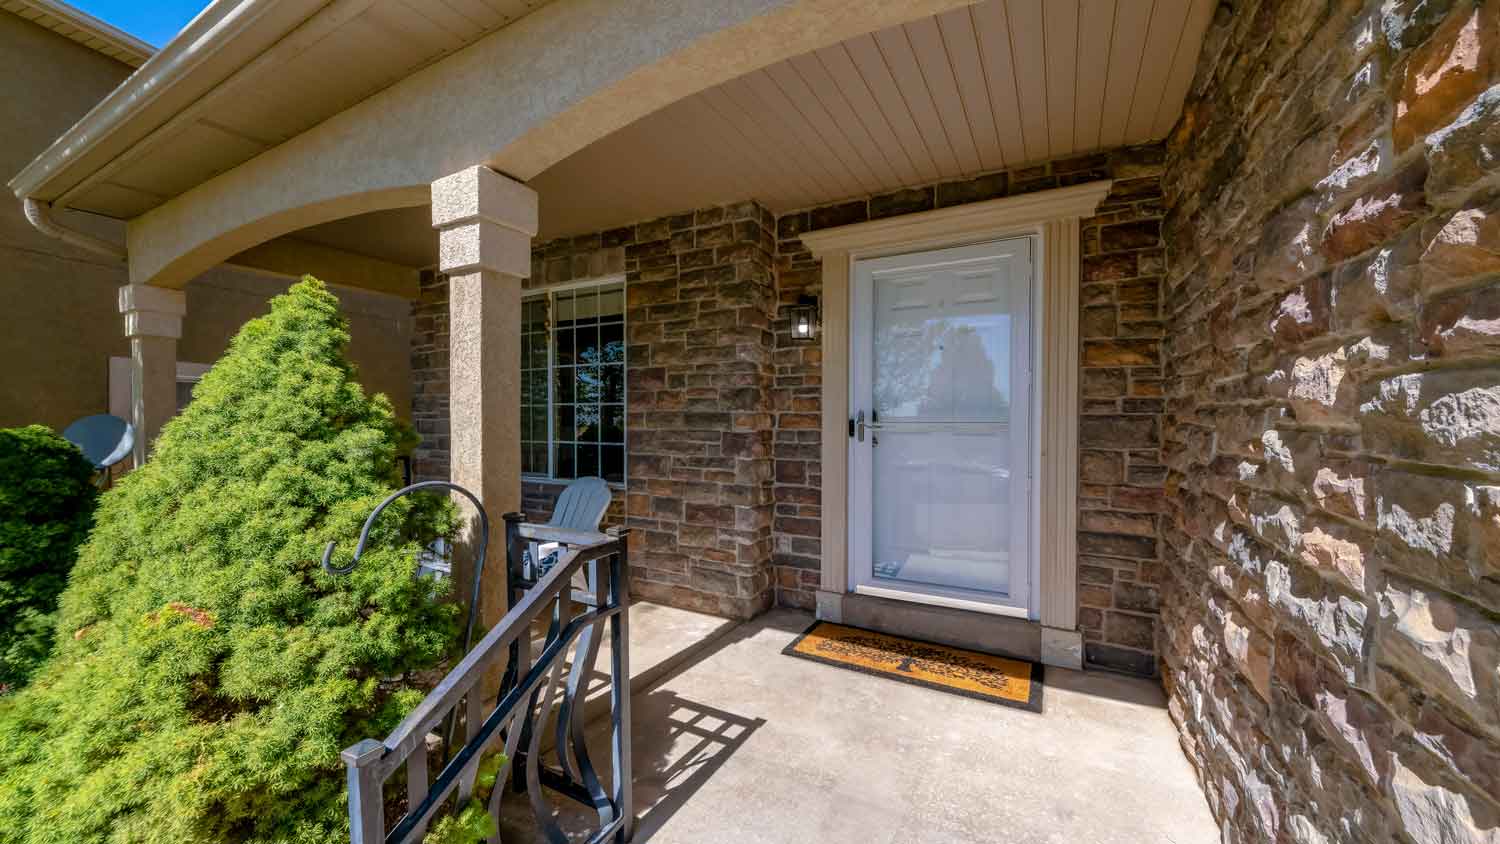
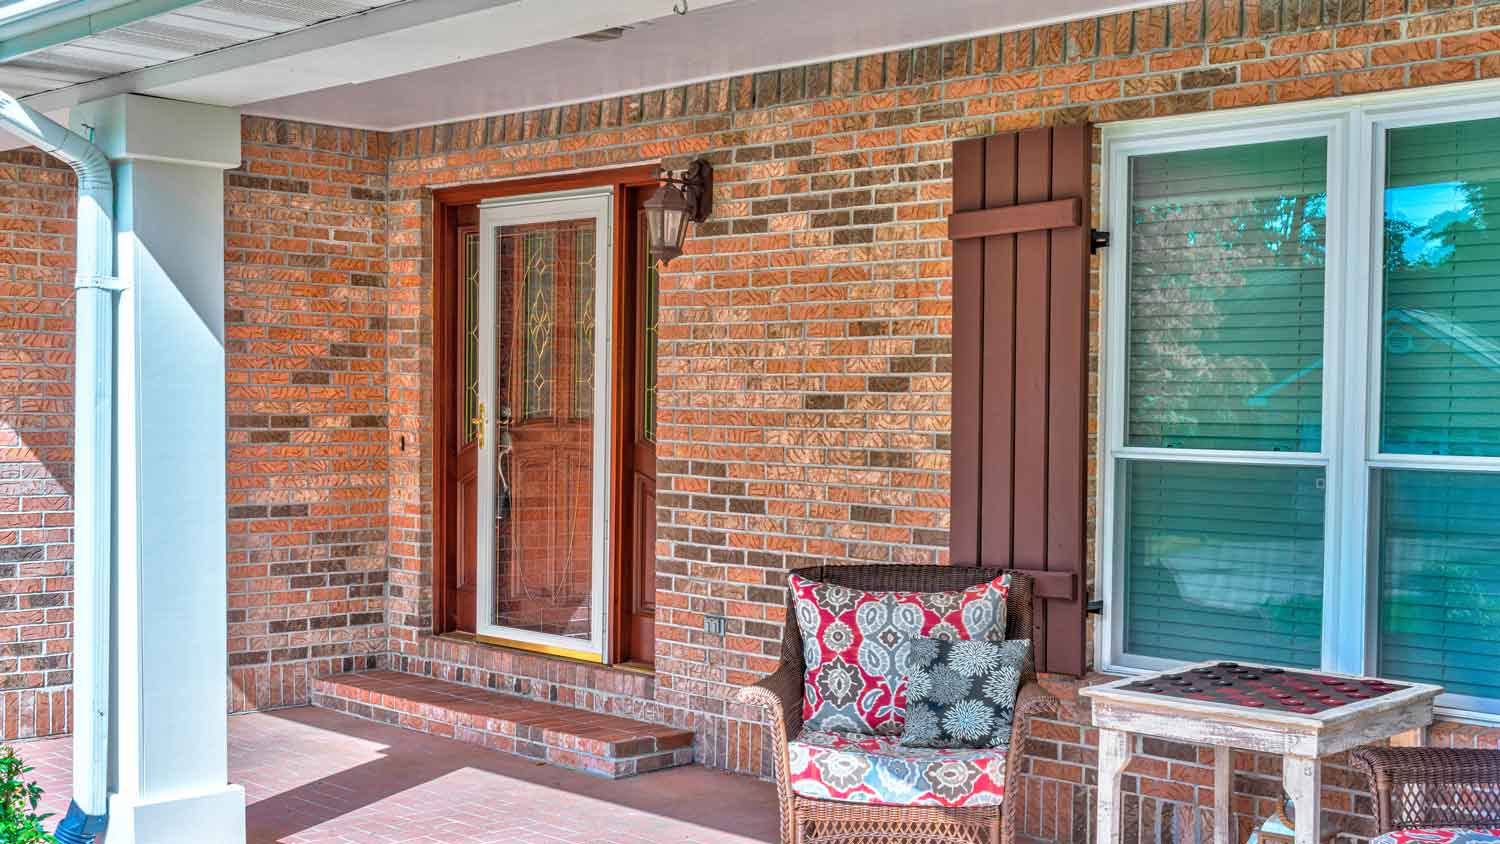
Storm doors are a great way to protect your home from bad weather. They also allow you to enjoy the beautiful outdoor scenery without letting the bugs in or the cool air out. However, that’s only if your storm door handle works properly. Thankfully, the replacement is an easy DIY job. Follow this simple five-step guide on how to replace storm door handles, and you’ll have a new handle up in as little as 10 minutes.
Before starting the project, identify what type of storm door handle you need. There are four common storm door handles on the market. The cost depends on material, finish, and structure, but storm door handles range between $30 and $100 on average.
Mortise handles: Mortise handles use identical lever handles inside and outside of the door panel with a latch bolt and deadbolt on the handle-side edge of the door. They are the most durable type of storm door handle but are also more expensive than other models.
Doorknobs: Knob handles come with various finishes and styles and come with decorative value. However, knob handles may be hard to grasp in the rain. The rotation motion also wears them down faster than other handles.
Lever handles: Lever handles provide an easier grip. But your clothes, shopping bags, and even bracelets can get caught on the lever.
Push-button handles: These are the most common type of storm door handle. The main issue is that the push button tends to get stuck over time.
Most storm door handles are interchangeable, allowing you to switch to a safer, more convenient model or a new handle with more pleasant designs.
Most storm door handles follow the standard 1 3/4-inch hole spacing from the top hole to the bottom. Alternatively, some handles may have three holes spaced 7/8 inch apart. If you’re looking for universal parts, take measurements before heading to the hardware store.
The fail-safe rule is to find replacement parts from the same brand as your storm door to ensure they fit into the holes left behind.
Meanwhile, drilling holes through a storm door frame can be quite challenging, especially if your door frame is made of metal. So, if you can’t find the proper replacement parts, replacing the storm door with a newer model might be best.
Now that you’re ready with your supplies and tools, it’s time to replace your storm door handle using the following five steps.

Begin by removing the old handle. Use your screwdriver to remove the screws on the cover plate. Continue to remove the screws connecting the handle hardware to the door and place them in a small container for safekeeping.
Once all the screws are gone, gently pull the cover plate and the interior and exterior handles. You may need to jiggle the pieces loose if the handles are old. Finally, remove the spindle.
Before installing the new handle, clean out any grime, rust, or debris left from removing the old handles. If you have a wooden storm door frame, you may want to sand off any splinters and clean the screw holes.

Put together the exterior handle following the instructions your door handle parts came with, then insert the spindle through the center hole. Slide the interior portion onto the spindle, and make sure both sides are aligned and leveled. Test the handle before putting any screws in to ensure it turns properly.

With every piece in place, fasten the screws with your screwdriver. You can use the screws that came with your replacement door parts or the ones you removed from the old handle if they fit. Ensure the screws are tightly fastened without pressing them into the door frame too much. Gently jiggle the handles. If they feel firm, then the screws are tight enough.
If your old handles had a strike plate, you only need to remove the old strike plate and screw the new one on. However, if you’ve never installed a strike plate, this is the only part where you may need a drill. Mark the top and bottom of the latch with a pencil, place the strike plate, mark the screw positions, and drill 3/32-inch pilot holes. Then, you can fasten the strike plate with screws.
Storm door handle replacement is an easy DIY job that almost anyone can do. On average, each handle takes about 10 minutes to swap out. However, you may consider hiring a local storm door installer if you’re replacing the whole door and don’t want to take on a more complicated project.
If you hire a storm door contractor, you'll pay between $75 and $100 per hour for labor costs, but it may be a better solution for some people. Consider hiring a pro if you’re uncomfortable drilling holes or your new handle uses a more complicated locking mechanism, such as a mortise lock.
Terrible experience. Walls/trim/floors/cabinets/doors all have drip marks, overspray, etc. Tiling at the fireplace had to be redone by another vendor due to incorrect and shoddy install by Profect. Contractor had his children in our house while he was on site without prior authorization or...
 Profect painting & exteriors
Jason has helped me with multiple household projects, with the most recent being new door installation. He has always showed up on time and organized and has done an incredible job! Jason is very professional and he's now my go-to for anything around my house that needs to be fixed or...
Company came to look at my garage door that was off track. They also said I needed a brace on the other garage door. They put the door back on track, and I paid to install the brace. The technician told me I needed a new garage door opener, and it would cost $1000. Red flags went off in...
 Precision Overhead Garage Door Service
On Sunday 2/26 I requested quotes via Angi from 4 refrigerator repair businesses. Northwest Appliance responded to me Monday morning (2/27) and my refrigerator was repaired by noon the same day. Great communication, they did everything they said they would. The technician had the parts on...
Excellent customer service and knowledge. I was recommend to him from my neighbour. My front door and window came in great and were installed beautifully perfectly, I m very satisfied with their excellent work, so decided to order one more big bow window for my living room. I cant wait for...
Called ahead and worked quickly to install keyless locks on vintage wooden doors.
Scott did not get appropriate access to the property prior to the scheduled inspection which required us to come back later in the day to complete it. He also, unprofessionally, knocked on a neighbor?s door in his attempts to reach someone with access. His overall report was fine though the...
Door Depot was very responsive - they came out the day after my call to assess my needs, then returned at my convenience to complete the work. They arrived early, and the work was completed in a shorter period of time than estimated. Very pleased with the results. I would definitely use them...
 Door Depot LLC
Replace garage doors: Fast response, competitive estimate, timely work done well.
Jeremiah did an awesome job cleaning 28 windows inside and out! He was fast, efficient and now I have a beautiful view again. This was a Groupon for $139 for 20 windows, but I had 28 windows/doors cleaned, so there was an extra $6 per window. Totally worth it.
 Complete Home Services
From average costs to expert advice, get all the answers you need to get your job done.
A storm door can protect your front door and let in more fresh air. Find out how much storm door installation costs for materials, labor, and more.
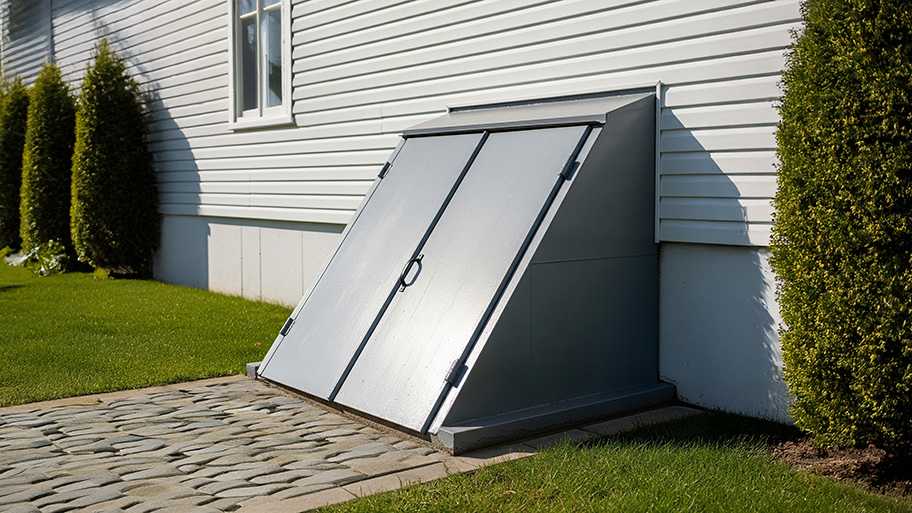
When storm season is approaching, ensure you’re ready to go in case of an emergency. Explore our guide to budgeting for bulkhead replacement costs.
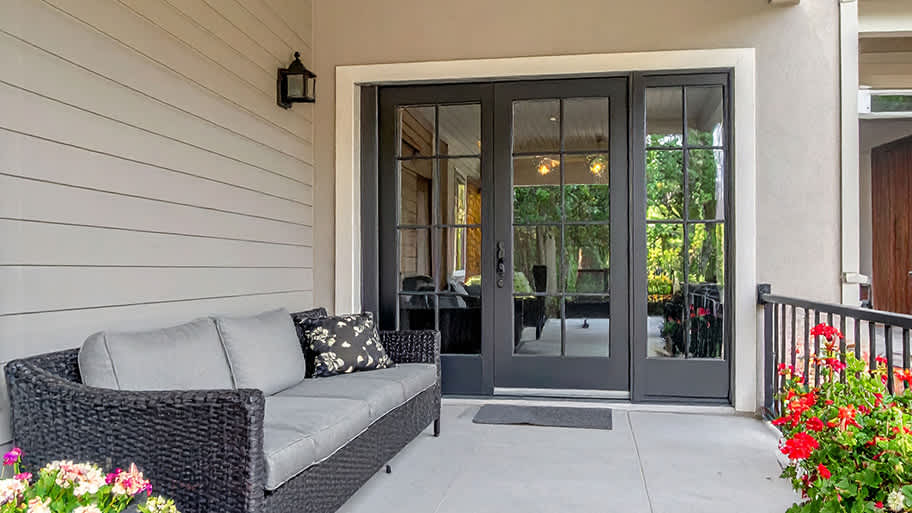
When it's finally time for an upgrade, how much does patio door replacement cost? We'll break patio door prices by size, style, installation, and more.
From knobs to mortises to push buttons, there are more storm door handle types than you might realize. Learn about four of the most common.
Not sure who to hire to repair a storm door? Learn when to call a door repair specialist or installer and how pros approach storm door repair.
If your storm door doesn’t shut properly, loose screws or damaged weatherstripping might be to blame. Learn how to fix a gap between a storm door and frame.