
Notice leaks and corrosion around your chimney? You might need new flashing or some careful repairs. Here are some common chimney flashing repair costs.
Only tackle this leak-proofing project if you have the right skills and safety measures in place

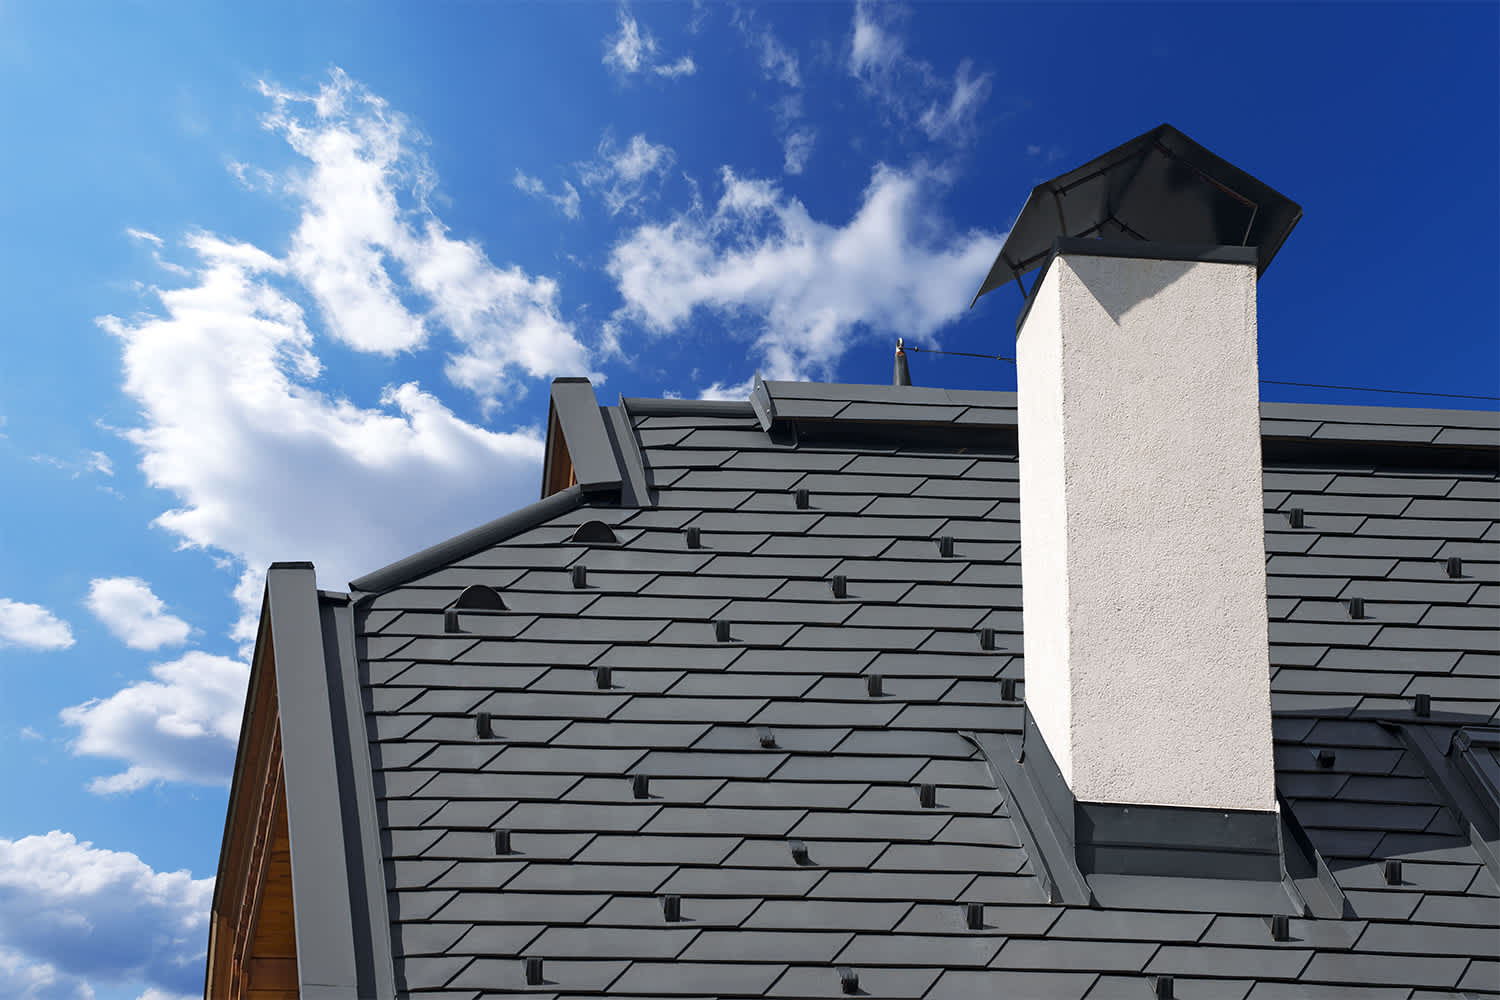
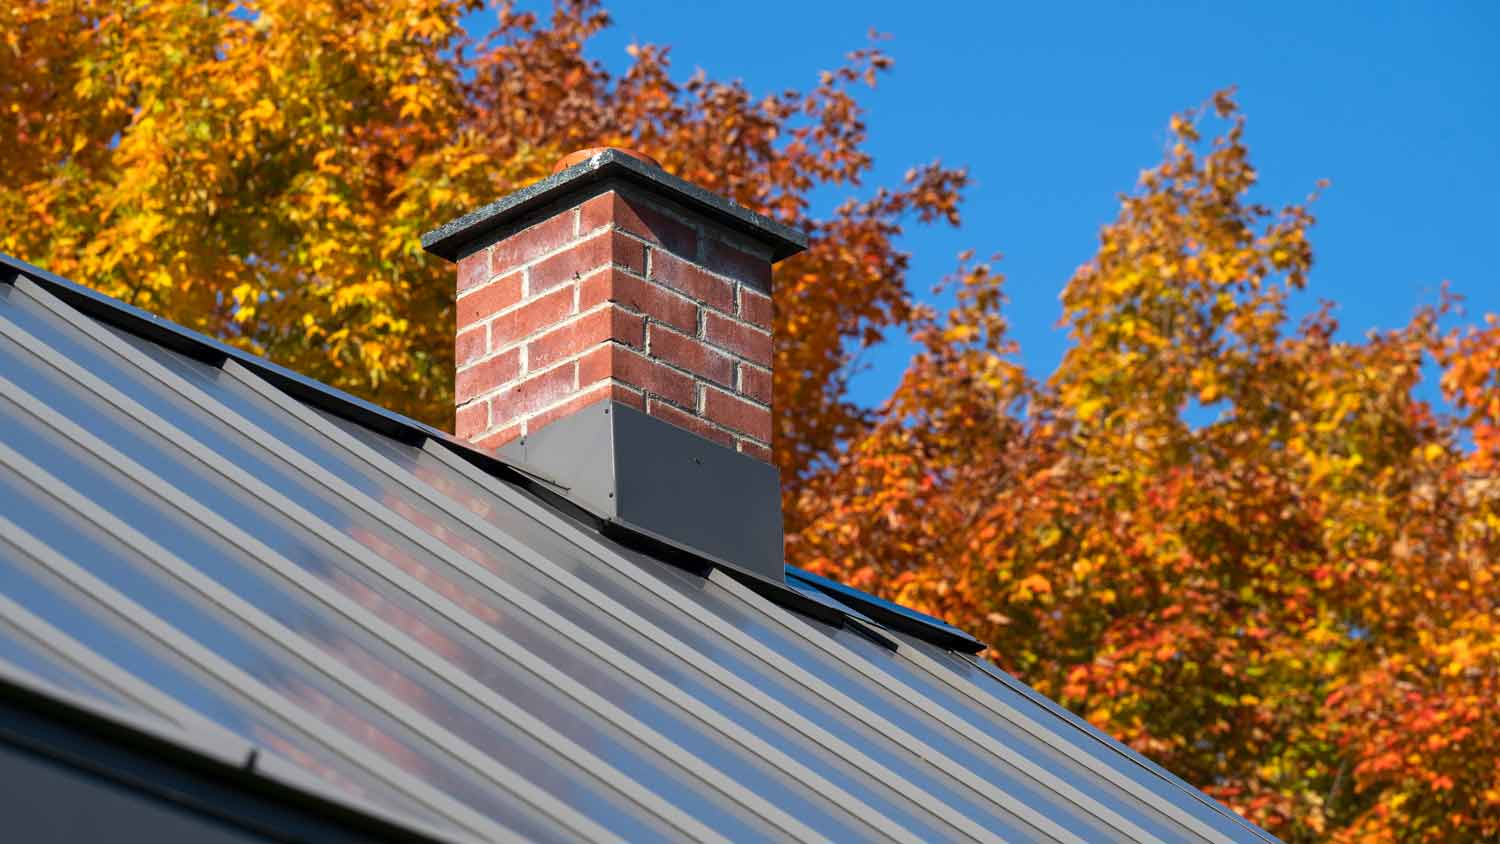
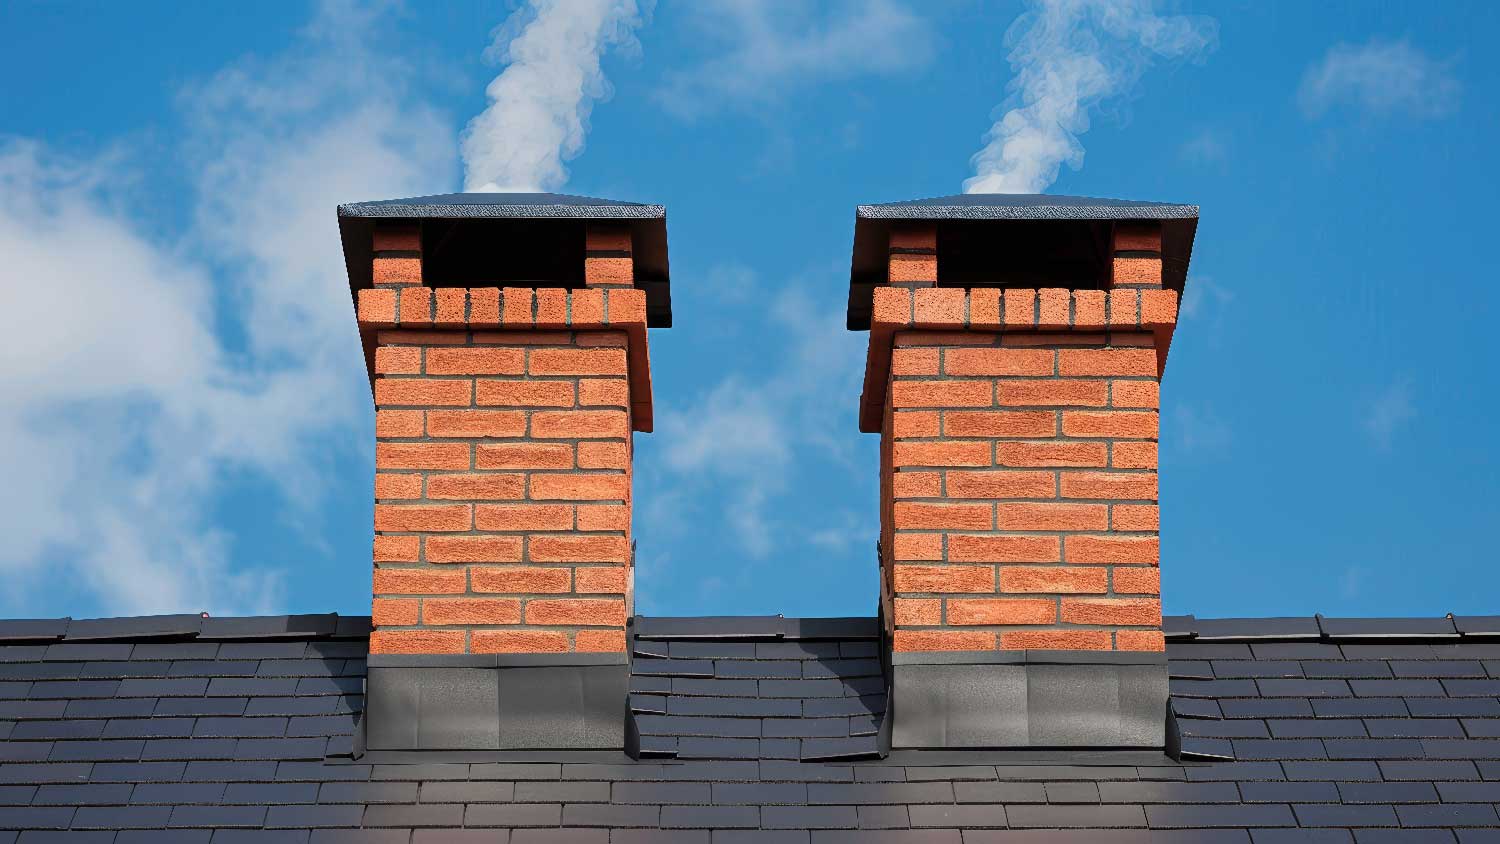
Seeing a water stain developing on your ceiling can cause your stomach to drop. However, this classic warning sign of a leaky roof doesn’t usually mean you’ll have to fork out for a full roof replacement. Sometimes it can be something as simple as faulty flashing around your chimney. Flashing is the sheet metal installed around the base of your chimney to keep things watertight.
This guide walks you through how to replace flashing on chimneys to help you decide if you have the skill set to take on this project or if it’s something you need to get the professionals onto pronto.

Replacing chimney flashing involves accessing the roof, taking measurements, removing the old flashing, and installing the new flashing with roofing nails and caulk. Having to work at heights with a complex set of sheet metal sections means learning how to replace flashing on a chimney can be tricky. After reading through the steps below, if you have safety or technical concerns, it’s best to call a chimney contractor.
The most important aspect of replacing flashing on a chimney is accessing the roof safely. Roofs are sloping, slippery, and high. If you take a tumble, you could seriously injure yourself (or worse), and treading on the wrong roof part in the wrong way can also lead to costly roof damage repair bills.
If you want to DIY chimney flashing replacement, working on a flat roof is less risky. Only get the tools out on a dry, calm day, and enlist a helper to provide ladder and supervisory support. Always follow ladder safety guidelines and wear rubber-soled shoes and a safety harness with a rope attached to the chimney for extra security. Position the ladder on a flat, stable surface, extend it a few feet beyond the roof surface, and keep three points of contact on the ladder as you climb.
Once you’re safely up on the roof, inspect the flashing for holes, corrosion, or loose sections. You don’t want to buy supplies until you’ve confirmed this is the roof repair in the cards. Sometimes, if you’re lucky, you might only need to reseal the flashing with caulk or roofing cement rather than completely replacing the damaged sheets.
The replacement flashing sections need to be the correct size to avoid a DIY disaster. What you need depends on your roof's slope and the chimney size and construction. Accurately measuring the existing flashing heights and dimensions is a big help.
It is usually easiest to take the chimney and roof slope measurements to your local sheet metal supplier. They can help you purchase the correct size and conveniently cut and bend the pieces to shape, allowing for appropriate flashing overlap.
To calculate the slope of your roof, measure the rise (the vertical distance from the roof base to the highest point) and the run (the horizontal distance from the outer edge of the roof to the point below the highest section of the roof). Divide the rise by the run to get the slope ratio.
Scrape away the old sealant and flashing using a hammer and chisel or pry bar.
Work cautiously—you don’t want extra chimney repair costs resulting from a wayward chisel—and wear protective gloves when handling the old sharp sheets. It can help to mark and keep the pieces to remind you where and how the new flashing sections should fit.
The sections of flashing your chimney requires vary depending on its construction. All sections should sit flush against the surfaces, be held securely in place with roofing nails, and then get sealed along the mortar joints with flashing caulk.
The best caulk for chimney flashing is high-temperature silicone or roofing cement. Use copper nails for copper flashing and galvanized steel nails for the same flashing material. The sections sitting flat against the roof are typically covered with shingles for aesthetic reasons.
If the flashing is too long, you can shape and cut it to size using tin snips. It should be wide enough to extend across the roof base to overlap the roofing shingles.
Depending on the construction of your chimney and roof, the flashing sections you may have to replace include:
Apron flashing: This base flashing sits at the front side of the chimney where the vertical wall joins the roof surface and the rest of the base flashing.
Step flashing: This L-shaped base flashing sits where the roof intersects with a vertical sidewall of the chimney. Once complete, these individual small step sections correspond with each line of shingles and sit underneath the shingles.
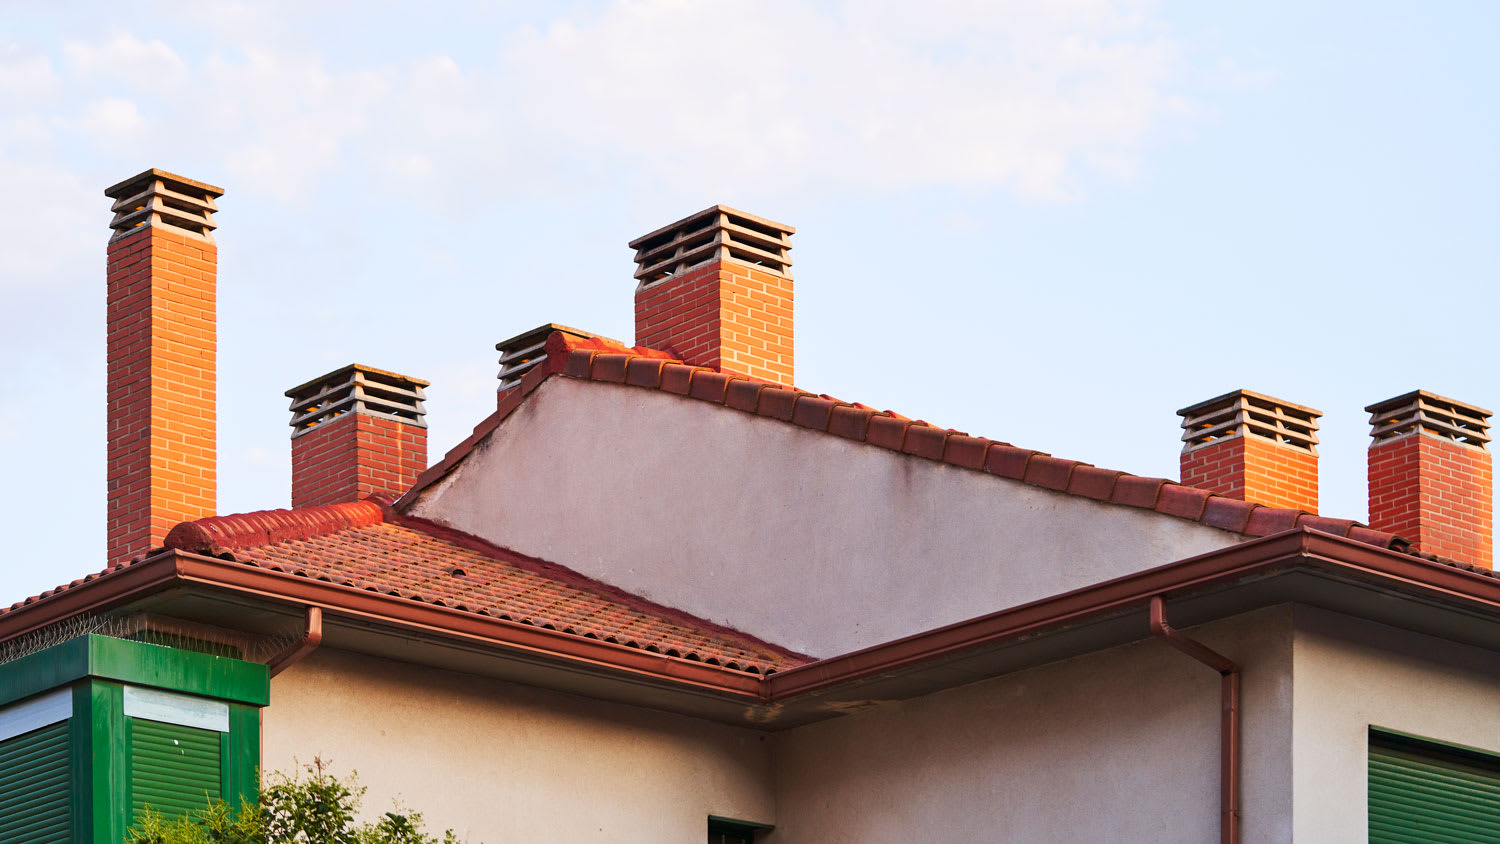
Cricket flashing: When a chimney is over 30 inches wide, it often includes a water-diverting layer of protection where the roof meets the chimney.
Backer or saddle flashing: Used for chimneys less than 30 inches wide, this extends a minimum of 6 inches up the chimney wall. You typically install this on the upslope of the roof, where it connects with the backside of the chimney stack.
Counter or cap flashing: This covers the top edges of all the step flashing you install to provide an extra layer of protection from water intrusion. The nails must be long enough to penetrate a minimum of 1 inch.
Learning how to replace flashing on chimneys is a technical task involving working up high on a sloping roof. It requires accurate measurements, the use of the correct flashing sections, and careful fitting. A mistake could result in costly roof repairs, water damage bills, or serious injury. While it’s a doable DIY project, unless you have experience working on roofs, it’s probably best to let a local roofing repair company handle things.
Mitchell and the crew were top tier i am so happy with my new roof
D1 Roofing delivers outstanding service from beginning to end, backed by a strong warranty and expert teams. I highly recommend them for their excellence in meeting and surpassing expectations with unmatched communication. Choosing D1 Roofing was flawless decision
This place took $25,000 for a flat roof job with a five-year warranty and never returned to fix the leaks that were caused by their work. These people are not professionals and should not be doing this type of work. They incorrectly changed the pitch of the roof, and caused more damage than...
The technician was very professional and friendly. He answered all my questions and was very thorough. He left the fireplace area very clean . He inspected from the roof and advised me as to other work that might need to be done. There was no pressure there. I was very satisfied with the...
 Supreme brick & chimney
I am really impressed with their timeliness and turnaround. Mitchell came out, and we decided to move forward with their pricing. Our roof was on within a week, and we could not be happier with their team! Amazing company, great prices and honest, dependable craftsmanship. I highly recommend...
Manuel Calvillo is the best option in the area for roofing and you won't be disappointed.
They damaged multiple items on my property, including a marble slab used as a table top, tried to hide it, and refused to pay or replace. Arrived day one without a ladder to access roof & delayed a day. Left a mess in back yard; didn't wear face masks; no show by owner to property to see damages
I've hired Gary/Cherokee Roofing for two different homes, work quality, responsiveness, and completion have been great both times. And the prices quoted were very competitive. I would definitely hire again.
Lyle did a great job removing asbestos shingles from our front porch roof. They worked together with our roofer to make sure that the new roof was able to be installed on the same day that Lyle removed the asbestos shingles.
 Lyle Environmental
Bradley Builders did a good job replacing the roof on our front porch. They color-matched the existing shingles on the rest of the house and installed a metal ridge roll since we live in a historical neighborhood. They did the job while we were out of town. When we got back, everything was...
 Bradley Builders, Inc.
From average costs to expert advice, get all the answers you need to get your job done.
Notice leaks and corrosion around your chimney? You might need new flashing or some careful repairs. Here are some common chimney flashing repair costs.
Replacing your chimney increases home value and prevents hazardous structural damage. Learn how much to budget for chimney replacement costs.
If you’re experiencing chimney airflow problems, a new damper may be in order. Use this guide to learn what goes into your chimney damper replacement cost.
You might think you know how your chimney works, but what is chimney flashing? Learn about the roofing element that keeps your fireplace dry.
When you need to hire a pro who fixes chimney flashing, look for a roof repair contractor or chimney repair person to preserve the structural integrity of your home.
Chimney flashing helps keep water, snow, and debris out of the home, but what caulk can you use to seal it? Learn about the best caulk for chimney flashing.