
Baseboard heaters are smart, budget-friendly options. However, the exact cost of installation depends on the type of heater you choose and the size of your home.
Keep yourself covered with our guide to replace baseboard heater covers

Baseboard heater covers protect internal components from damage and prevent fire hazards, so replacing covers with dings, scratches, or dents keeps your heater safe.
Replacement covers cost $40 to $50 for snap-on styles or up to $200 for full enclosure kits, depending on your heater size and style.
You should shut down your heater completely, remove end caps and screws, then snap the new cover into place for a secure, stable fit.
Hiring a local baseboard installation professional saves time on cover removal and installation, especially when older heaters require dismantling the entire unit for replacement.
Baseboard heaters are compact, permanent heating installations that heat the nearby area with electricity, gas, or hot water. Learning how to replace baseboard heater covers or when to hire a baseboard professional to tackle this task is essential.
Over time, baseboard heaters can experience wear and tear, collecting scratches, dings, faded paint, and other problems. We’ll review everything you should know about this DIY-friendly task.

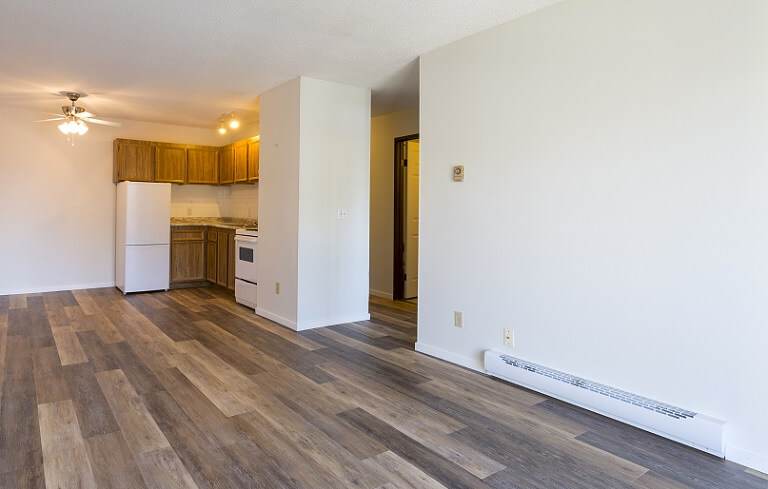
One attractive feature of baseboard heaters is that they don’t take up much space in a room. However, they are in unfortunately perfect spots to accidentally kick, trip over, or bump with furniture. The covers of baseboard heaters, which protect more delicate elements and piping inside, have to deal with a lot of wear and tear.
When the covers start showing signs like dings, scratches, large marks, or large dents, it’s time to consider a replacement. Not only is the cover’s appearance suffering, but it could break open and expose the more delicate parts of the heater, creating additional risks of fire and damage. Fortunately, you don’t have to replace the entire heater to get a new cover.
With some prep work, replacing baseboard heater covers is—literally—a snap. Keep in mind, these steps should work if your heaters currently don’t have covers at all, as long as you start at the research stage.
Search your heater’s model number online to learn more about the manufacturer and their replacement components. You can usually find model numbers on the baseboard heater’s label, on the side, or just inside the heater. If you need help determining the type of baseboard heater you have, you can contact a local baseboard specialist and schedule a consultation.
You may find that your baseboard heaters don’t have covers and covers aren’t available from the manufacturer or third-party seller. Don’t sweat it: Some brands, such as EZ-Snap, sell customizable steel cover kits made to completely cover old baseboard heaters with a brand-new look and a layer of extra protection.
Once you have the baseboard sizing information, order the appropriate covers to fit your model. You can expect to pay $40 to $50 for a simple snap-on cover or up to $200 or more for a full enclosure. The size of your heater is a major factor when replacing covers.
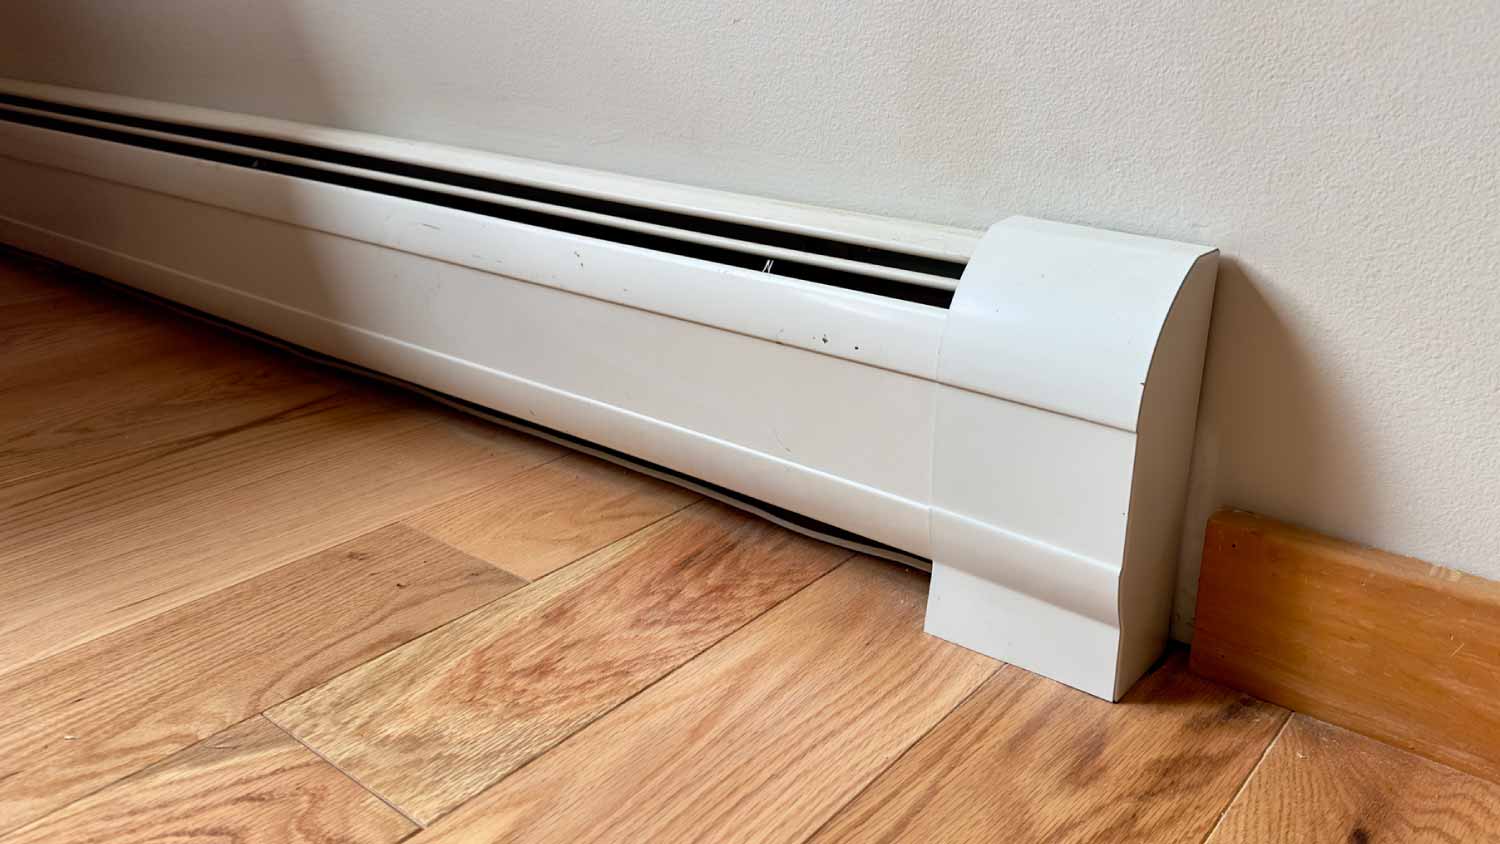
When you are prepared to make the replacement, shut down your baseboard heaters entirely. They should be cool to the touch before you begin. If your heater already has covers, they typically come with end caps that you can pull off. Remove the end caps and set them aside.
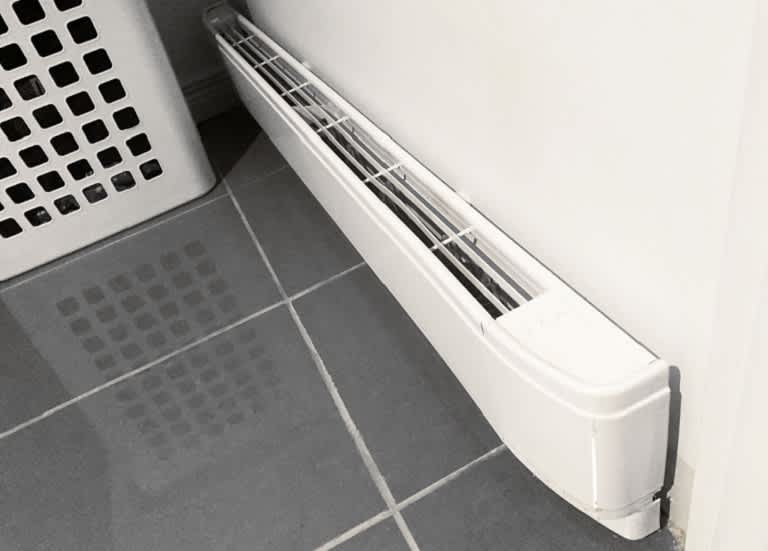
With the old cover exposed, inspect how it is attached to the heater or wall. Many covers are held on with simple screws that you can unscrew with a drill or screwdriver. Others may have latches or brackets that you’ll have to undo. Release and remove the cover entirely. This is a great time to thoroughly clean the inside of the heater!
Here’s a tricky part: Some baseboard heaters, especially old models, don’t have covers that you can easily remove. Instead, these covers are attached to a back plate which supports the entire heater. If you want to remove these covers, you will need to unscrew the back plate, detach the hangers to release the heater, then dismount the entire heater and unscrew the cover. There may also be a damper that you’ll have to remove as part of the process. Finally, you’ll need a new back plate and hangers to re-mount the heater with a new cover.
Frankly, this is enough work that you should look into the price of a complete baseboard heater replacement or ask for a quote from local professionals to handle the job for you. Otherwise, budget plenty of time for this kind of replacement, especially with multiple heaters. Fortunately, newer baseboard heaters likely have easily-removable covers.
The old cover and components are probably too large to go in your trash. Arrange for a trash pickup, a trip to the landfill, or a dumpster rental if necessary.
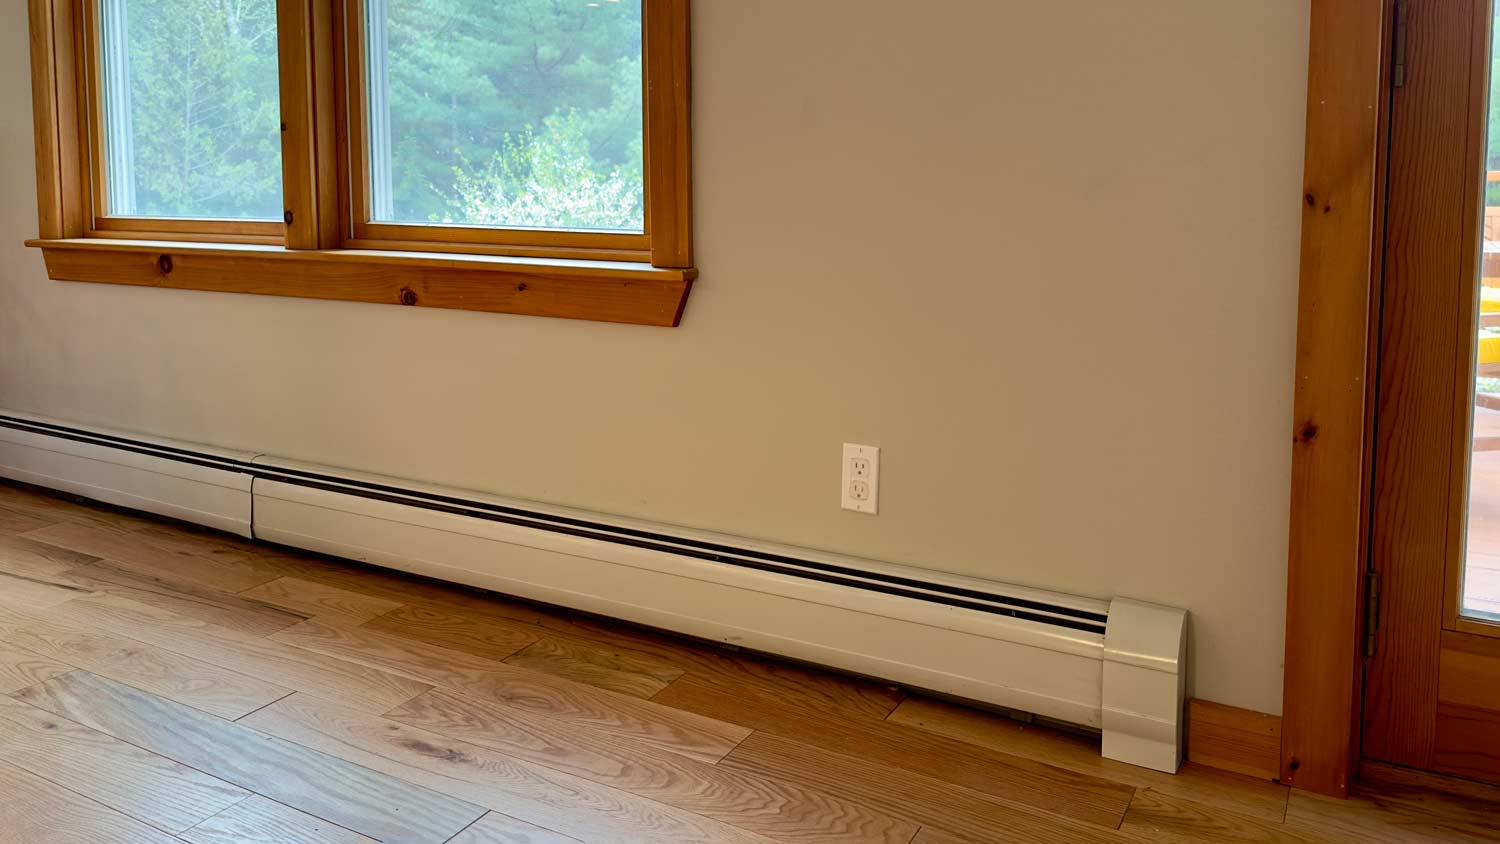
Unpack the new cover, flip it the right way around, and connect it to the heater—requesting help from a second pair of hands to handle larger covers. The cover should fit snugly against the wall without running into any components of the heater. Connect the new cover by screwing or latching it onto the heater. For brand-new full enclosure kits, you may need to drill new holes for screws, but many are designed to slip right over the heater.
You should be able to easily snap your new end caps onto either end of the cover without any additional work.
With everything set up, wiggle the cover a bit to make sure it’s stable, well-attached, and doesn’t have any notable cracks or gaps. Now, you’re ready to turn on the baseboard heater again.

Baseboard heater covers are well-positioned to suffer a lot of casual damage. But there are several steps you can take to help their covers last as long as possible:
Keep objects away from the baseboard heaters: Not only are they a fire hazard, furniture and other objects can easily crash into baseboard heaters if they’re placed too close. Keep objects several inches away from the heating system.
Don’t put switches or accessories directly above the heaters: Try to avoid placing switches, commonly used items, curtain drawstrings, and similar items above the baseboard heater. The frequent trekking over to use them greatly increases the risk of accidentally kicking the baseboard heater cover.
Clean the covers regularly: Dust or vacuum the covers regularly to remove dust. This task also gives you the opportunity to inspect the cover for damage and make sure it’s firmly attached.
I normally do not leave reviews, but my experience with Worthington Air was extremely frustrating and disappointing. About 30 days ago, I had a consultation done for an HVAC replacement and was quoted approximately $15,079. Based on that quote, I applied for financing through their company...
Great company! Price was competitive, technician showed up on time and completed the job (exterior electric Radon fan replacement) quickly. Would hire them again.
Raven and crew does absolutely fantastic job. They are very professional if any concerns were to occur with any of her work she always took responsibility and finished out with a great job. I have worked with her business for a year and have always been satisfied. Very trusted business and...
I would recommend this company to anyone! He showed up on time, was friendly, completed a very difficult repair on our dryer vent cover, was responsive, and pricing was extremely fair and competitive. I would have him back to do any of our repairs or cleanings without hesitation!
Ace Fireplace Services' chimney sweep service is truly exceptional. They used advanced technology to ensure a thorough cleaning process, and my chimney has never looked better. I highly recommend their services.
 Ace Fireplace Services
The technician was very professional and friendly. He answered all my questions and was very thorough. He left the fireplace area very clean . He inspected from the roof and advised me as to other work that might need to be done. There was no pressure there. I was very satisfied with the...
 Supreme brick & chimney
Excellent experience with hiring Tether House to Mount our 77’ Samsung TV in our bedroom. Fast, friendly, and knowledgeable. Highly recommend.
On time, clean and finished fast. Windows seem sturdy and the finish is good. Caulking was done with no smudges. Would recommend.
Great job...edging and pre clean up went well with a great job with seal coat. Friendly, efficient and professional.
 All Star Paving and Sealing
Good workers and they do a good job.
From average costs to expert advice, get all the answers you need to get your job done.
Baseboard heaters are smart, budget-friendly options. However, the exact cost of installation depends on the type of heater you choose and the size of your home.

Discover the average baseboard heater installation cost, including price ranges, key cost factors, and tips to help you budget for your home heating project.
Who replaces baseboard heater covers? Learn all about your hiring options for baseboard heater cover replacements with our guide.

Baseboard heaters are simple to operate. Learn how to turn on baseboard heaters, how to maintain them, and important safety tips.
DIYers with the proper skills and knowledge can replace a baseboard heater. Learn the basic steps for how to replace a baseboard heater.
Find and hire a qualified pro to repair your baseboard heater. Learn about services, costs, questions to ask, and what to expect from start to finish.