If you’re experiencing chimney airflow problems, a new damper may be in order. Use this guide to learn what goes into your chimney damper replacement cost.
Add years to your chimney's life by catching and patching small cracks


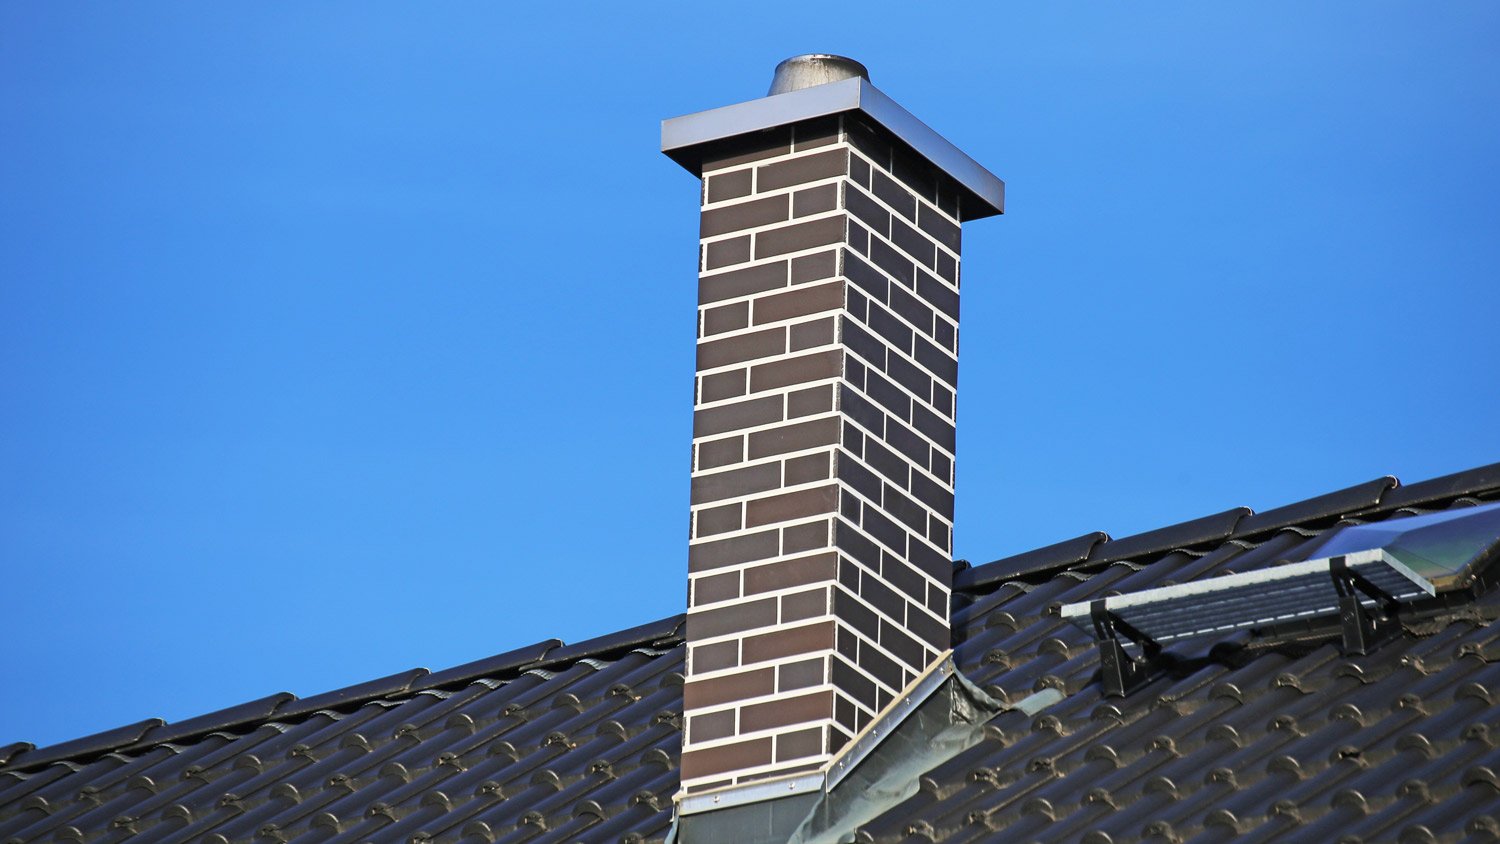
A chimney's crown is integral to its structure. This protective top cement layer covers the porous brick below to prevent moisture from entering the chimney and causing damage. Over time, small cracks and chips can compromise a chimney crown's function. If you catch the problem early enough, you can repair the chimney crown yourself before replacement is necessary. Our step-by-step guide explains how to repair a chimney crown.
Before you start your repair, you'll need to climb on the roof to inspect the existing crown. Working on a roof can be dangerous, so ensure you have a spotter to hold the ladder for you. Look for spider cracks and missing chunks, which are telltale signs of a crown that's susceptible to moisture and in need of replacement.
Wrap duct tape around the crown, about a quarter inch below the edge of the seam where the crown meets the brick. Then, wrap duct tape around each flue liner about one inch above the crown. Lay out a canvas tarp around the base of the chimney on the roof to protect the shingles from any drips of sealant.

To repair a chimney crown, you’ll need to clean and level the surface before applying a sealant specifically designed for chimney crowns. Once the crown is dry, you can use a water-repellent coating to add extra protection.
Look for loose pieces around the flue liner and carefully chip them off by hand. Then, use your stainless steel wire brush to scrub away any grime, stains, and remaining loose material from the crown.
This step is only required if there are holes and dips left over after removing loose pieces. If so, patch them using a quick-setting cement repair caulk and caulk gun, then follow the instructions on the container to allow appropriate time for the cement to set.
Seal the crown using your crown sealant product. Scoop sealant with your putty knife and spread it onto the crown. Then use your nylon brush to level out the sealant until smooth.
Once your sealant has dried, use your spray pump to apply a water-based elastomeric coating designed for chimney crowns. Start at the bottom of the chimney from where you laid your canvas and work your way up. After you've coated the entire chimney, wait five minutes and repeat the process.
After about an hour, your coating should be dry and you can remove the tape and tarp.
The cost to repair a chimney crown is less than $100 when you DIY since all you’ll pay for is the materials. Compared to the $400 or more you’ll pay a pro to do the work, the DIY approach will save you a significant amount of money.
However, while chimney crown repair is a relatively simple project, any task that involves climbing on a roof is inherently dangerous. Skip the DIY and hire a pro if:
You lack the proper equipment
You don't have a partner to spot you while you're on the ladder or roof
Your roof design makes your chimney crown particularly difficult to access
You can hire a local chimney cap replacement specialist or general chimney service to handle the job.
From average costs to expert advice, get all the answers you need to get your job done.

If you’re experiencing chimney airflow problems, a new damper may be in order. Use this guide to learn what goes into your chimney damper replacement cost.

Notice leaks and corrosion around your chimney? You might need new flashing or some careful repairs. Here are some common chimney flashing repair costs.

Chimney liners are important for fire safety and energy efficiency in your home. Learn how much chimney liners cost based on type, size, material, and other factors.

If your chimney has structural damage, a partial or complete chimney rebuild is the only way to continue safely enjoying your fireplace.

Chimney problems can put a damper on your warm and cozy nights. We’ll explain common chimney issues you might uncover and how to resolve them here.

Before you light that fire, learn how to open a chimney flue safely in three quick steps. We also share what to do if it needs to be fixed.