
Chimney liners are important for fire safety and energy efficiency in your home. Learn how much chimney liners cost based on type, size, material, and other factors.
It’s the shield that keeps your chimney in tip-top shape

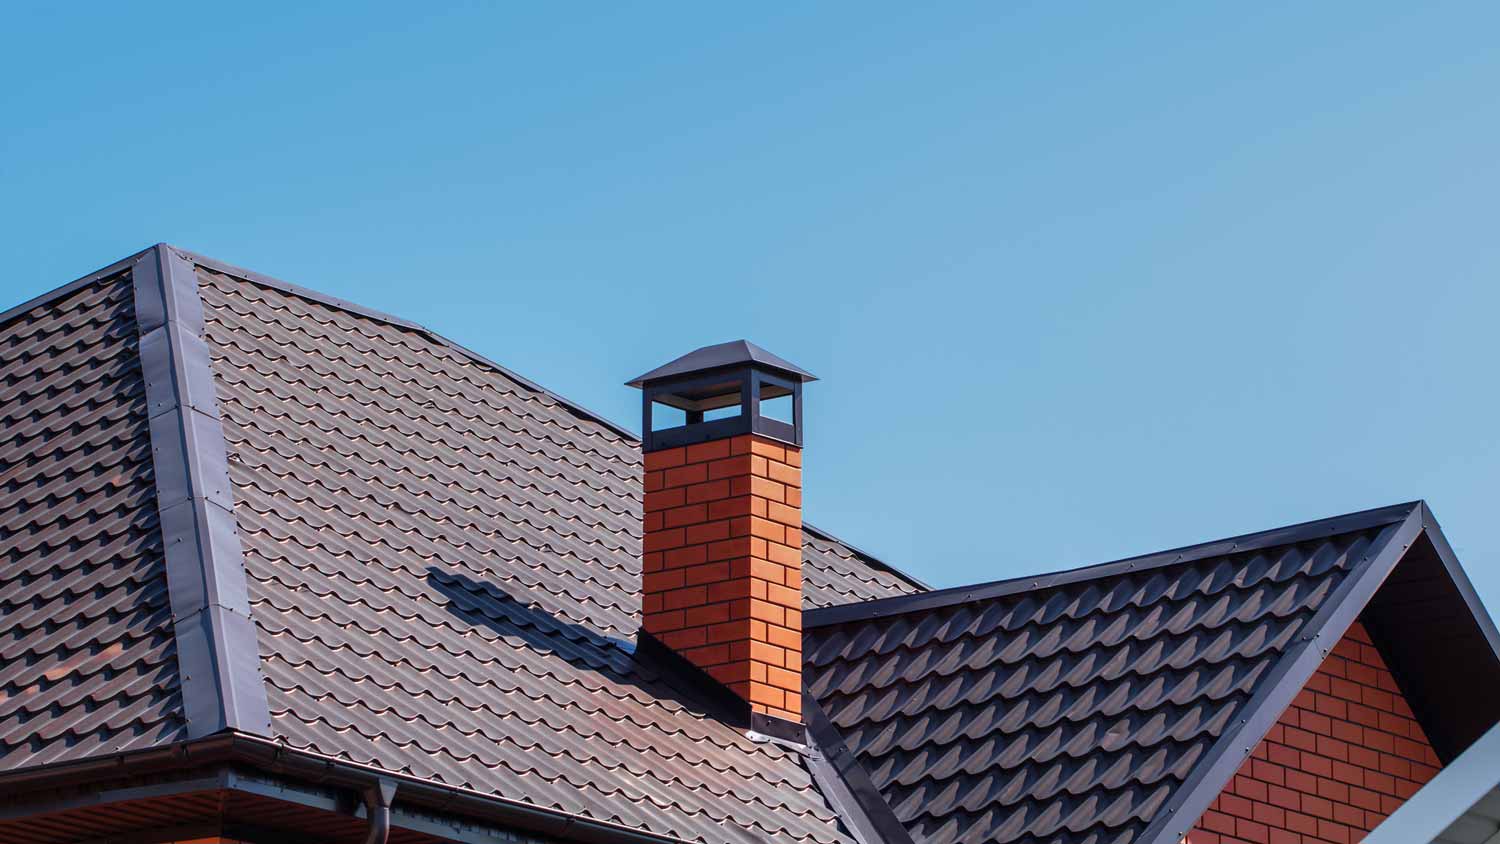
Fitting a chimney liner is not the most glamorous home improvement project. However, liners protect your chimney's structural integrity, ensuring it works safely by preventing fires and carbon monoxide poisoning. Here, we walk through how to fit a chimney liner.
Before fitting a chimney liner, it's essential to thoroughly clean your chimney to remove any soot, creosote, or debris. Using a chimney brush that matches the size of your flue will help you get the job done right. A clean chimney ensures you will get the proper measurements.
While you're at it, check for any damage. If you're unsure or want to be extra thorough, hiring a professional chimney sweeper can be a great option—they will handle the cleaning and inspection.
Accurate measurements are everything when fitting a chimney liner. The correct fit ensures your liner protects your home while optimizing performance. If the liner is too small, it won’t ventilate properly; if it is too large, it might not fit correctly. To fit a chimney liner, you’ll measure the length of your chimney using a long measuring tape or a weighted line. You'll also measure the width and length of your flue (or the diameter, if you have a round flue).

Start by measuring the length of your chimney from the top (where the liner will be installed) to the point where your fireplace or appliance connects to the chimney. This length determines how long your chimney liner needs to be. To do this, use a long measuring tape or a weighted line that you can drop down the chimney.
The flue allows smoke and gasses to travel up and out of your home. The size of your flue will dictate the diameter or size of the liner you need.
For a round flue, measure the diameter from one side to the other across the broadest part. This straightforward measurement will directly correspond to the diameter of the round liner you need.
If you have a rectangular flue, measure both the width and the length of the flue’s interior.
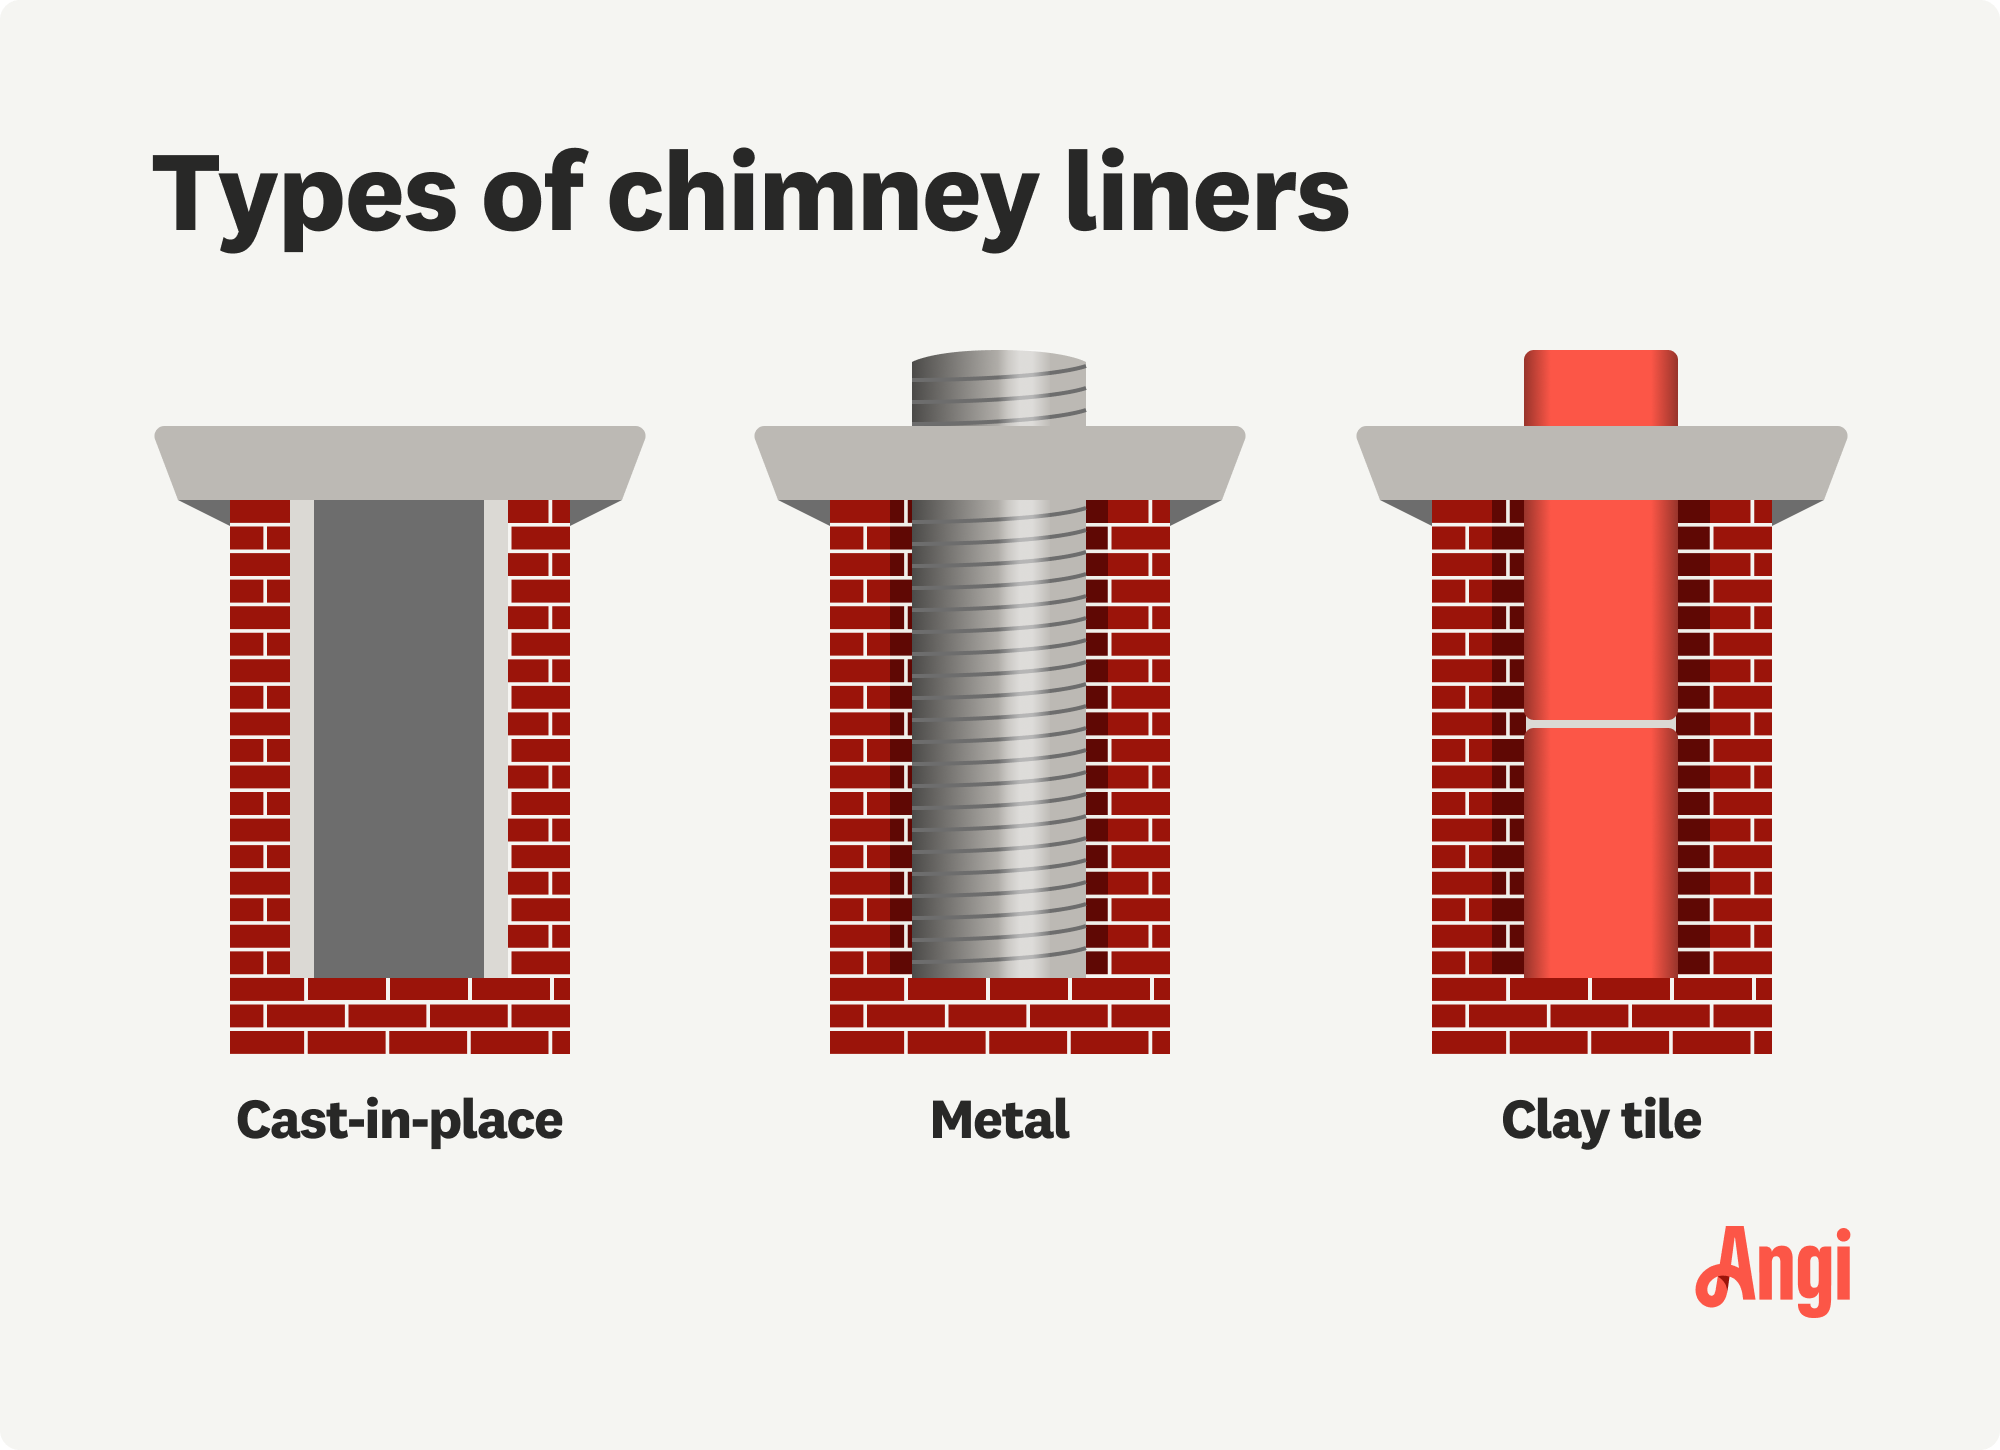
Keep in mind that stainless steel chimney liners typically come in round and rectangular shapes, but there are also oval options that can fit in spaces where a round liner may not work, such as flue bends.
In addition to measuring the chimney, it’s important to know the venting requirements of your appliance if your chimney connects to a wood stove or furnace. The chimney liner's diameter must match your appliance's vent size to ensure proper airflow.
Check the appliance manufacturer’s recommendations to confirm the appropriate liner size. If your chimney is too large for the appliance, you may need a reducer or adapter to ensure a proper fit.

The chimney cap covers the flue and sits on top of the chimney. It needs to be removed to insert the liner. The steps for removal depend on the type of chimney cap you have. Follow the manufacturer’s instructions or work with a local chimney repair specialist.

Start at the top of the chimney and carefully lower the liner down into the flue. It may be helpful to have a pal assist you.
If your chimney has bends, gently twist and push the liner to help it move through. If you’re struggling, try attaching a pulling cone (a unique tool that helps guide the liner) and use a rope to pull it down.
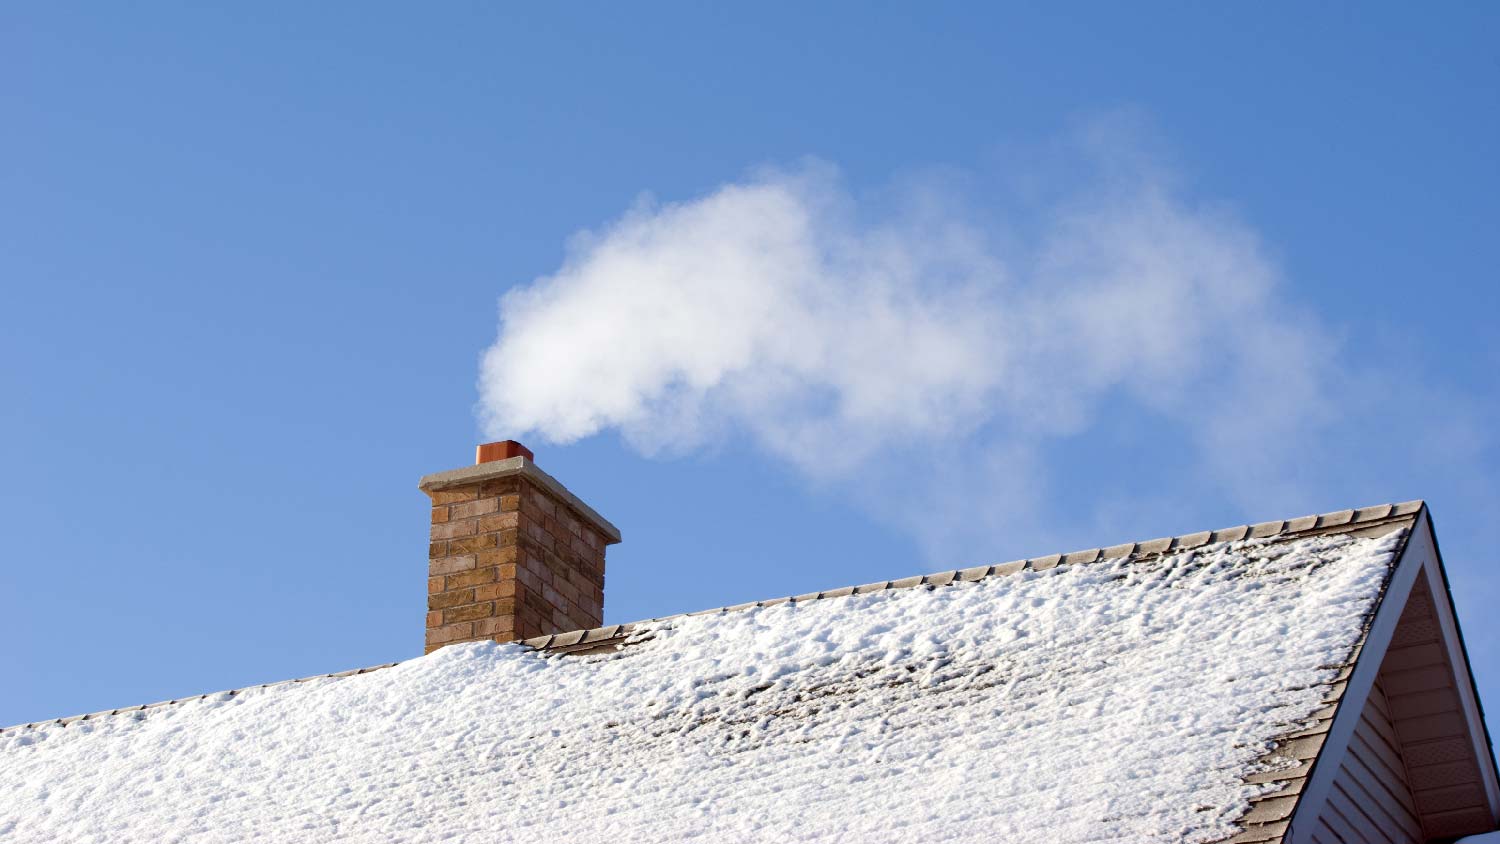
Once the liner is in place, secure it at the top with the top plate in your liner kit using a drill and the appropriate masonry bit. Then, using your caulk gun, apply a generous bead of high-temperature sealant around the edges of the top plate where it meets the chimney to prevent water from seeping into the chimney. Afterward, reattach the chimney cap. Then, apply more sealant.

With the liner secured at the top, it’s time to connect the bottom end to your fireplace, wood stove, or furnace.
Start by guiding the liner down to the appliance’s flue collar, where it will attach to the fireplace, stove, or furnace. You may need to trim the liner to fit, depending on your setup. Use your metal snips to carefully cut the liner to the correct length, ensuring it fits snugly without any excess that could cause kinks or blockages.
Next, secure the liner to the appliance using the appropriate connector. It could be a clamp, adapter, or collar that came with your purchased kit or the appliance.
Tighten the connection to ensure no gaps where exhaust gasses could escape, then add the sealant. Finally, double-check that everything is secure and properly aligned. A tight, secure connection will help maintain a strong draft, prevent leaks, and ensure your chimney system operates safely and efficiently.
This DIY project is suited for seasoned do-it-yourselfers with the right tools who are comfortable working on the roof. While the steps for this project might seem straightforward, cleaning a chimney and installing a liner can be challenging, especially if there are flue bends. While saving money is appealing, knowing the risks involved is essential.
A chimney repair specialist can handle the installation, ensuring it's done safely and in accordance with local building codes. Additionally, professionals can identify any chimney damage affecting structural integrity that a nonprofessional might miss. Professional chimney liner installation costs between $1000 to $5,000, and liner kits start at around $800.
Terrible experience. Walls/trim/floors/cabinets/doors all have drip marks, overspray, etc. Tiling at the fireplace had to be redone by another vendor due to incorrect and shoddy install by Profect. Contractor had his children in our house while he was on site without prior authorization or...
 Profect painting & exteriors
Supreme Brick & Chimney did a great job with a cleaning and inspection of the fireplace! He was efficient, on time, and very pleasant. The space was kept very clean, and the fireplace was spotless when he was done. He also performed a thorough inspection, and did a great job talking us...
 Supreme brick & chimney
Ace Fireplace Services came to the rescue for my chimney repair. They were quick to pinpoint the issue and worked their magic to fix it. My chimney is now in excellent shape, and I'm a satisfied customer.
 Ace Fireplace Services
Custom Paint Jobs LLCs custom murals brought life to our childrens rooms. They love it!
Storms Mobile Welding was great to work with. They were prompt, professional and did an overall excellent job on the project. I highly recommend.
On time, clean and finished fast. Windows seem sturdy and the finish is good. Caulking was done with no smudges. Would recommend.
The team is awesome!! I can generally pick up and clean throughout the week, but they CLEAN! Windows, stair rails, microwave. All the things I can’t ever seem to get to regularly. The house looks and smells great after they leave.
Blackburns did a great job and for about half of the estimated price!!! I have a big old house with a tall brick chimney. This chimney used to vent the fireplace which is no longer operational. I suspected that it also vented the hot water heater. Combustion of natural gas results in...
Bought a half a cord of firewood from Pitzer with stacking last month. I waited to report so I could see how the wood burned. <br /> <br /> I have three pet peeves regarding landscapers, but Pitzer scored "A"s regarding all three. First, rather than having customers "leave a message" and...
 Pitzer Landscaping
We decided to update our partially finished basement, with a budget. Gerald worked with me on the lighting and chair rail selections, and produced an end product that was everything we wanted and within our budget. The work was done quickly, and he and his crew were always prompt and...
From average costs to expert advice, get all the answers you need to get your job done.
Chimney liners are important for fire safety and energy efficiency in your home. Learn how much chimney liners cost based on type, size, material, and other factors.
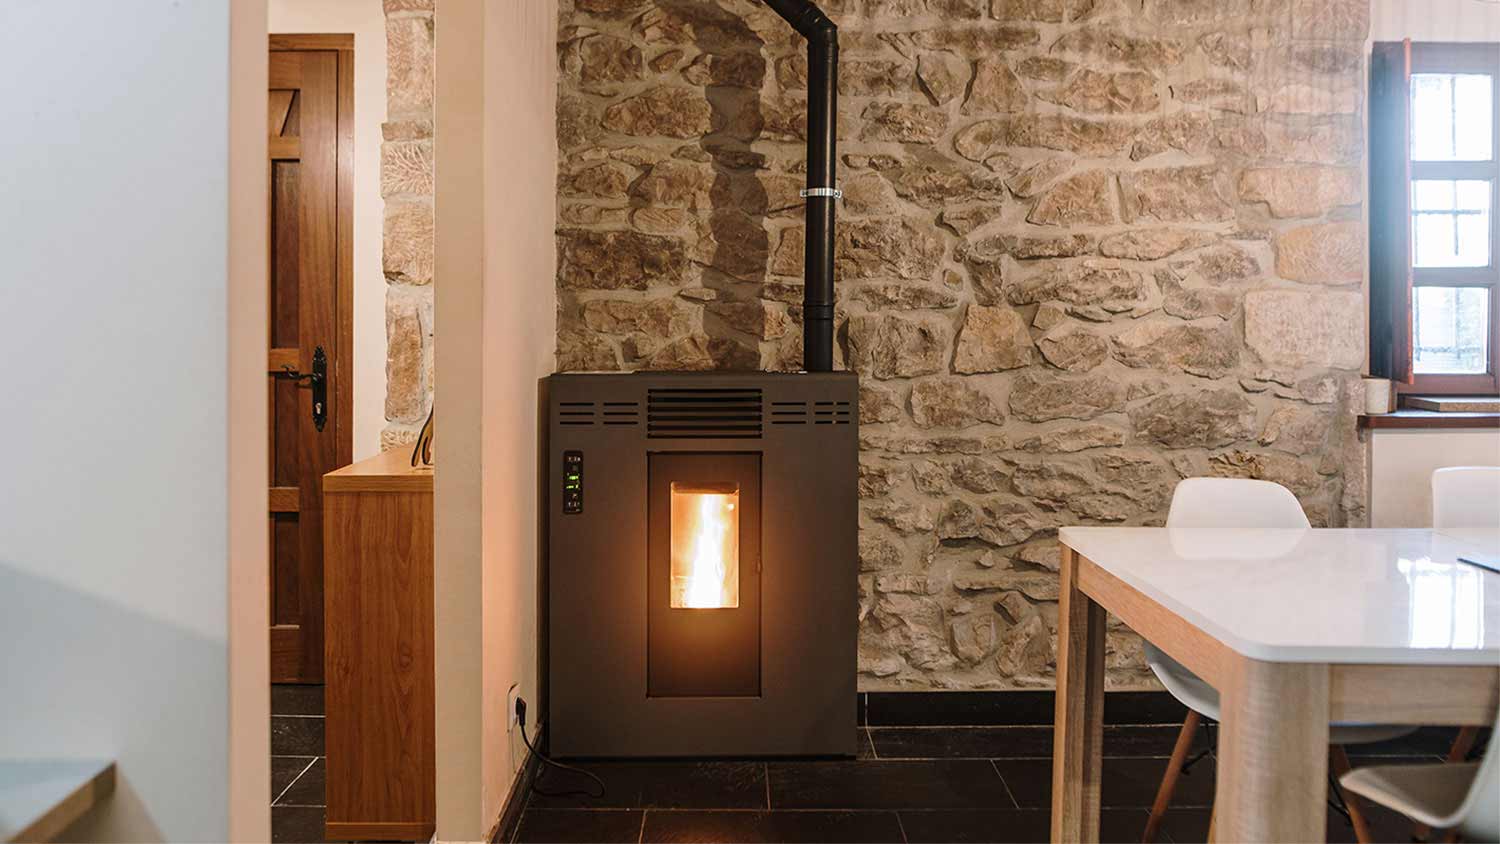
Discover what your need to know about DIY or professional pellet stove installation with or without an existing fireplace.
Before you use your fireplace, you need a flue liner to help redirect smoke from your home. Learn how to install a flue liner with this guide.
Even in the harshest storms, your chimney should keep water out—not let it in. Learn why there’s water coming down your chimney in heavy rain.

How do you stop that pesky draft from your fireplace? The answer depends on why it’s there, but no matter what, there’s a fix for it.
A worn-out chimney can threaten the strength of your masonry. Learn how to repoint a chimney for durability and aesthetics with this guide.