
A ceiling repair averages about $1,000, but multiple factors affect this number. Learn more about creating an accurate ceiling repair cost estimate with our tips.
Don’t crack under the pressure of a damaged ceiling

When you spot a crack in your ceiling, you don’t need to panic—but you should investigate to see if it’s linked to a larger underlying problem. If you’re unsure, bring in a professional to check it out. But if you’re confident that the damage is merely cosmetic, you can learn how to repair ceiling cracks yourself with this step-by-step guide.
Start by moving any furniture and other belongings out of the room. Then, lay down drop cloths to protect the floors from old, flaking drywall, joint compound, and paint.
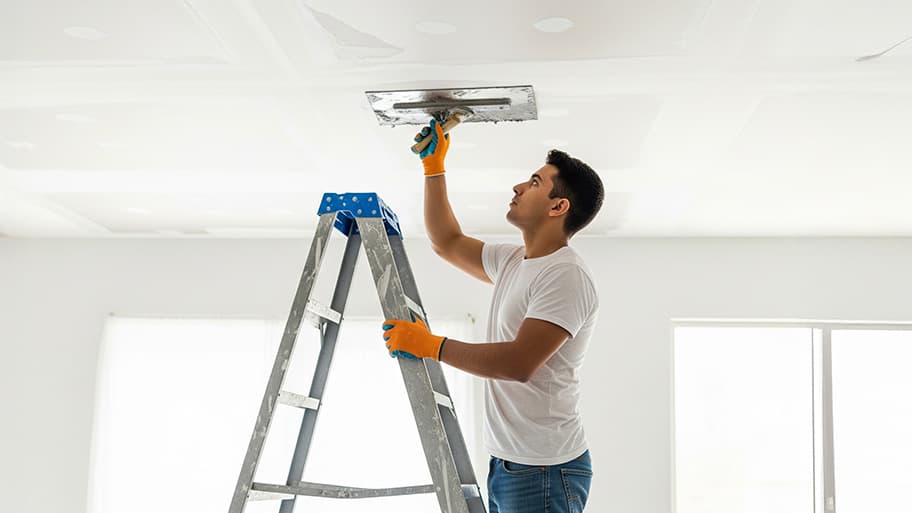
Next, set up your ladder so that it’s stable and allows you to reach the ceiling comfortably. Before using it, make sure you’re well-versed in ladder safety.
Put on your safety goggles and mask, then climb on the ladder so that you can reach the crack.
With a utility or drywall knife, scrape off any flaking paint, joint compound, or other loose material around the crack. Be sure to work with the crack (and not across it). Cut off any damaged drywall tape and secure any loose or uneven drywall with drywall screws.
Finally, get rid of any dust by wiping down the area with a clean, damp cloth. Wait for it to dry completely before moving to the next step.
Cover the length of the crack with a single long strip of drywall tape. Make sure the crack is in the middle of the tape. This will help strengthen the repair, bond the compound, and prevent sagging.

If you bought premixed joint compound (also known as drywall mud), add some into a mud pan so that it’s easier to hold while you work. Otherwise, if you have powdered compound, mix it with water according to the manufacturer’s directions. When it’s ready, put it into a mud pan.
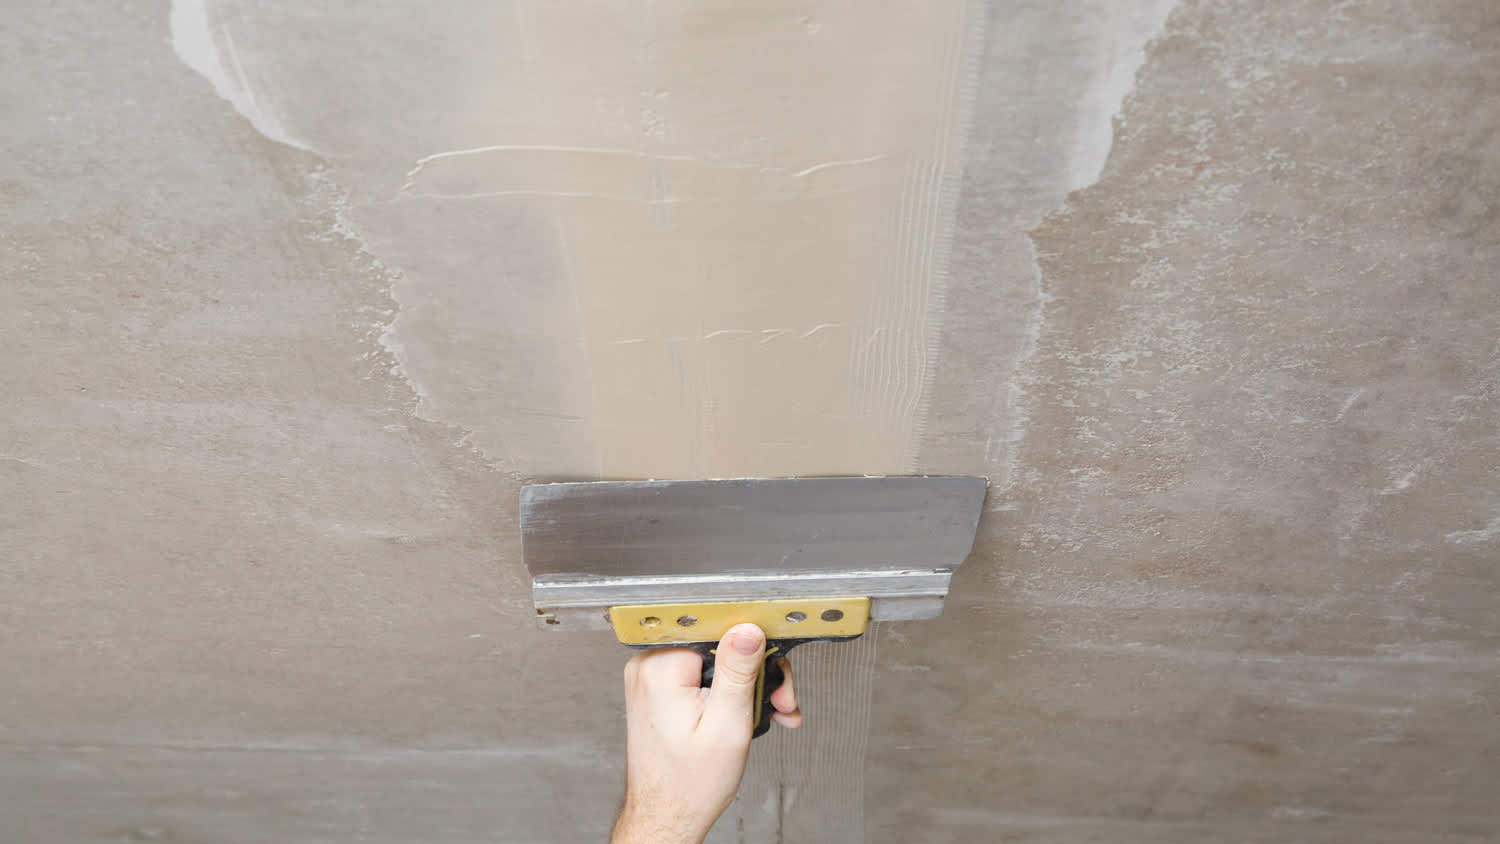
Use a putty knife to scoop the compound out of the mud pan. Apply it over the drywall tape, moving in one direction. Try to get the layer as thin as possible (or it might crack later on). Use a bucket of water and a damp cloth to clean any leftover compound from the knife as you go.
Let the compound dry fully, and then repeat the process at least two more times for a total of three (or more) layers. When you’re done, the compound should completely hide the crack.
After applying the last layer, let it dry for at least 24 hours.
When the compound is completely dry, it should turn white. At that point, you can sand it smooth with a drywall sanding block.
When you’re done, use a clean, damp cloth to remove all dust from the area.

Apply paint primer over the crack area to seal it and promote an even finish. If you have paint to match the color of the ceiling, repaint the cracked section. If not, you might want to paint the whole ceiling for a fresher, more consistent feel.
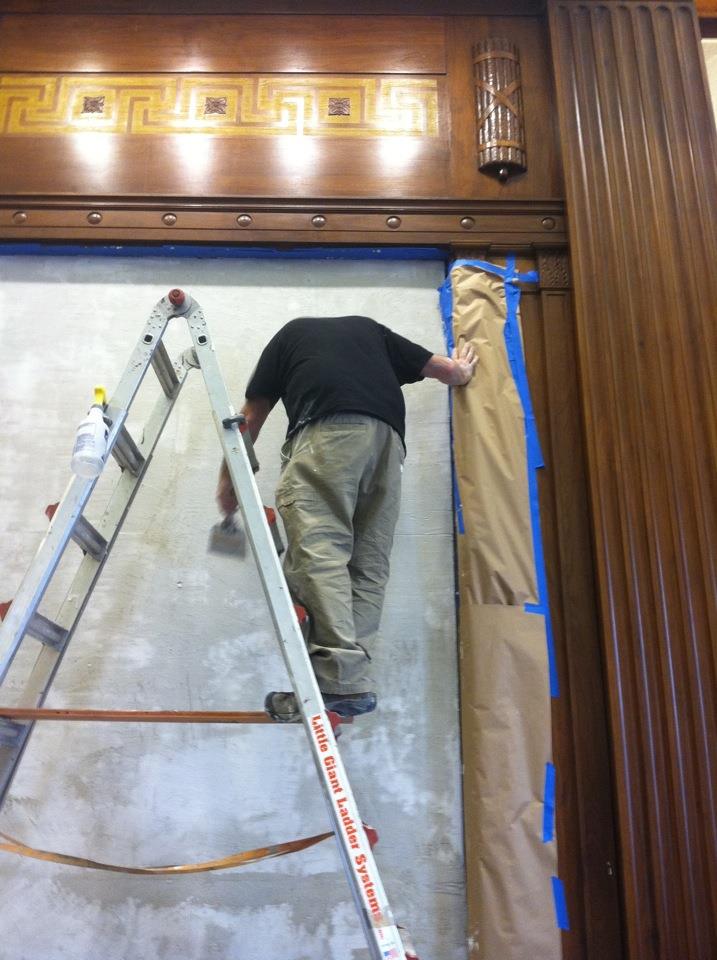
Fixing a minor ceiling crack isn’t terribly complicated, but it does involve climbing on a ladder and working above your head. If that’s not your thing or you have physical limitations, hire a drywall repair expert instead of tackling this project yourself.
Getting up on a ladder to work on your ceiling is dangerous. Unless you have experience and a buddy nearby to help you, call a pro to complete the job.

When you hire a ceiling repair pro near you, the average cost to repair ceiling cracks is $400 to $1,350. Meanwhile, DIY repairs are more affordable, costing up to $150.
For a small cosmetic crack, you could save money by hiring a local handyperson instead of a drywall repair company. But if you have large or widespread ceiling cracking, you should consult a general contractor. They’ll be able to determine if the cracks are related to structural issues or water damage.
Positive experience. As previously stated, the replacement/repair could not be completed (no fault of the plumbing tech) b/c misinformation was rec?d by property management maintenance. Thanks to the plumbing tech for your efforts. Appreciate you!
 The Waterworks
Carpet repair done well. Scheduling was easy. Showed up on time.
I would recommend this company to anyone! He showed up on time, was friendly, completed a very difficult repair on our dryer vent cover, was responsive, and pricing was extremely fair and competitive. I would have him back to do any of our repairs or cleanings without hesitation!
Everything from initial contact to completion was absolutely top notch. We contacted the business during off hours to leave a message, and the owner still reached out to feel out the issue within minutes. We were scheduled and repaired within 48 hours. I cannot say enough about the...
 Supreme brick & chimney
Ace Fireplace Services came to the rescue for my chimney repair. They were quick to pinpoint the issue and worked their magic to fix it. My chimney is now in excellent shape, and I'm a satisfied customer.
 Ace Fireplace Services
Great experience all together. Dog friendly, courteous, great results and honest with recommendations. Will certainly be using Cardinal in the future for any carpet repairs
Description says they handle window repair including rotten hardwood - they called me back right away but didnâ t leave a voicemail. I followed up 3 days later and they said they donâ t do that kind of work.
Very good experience. He even moved things around in my bedroom to get to the wall. I would highly recommend him for plaster. I plan to have him come back.
 Peter J Grady
Great guys. Spend a lot of time repairing and prepping our walls before doing the new paint. Home looks great now.
They did an excellent job with the repair, took care of all communication with the insurance company and had car rental service also with a very reliable, quality care
 Three C Body Shop
From average costs to expert advice, get all the answers you need to get your job done.
A ceiling repair averages about $1,000, but multiple factors affect this number. Learn more about creating an accurate ceiling repair cost estimate with our tips.
Hairline cracks and spiderweb cracks are just two of many types of ceiling cracks. Read this guide to learn which ceiling cracks are serious and need repairs.

Find out what causes ceiling cracks, including general wear and tear, water damage, roof truss uplift, and issues with your foundation.

Ceiling cracks along drywall seams come from improper installation, leaks, settling, and foundation issues. Read this to learn why you have ceiling cracks.

Sagging ceiling could lead to more severe problems. Know these 7 causes for sagging ceilings and how to fix them before the issue becomes worse.

Tired of looking at the crack down the wall? Plaster can be tricky to work with, but you can learn how to fix cracks in plaster walls with this guide.